Upload And Manage Imagery With FlyPix AI
FlyPix AI makes it simple to upload, process, and organize geospatial imagery within your project workspace.
1. Introduction
In this demo, you’ll learn how to upload TIFF files, view processed imagery, and efficiently manage your images using search and sorting tools.
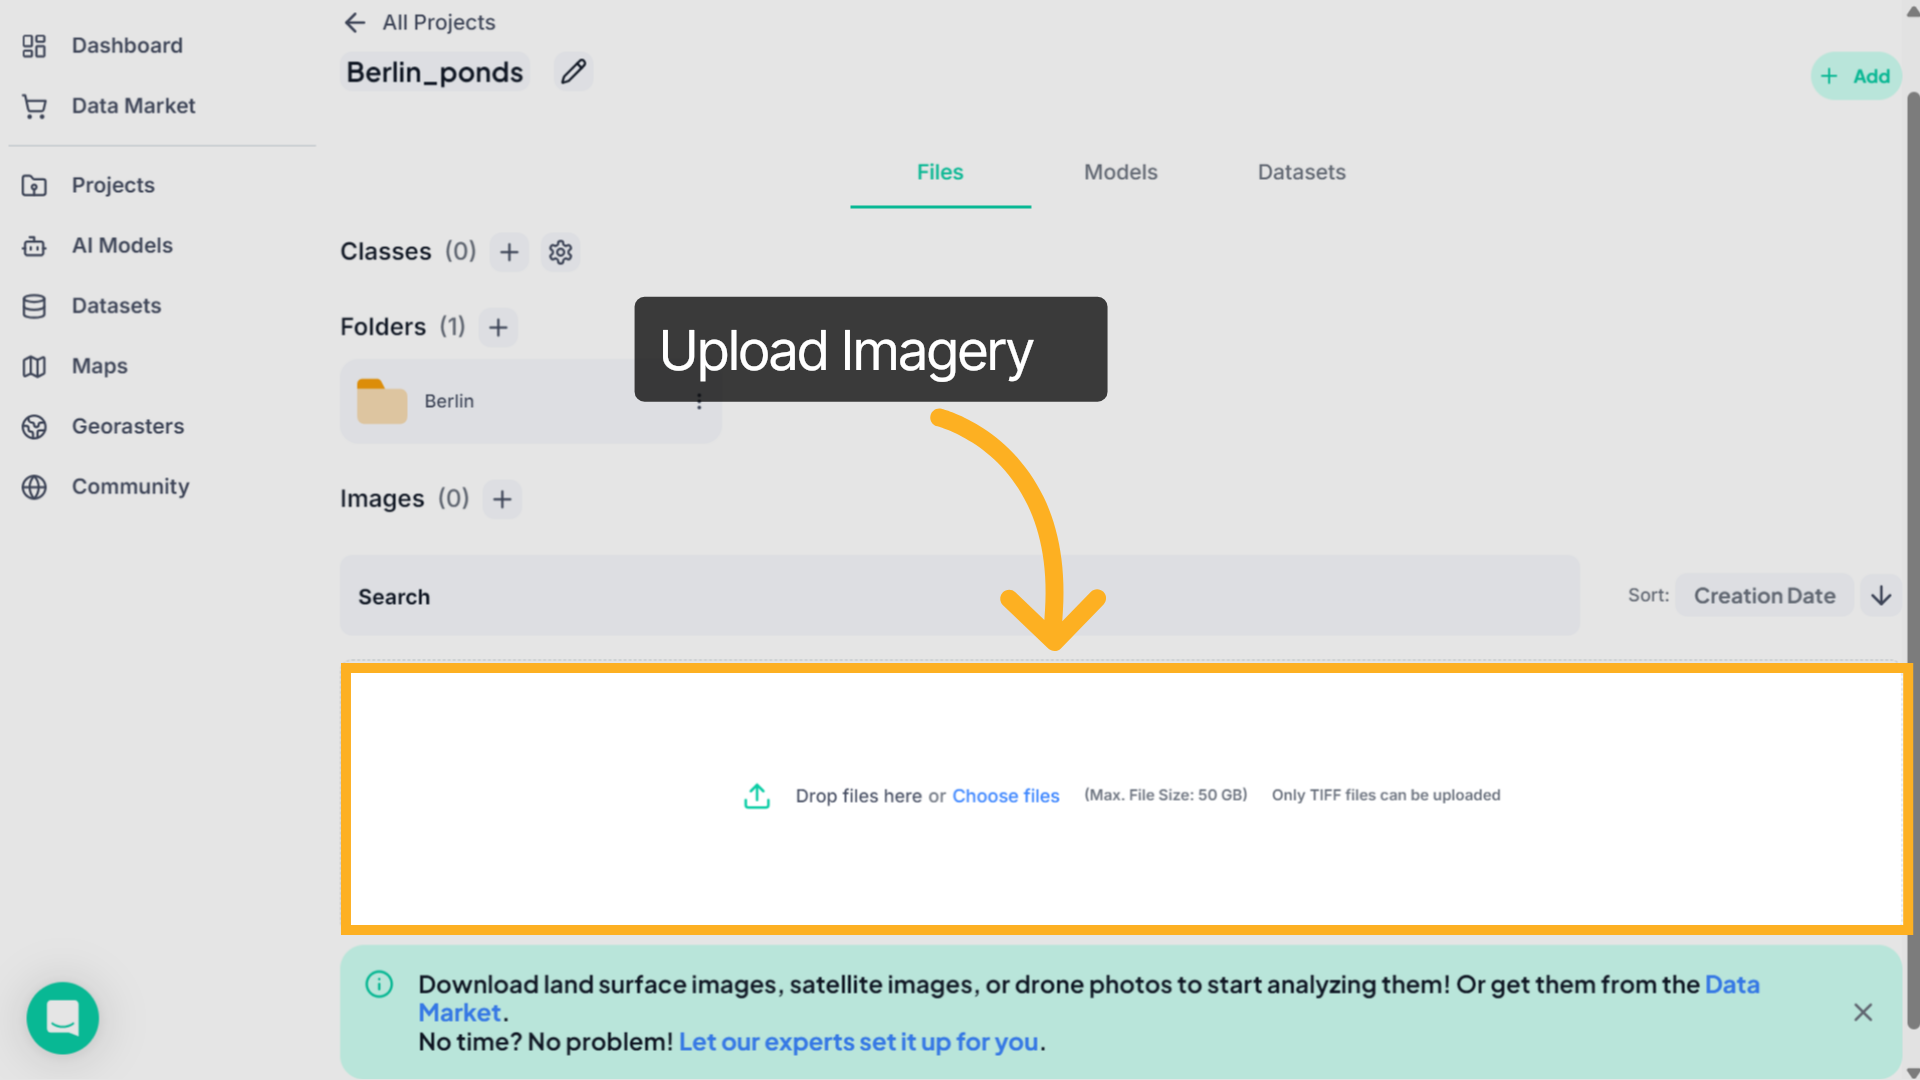
2. Upload Imagery
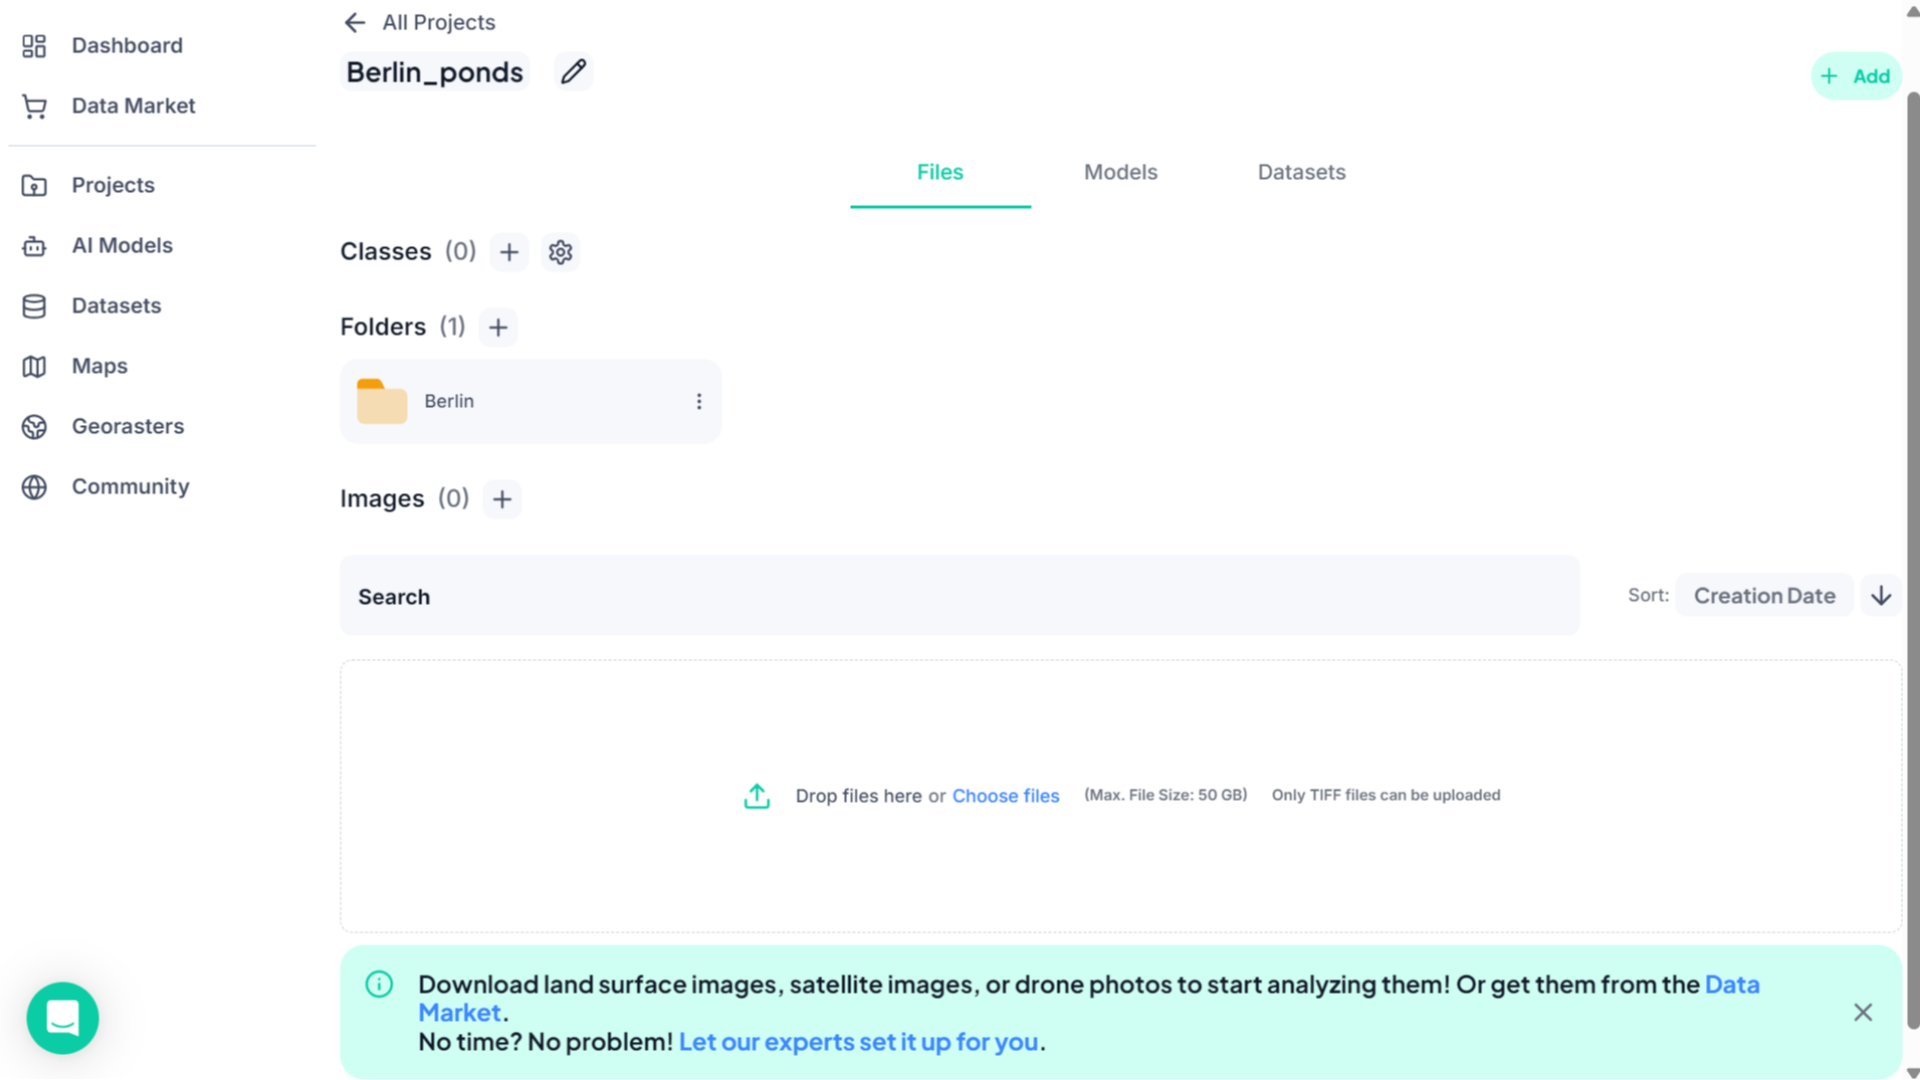
In the Files tab, you’ll see the upload panel displayed in the center of the screen. Drag and drop your TIFF file into this area, or click Choose files to select a file from your device. Only TIFF files are supported, with a maximum file size of 50 GB.
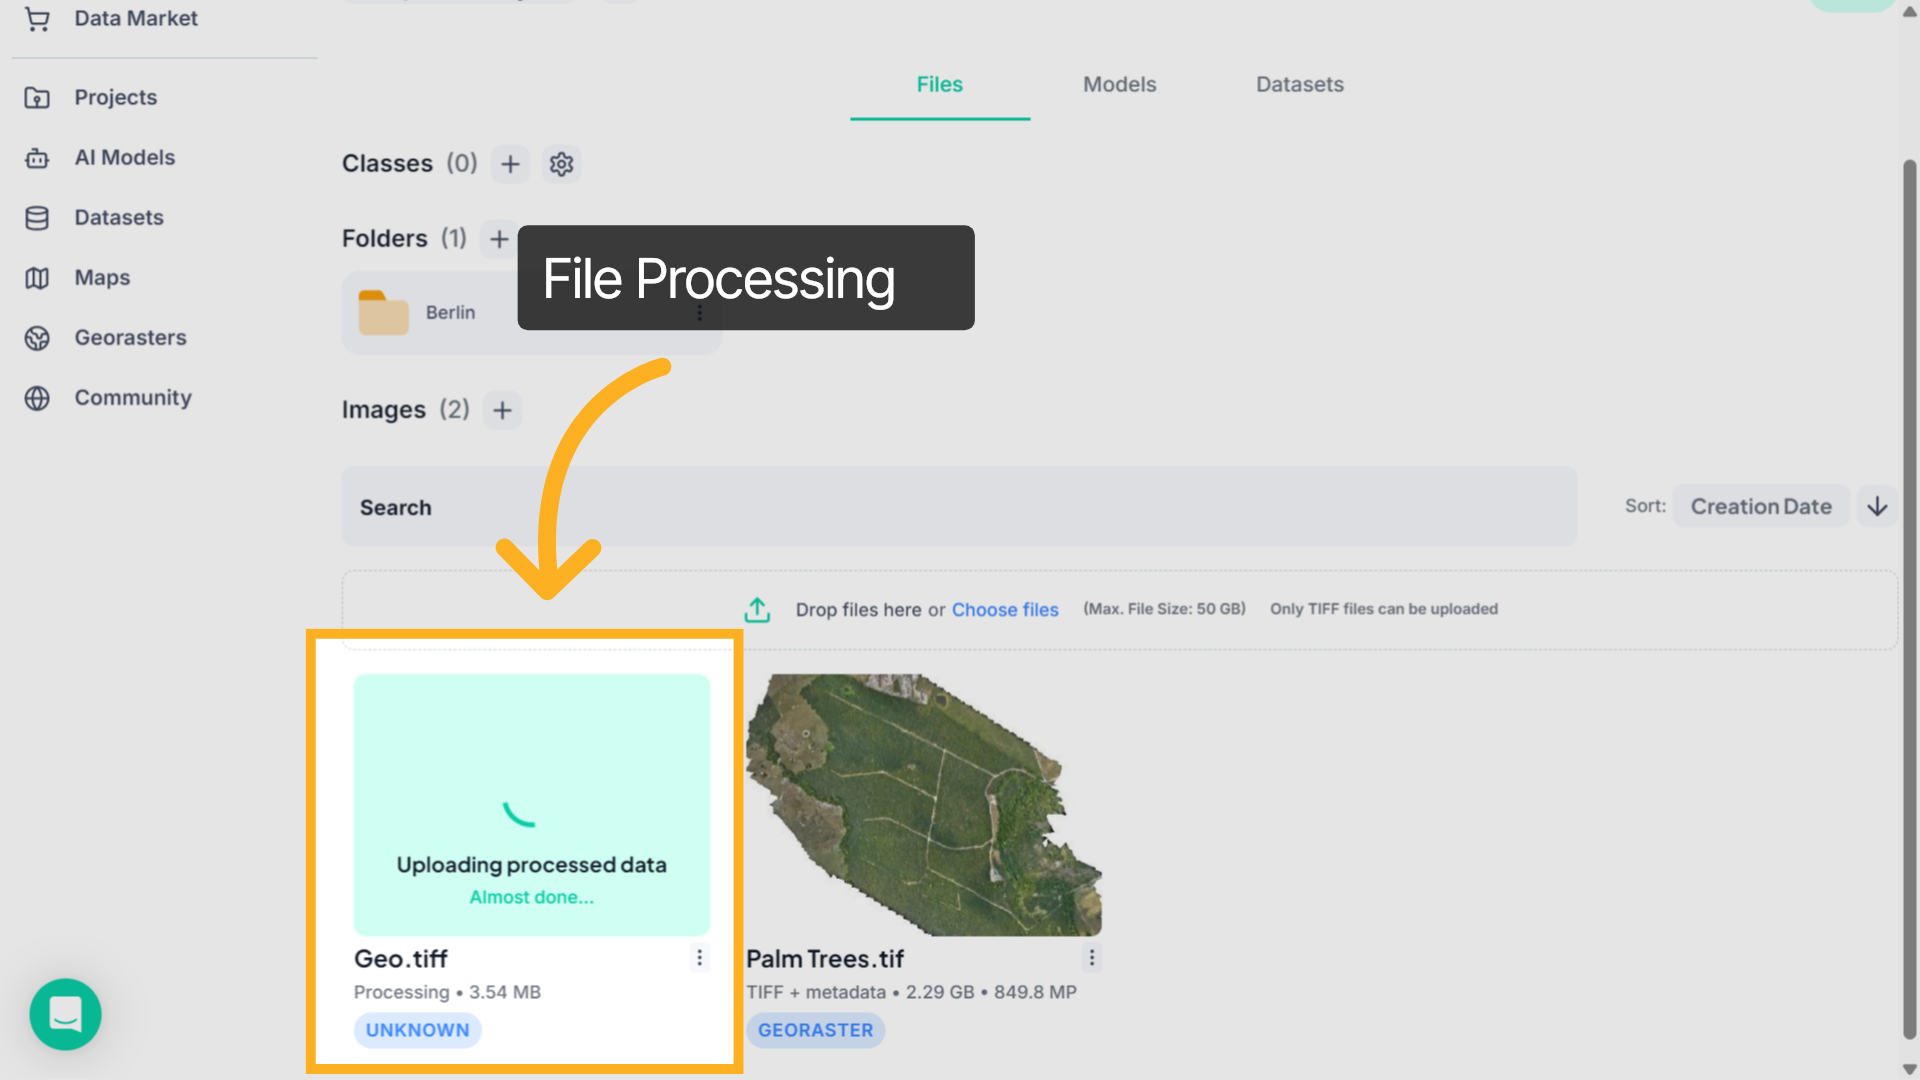
3. File Processing
Once uploaded, the system automatically processes the file.After processing is complete, the image appears in the Images section.
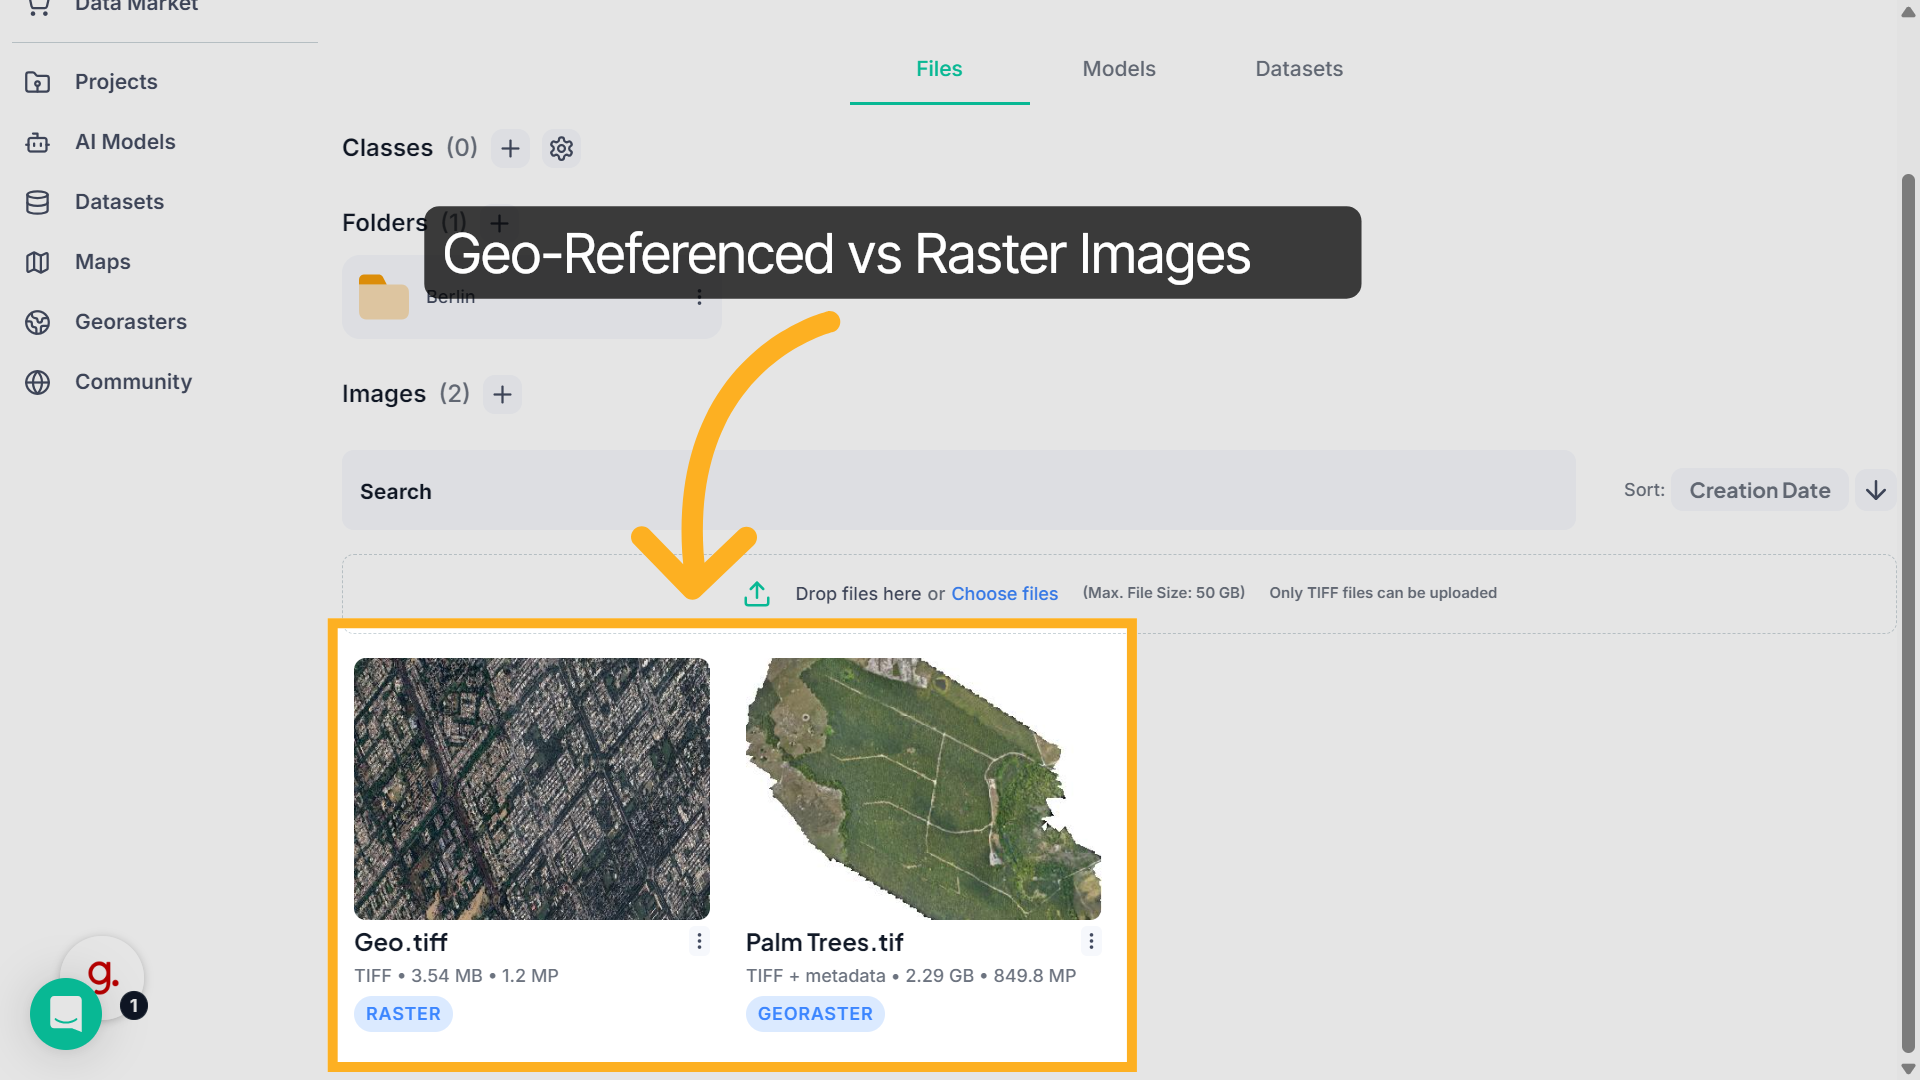
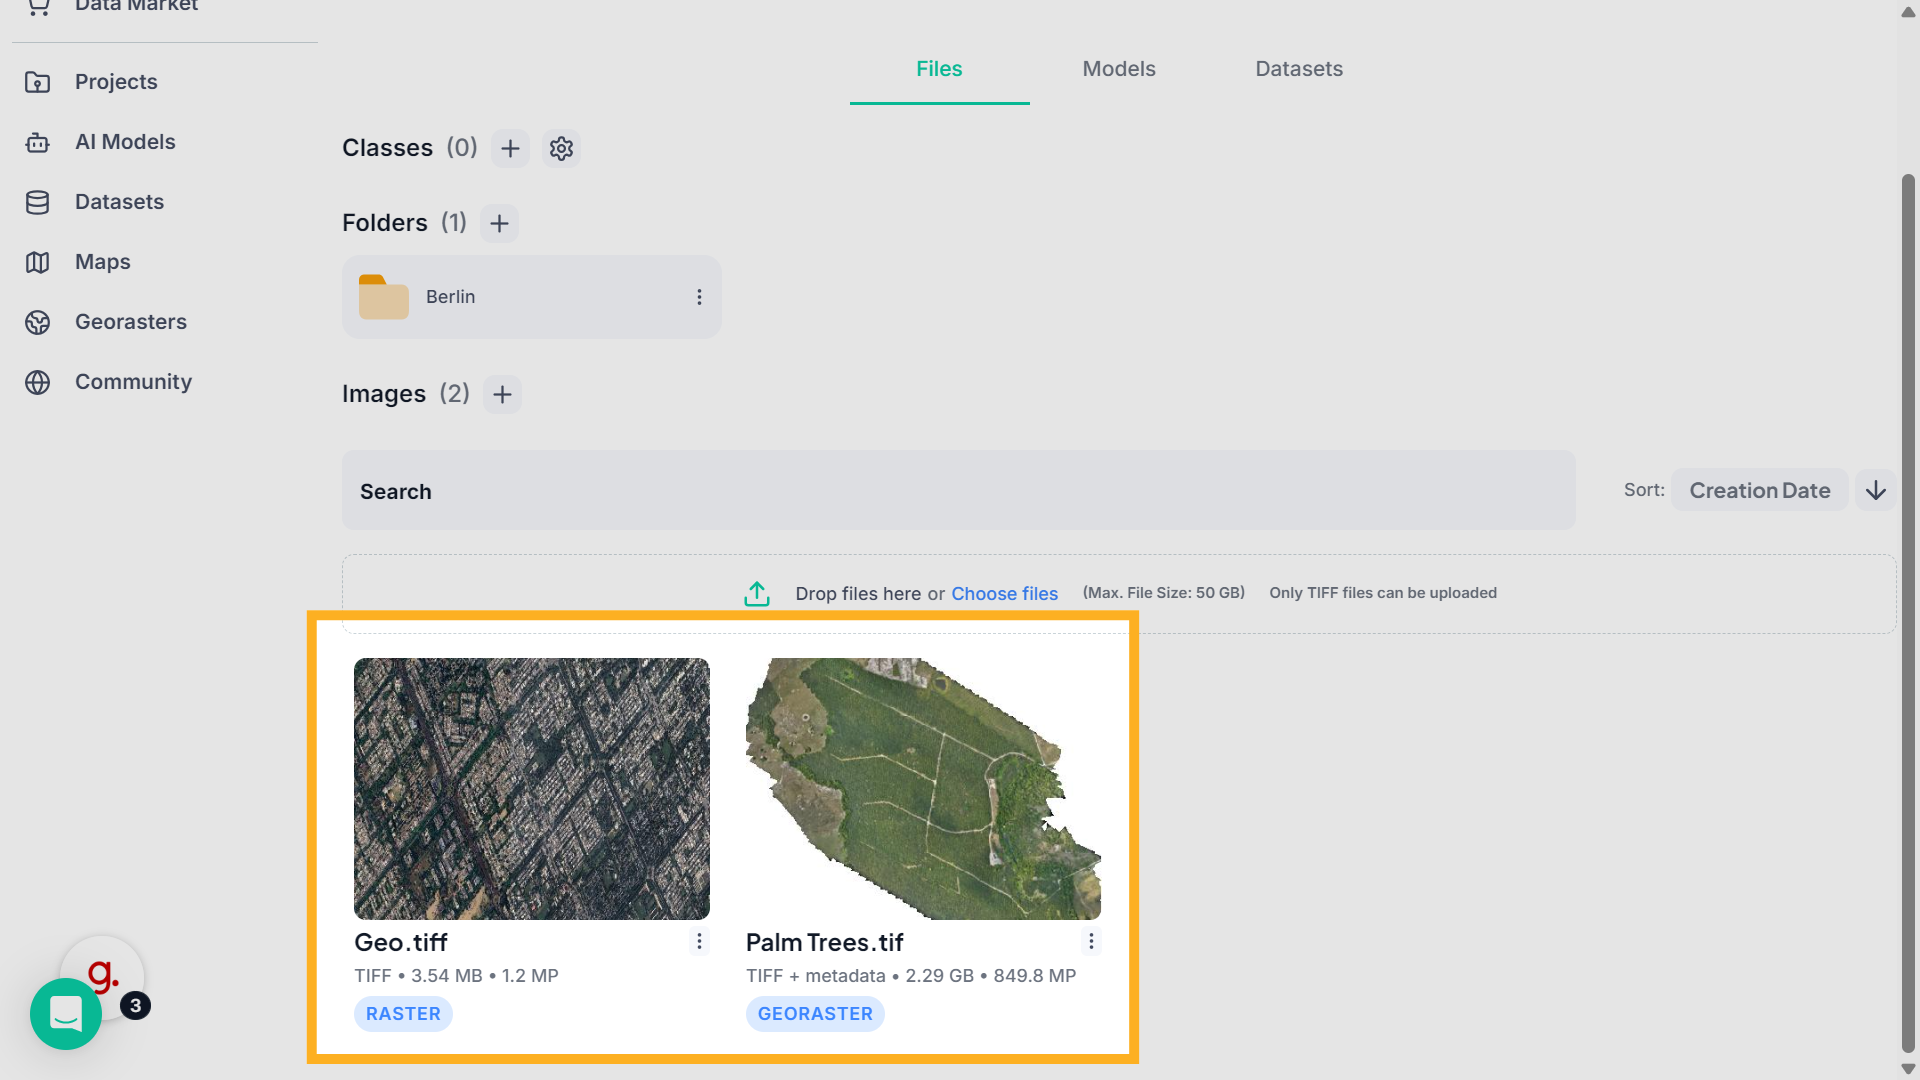
4. Geo-Referenced vs Raster Images
When your file finishes processing, FlyPix AI automatically detects whether it contains geographic coordinates. If it does, it appears as a Georaster and aligns correctly on the map.If not, it’s listed as a standard Raster image.
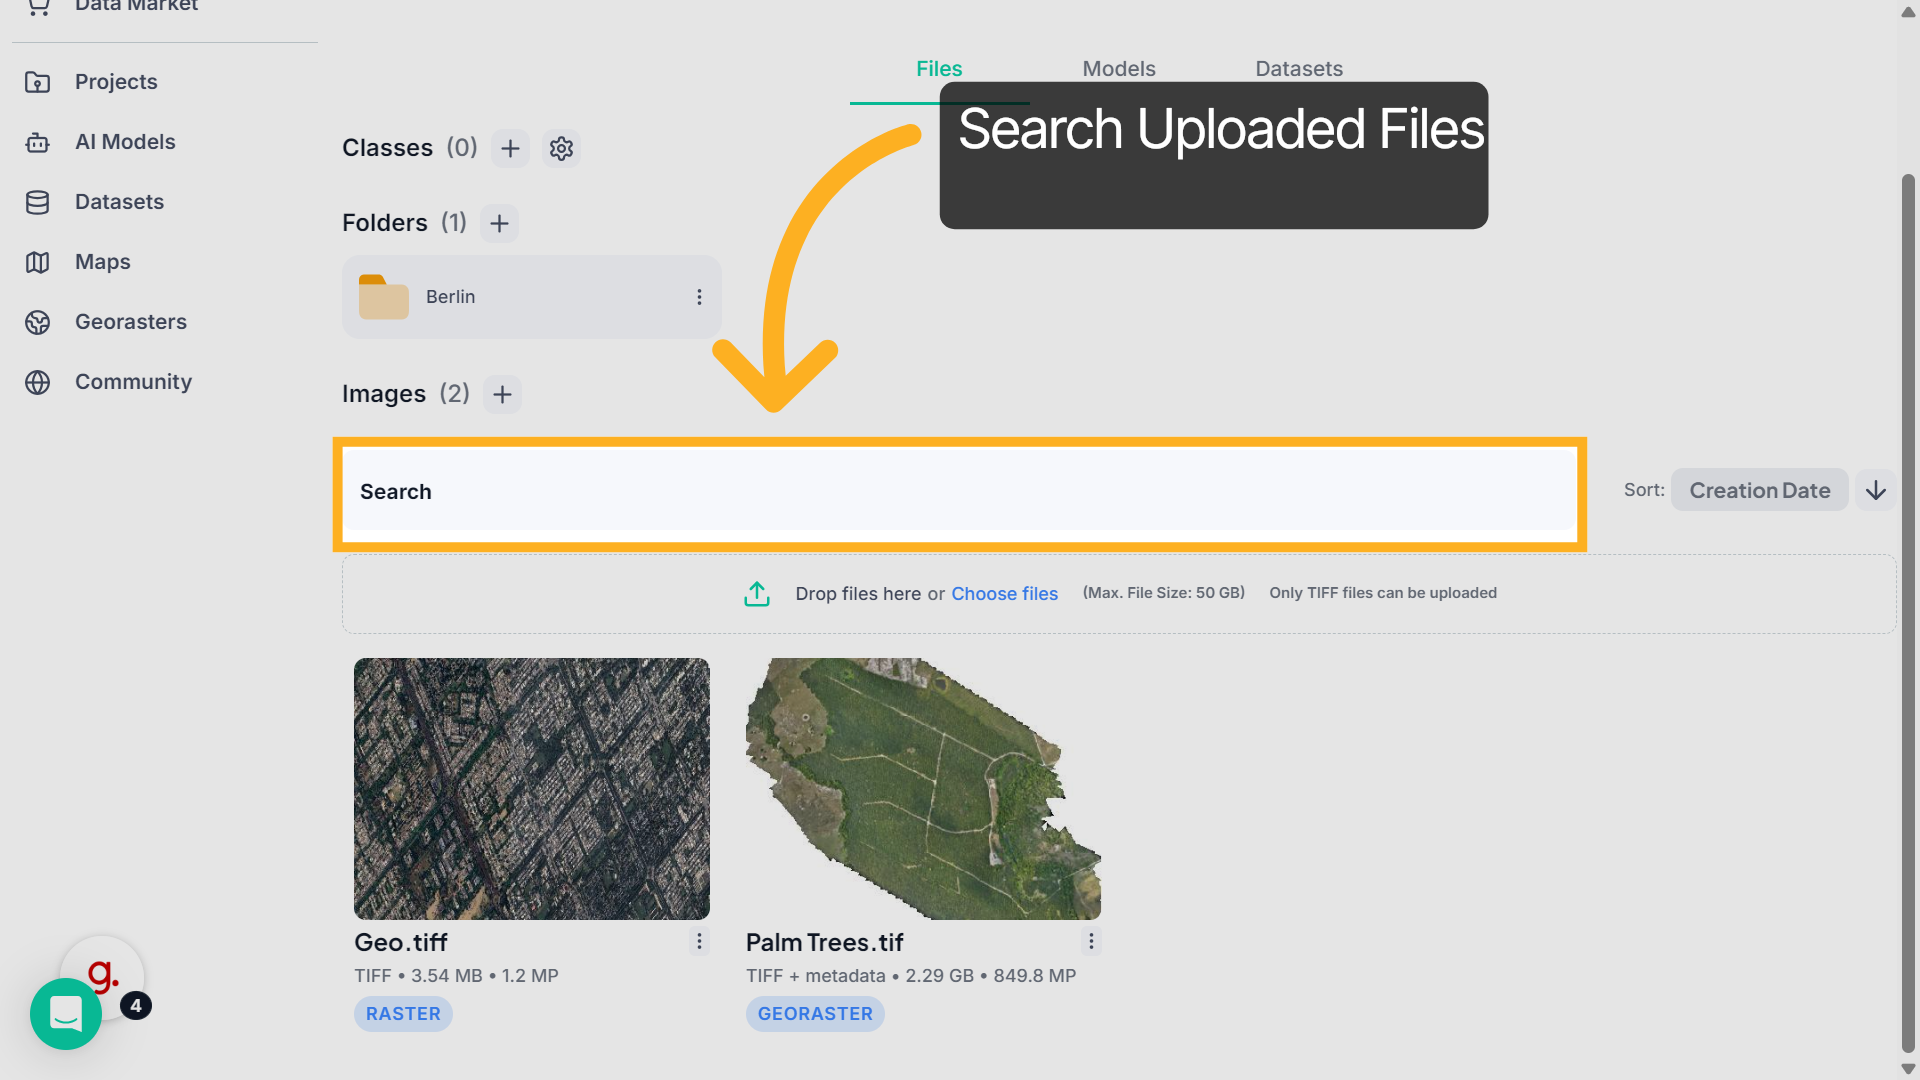
5. Search Uploaded Files
To quickly locate a specific file, use the Search bar and enter the image name.
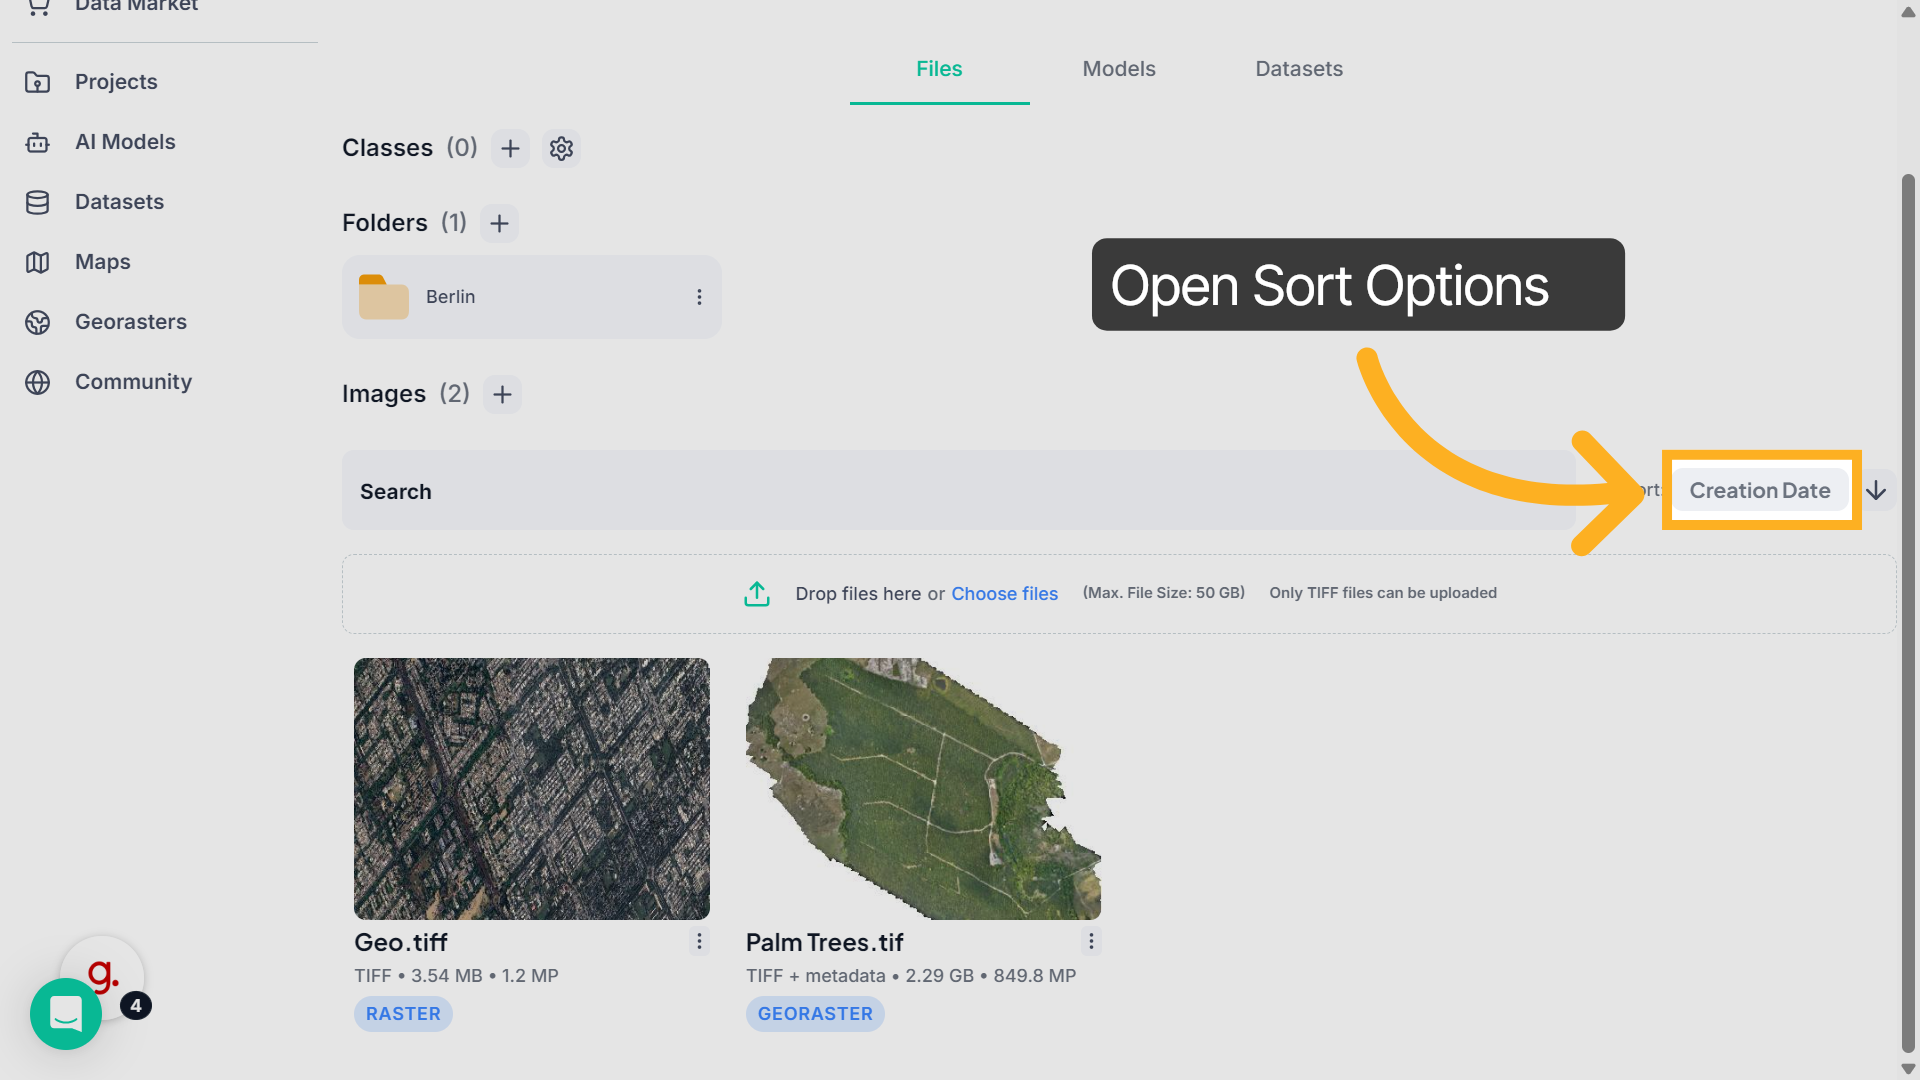
6. Open Sort Options
If you want to organize your uploads, click the Sort dropdown to view the available options.
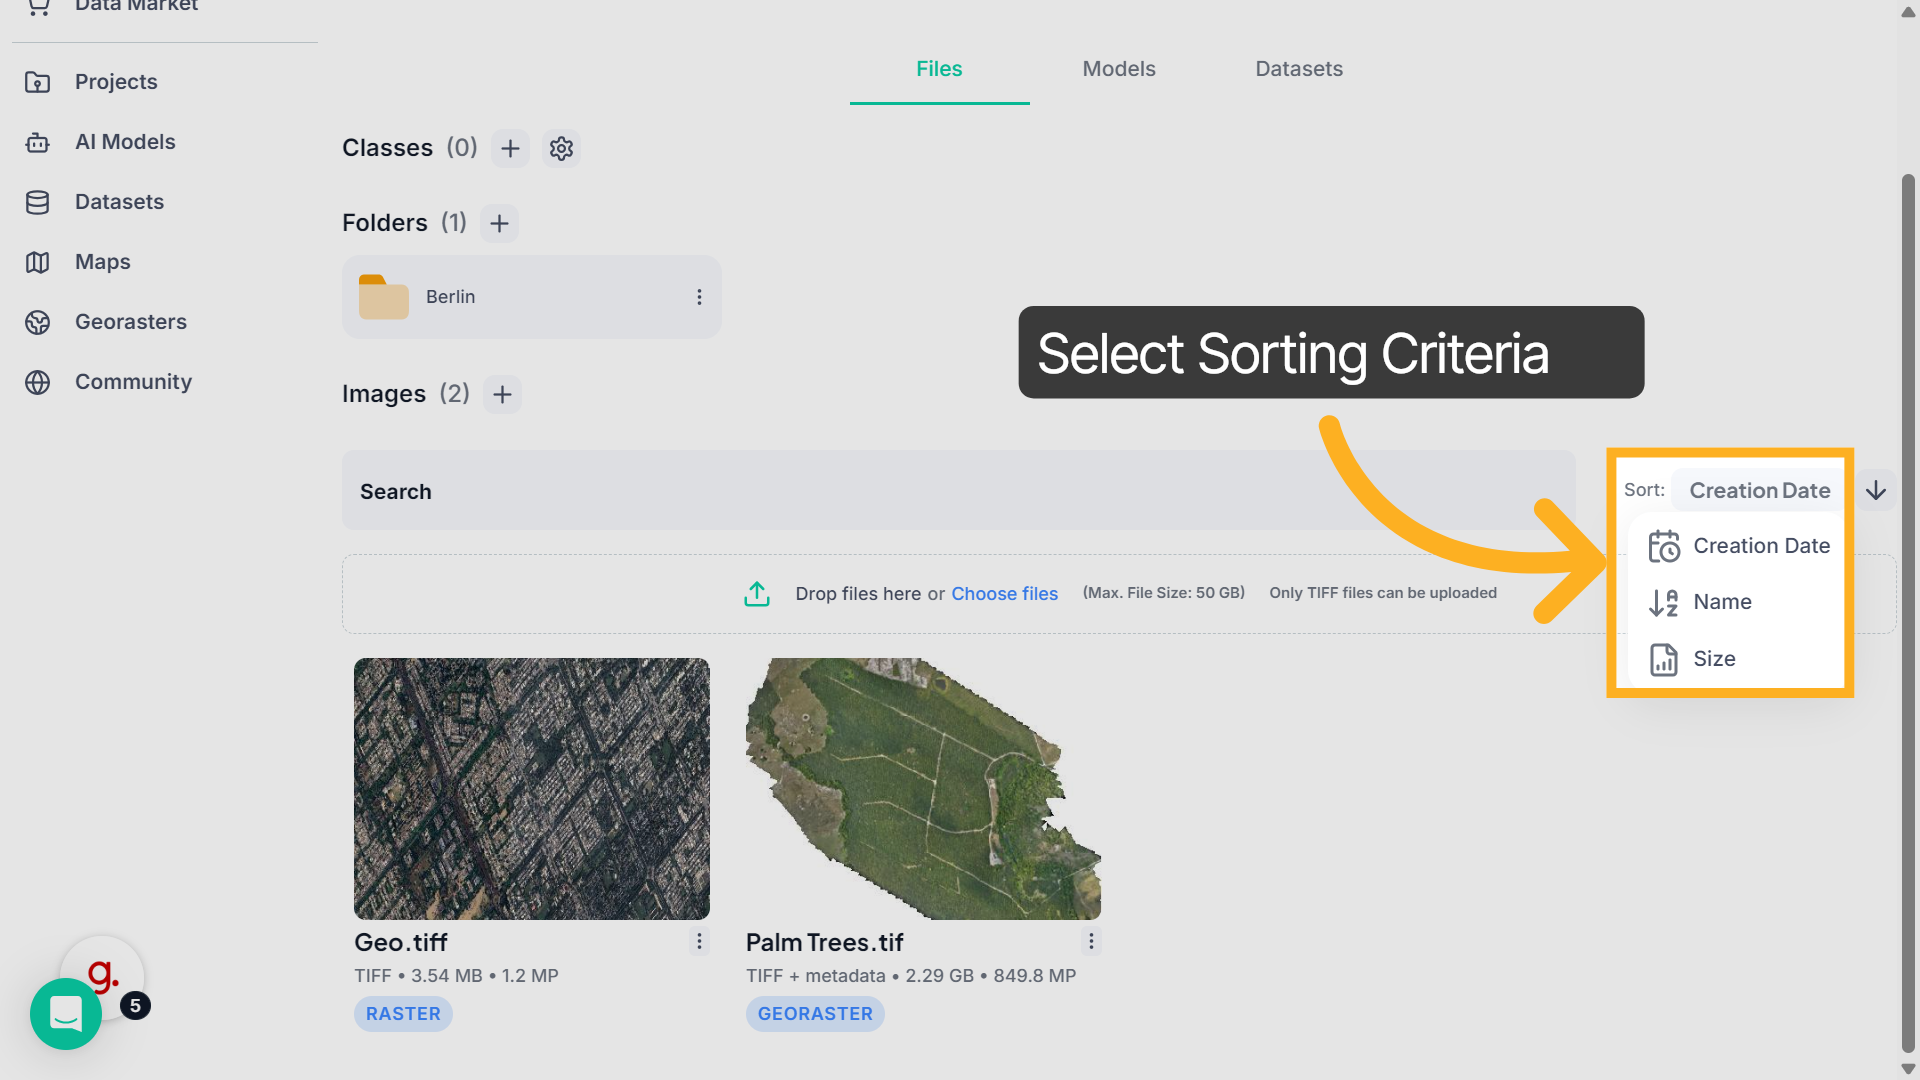
7. Select Sorting Criteria
Then select Creation Date, Name, or Size to arrange your imagery accordingly.
8. View Imagery
When you’re ready to review an image, simply click on any uploaded file.
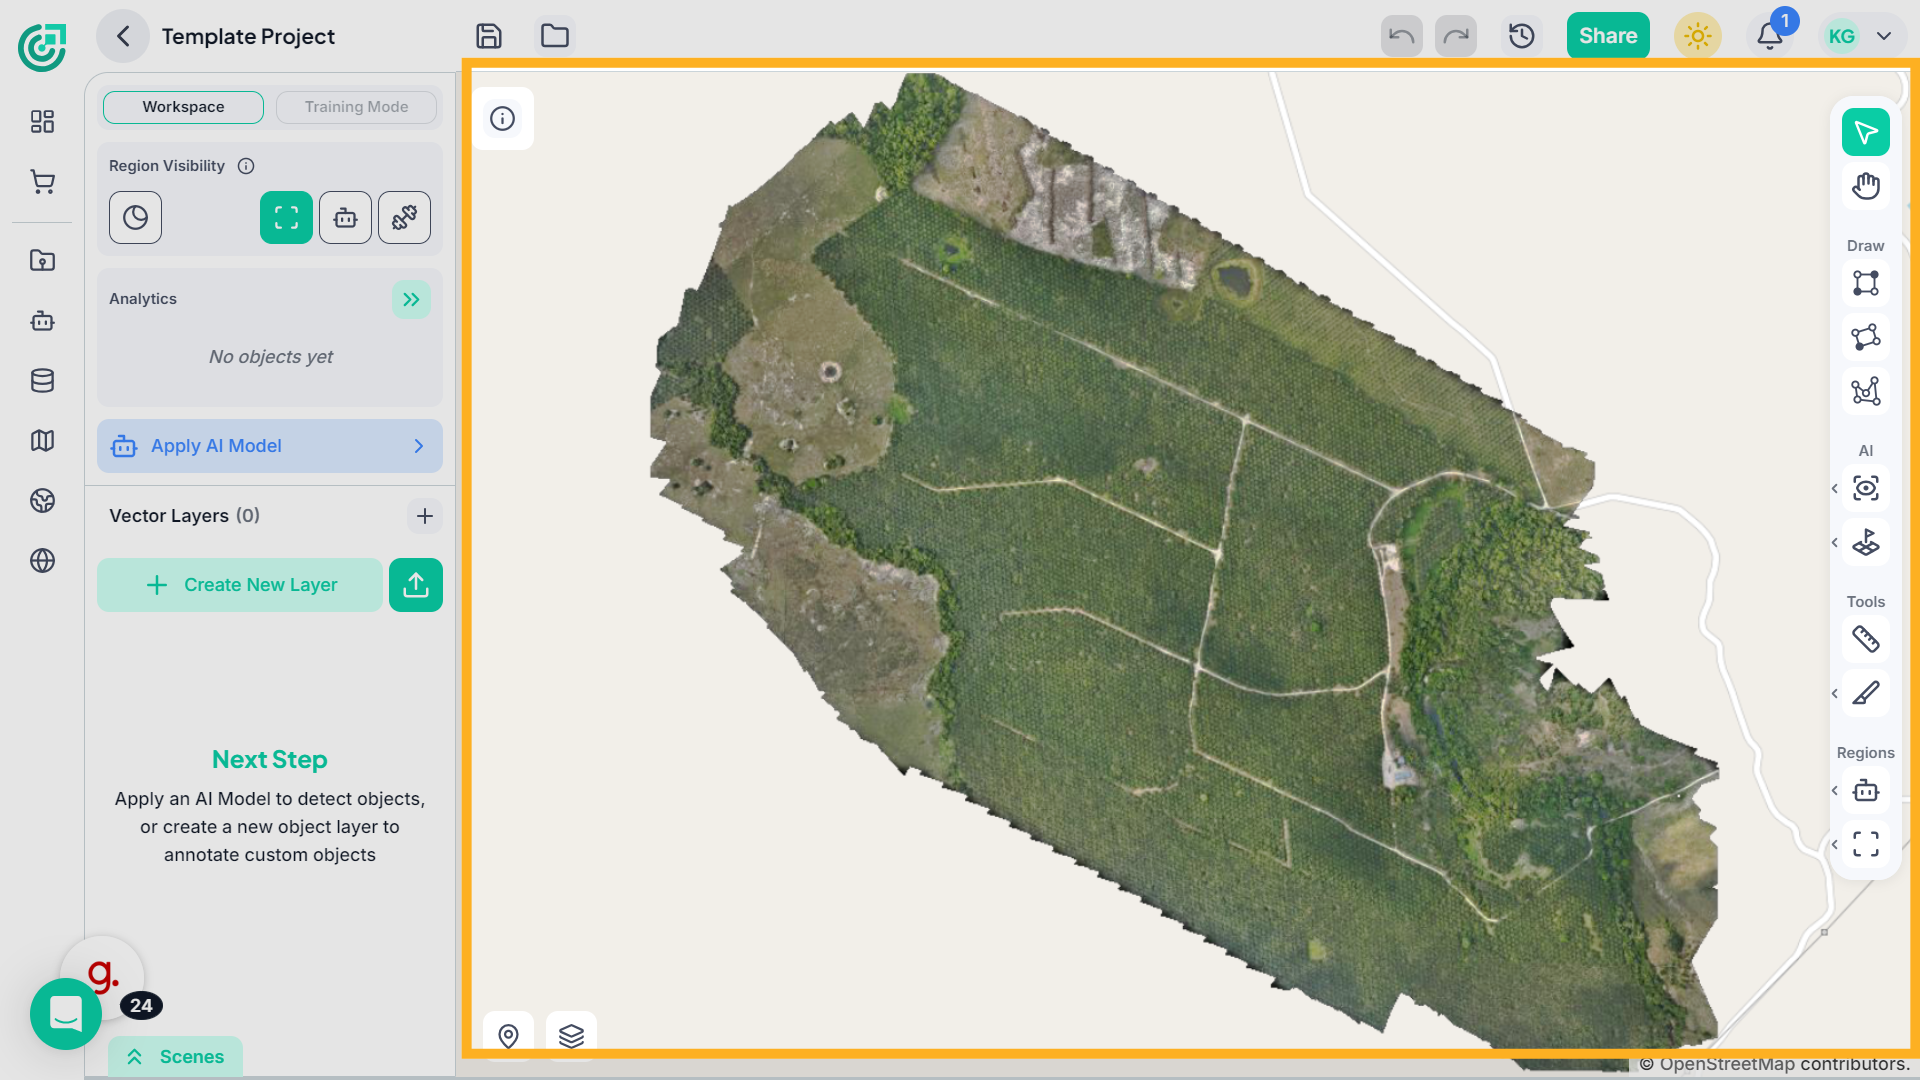
9. View Imagery in Workspace
It will open directly in the Workspace viewer, where you can visualize the imagery on the map interface.
This demo showcased how FlyPix AI simplifies uploading large geospatial images and efficiently managing your project workspace. Start using FlyPix AI today to streamline your imagery workflows and enhance data organization.