Georasters
This demo shows how to manage and work with georaster data in the FlyPix AI dashboard.
Go to app.flypix.ai
1. Introduction
You’ll learn how to access georaster files, search and organize them, open them in the workspace for analysis, and manage files within the associated project.
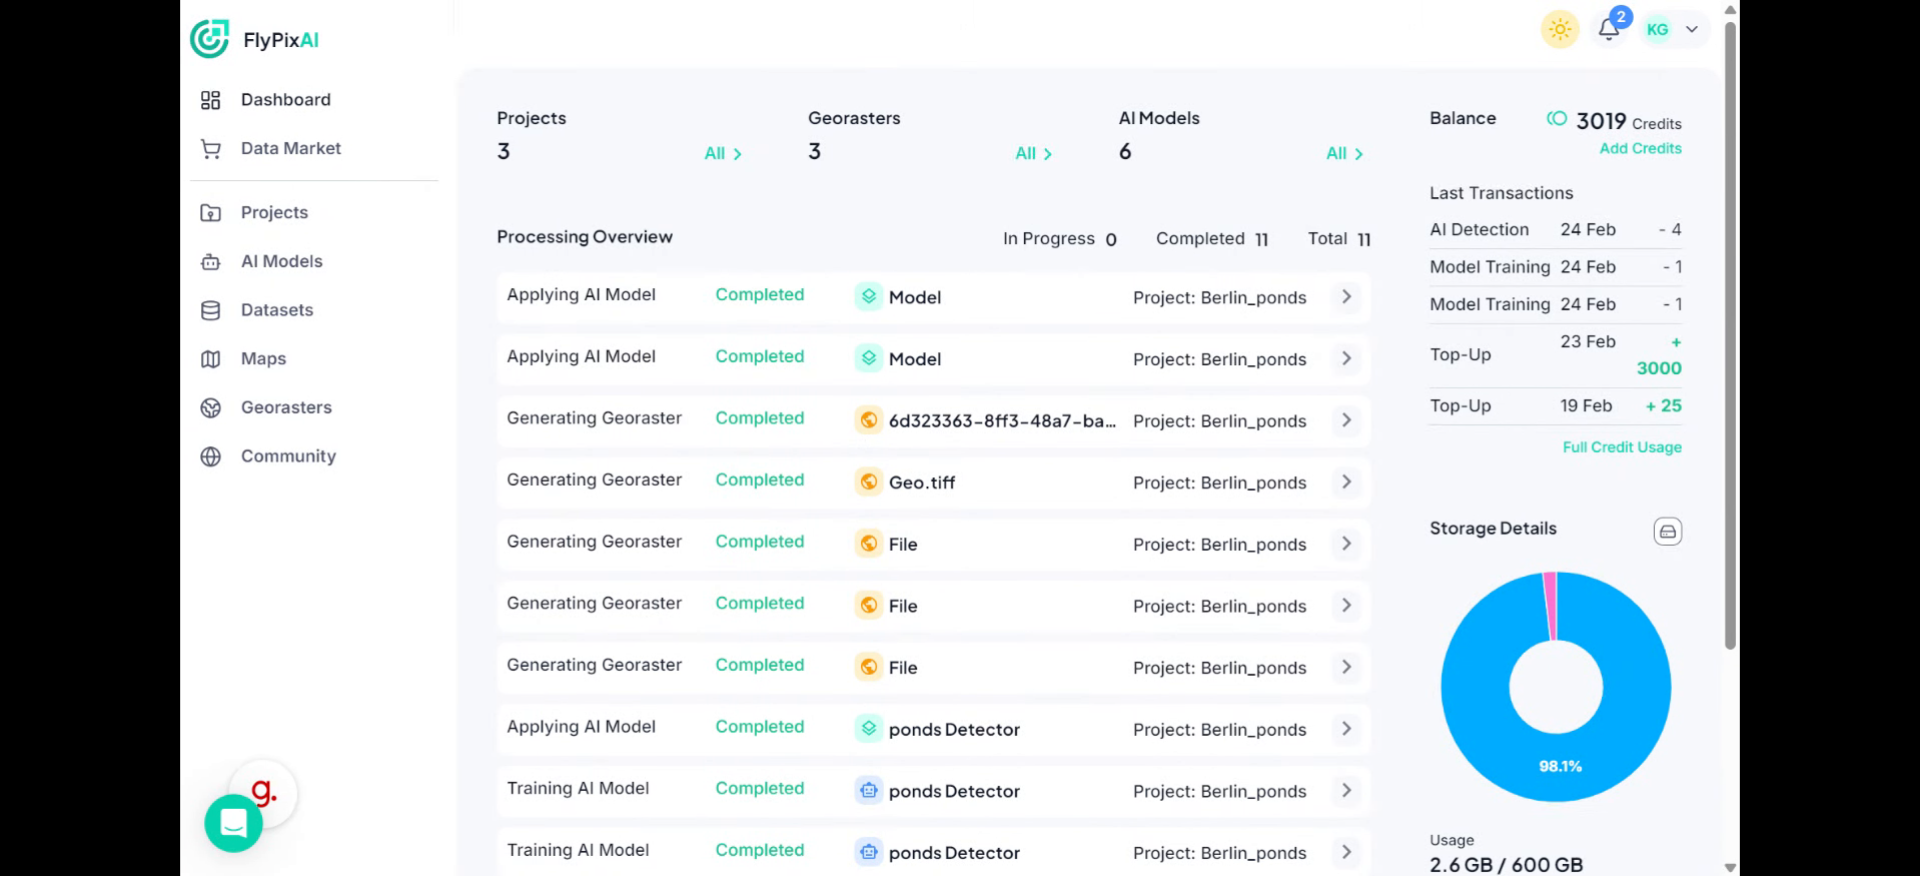
2. Access Georaster Section
Click the Georasters section to access your geospatial raster data within the FlyPix AI dashboard.
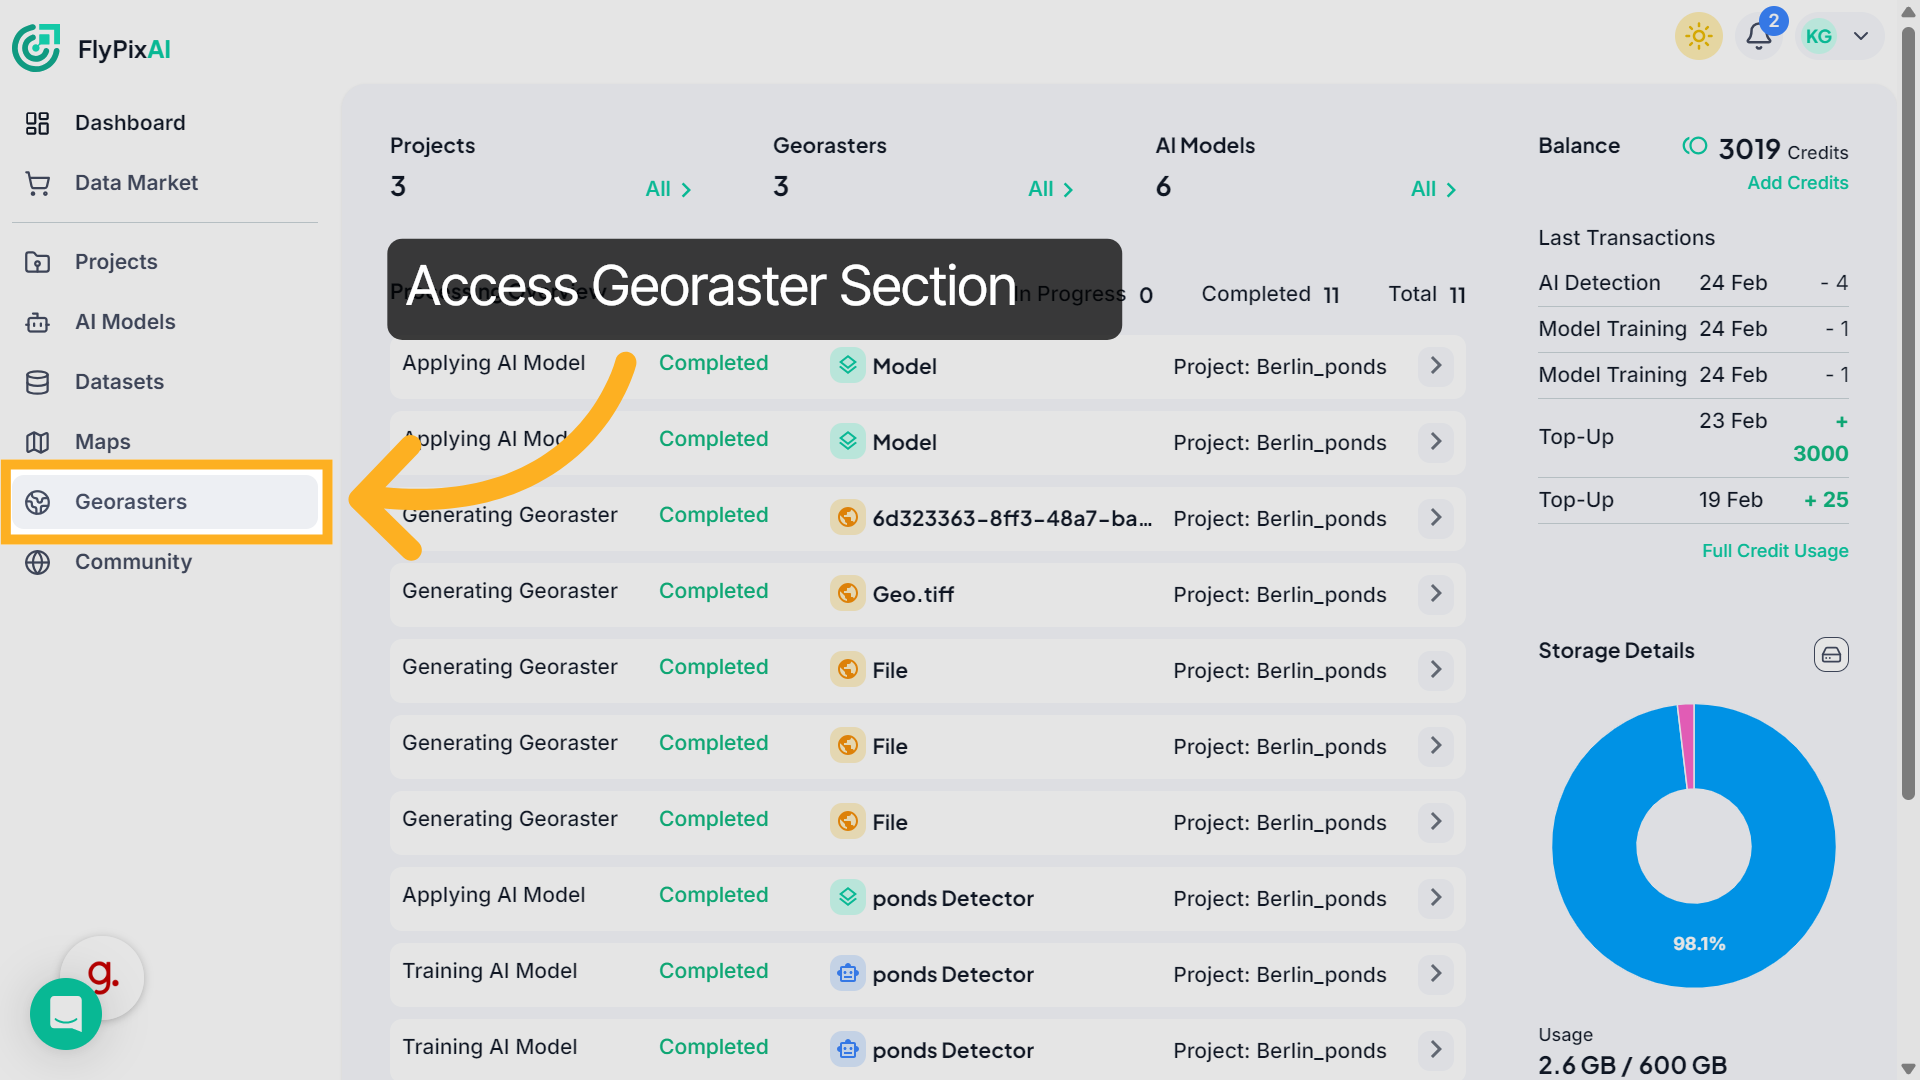
3. View Georaster Files
Here you can see all available georaster files displayed as cards, including file previews and dataset information. These cards allow you to quickly identify and select the raster file you want to work with.
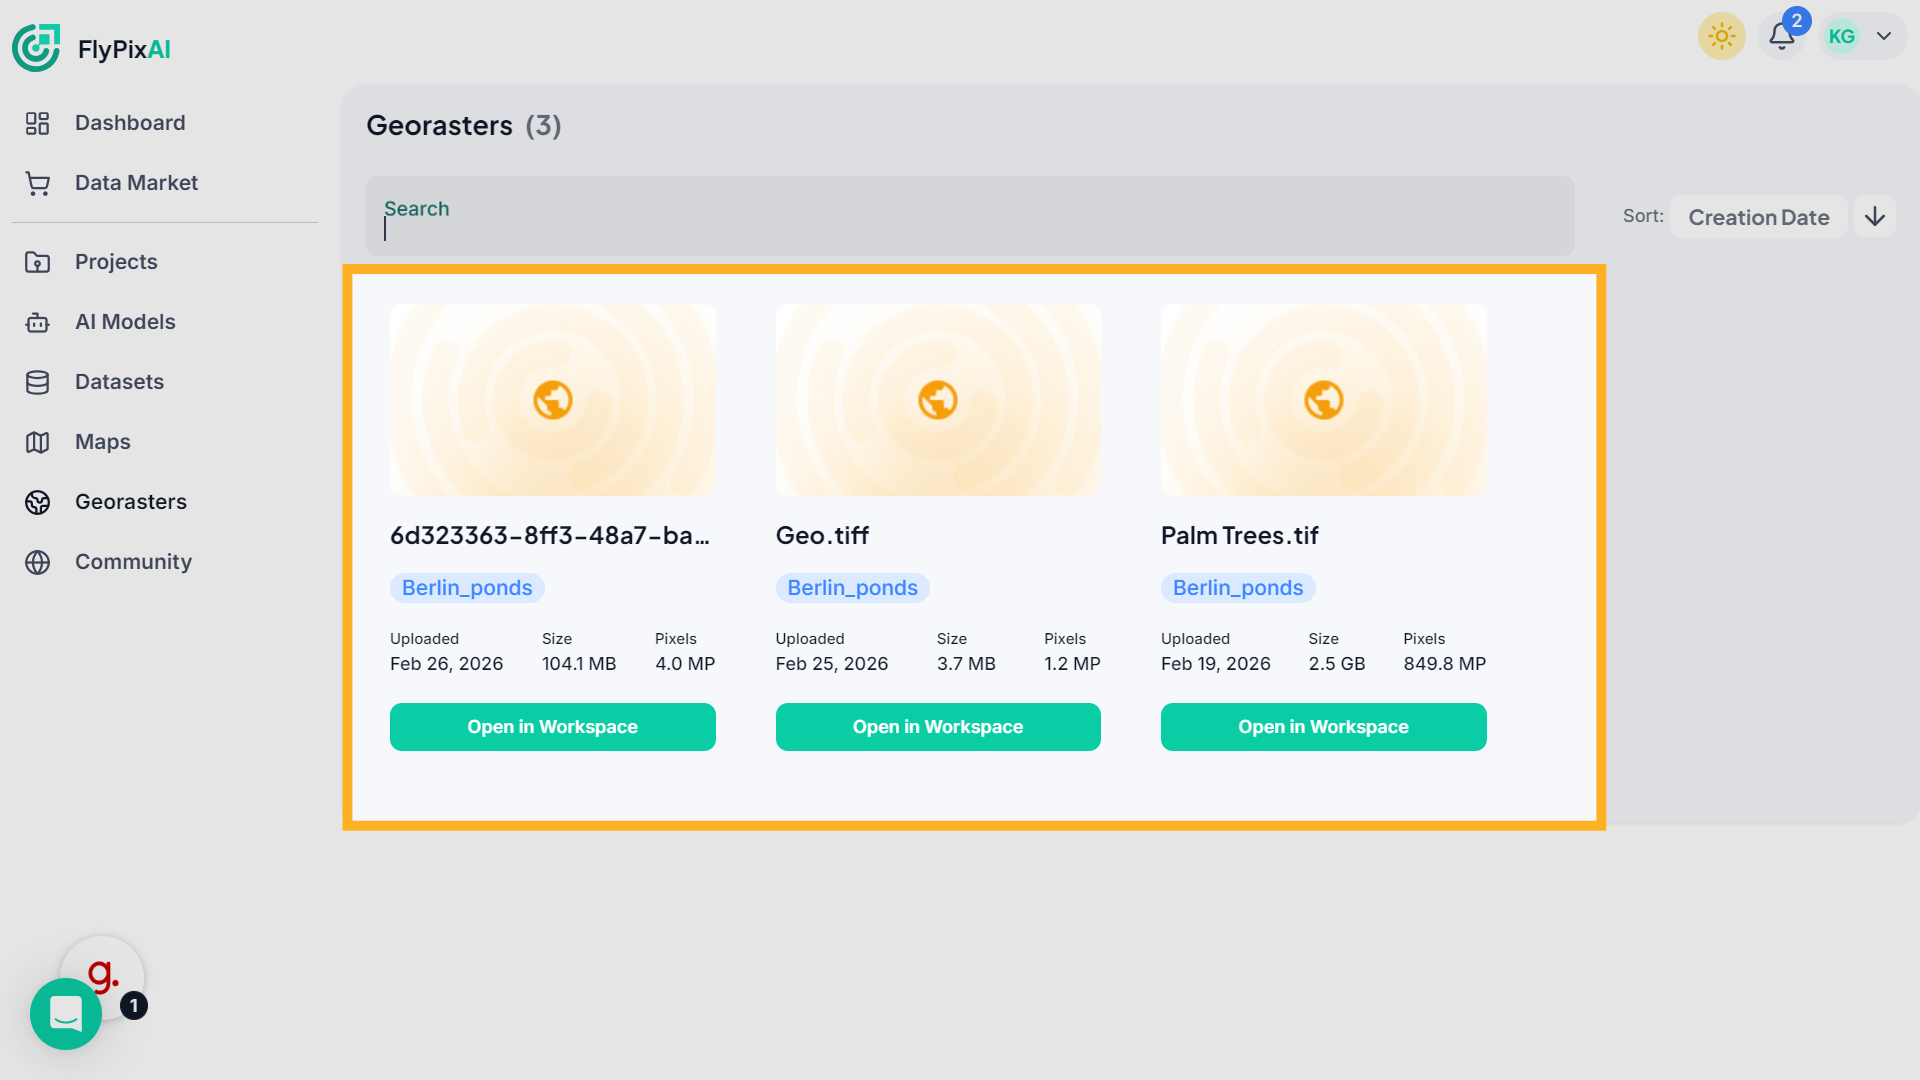
4. Open Search Function
Click the Search option to quickly find specific georaster datasets based on your criteria.
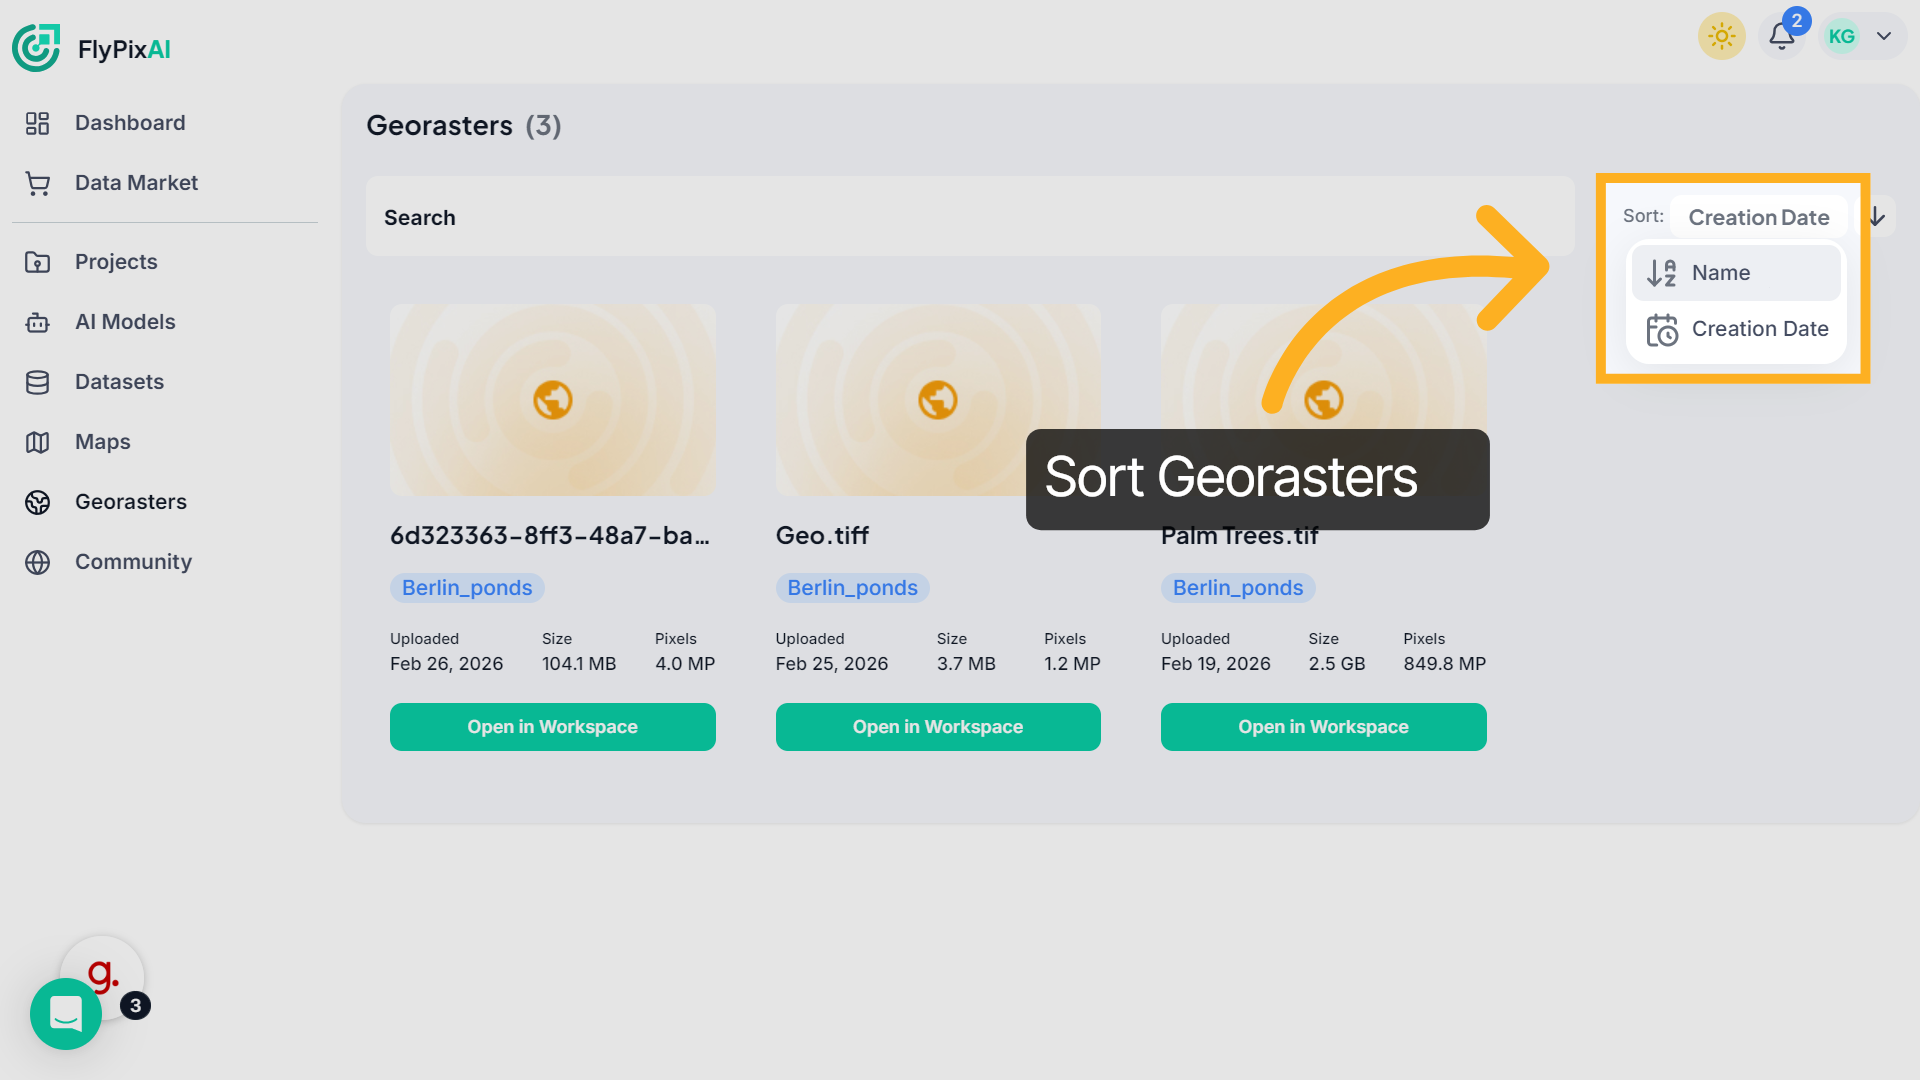
5. Sort Georasters
To organize your files, click the Sort dropdown and choose to sort by Name or Creation Date. This helps you efficiently manage large raster datasets.
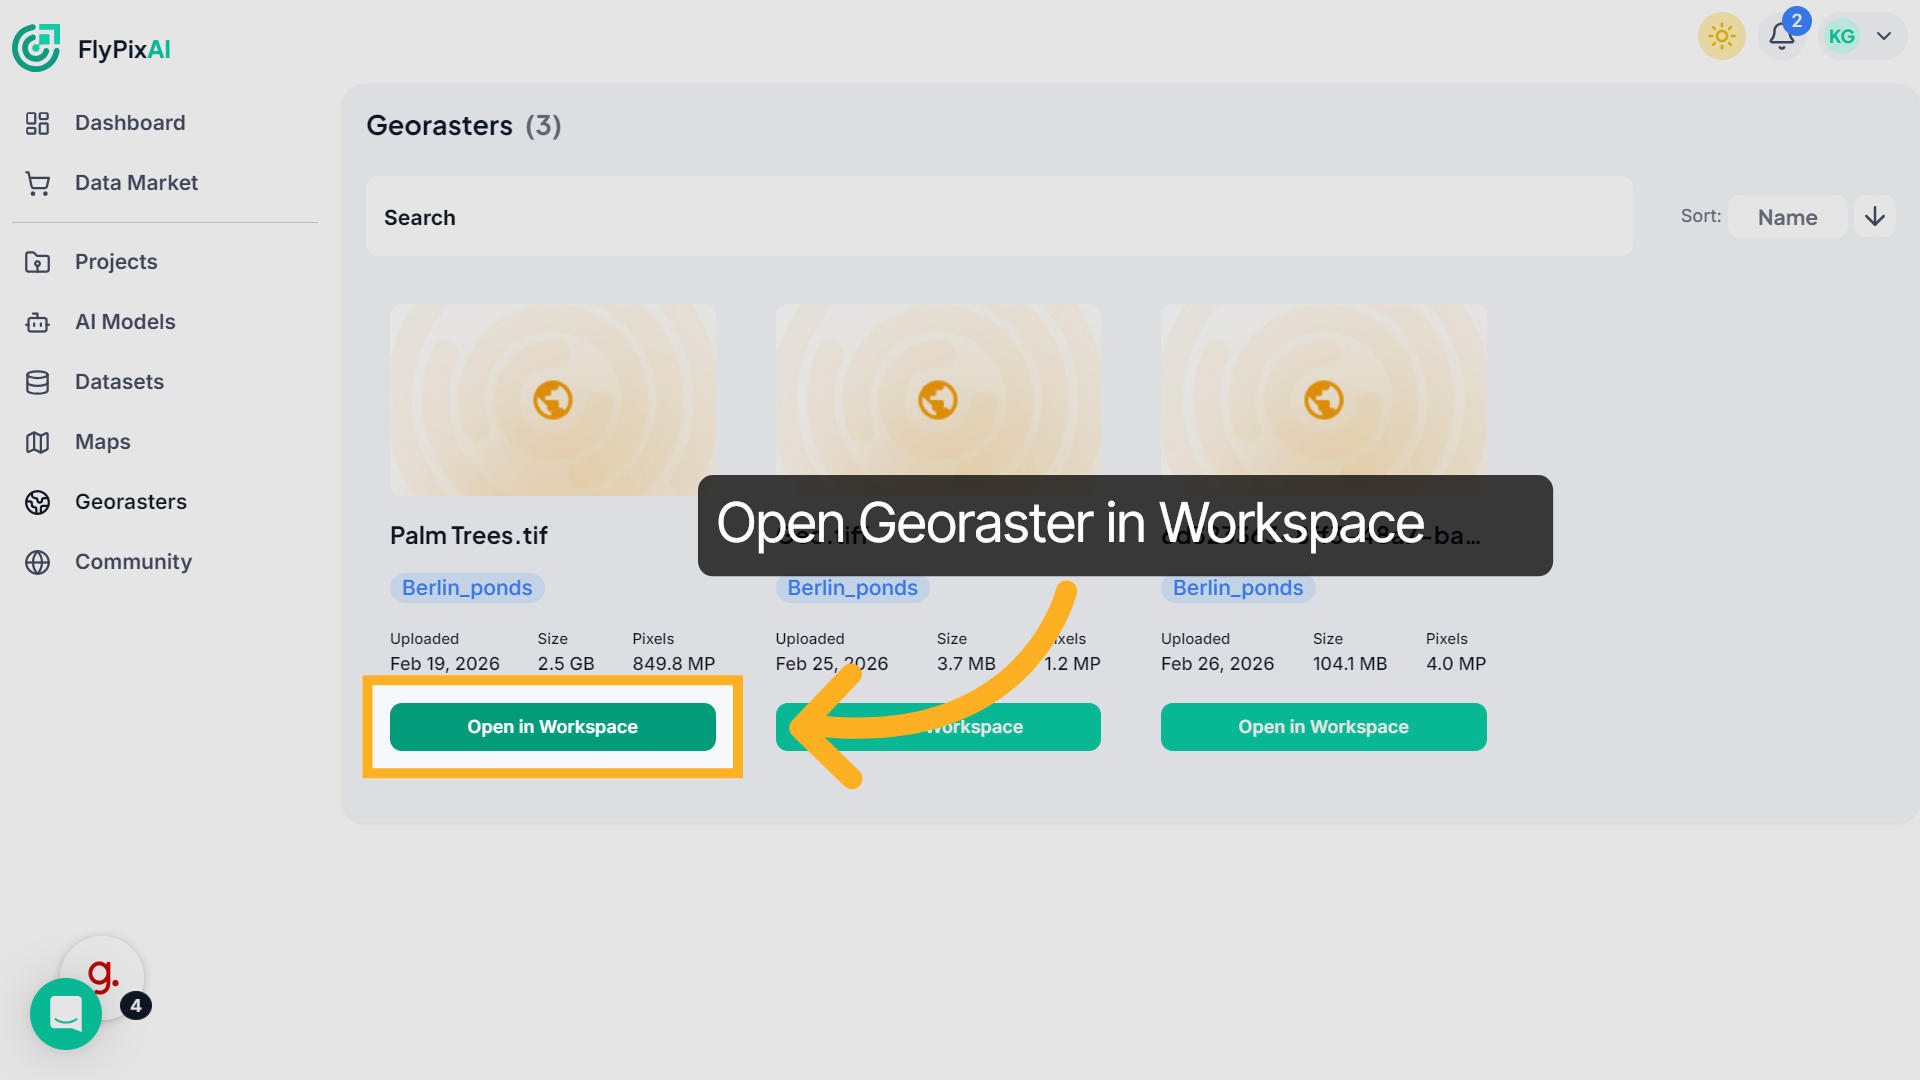
6. Open Georaster in Workspace
Once you’ve identified the file you want to work with, click Open in Workspace. The selected georaster will load into the associated workspace.
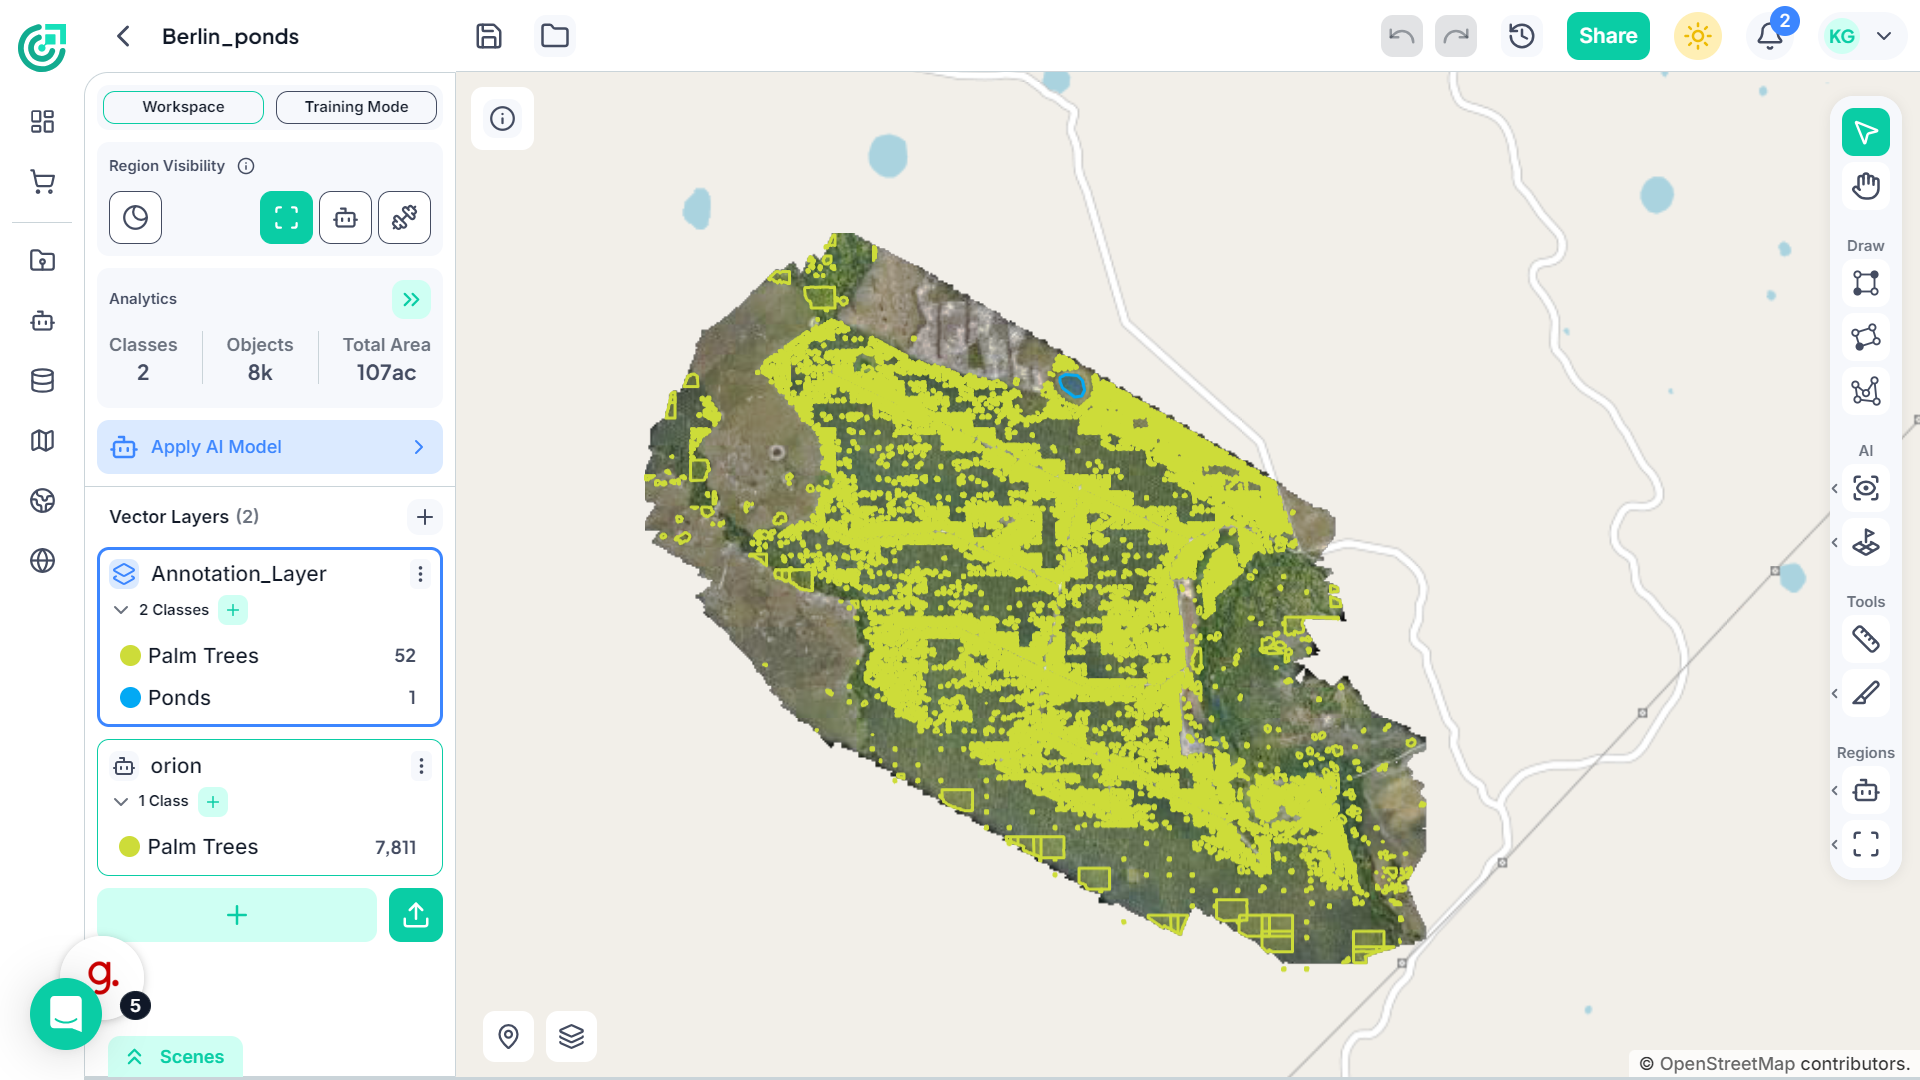
7. View Raster in Workspace
Inside the workspace, the raster imagery appears on the map canvas. You can now begin analyzing or annotating directly on top of the raster.
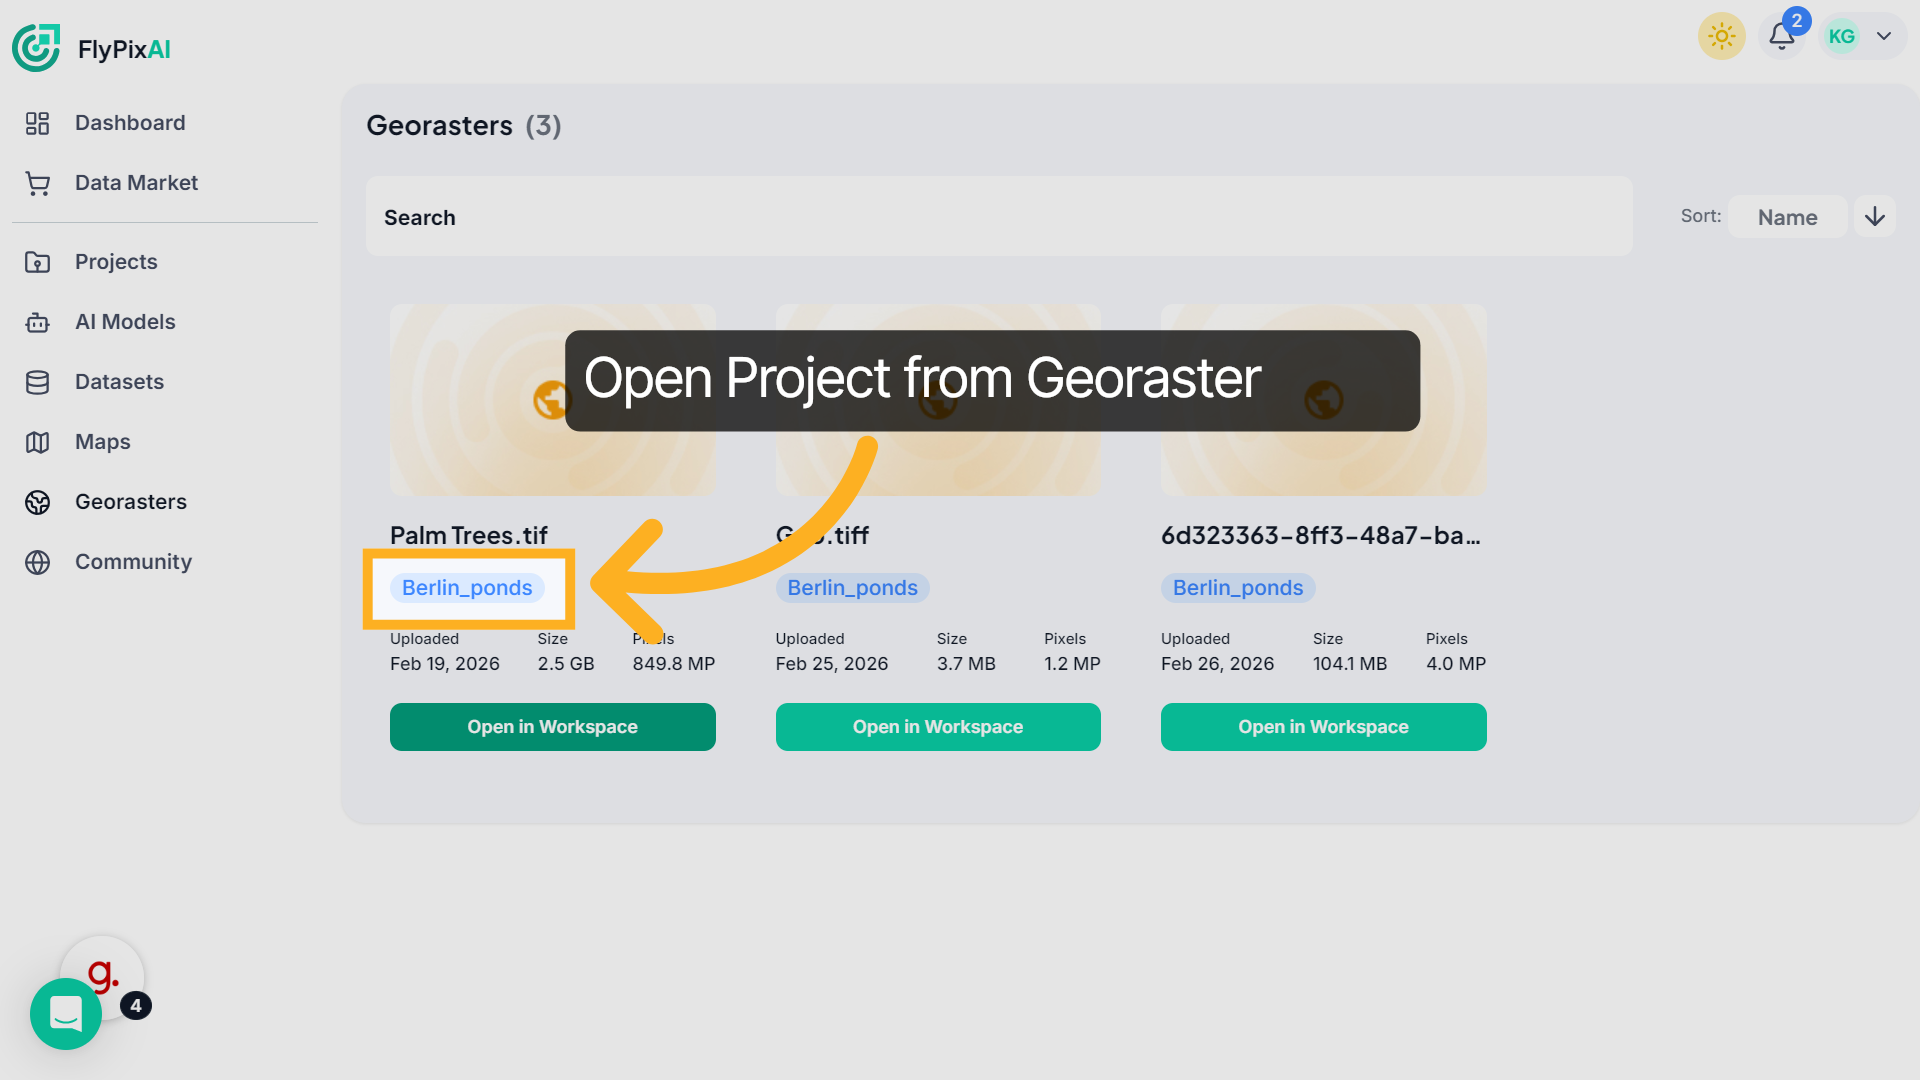
8. Open Project from Georaster
Each georaster is associated with a project. Click the project name tag below the file to open the corresponding project workspace.
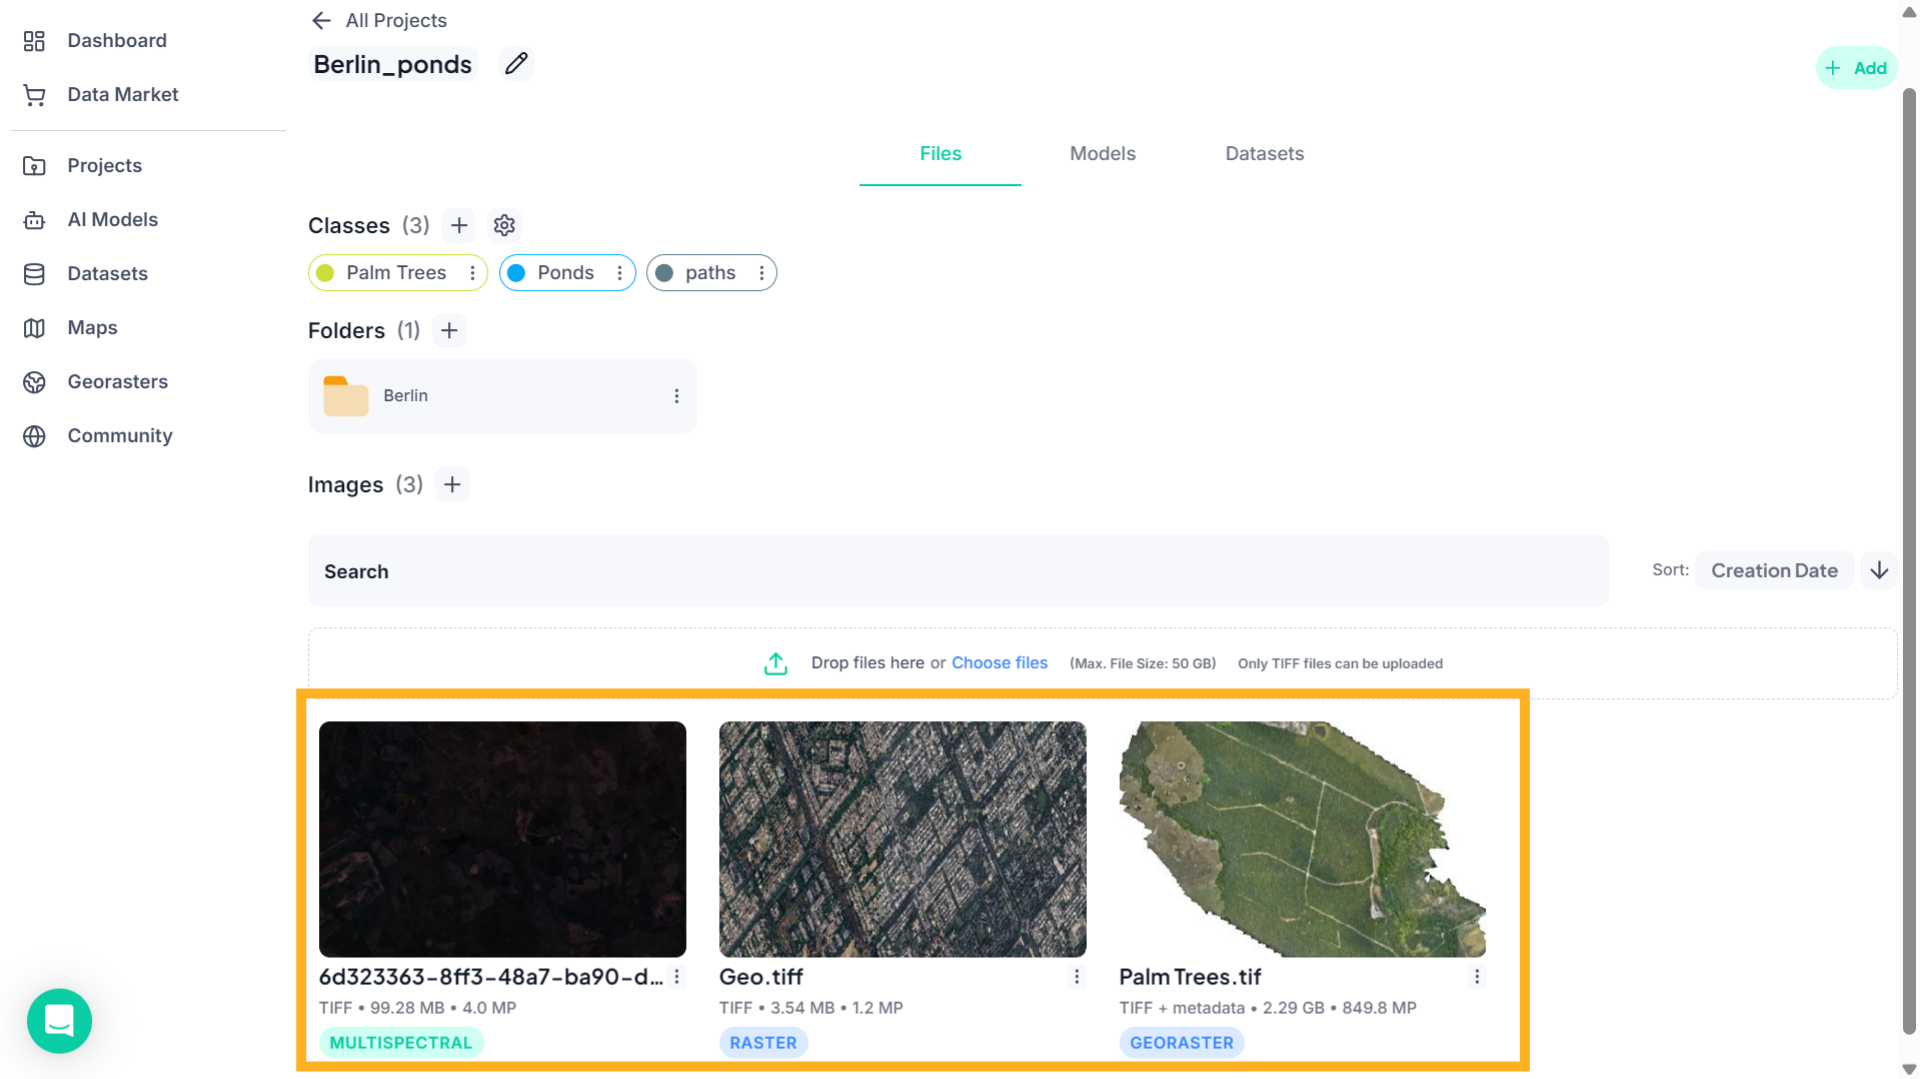
9. View Project Files
Once the project page opens, navigate to the Images section where all uploaded raster files for that project are listed.
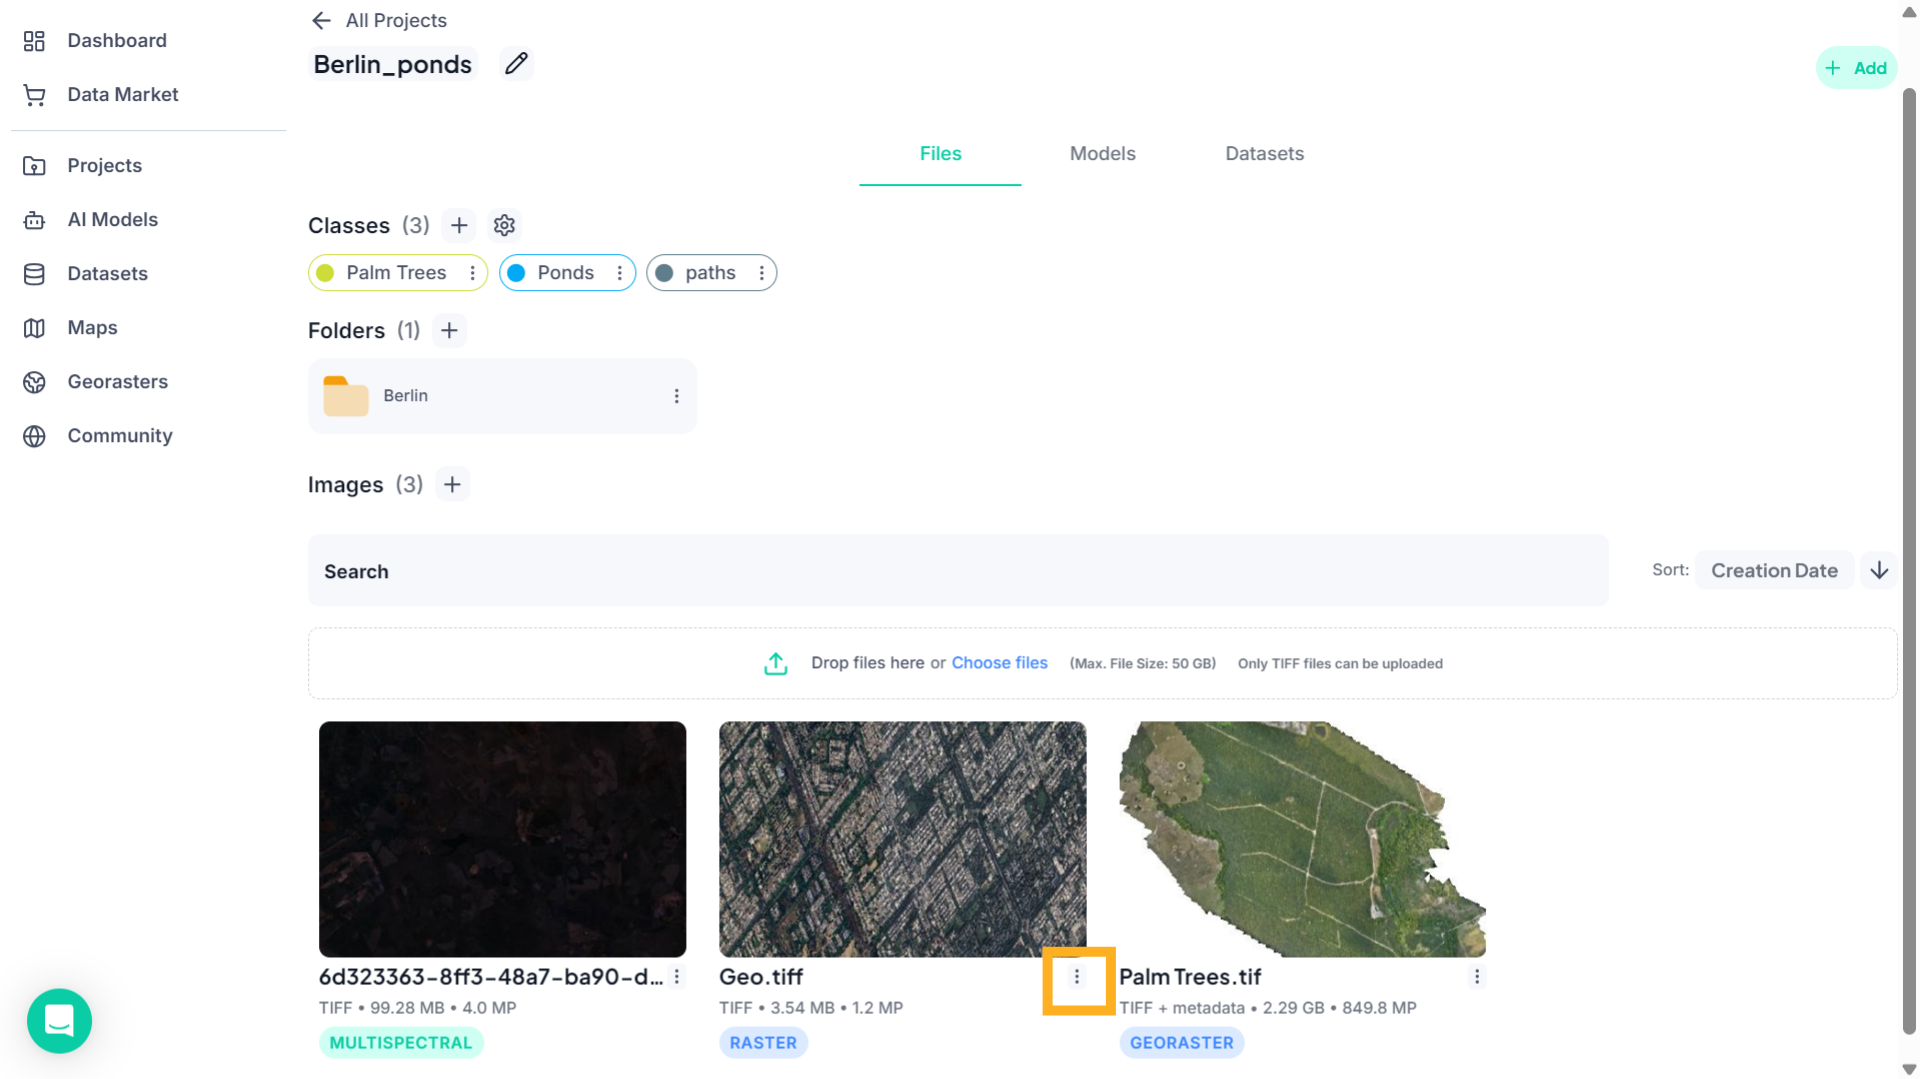
10. Open File Options
Click the three-dot menu next to the georaster file to access file management options.
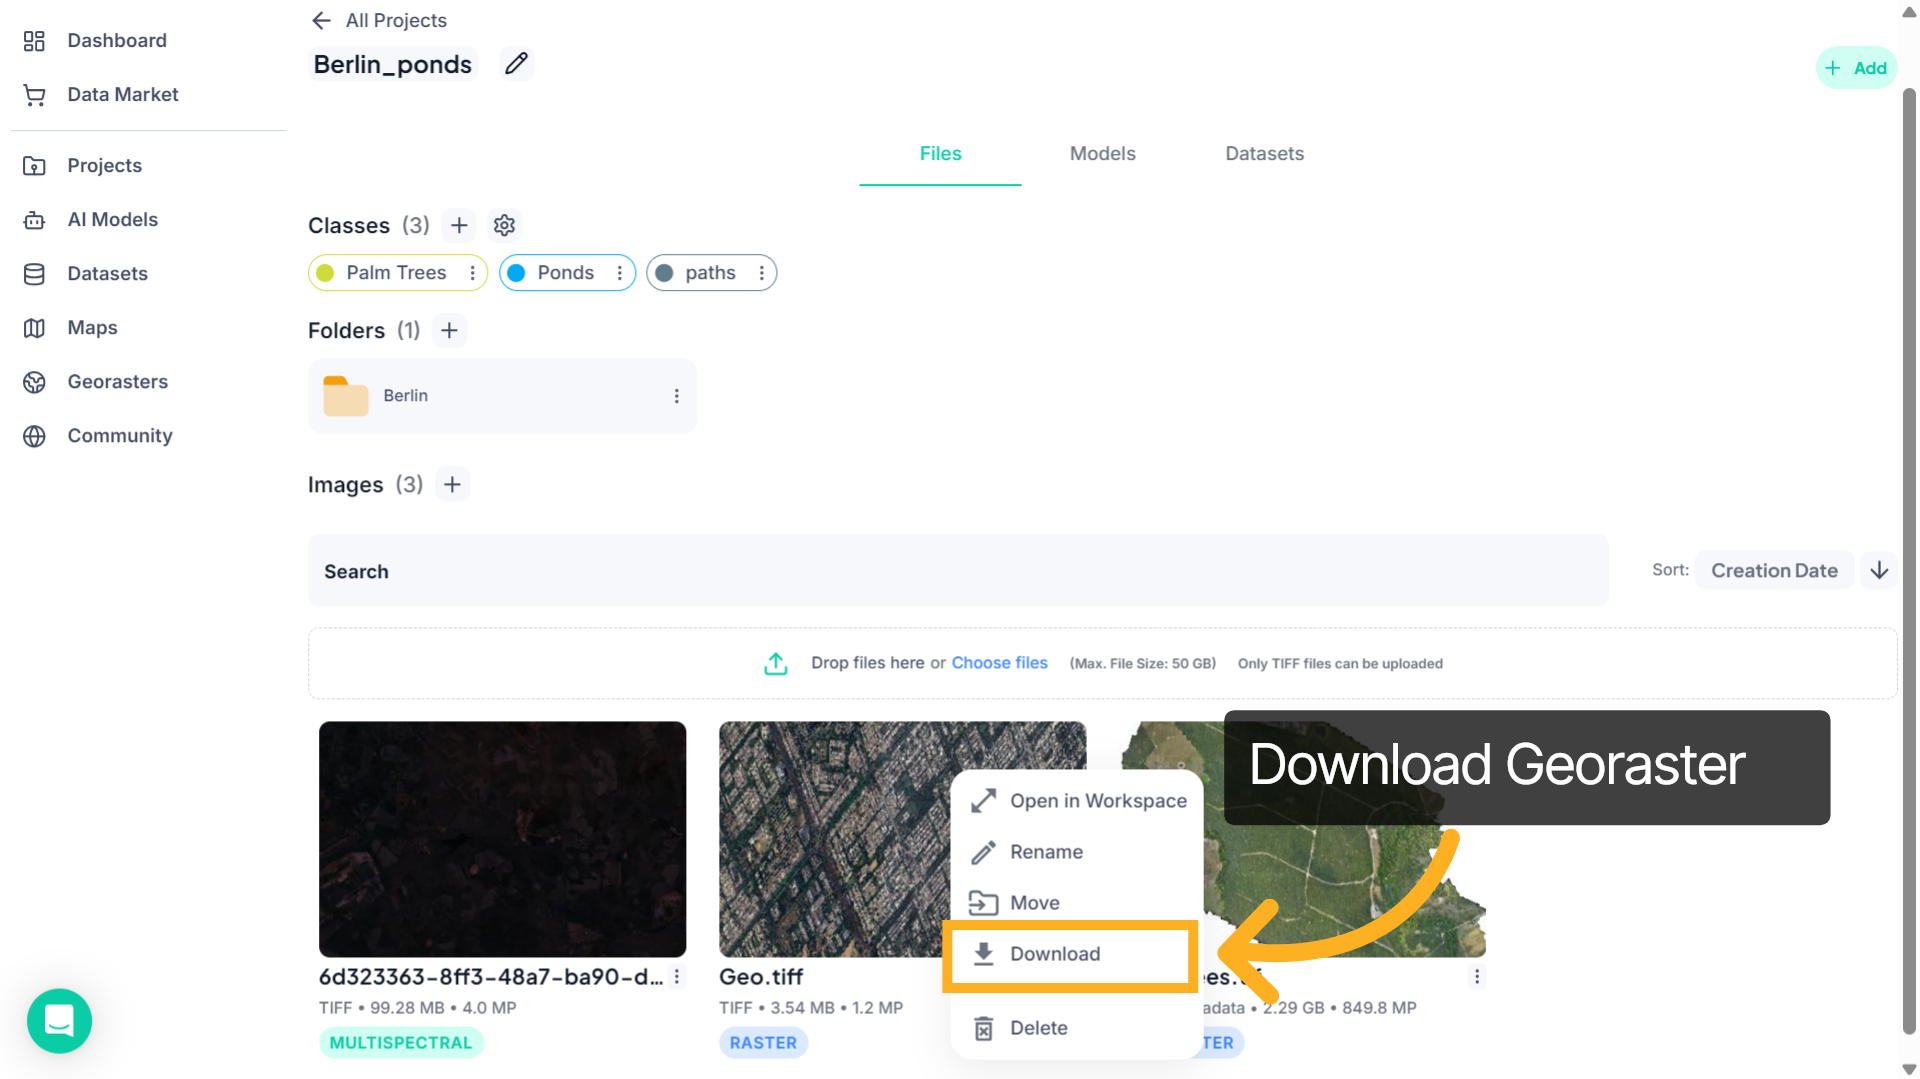
11. Download Georaster
Select Download from the menu to save the georaster file to your local system.
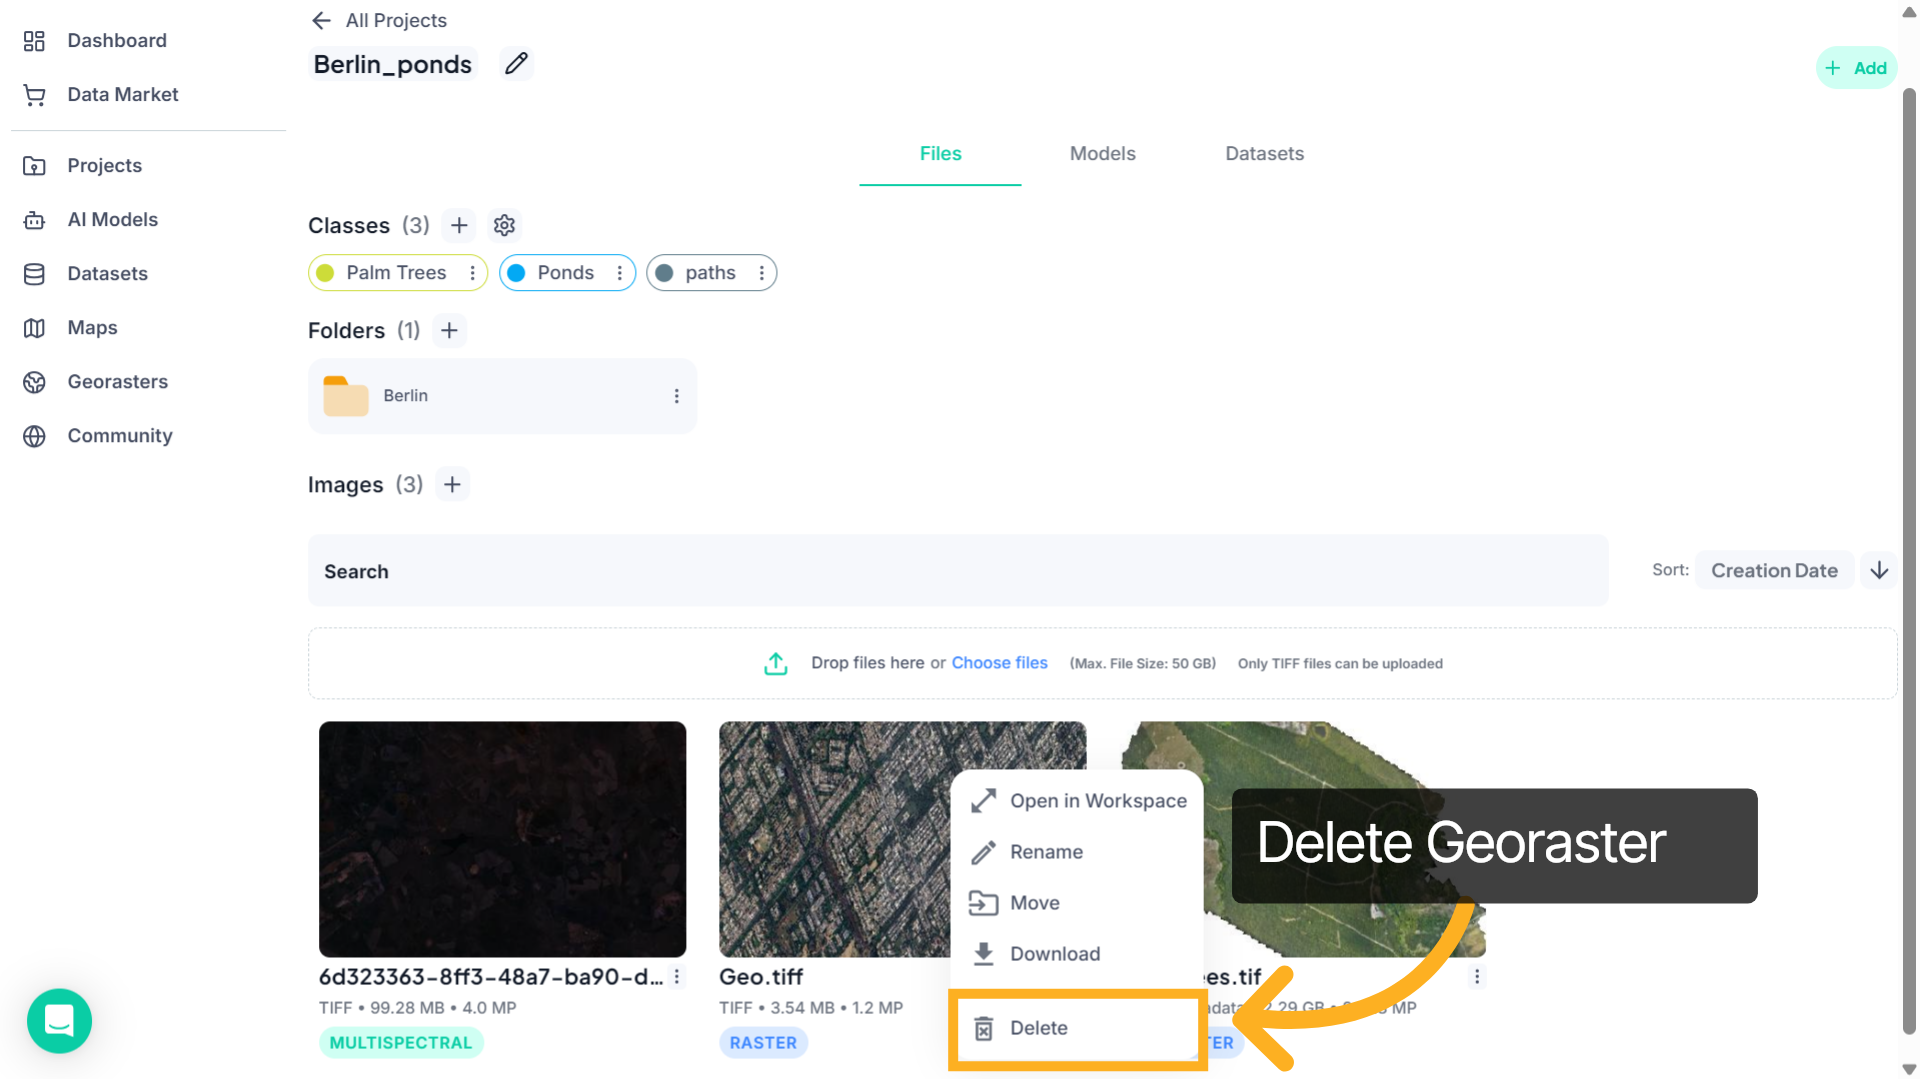
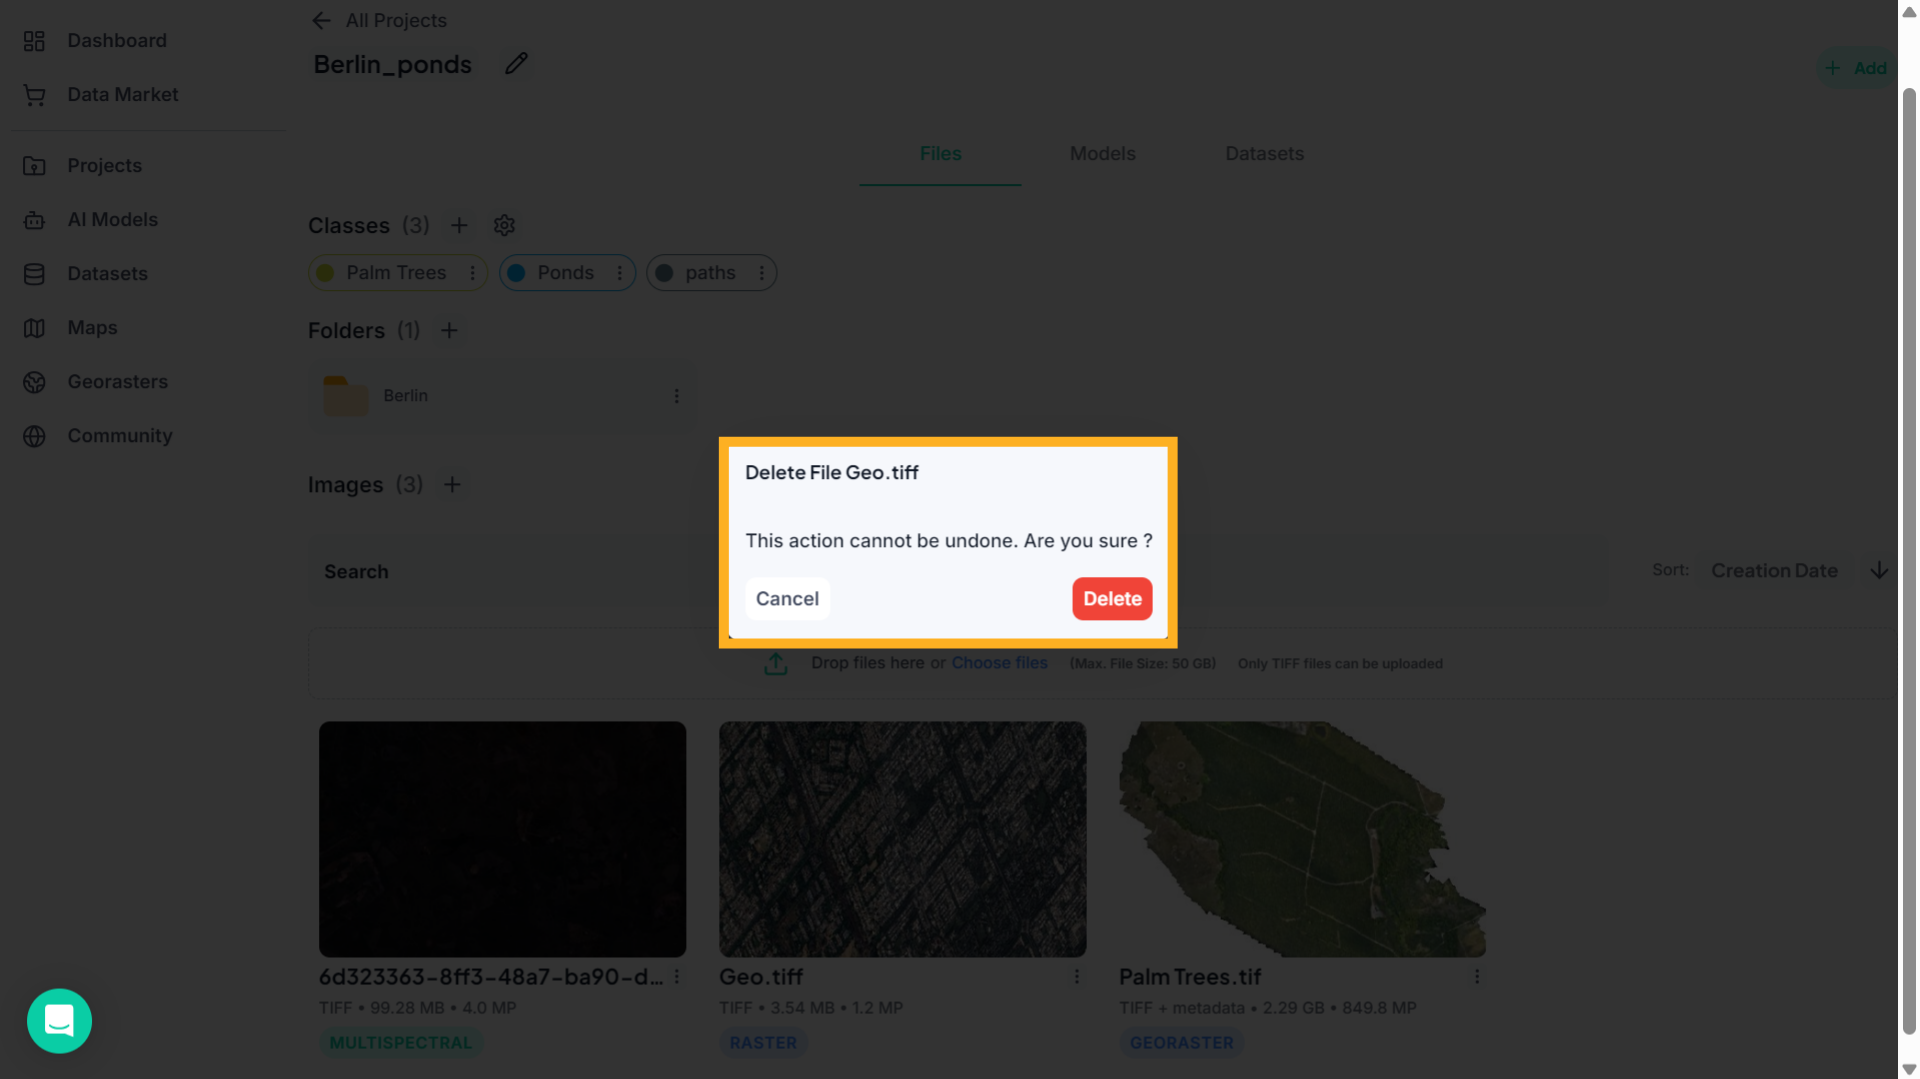
12. Delete Georaster
If the file is no longer needed, click Delete from the same menu.
13. Confirm Deletion
A confirmation window will appear. Click Delete to permanently remove the file from the project.
With these features, you can easily locate georaster datasets, open them in the workspace for analysis, and manage project files by downloading or removing them when needed. This helps keep your projects organized while enabling efficient geospatial data management in FlyPix AI.