Manage Datasets
In this demo, I’ll guide you through managing datasets inside FlyPix AI including reviewing dataset details, configuring model training, updating information, and removing datasets when needed.
Go to app.flypix.ai
1. Introduction
In this walkthrough, you’ll learn how to access your datasets, understand their structure, prepare them for training, edit dataset information, and manage them efficiently within your workspace.
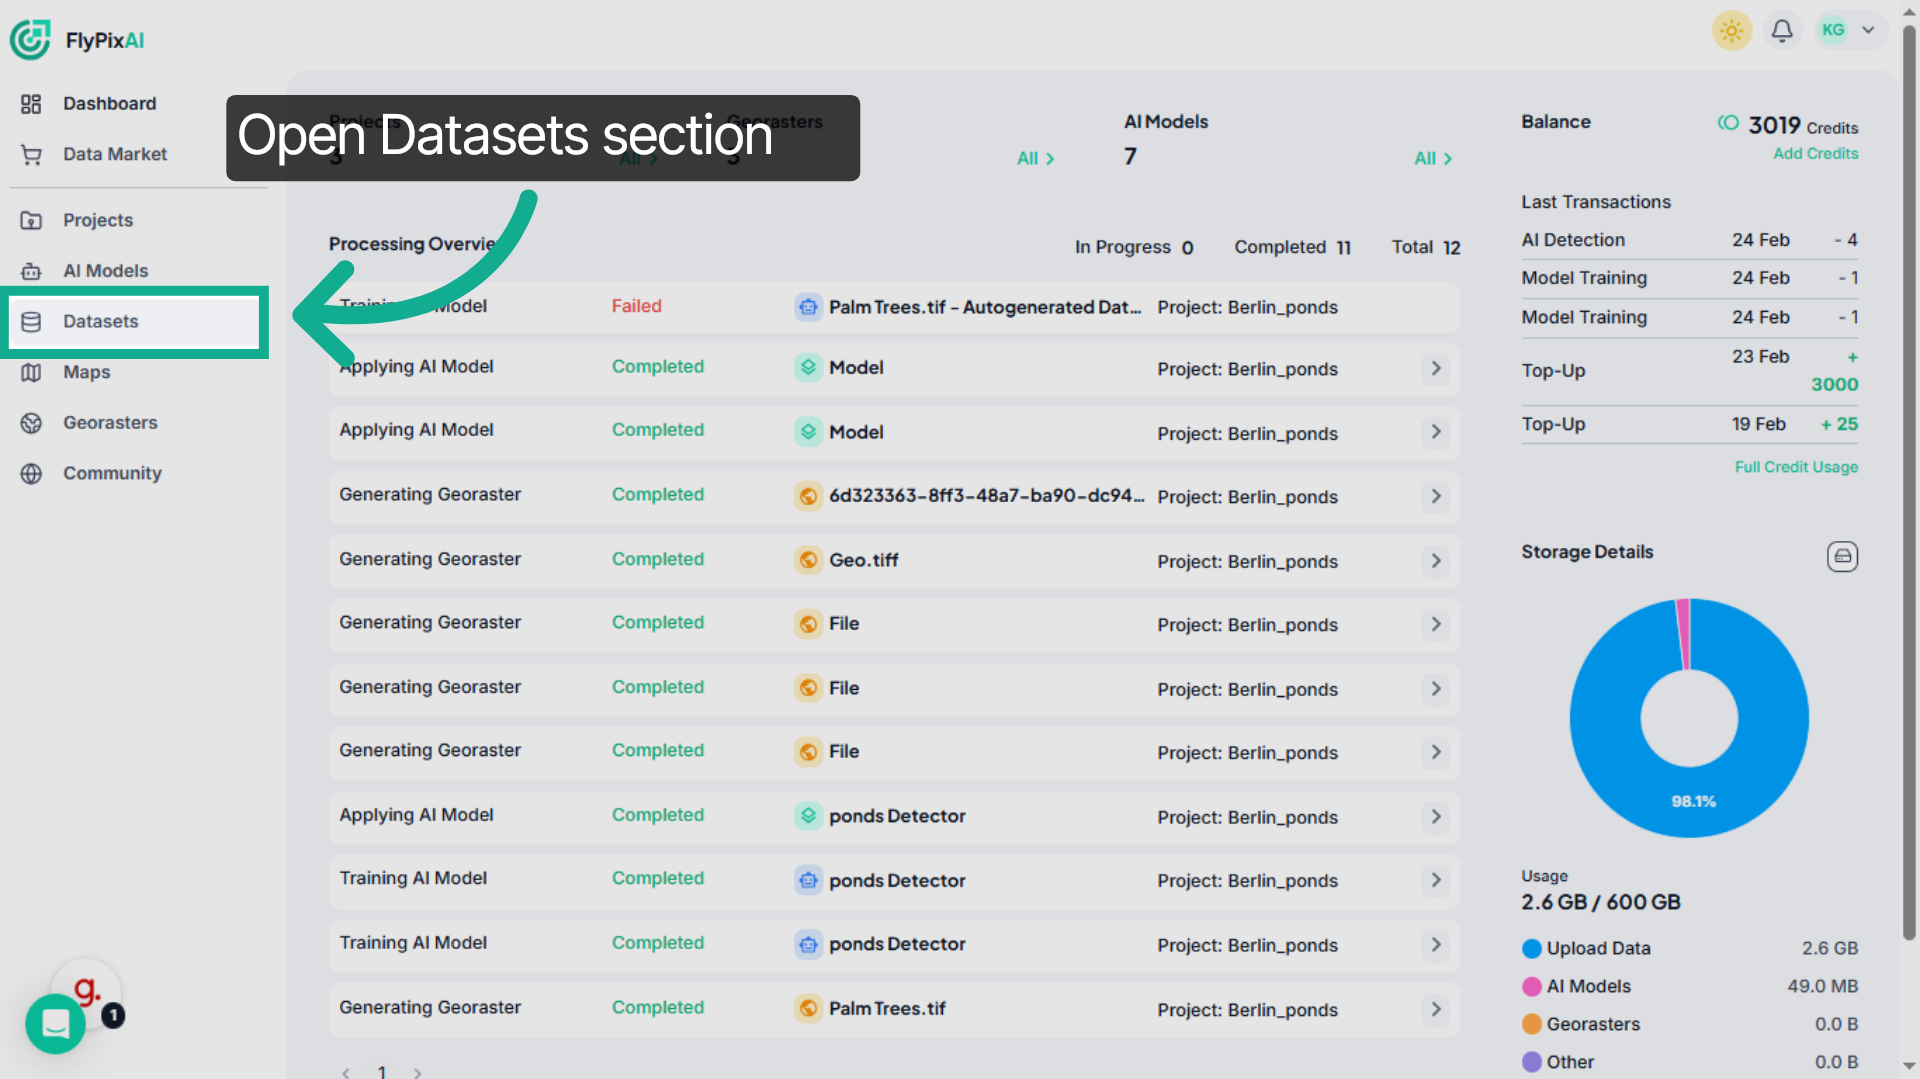
2. Access Datasets Section
Start by going to the left navigation panel and clicking on Datasets. This will open a list of all datasets available in your workspace.
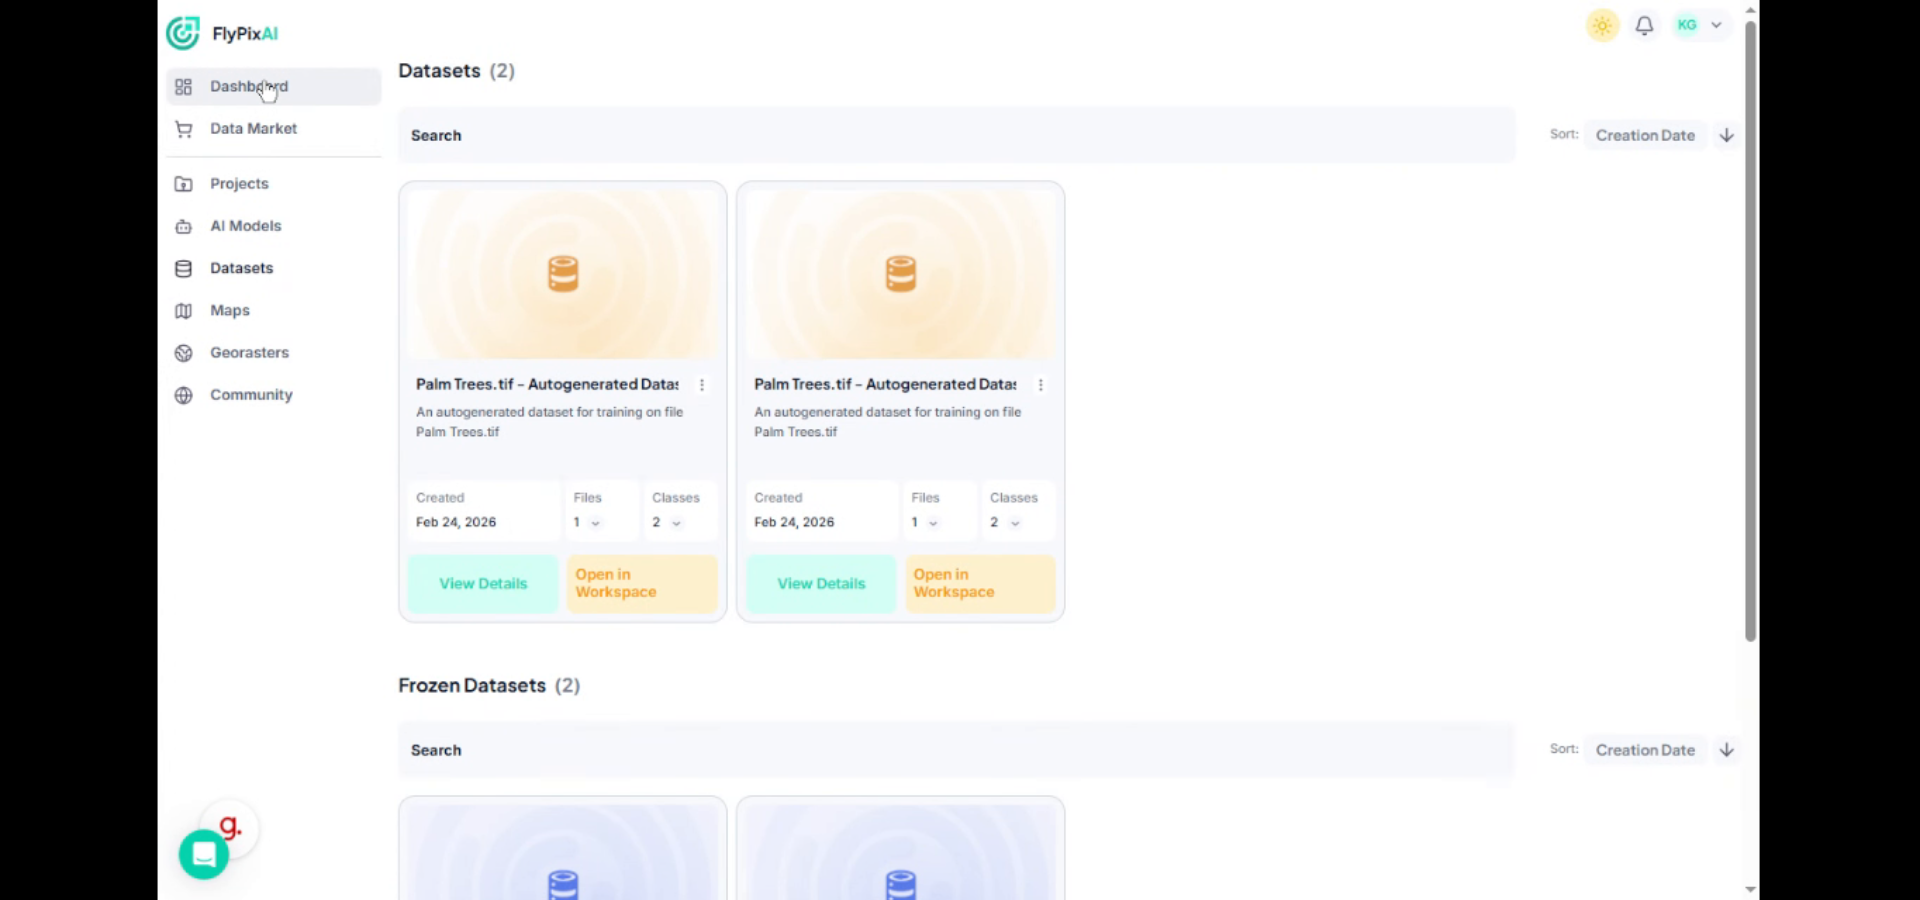
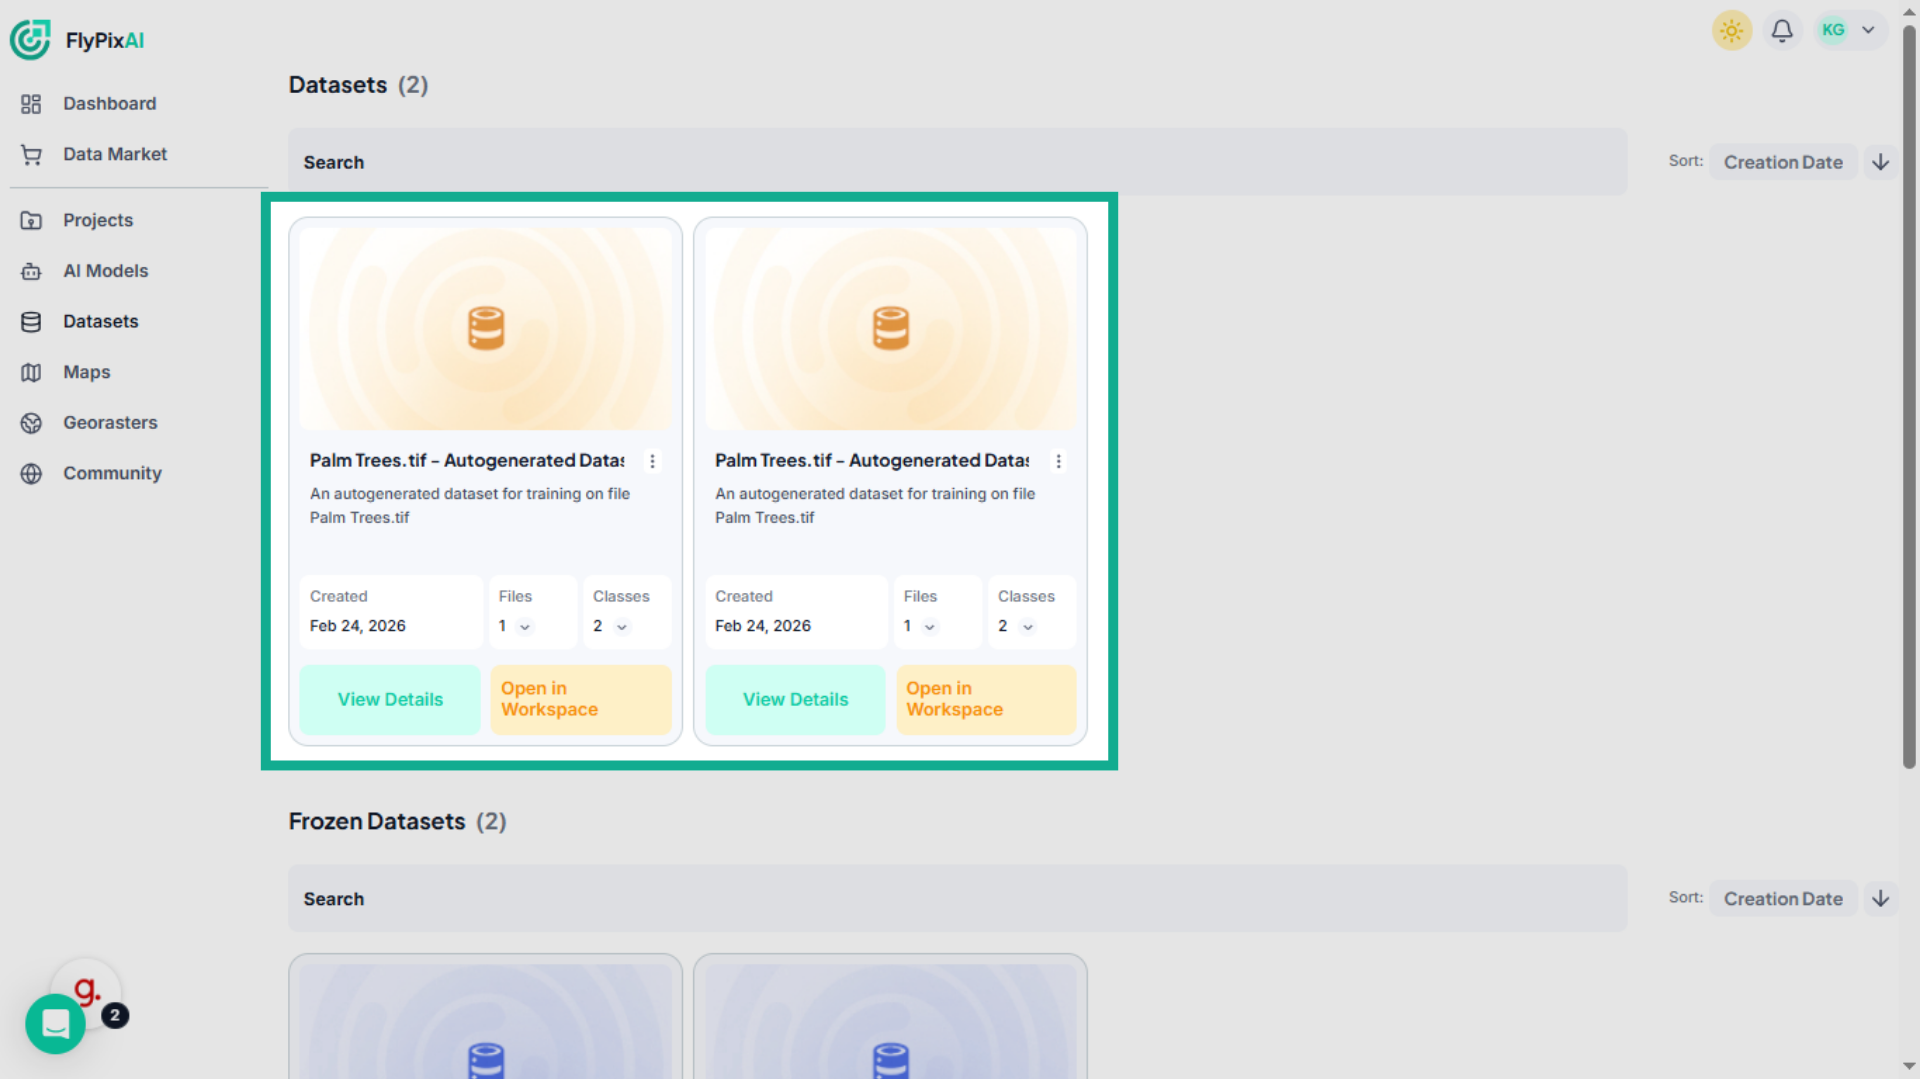
3. View all Datasets
On this page, you can see every dataset you’ve created. Each dataset displays important details such as the number of linked files, associated classes, and the creation date. This gives you a quick overview of your dataset library.
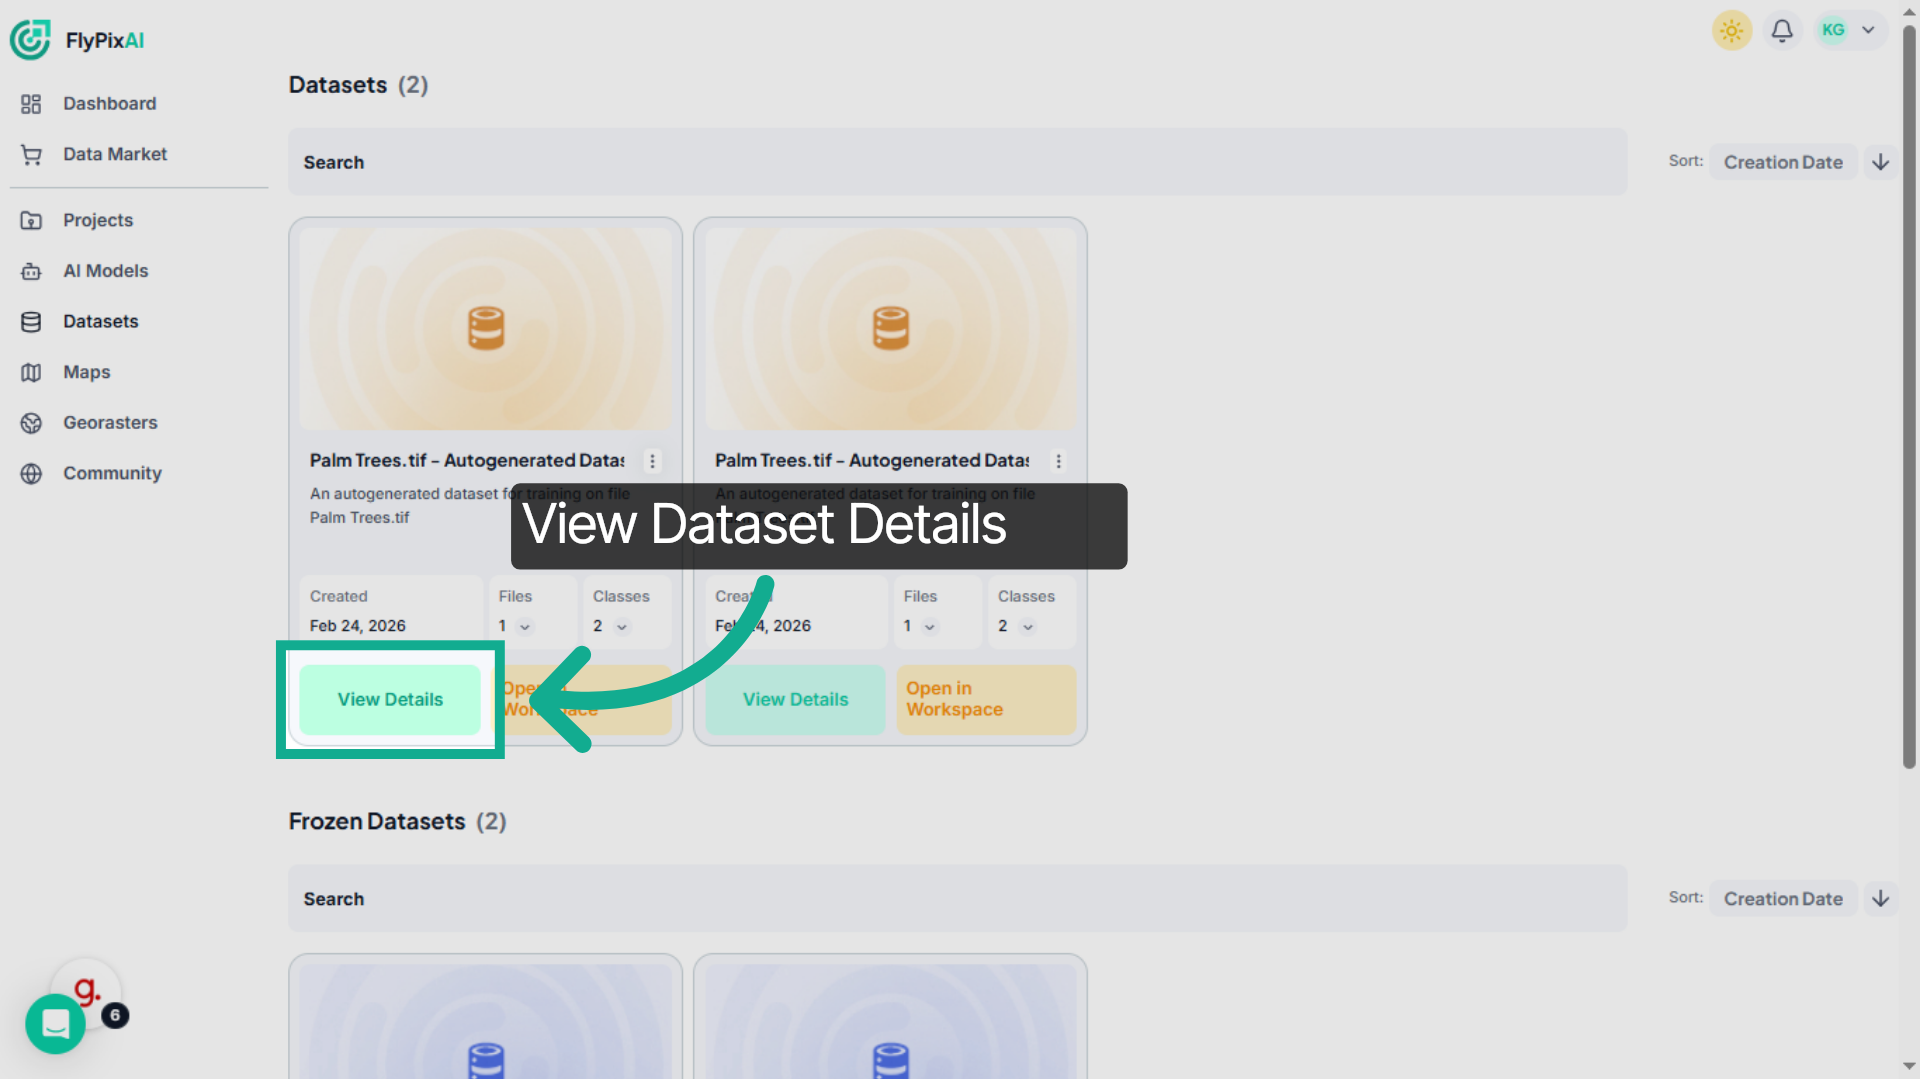
4. Open Specific Dataset Details
To explore a specific dataset in more detail, click on View Details.This opens the full dataset overview.
5. Review Dataset Overview
Here, you can review the dataset name, description, creation date, associated classes, and linked raster files. This helps you understand how the dataset is structured and whether it’s ready for training.
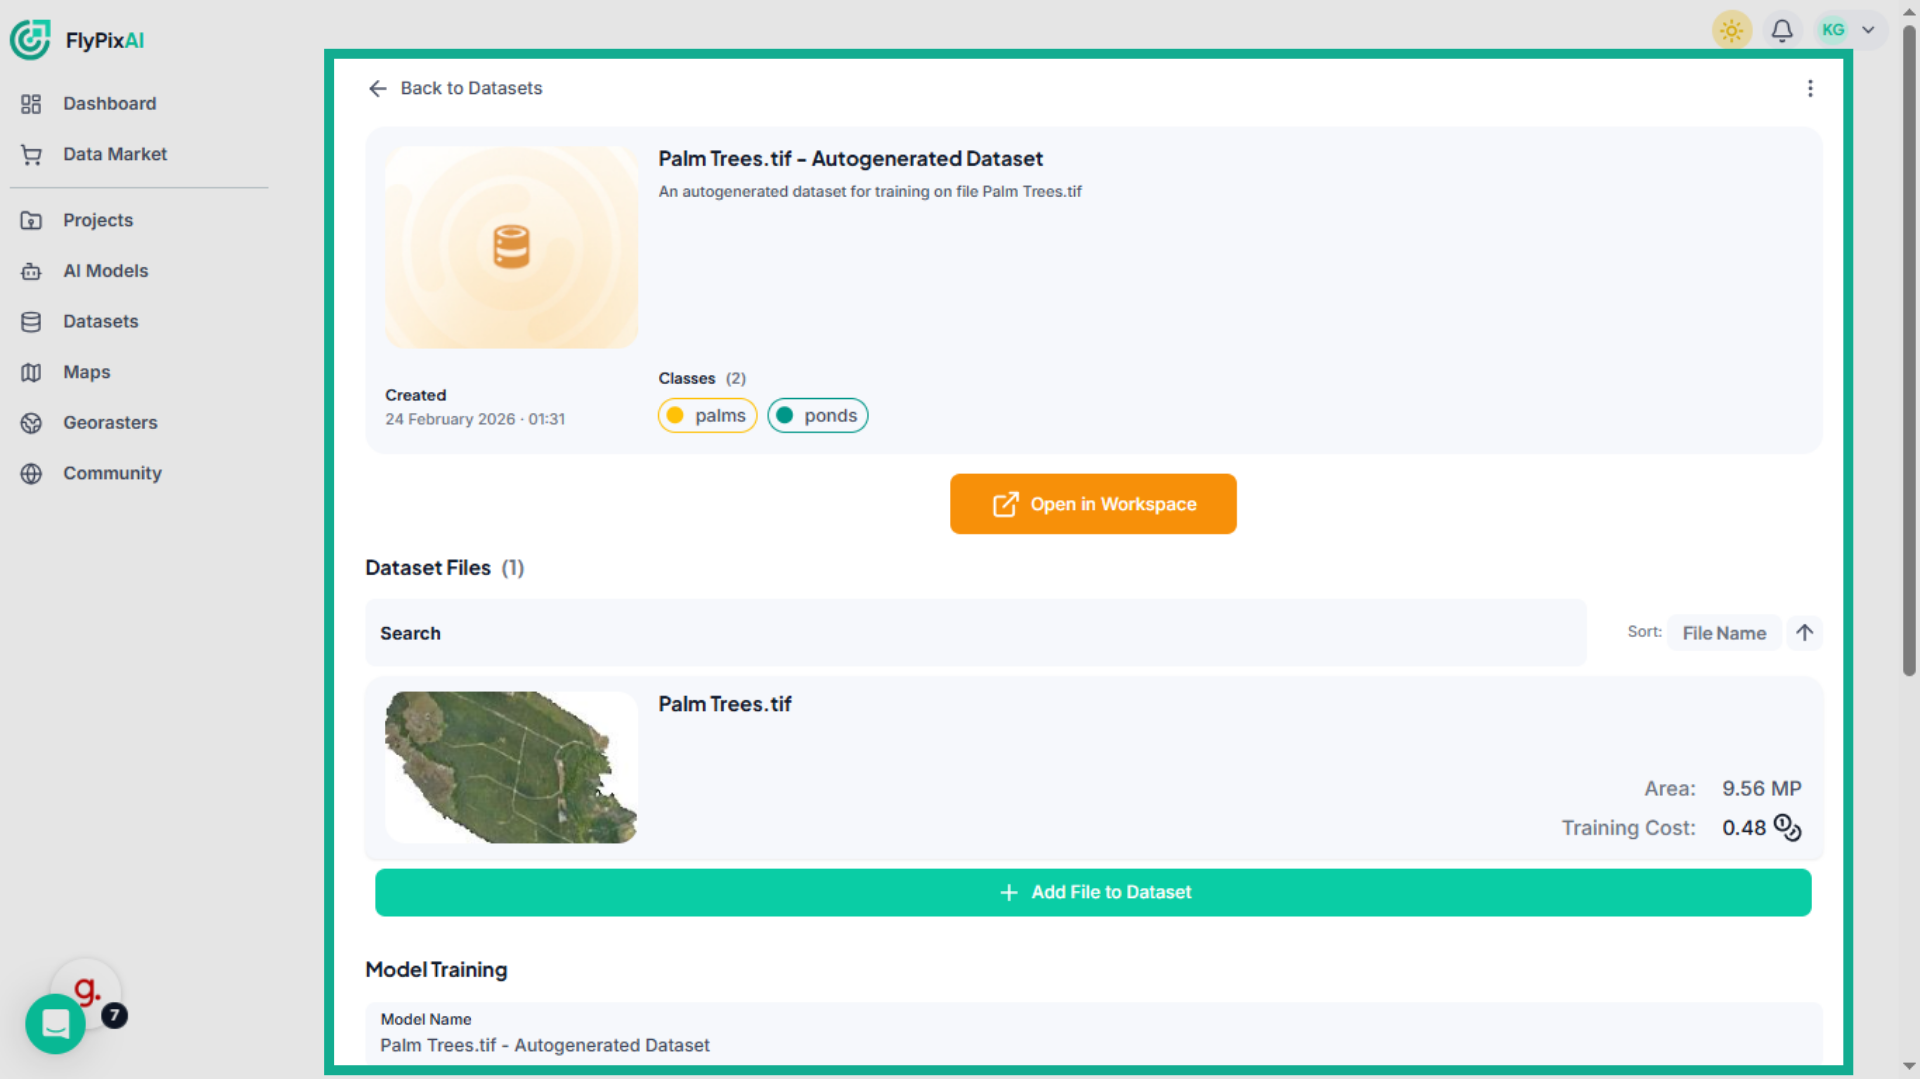
6. Explore Dataset Files
Scroll to the Dataset Files section. Here, you can see the linked raster file along with its total area and estimated training cost. This gives you insight into dataset size and expected resource usage during training.

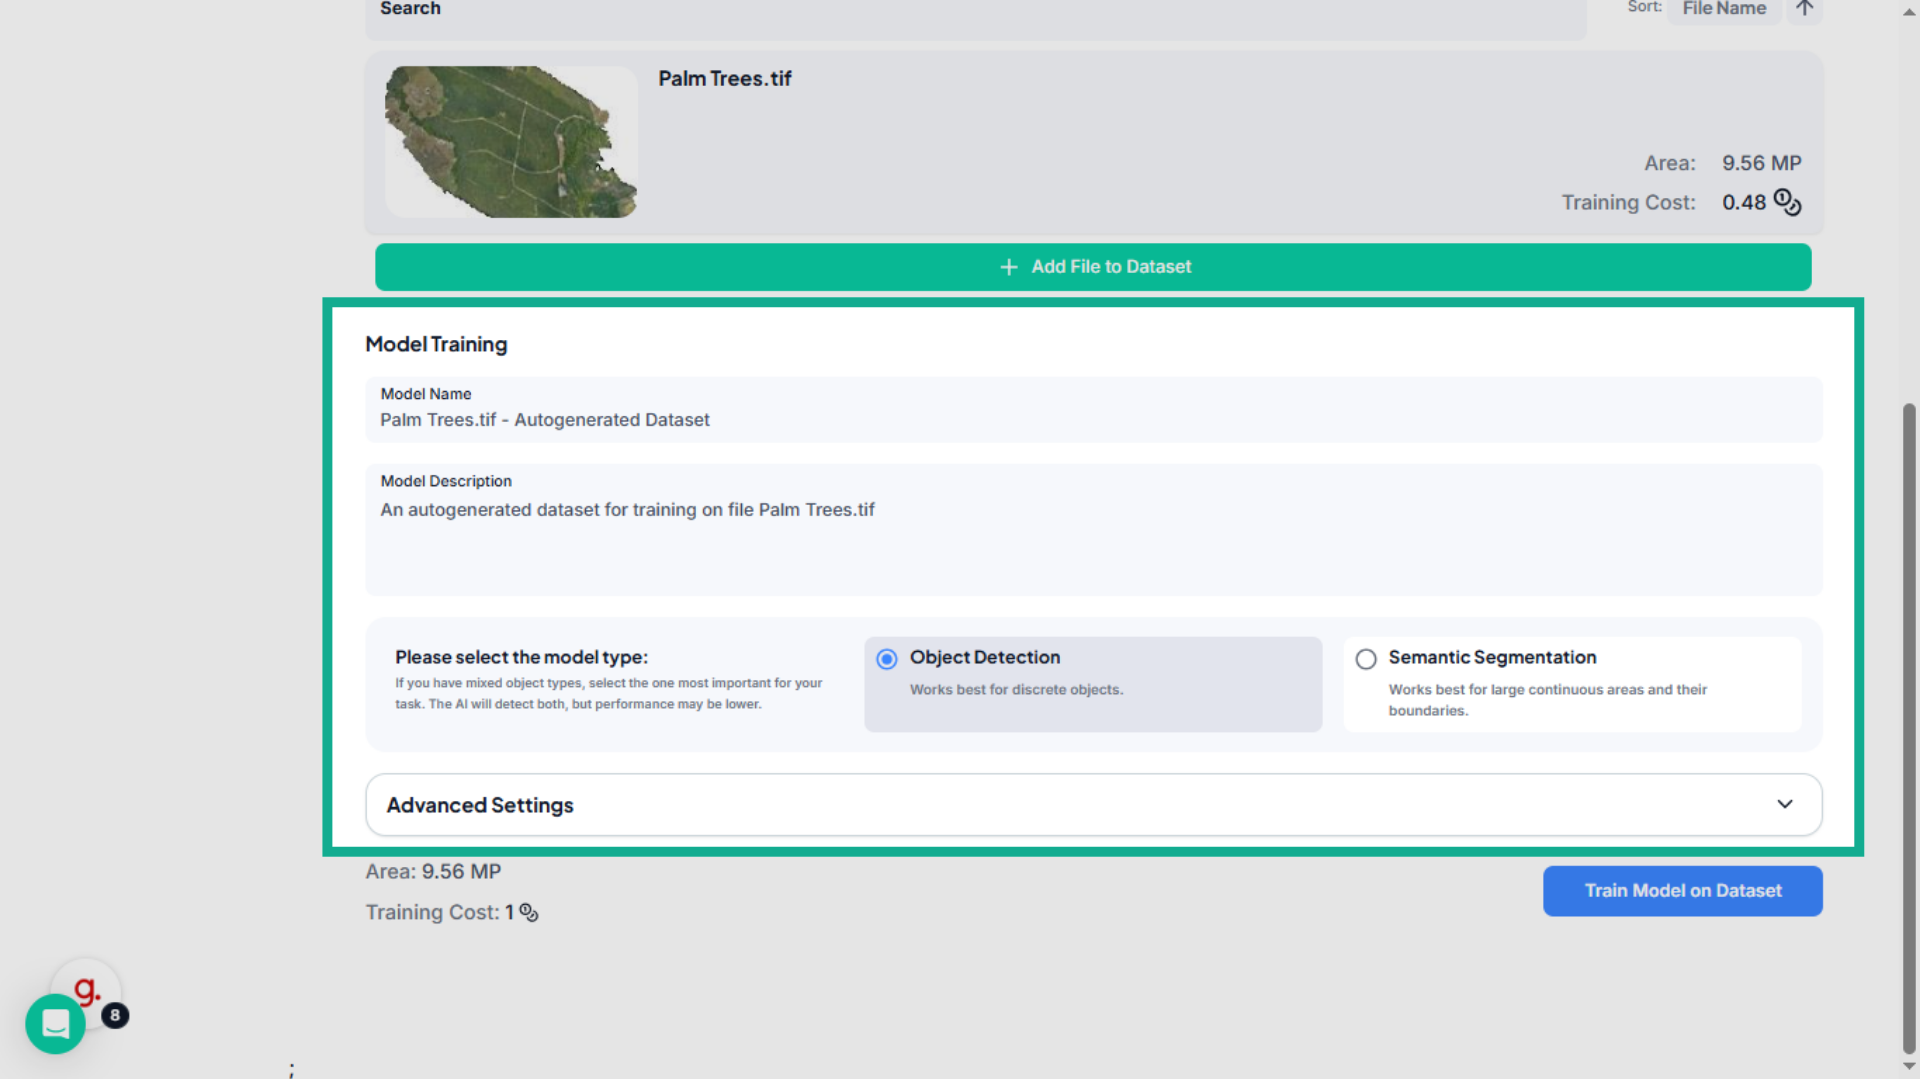
7. Configure Model Training
In the Model Training section, you can prepare a new training run using this dataset. Select the model type that matches your objective, for example, Object Detection or Semantic Segmentation. If needed, expand Advanced Settings to customize training parameters.
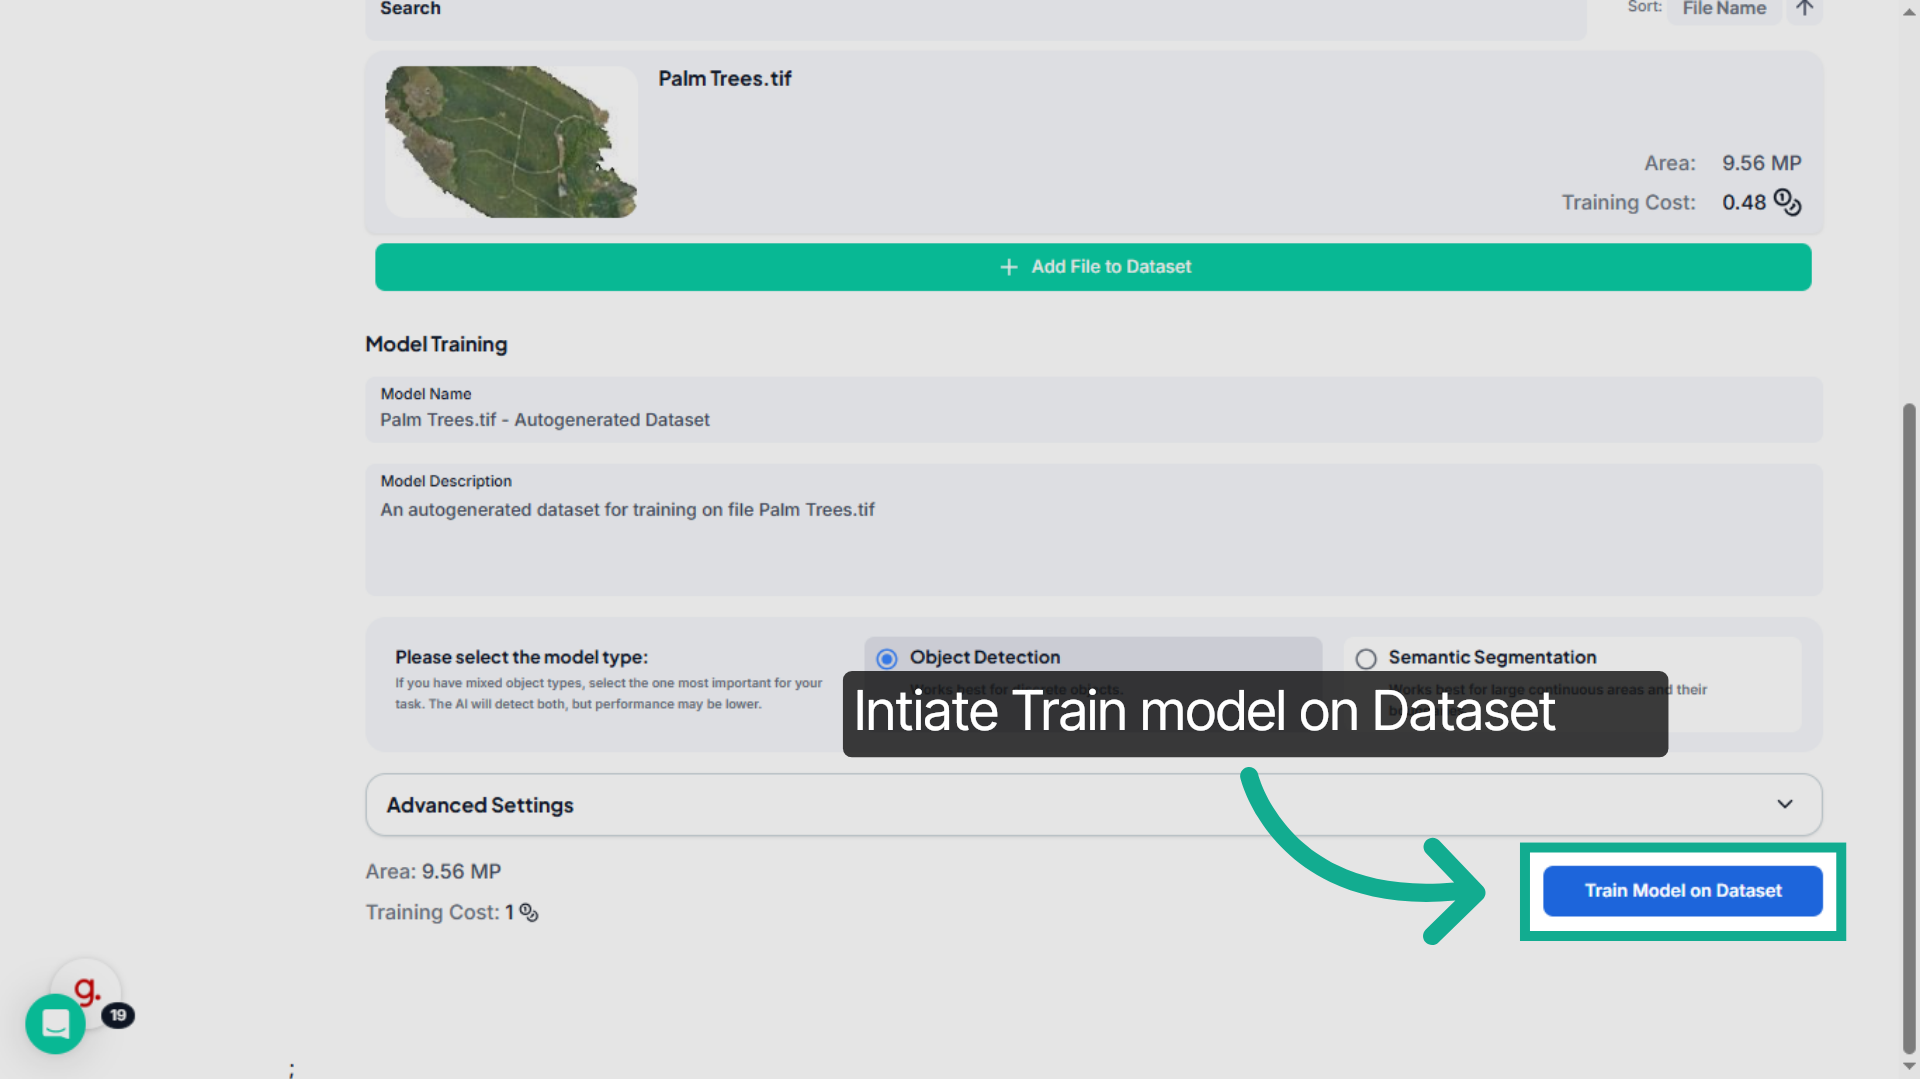
8. Initiate Model Training
Once your configuration is complete, click Train Model on Dataset begin generating a new model based on this dataset. The system will initiate training using the selected parameters.
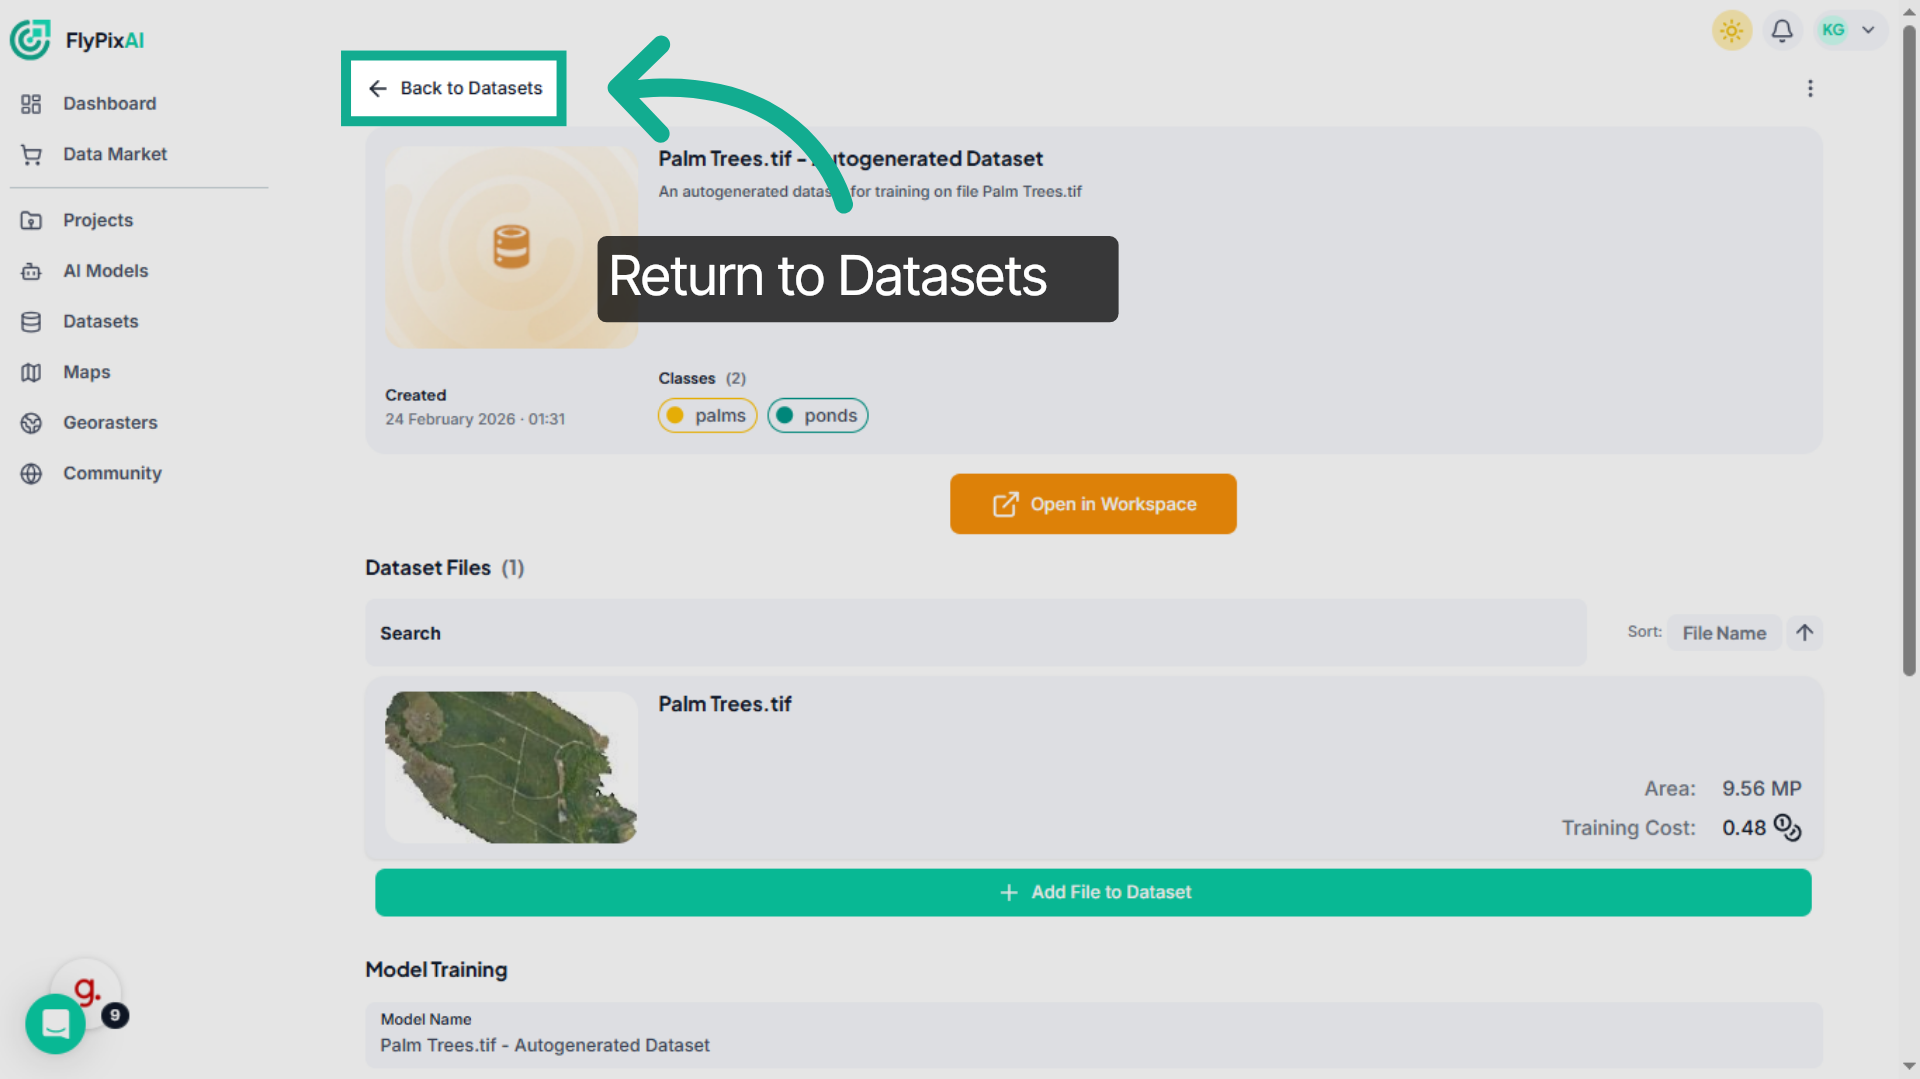
9. Return to Datasets
After reviewing details or initiating training, you can navigate back to the Datasets page to continue managing your dataset collection.
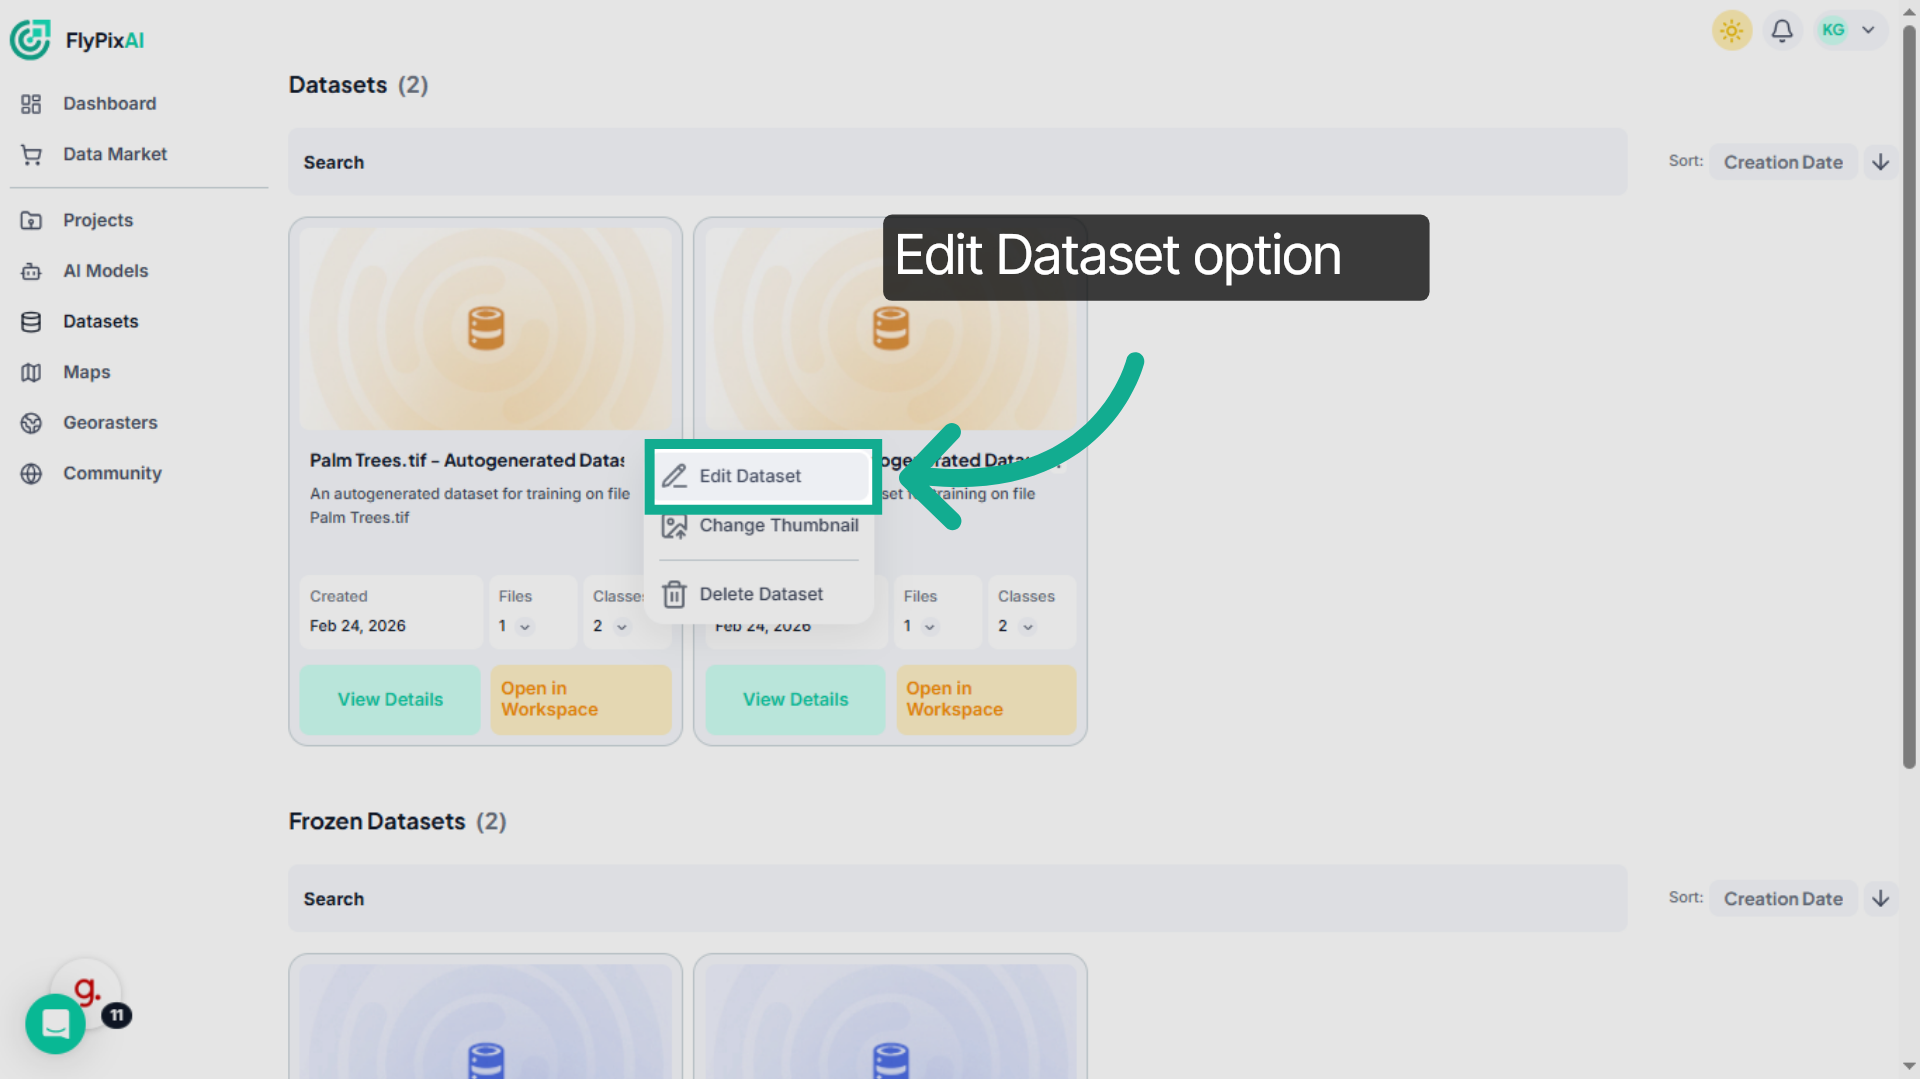
10. Access Dataset Options
Each dataset includes a management menu with additional options. Click on the menu to access editing or deletion controls.

11. Enter Dataset Edit Mode
If you need to update dataset details, select Edit Dataset.
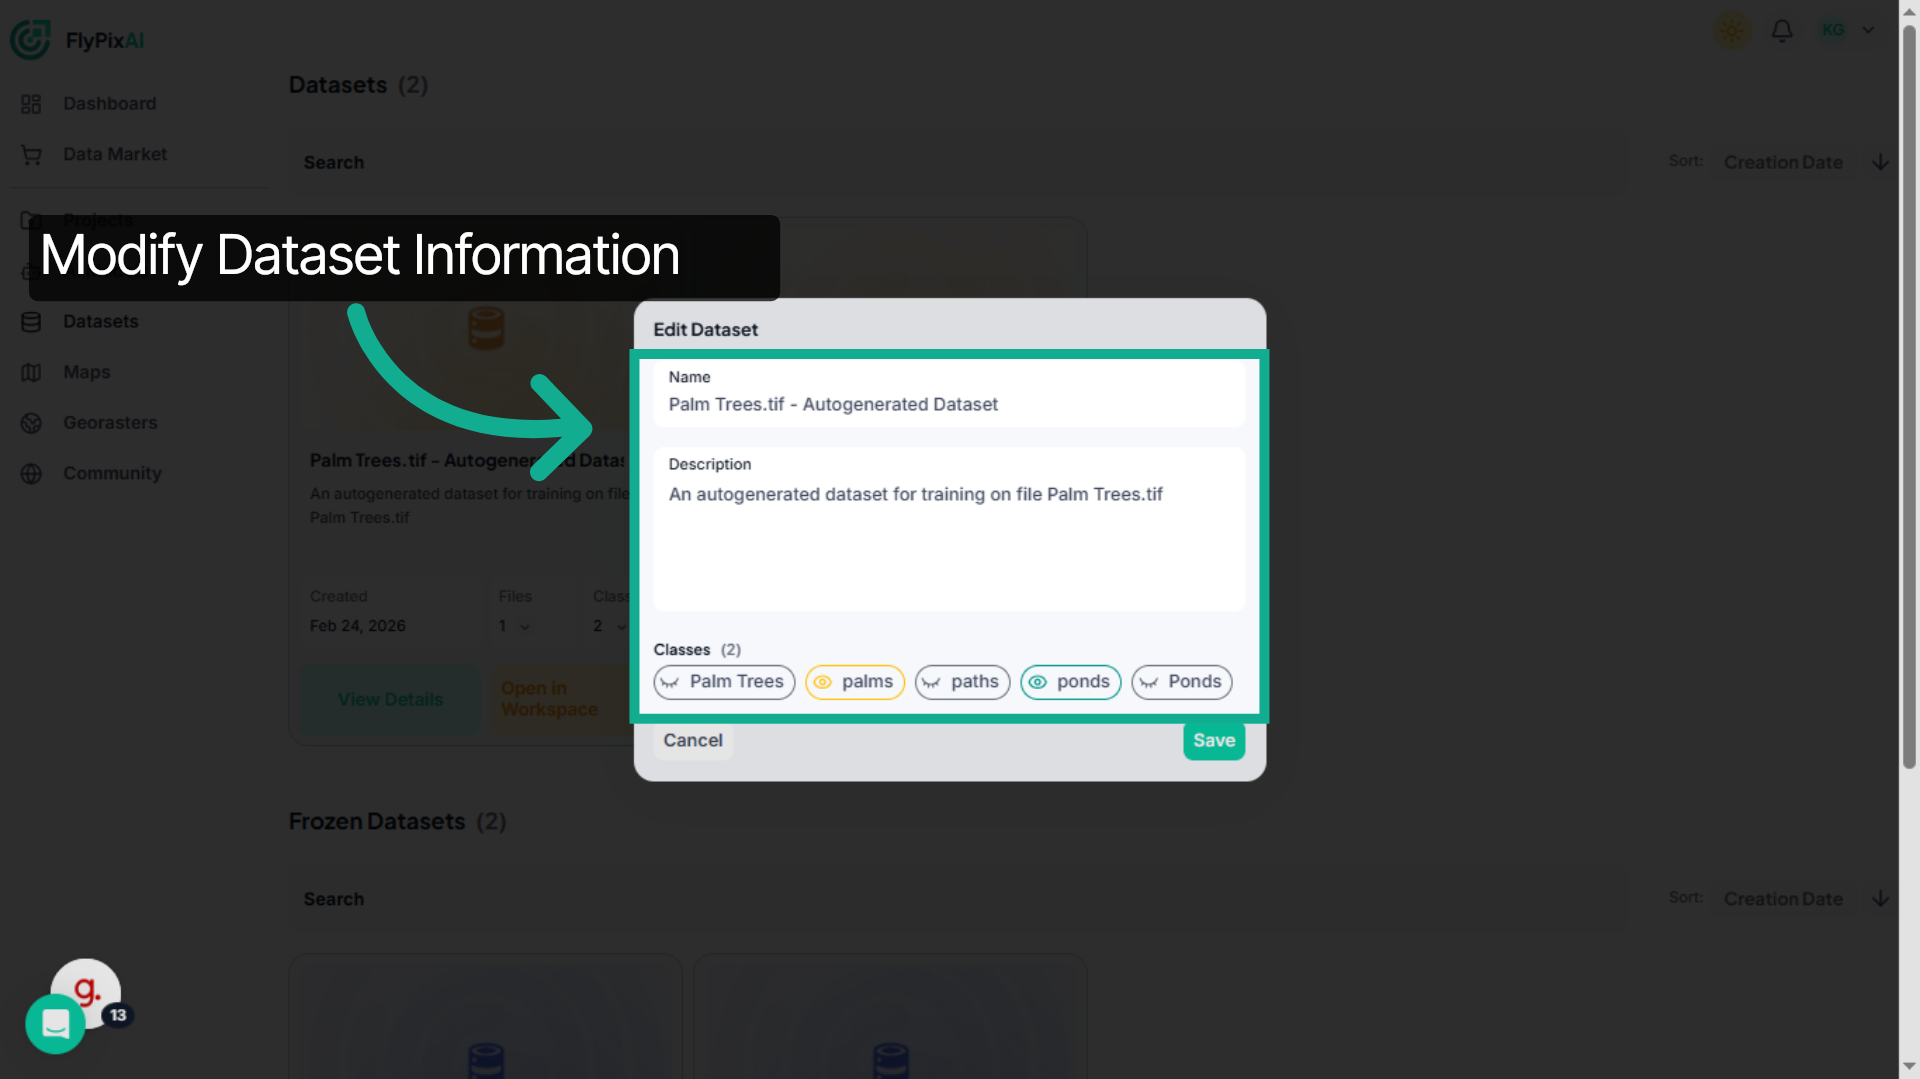
12. Modify Dataset Information
You can modify the dataset name, description, or associated classes to keep everything properly organized.
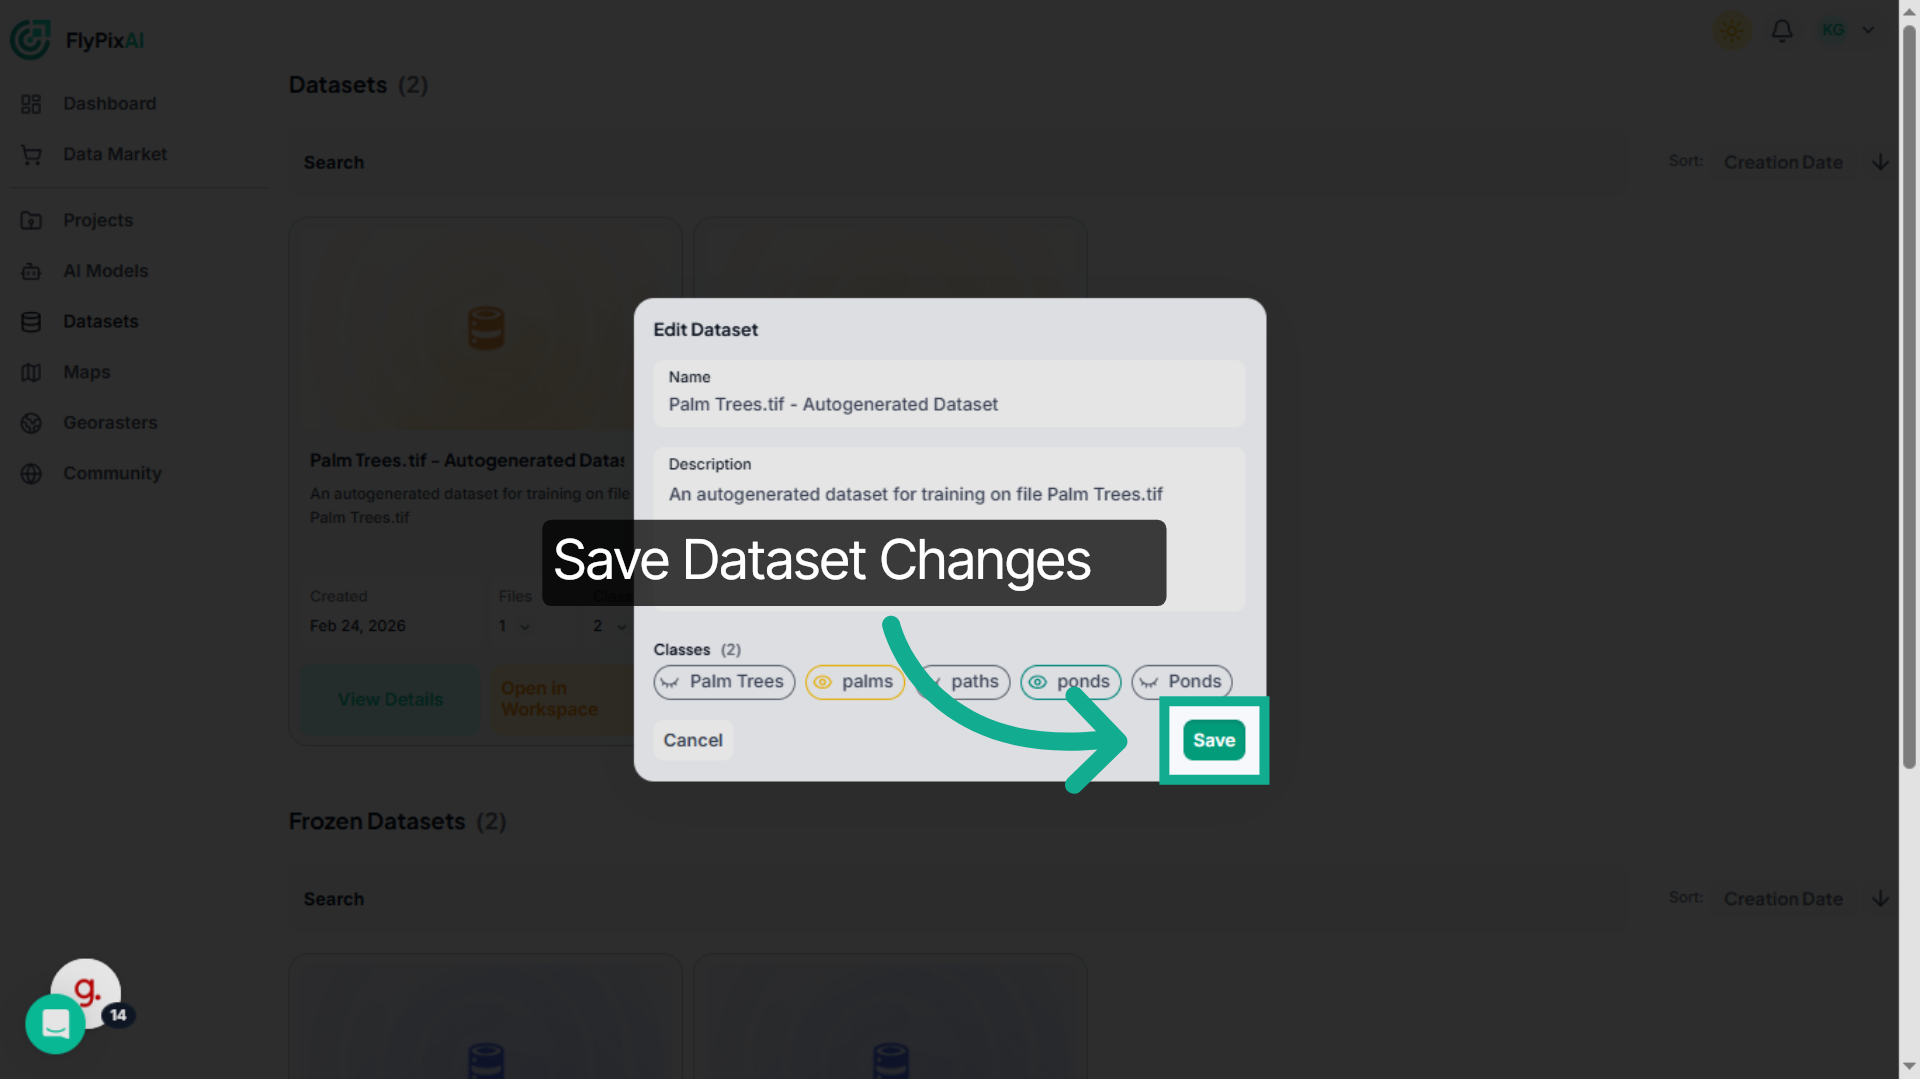
13. Save Dataset Changes
After making your updates, click Save to apply the changes. This ensures your dataset information remains accurate and up to date.
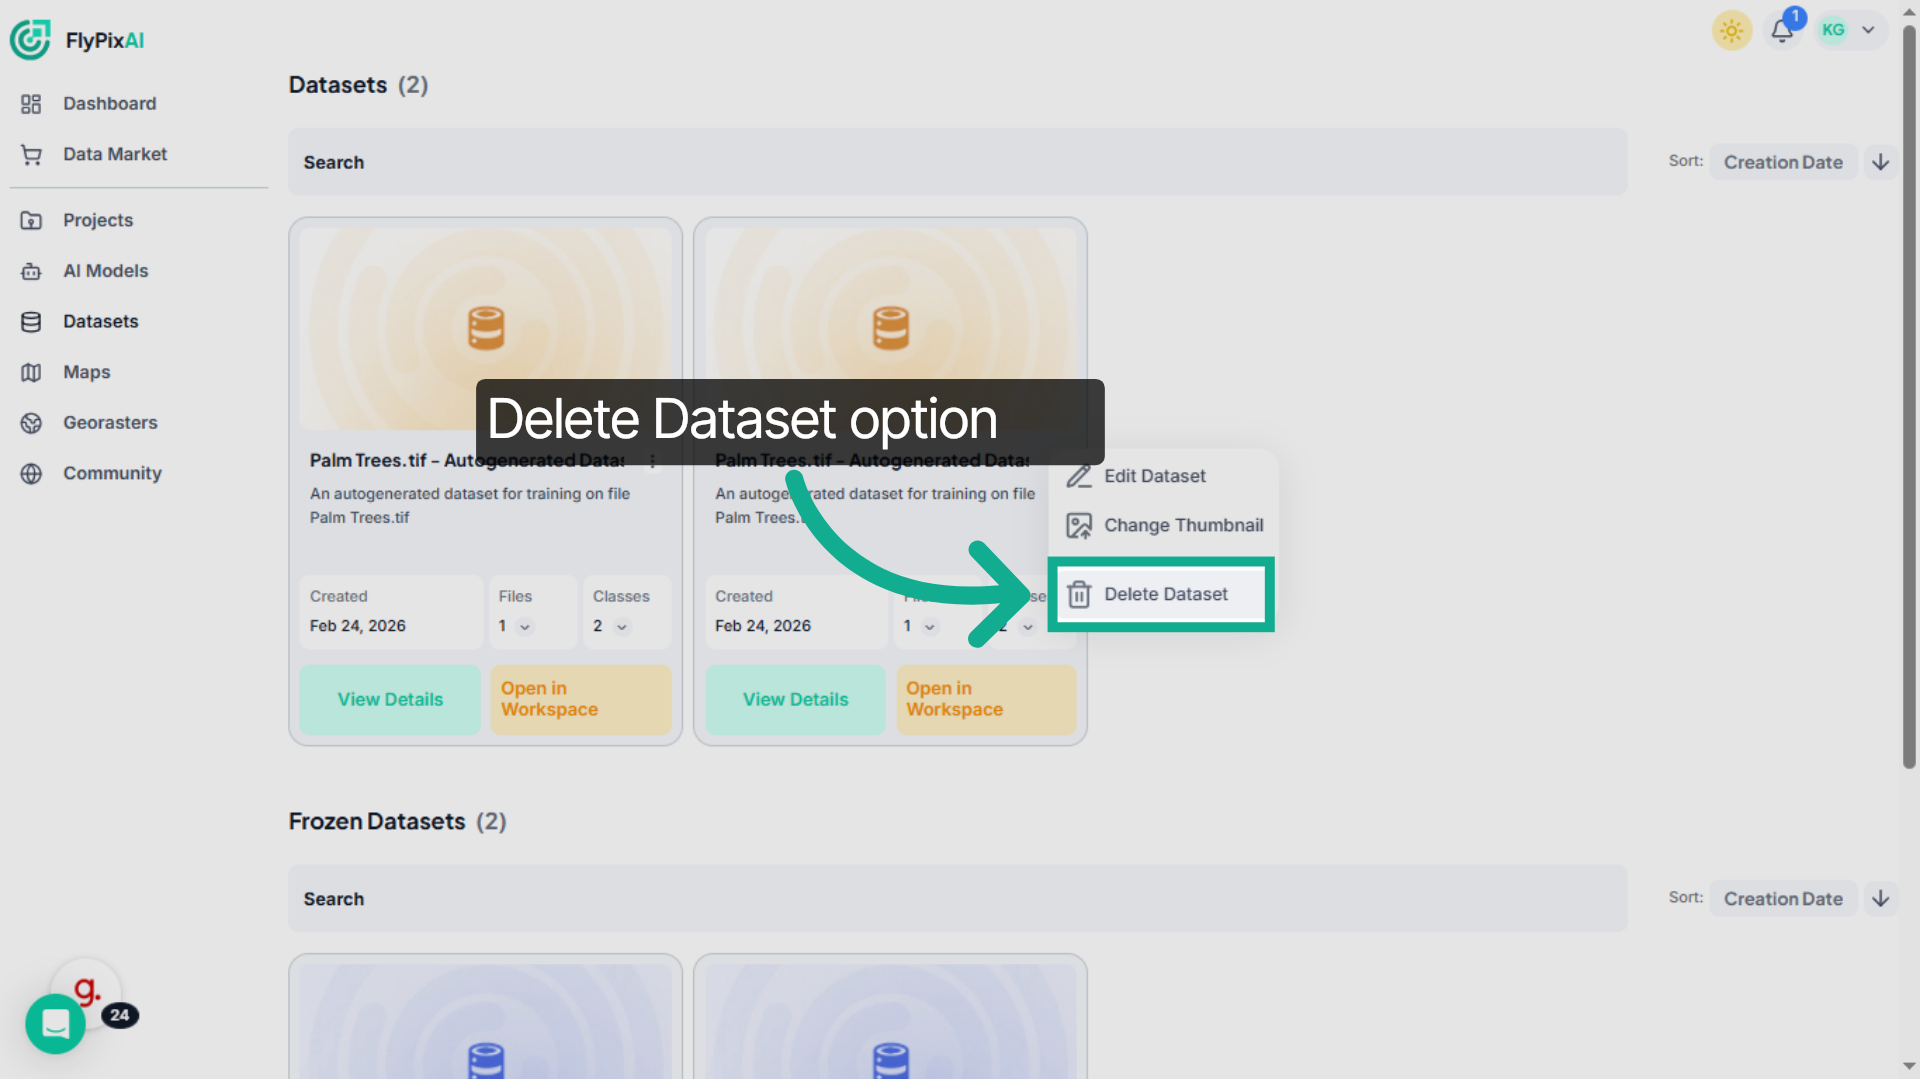
14. Initiate Dataset Deletion
If a dataset is no longer needed, open the management menu and select Delete.
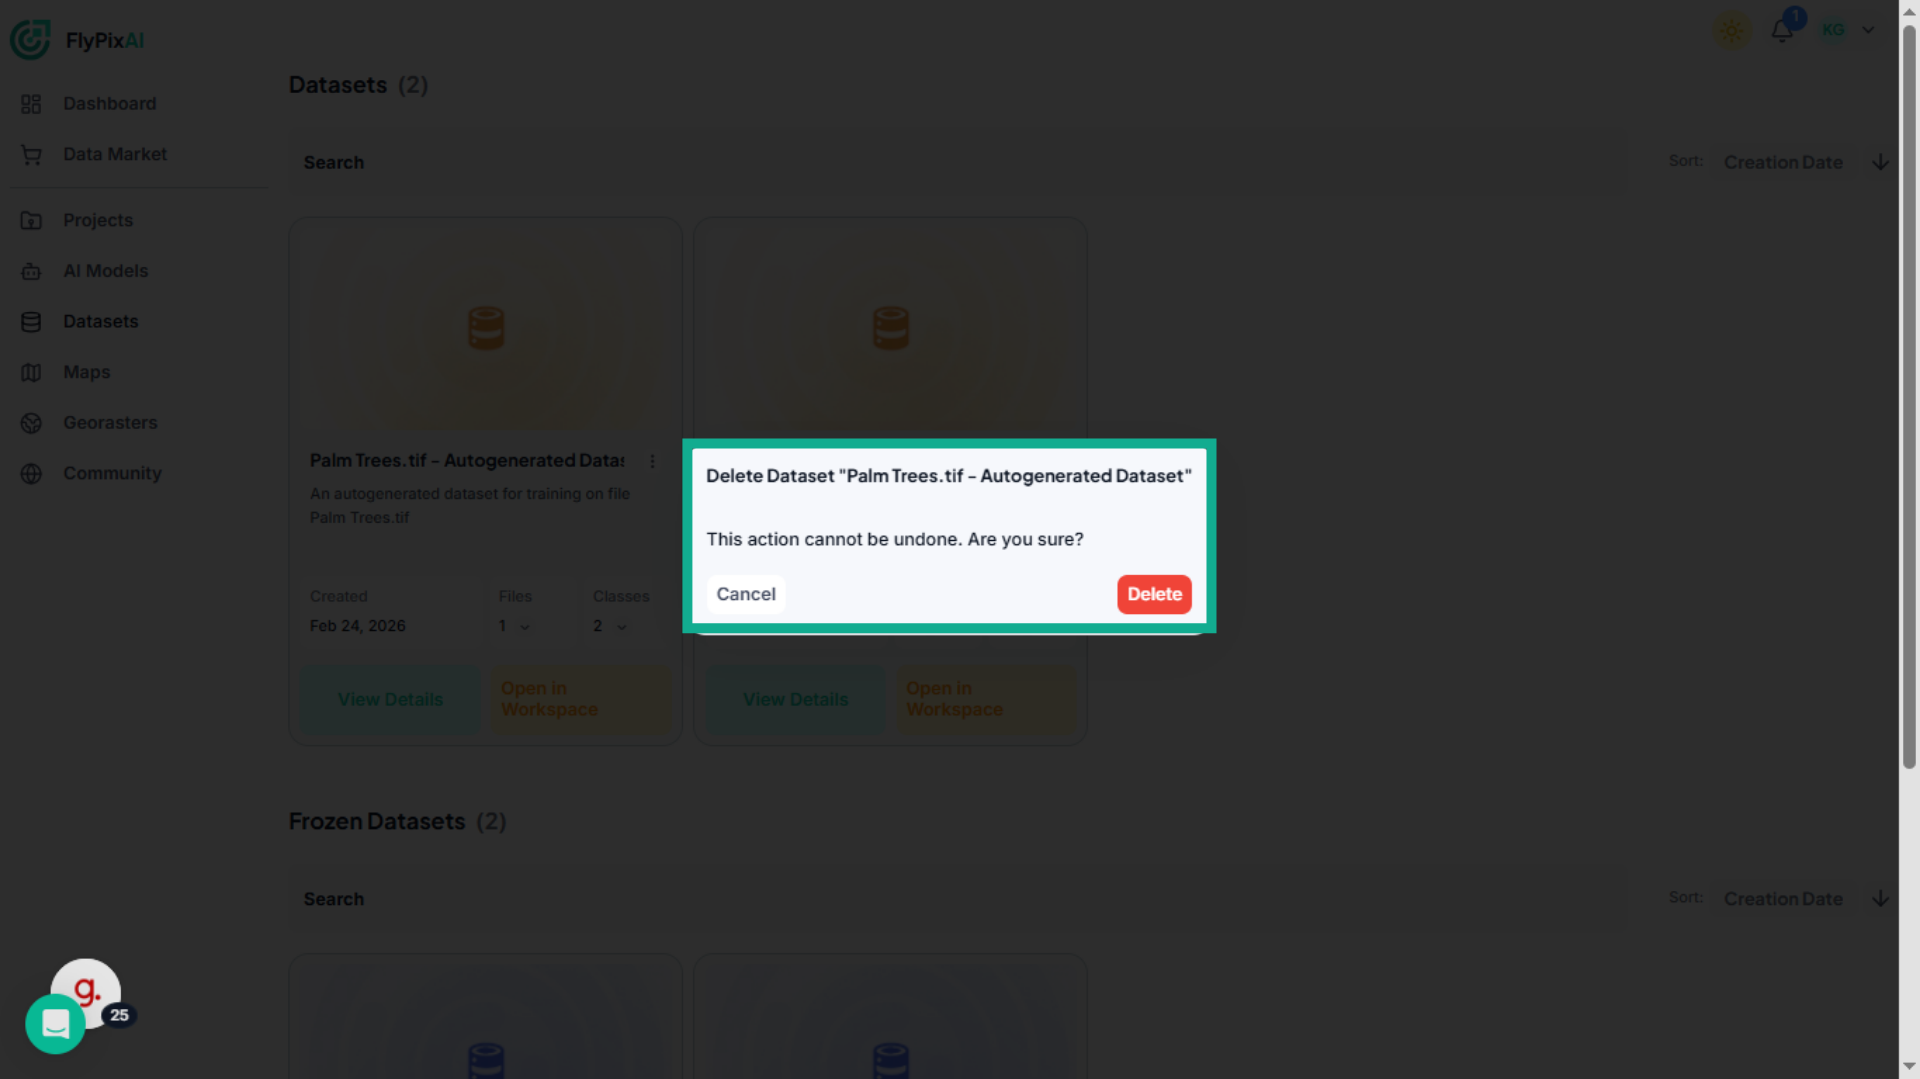
15. Confirm or Cancel Deletion
A confirmation prompt will appear. You can either cancel to keep the dataset, or confirm to permanently remove it from your workspace.
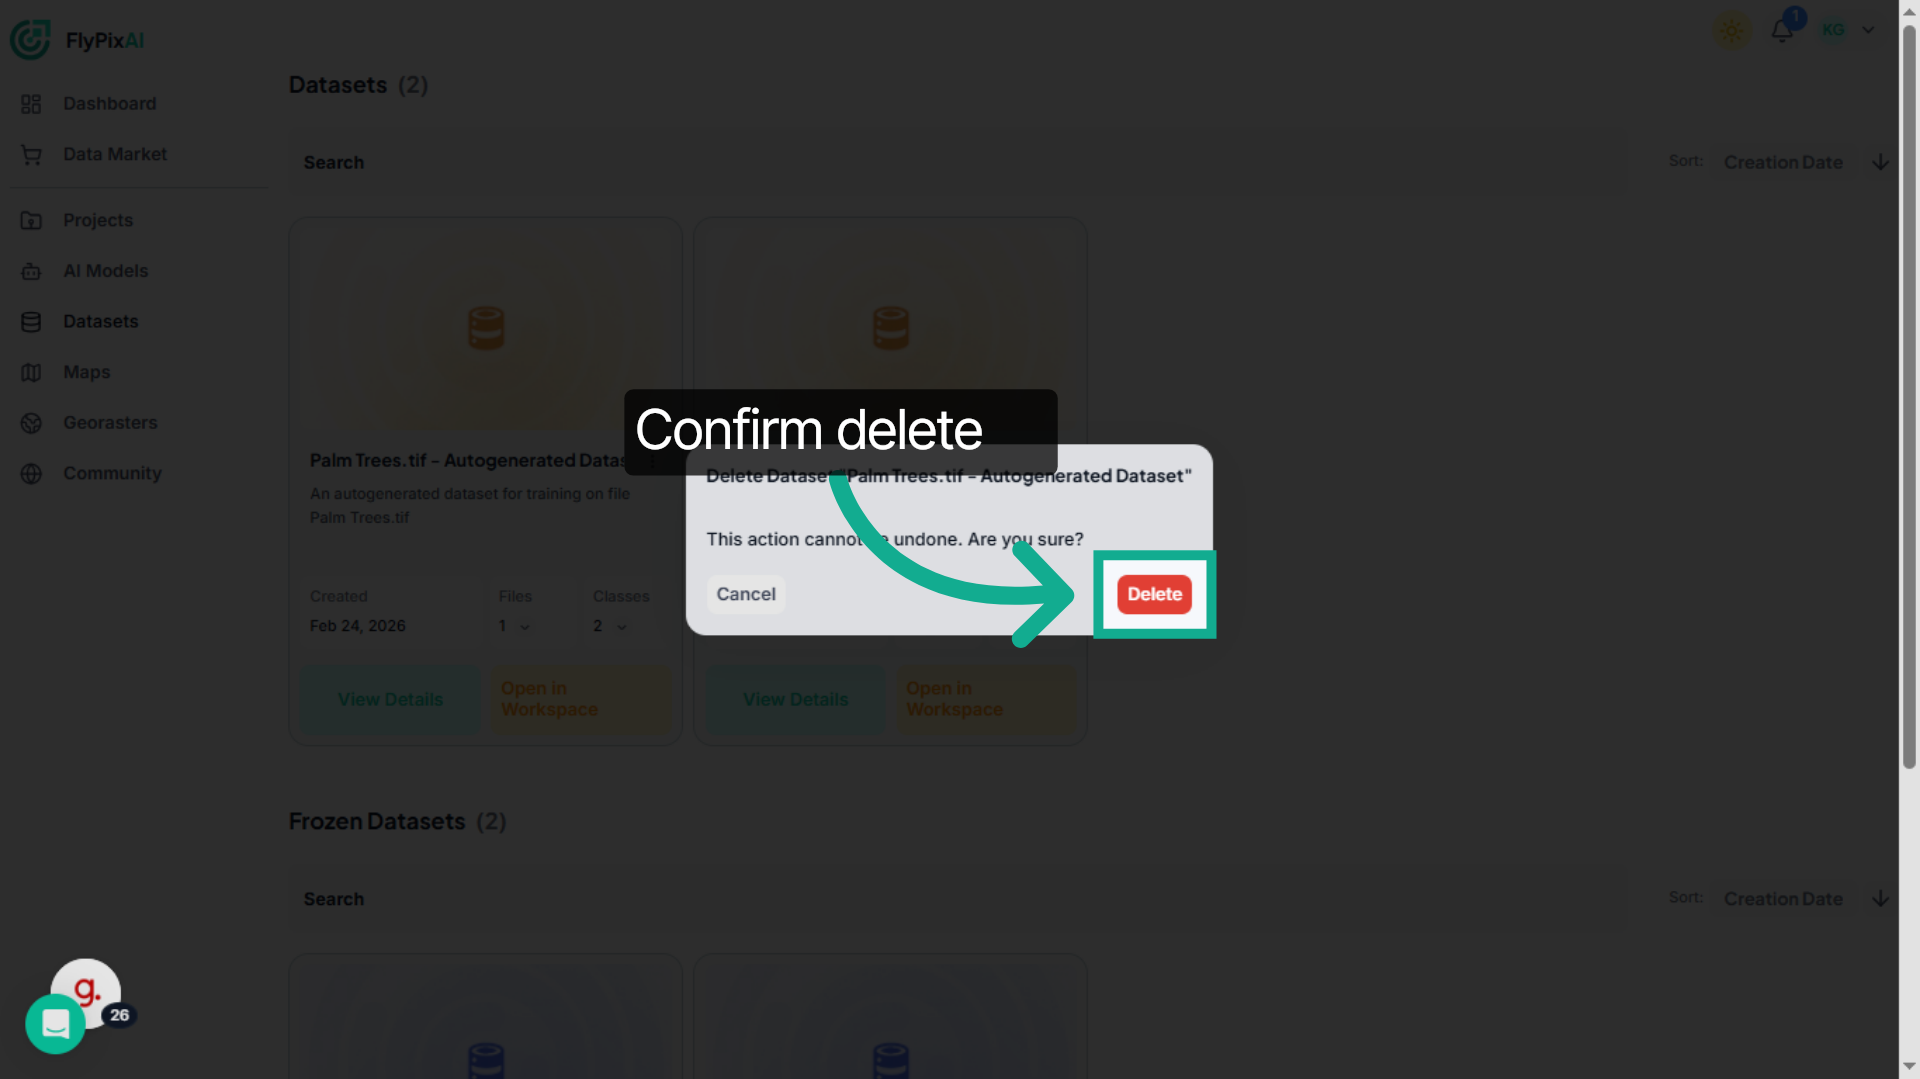
16. Confirm Dataset Deletion
Confirming the action permanently removes the dataset from your workspace.
Managing datasets effectively ensures your AI training process remains organized, efficient, and scalable. By reviewing dataset structure, configuring training properly, updating information, and removing outdated datasets, you maintain a clean and optimized workflow within FlyPix AI.