Define Vector Layers And Classes In FlyPix AI
This demo demonstrates how to create vector layers, define object classes, import existing layers, and assign objects to categories inside the FlyPix AI workspace.
Go to app.flypix.ai
1. Introduction
Vector layers help organize spatial data into structured datasets. Object classes define what each annotated feature represents. Together, they form the foundation for structured geospatial analysis.
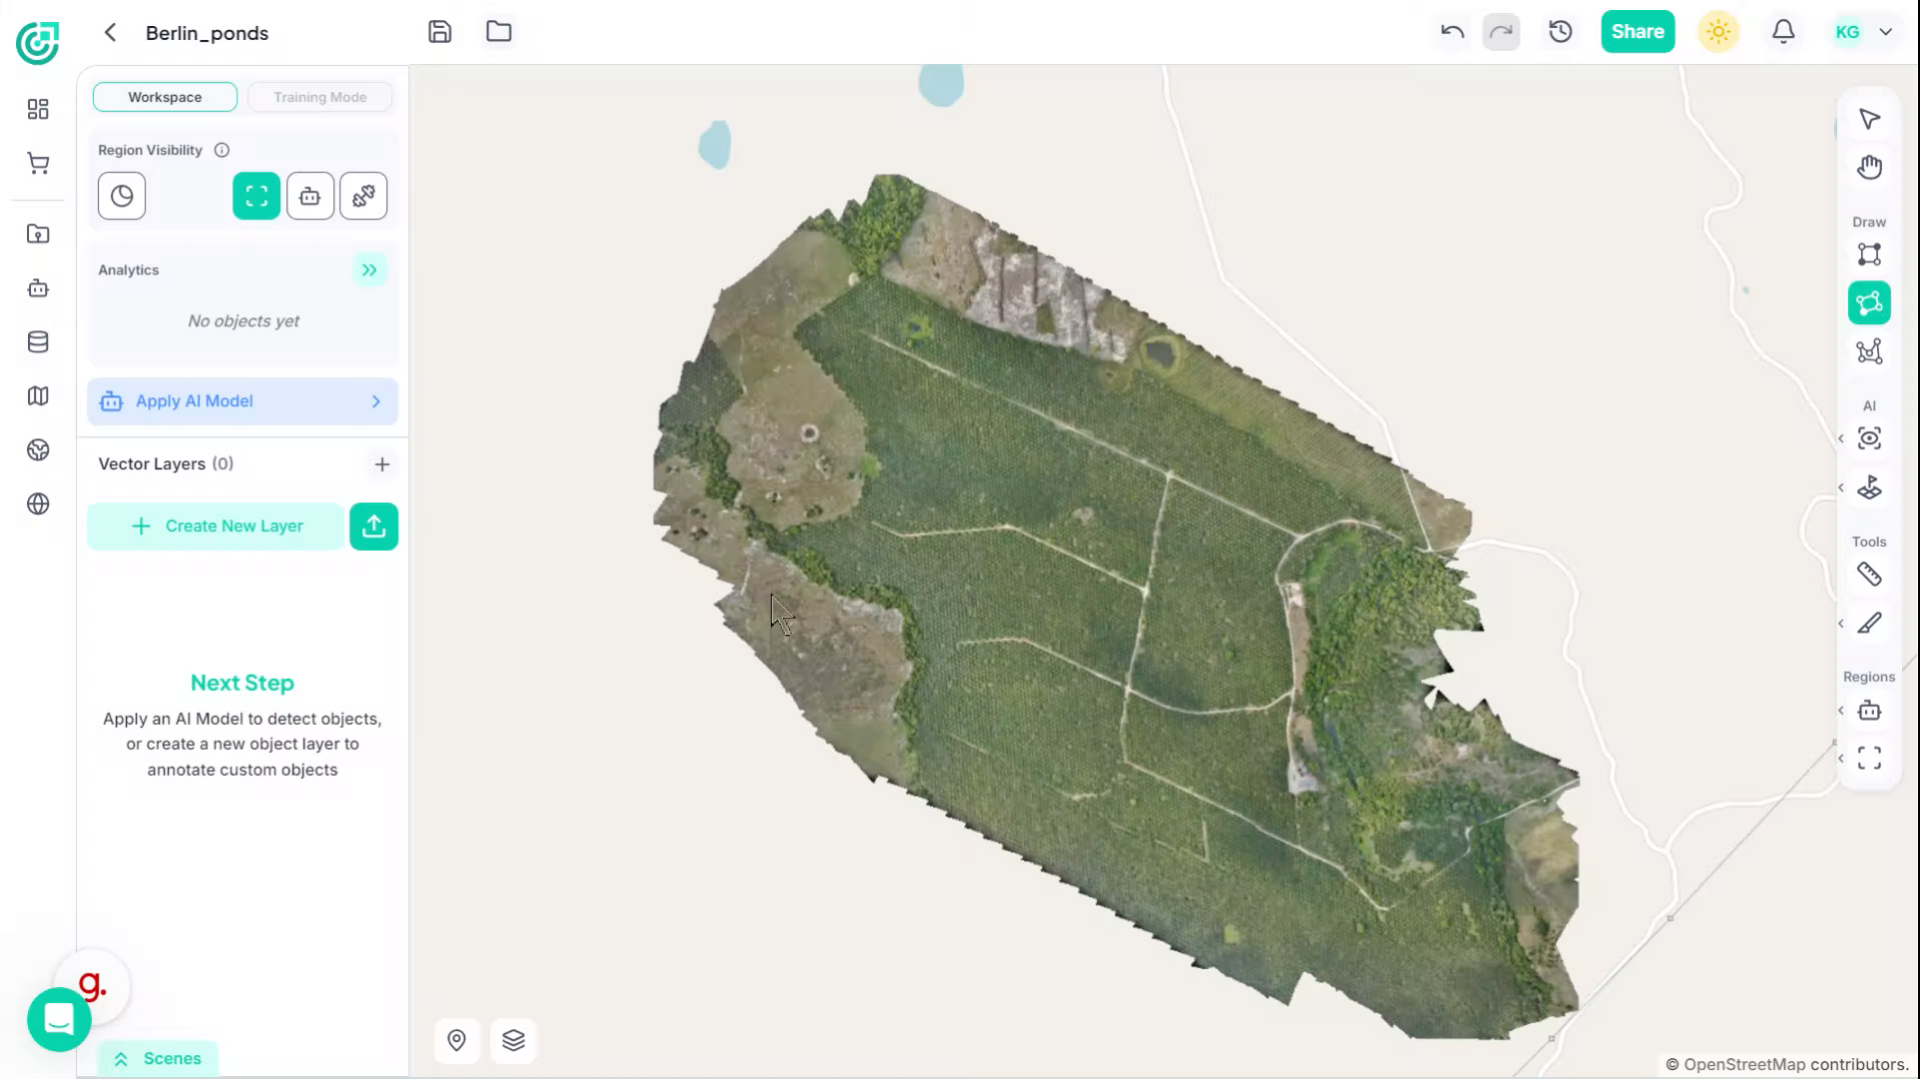
2. Initiate New Vector Layer
Click "Create New Layer" to start defining a new vector layer in your workspace.

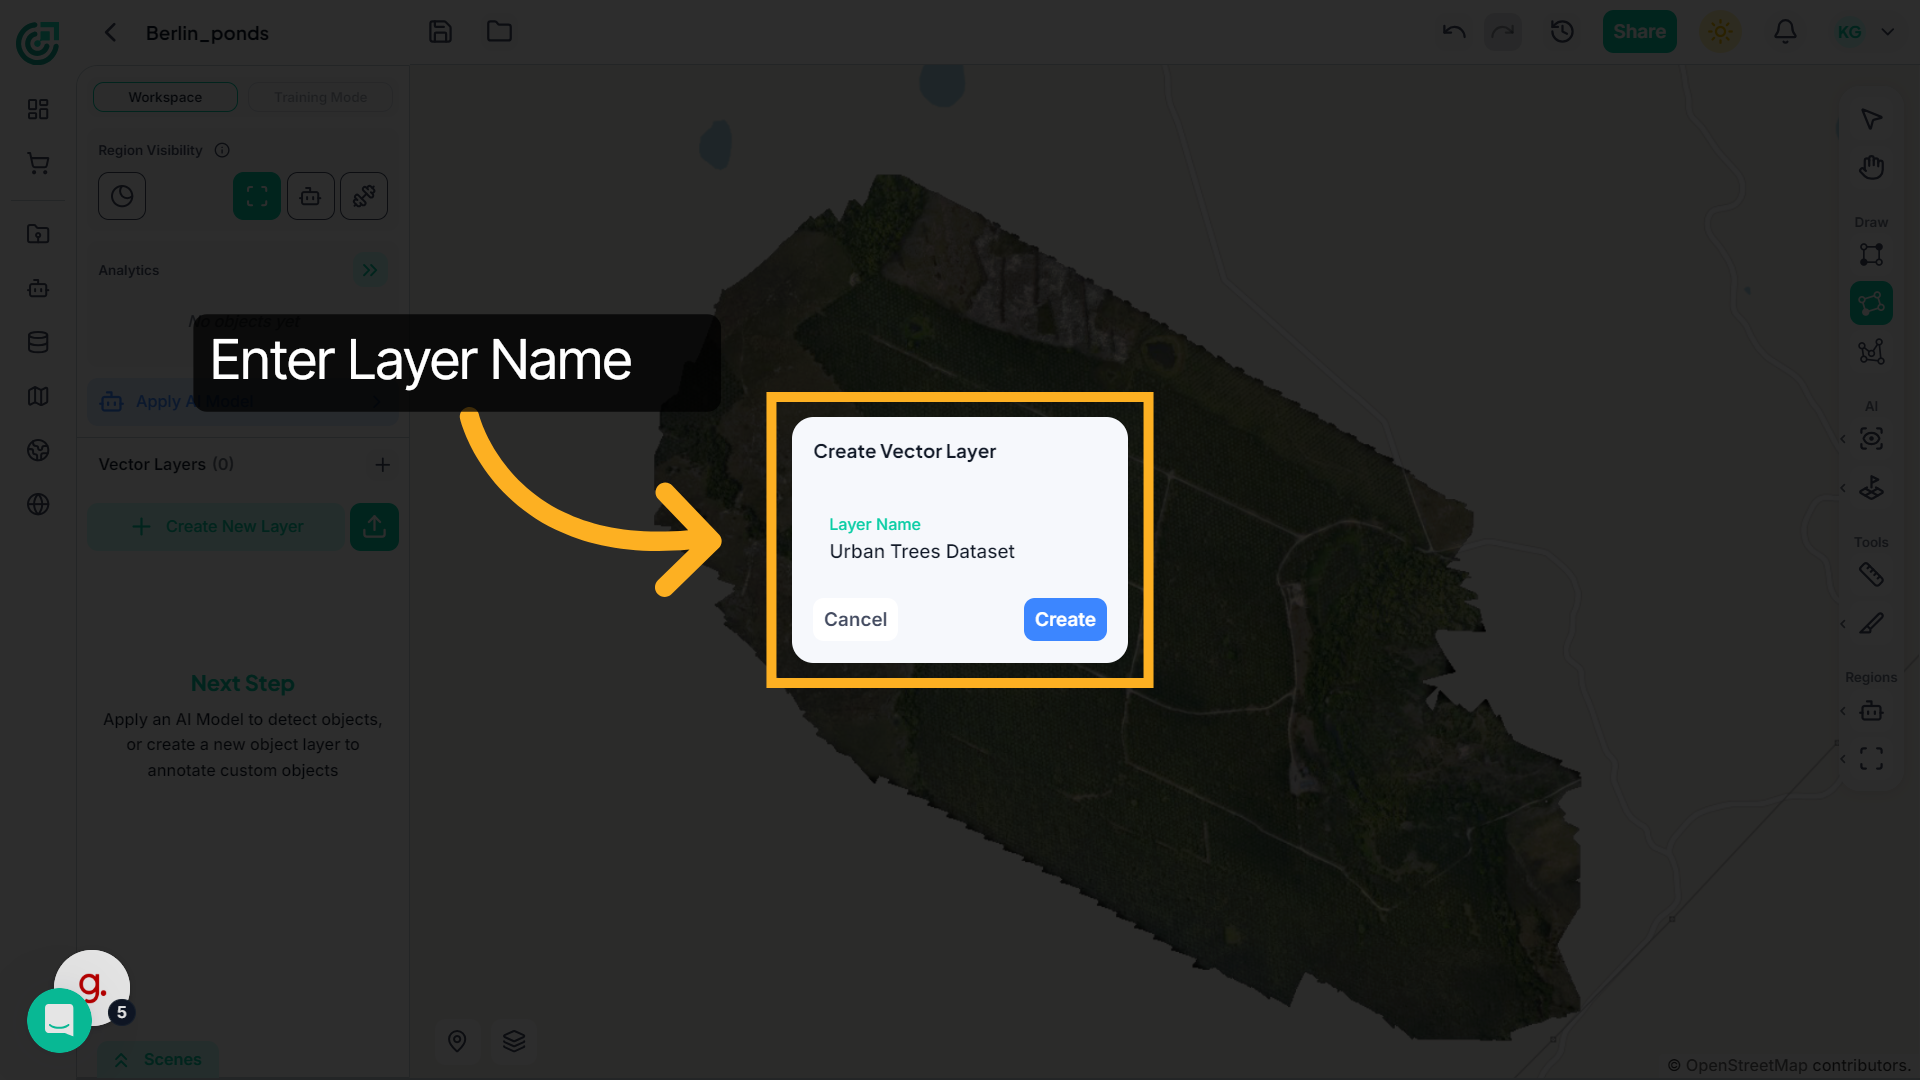
3. New Vector Layer
Enter a meaningful name that represents the dataset, for example, Urban Trees Dataset.
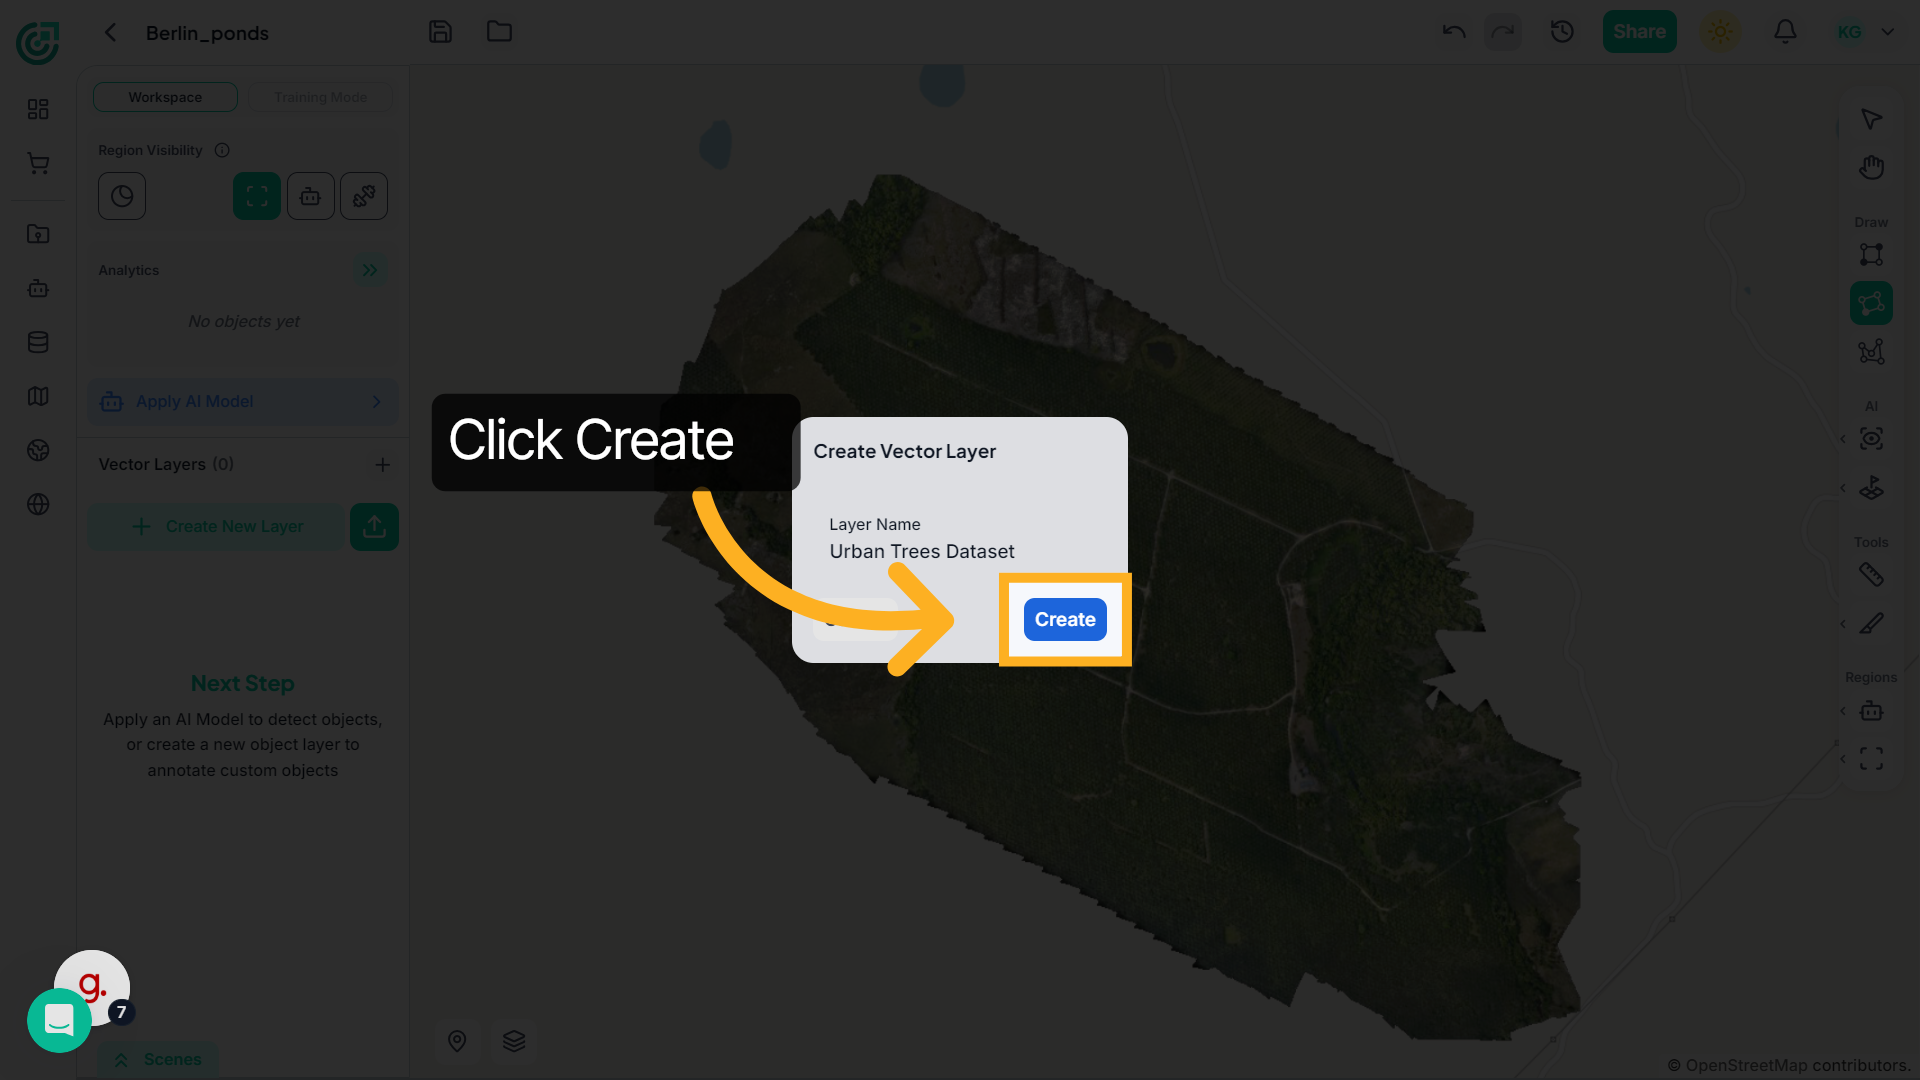
4. Confirm Layer Creation
Click "Create" to finalize the creation of your vector layer in the workspace.
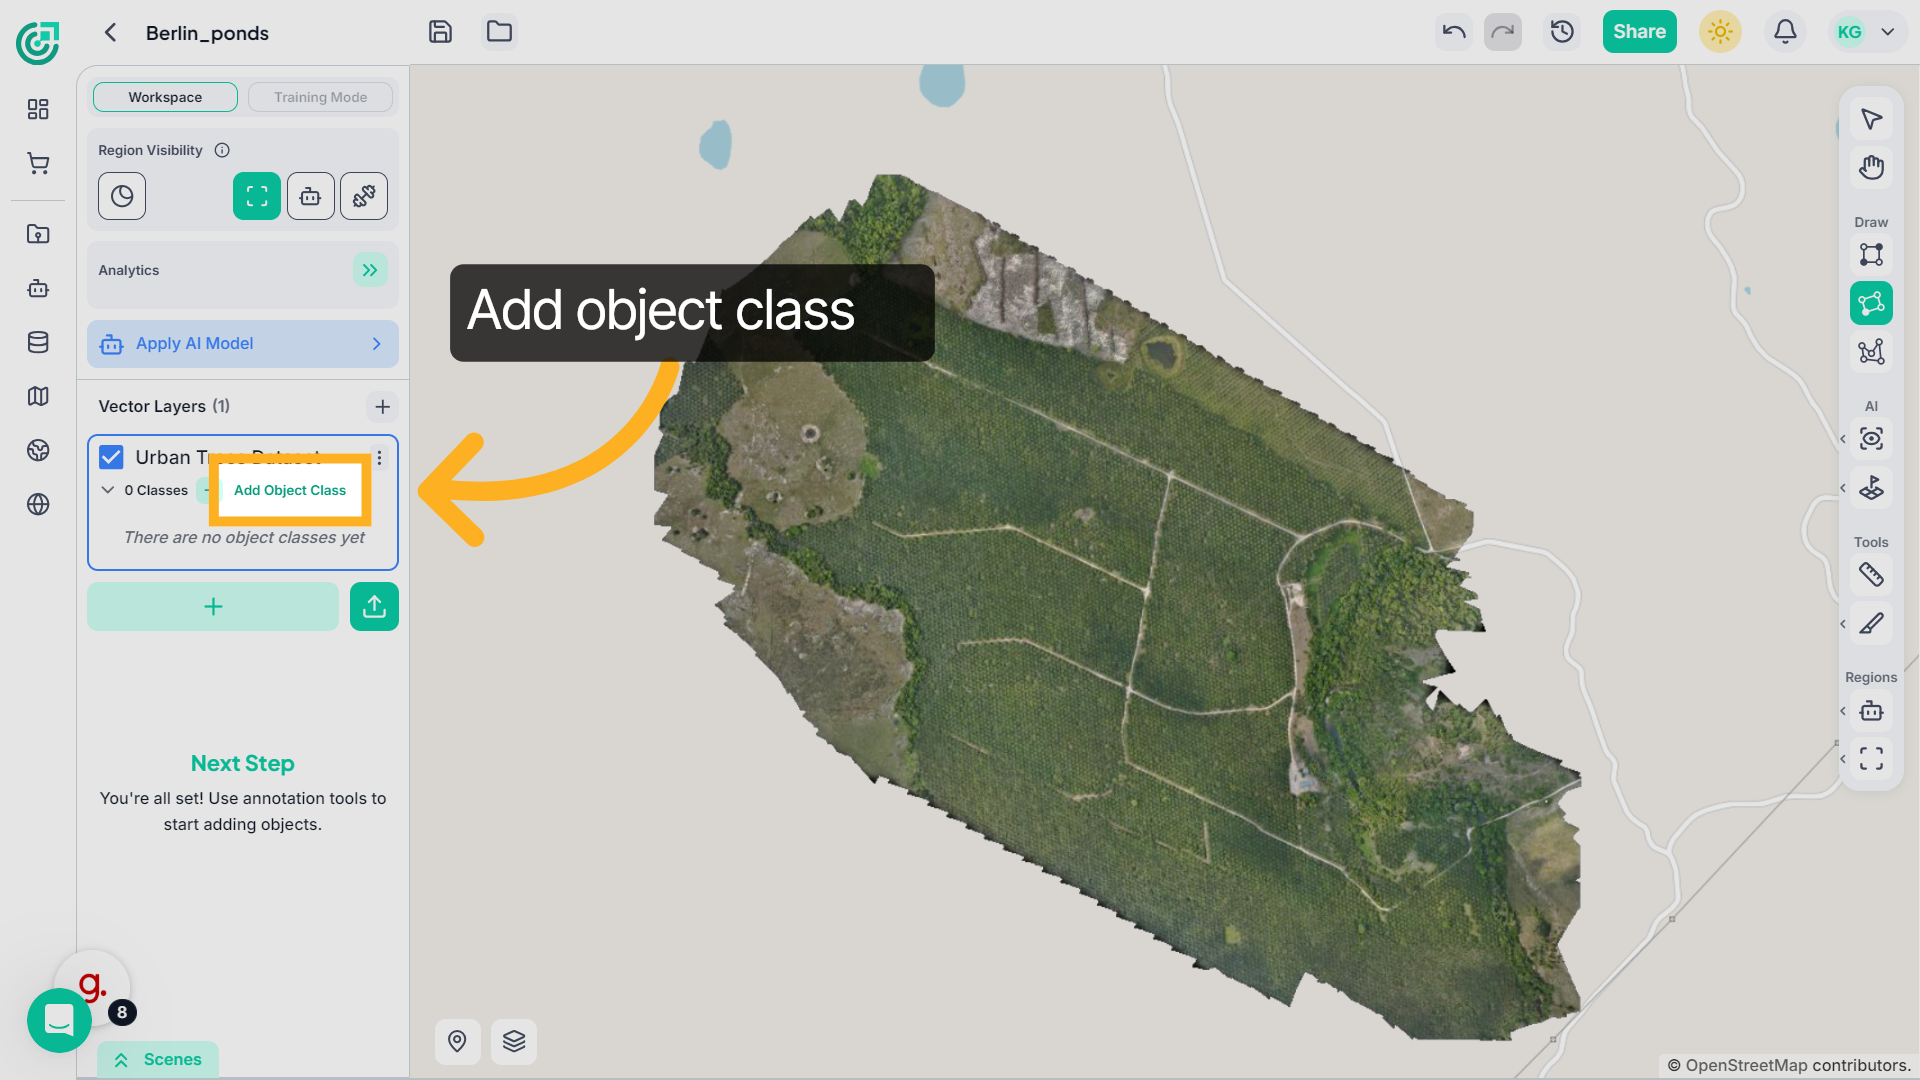
5. Vector Layer
The new vector layer will now appear in the workspace and is ready to store objects.

6. Add Object Class To Layer
Within the vector layer, create object classes to categorize your data. Click "Add Object Class" to begin defining categories within your vector layer.
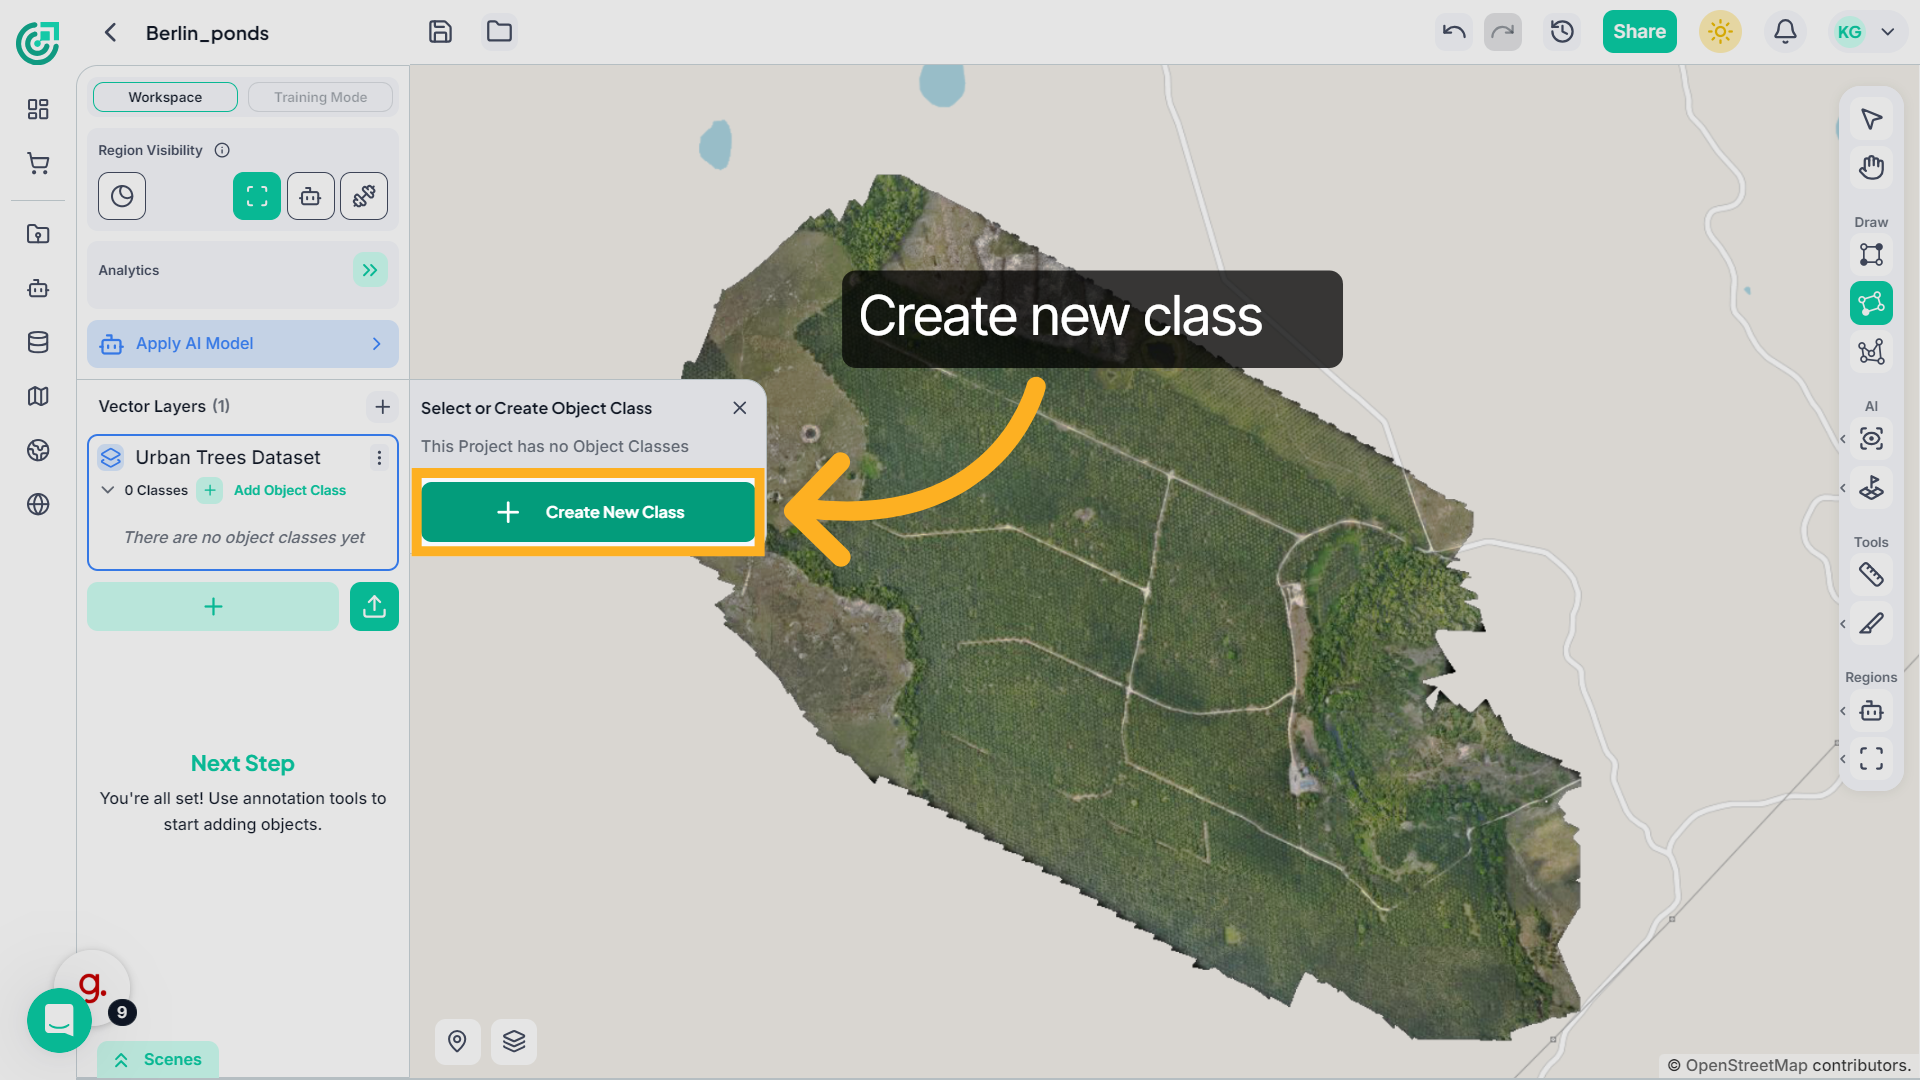
7. Start New Class Creation
Click "Create New Class" to define a new object class for your vector layer.
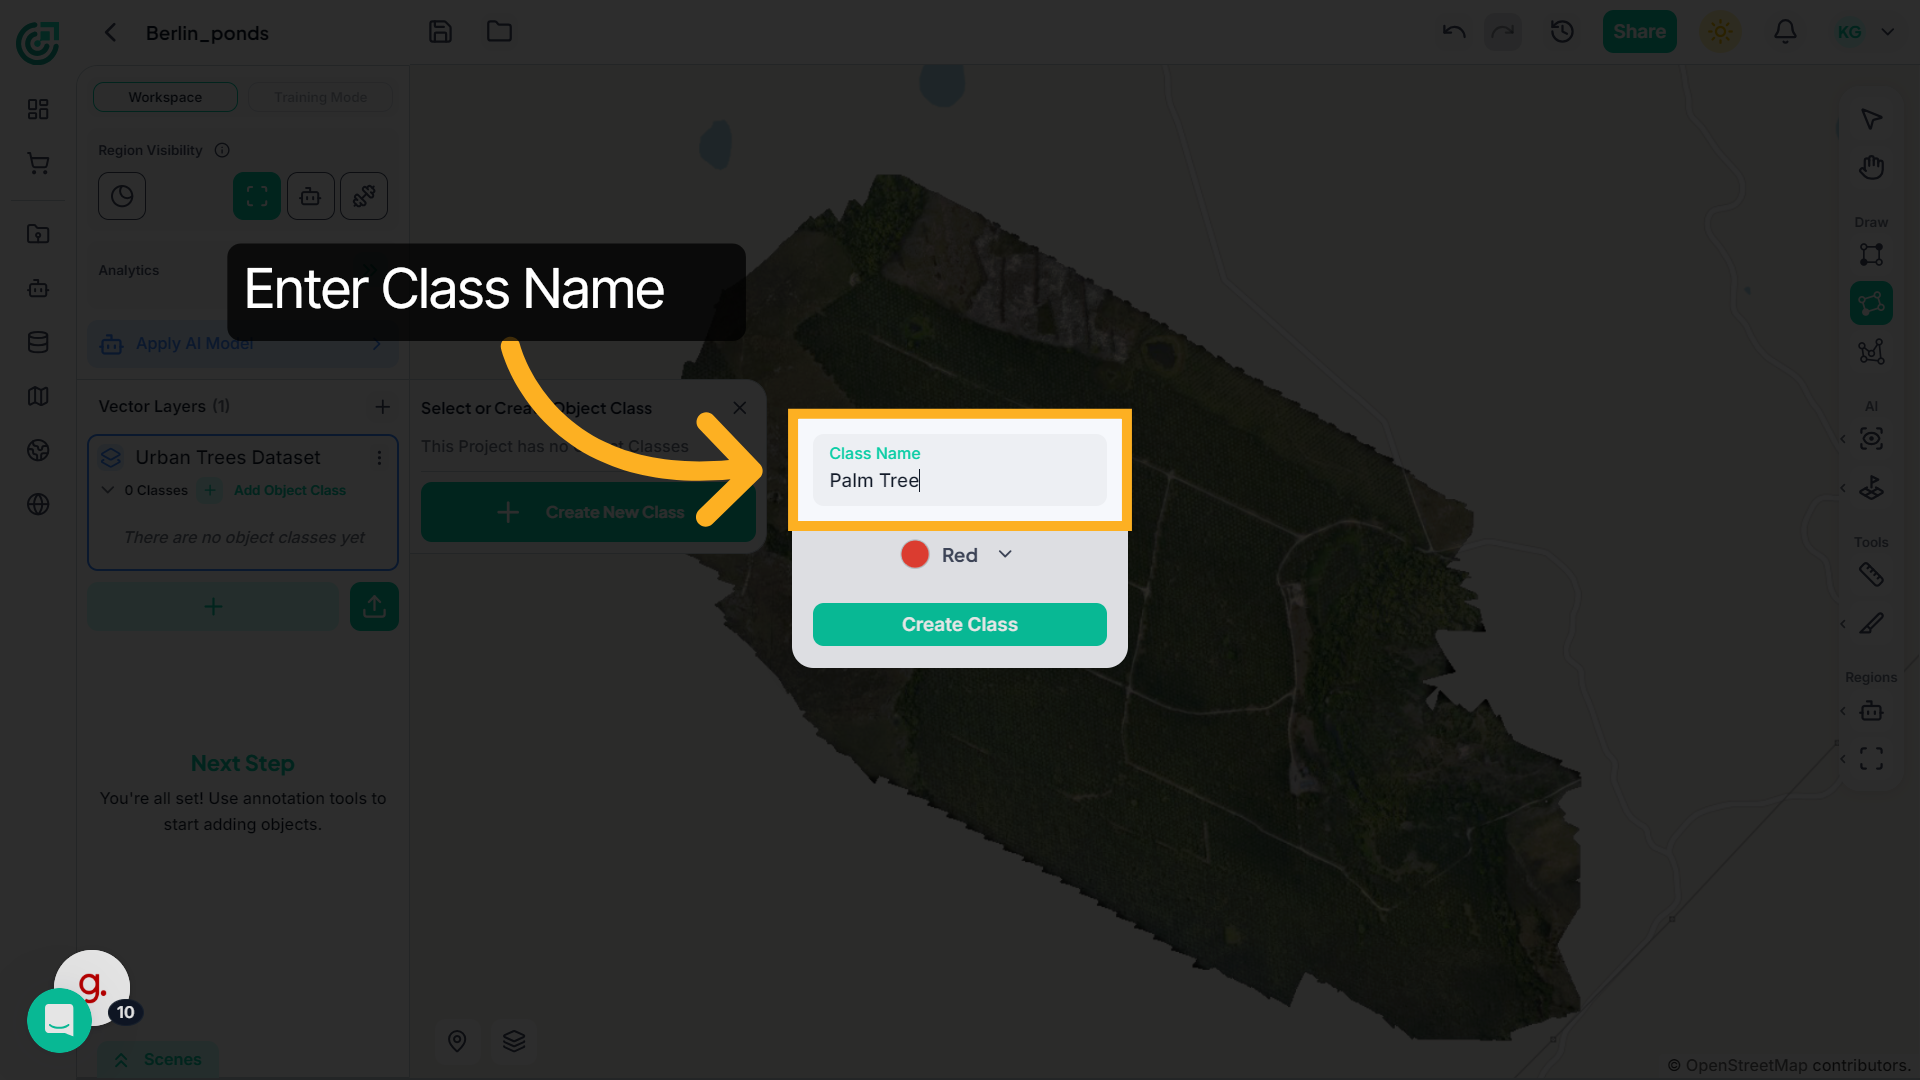
8. Name The Object Class
Defien the name for the new object class to categorize specific features.
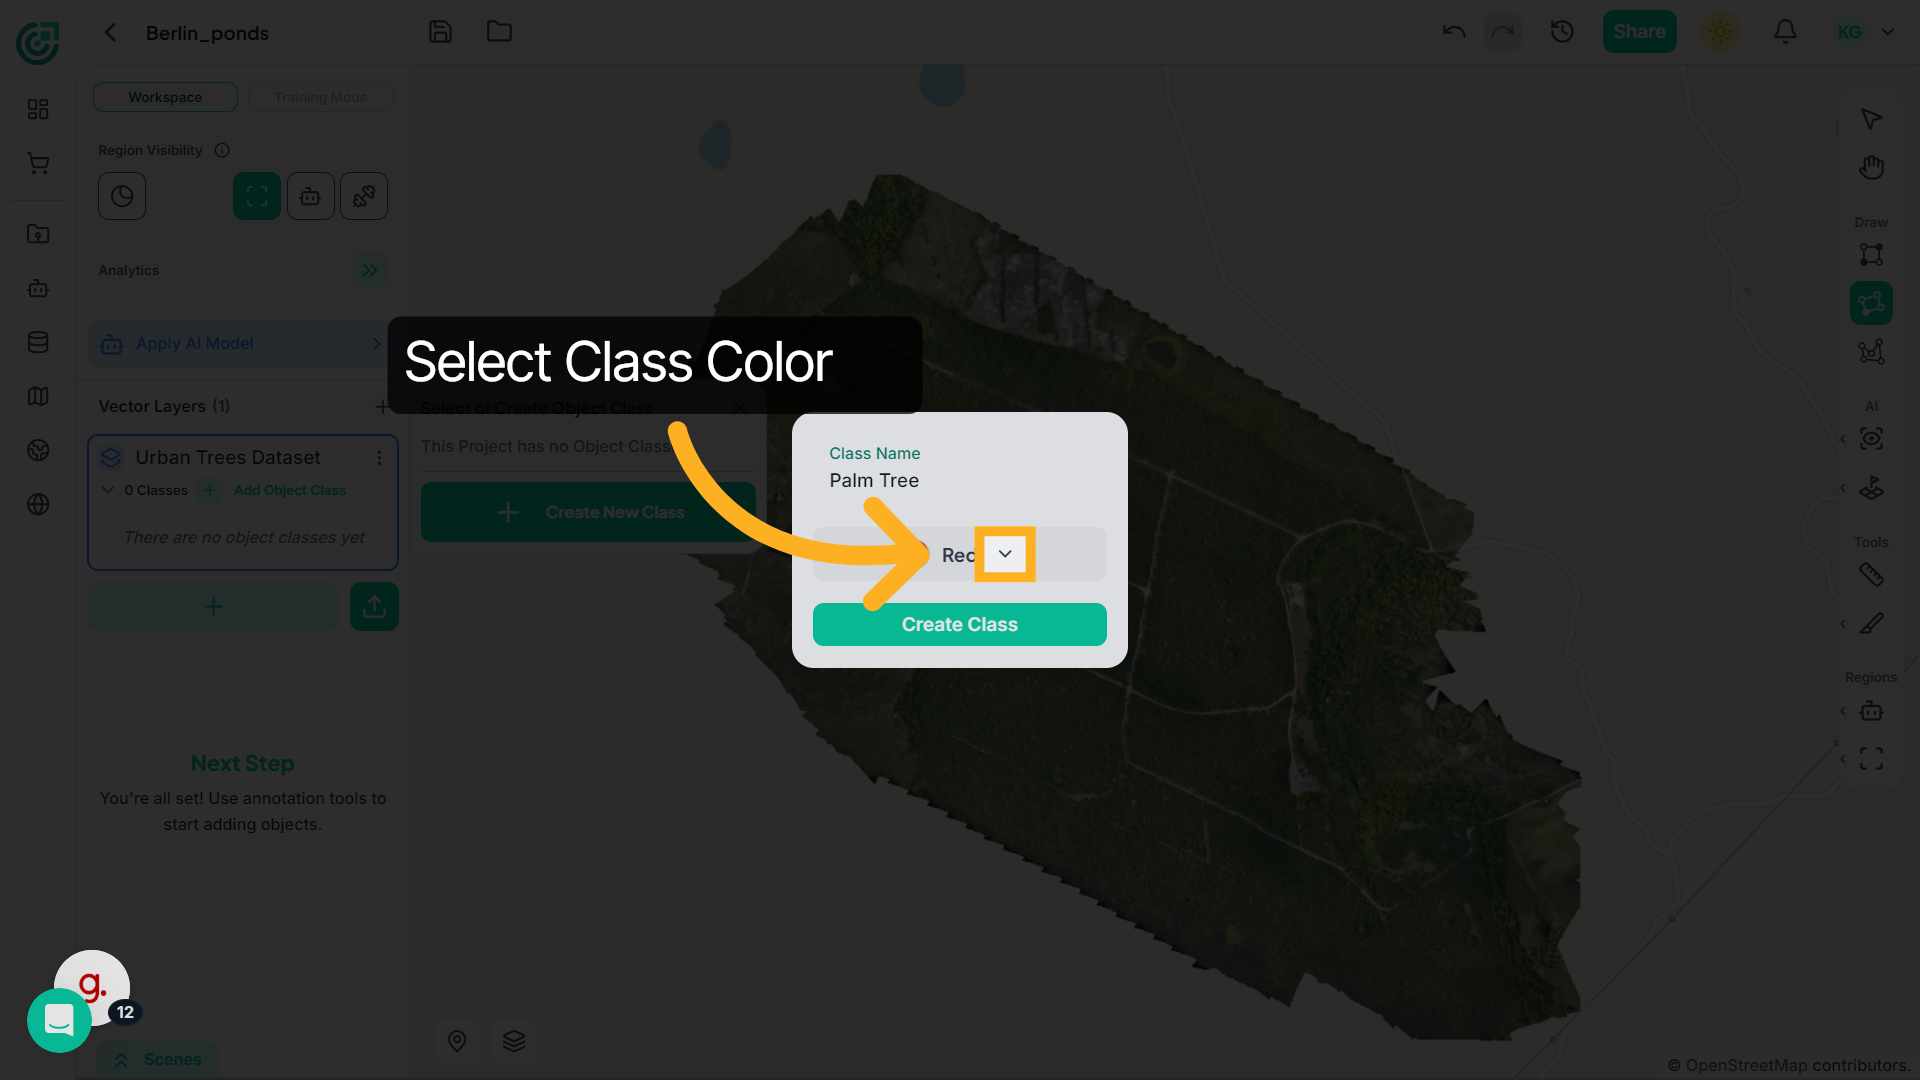
9. Select Class Color
After entering the class name, choose a color for the class.
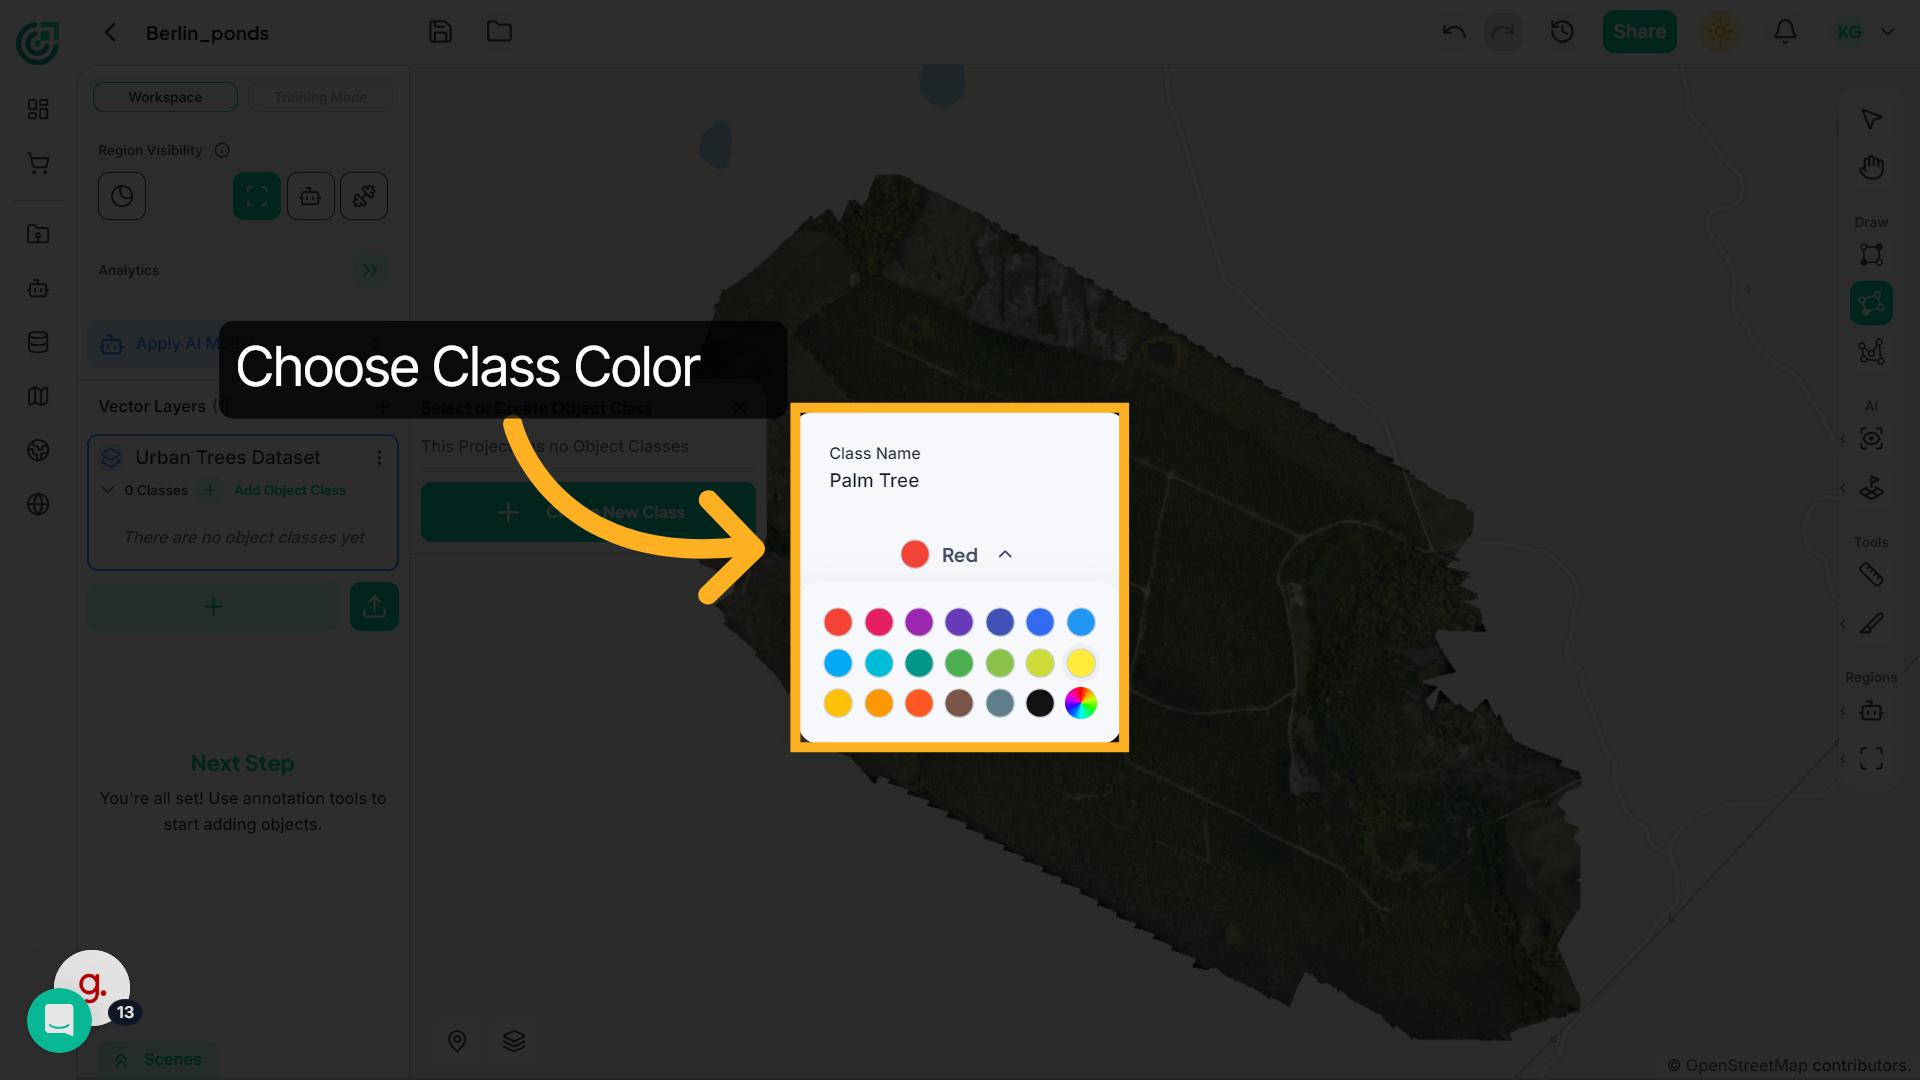
10. Choose Class Color
Select a color for the class to visually differentiate it from other object categories. The selected color will be applied to all objects within this class.
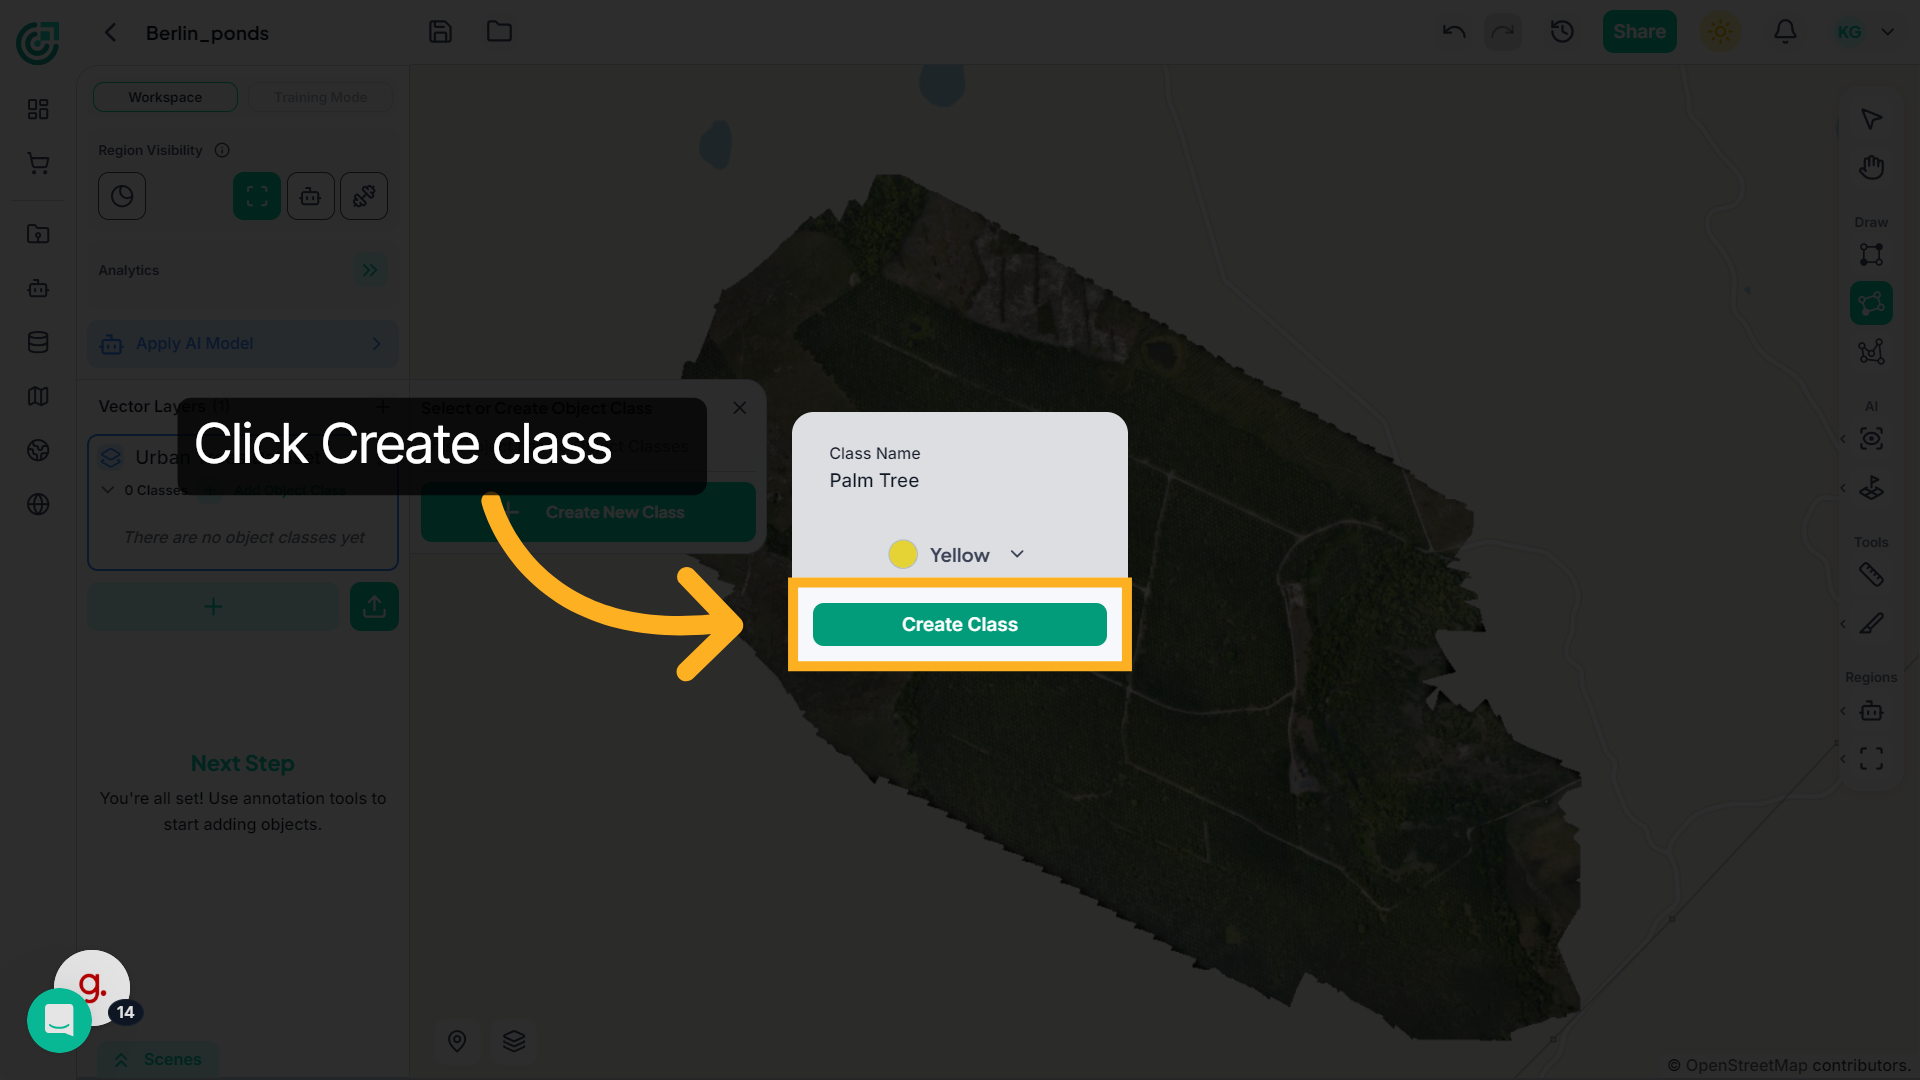
11. Create Class
Once the class name and color are set, click Create Class to add the new object class to the vector layer.
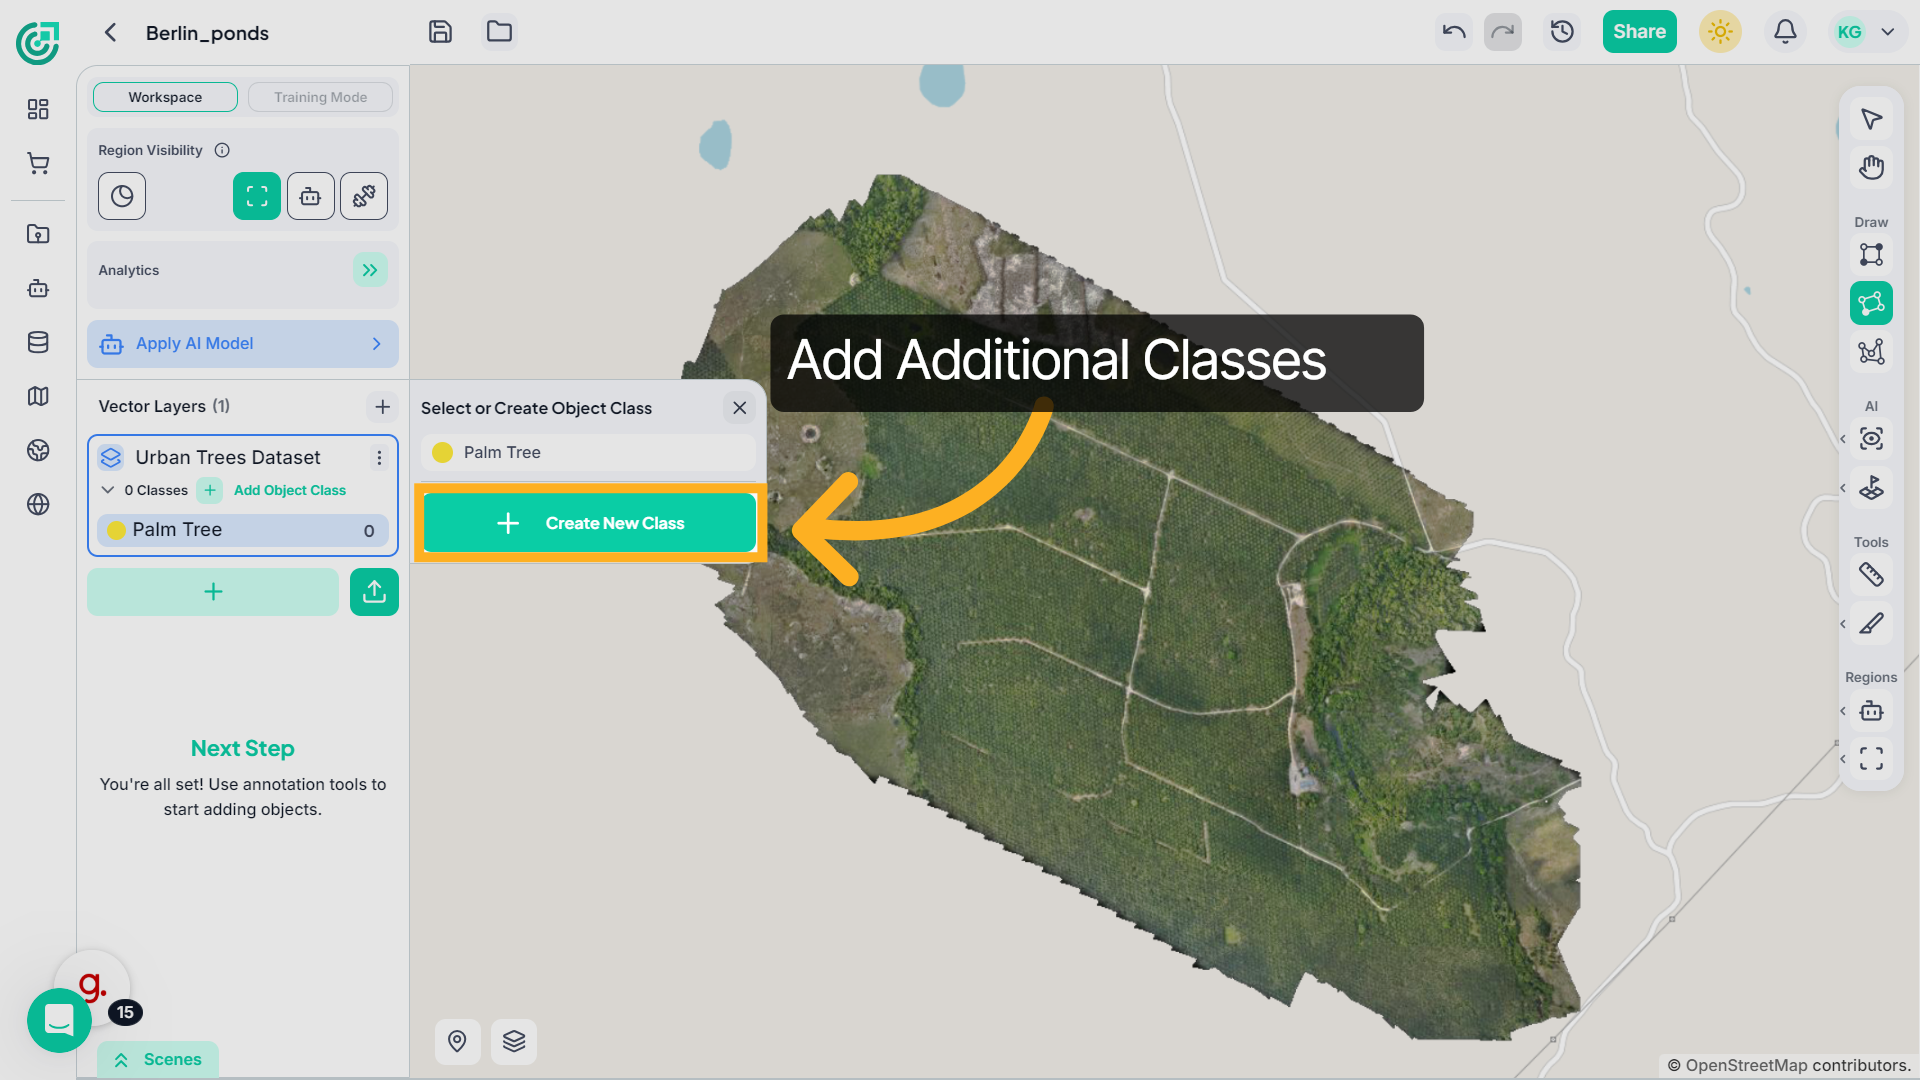
12. Create Additional Classes
Repeat the same steps to create additional classes for other object types within the vector layer.
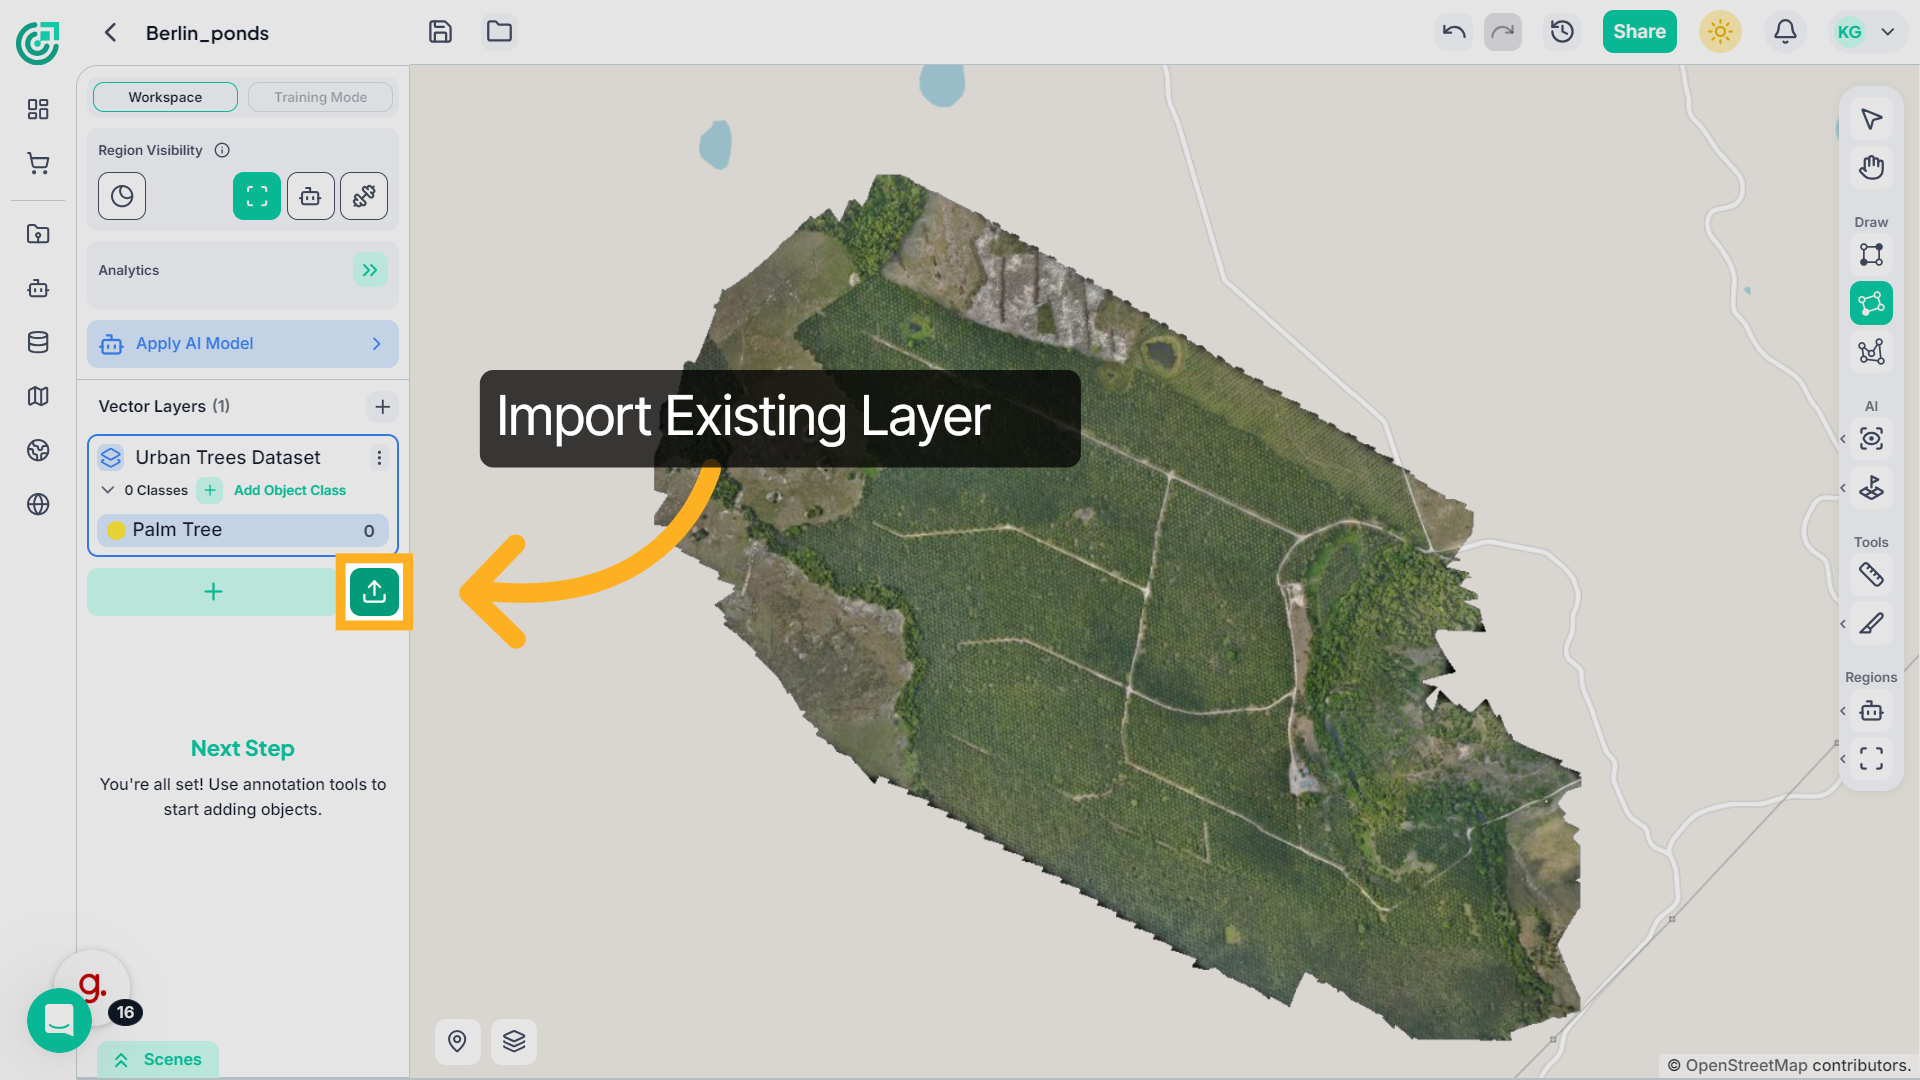
13. Import Existing Vector Layer
If a vector layer already exists in your project, choose the Existing option to import data into that layer instead of creating a new one.
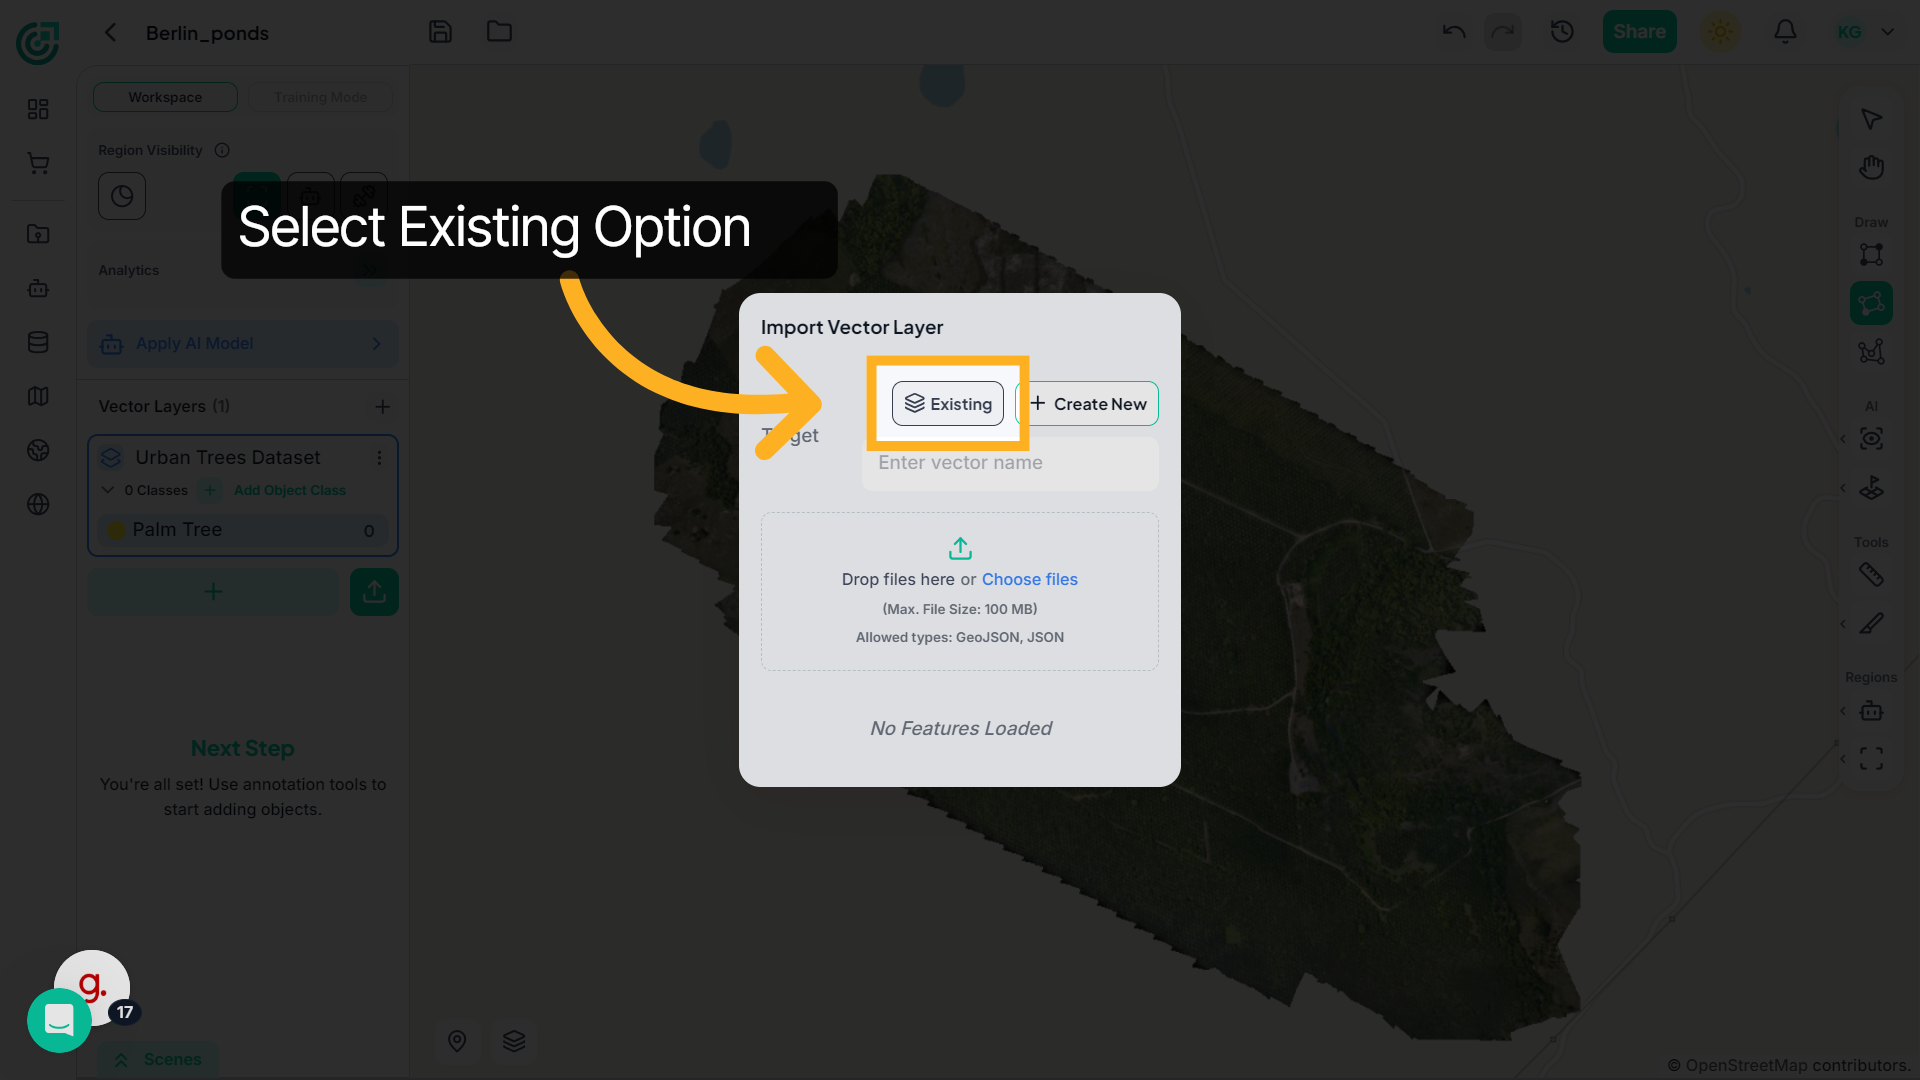
14. Select Existing Layer Option
Click Existing to enable importing into a previously created vector layer.
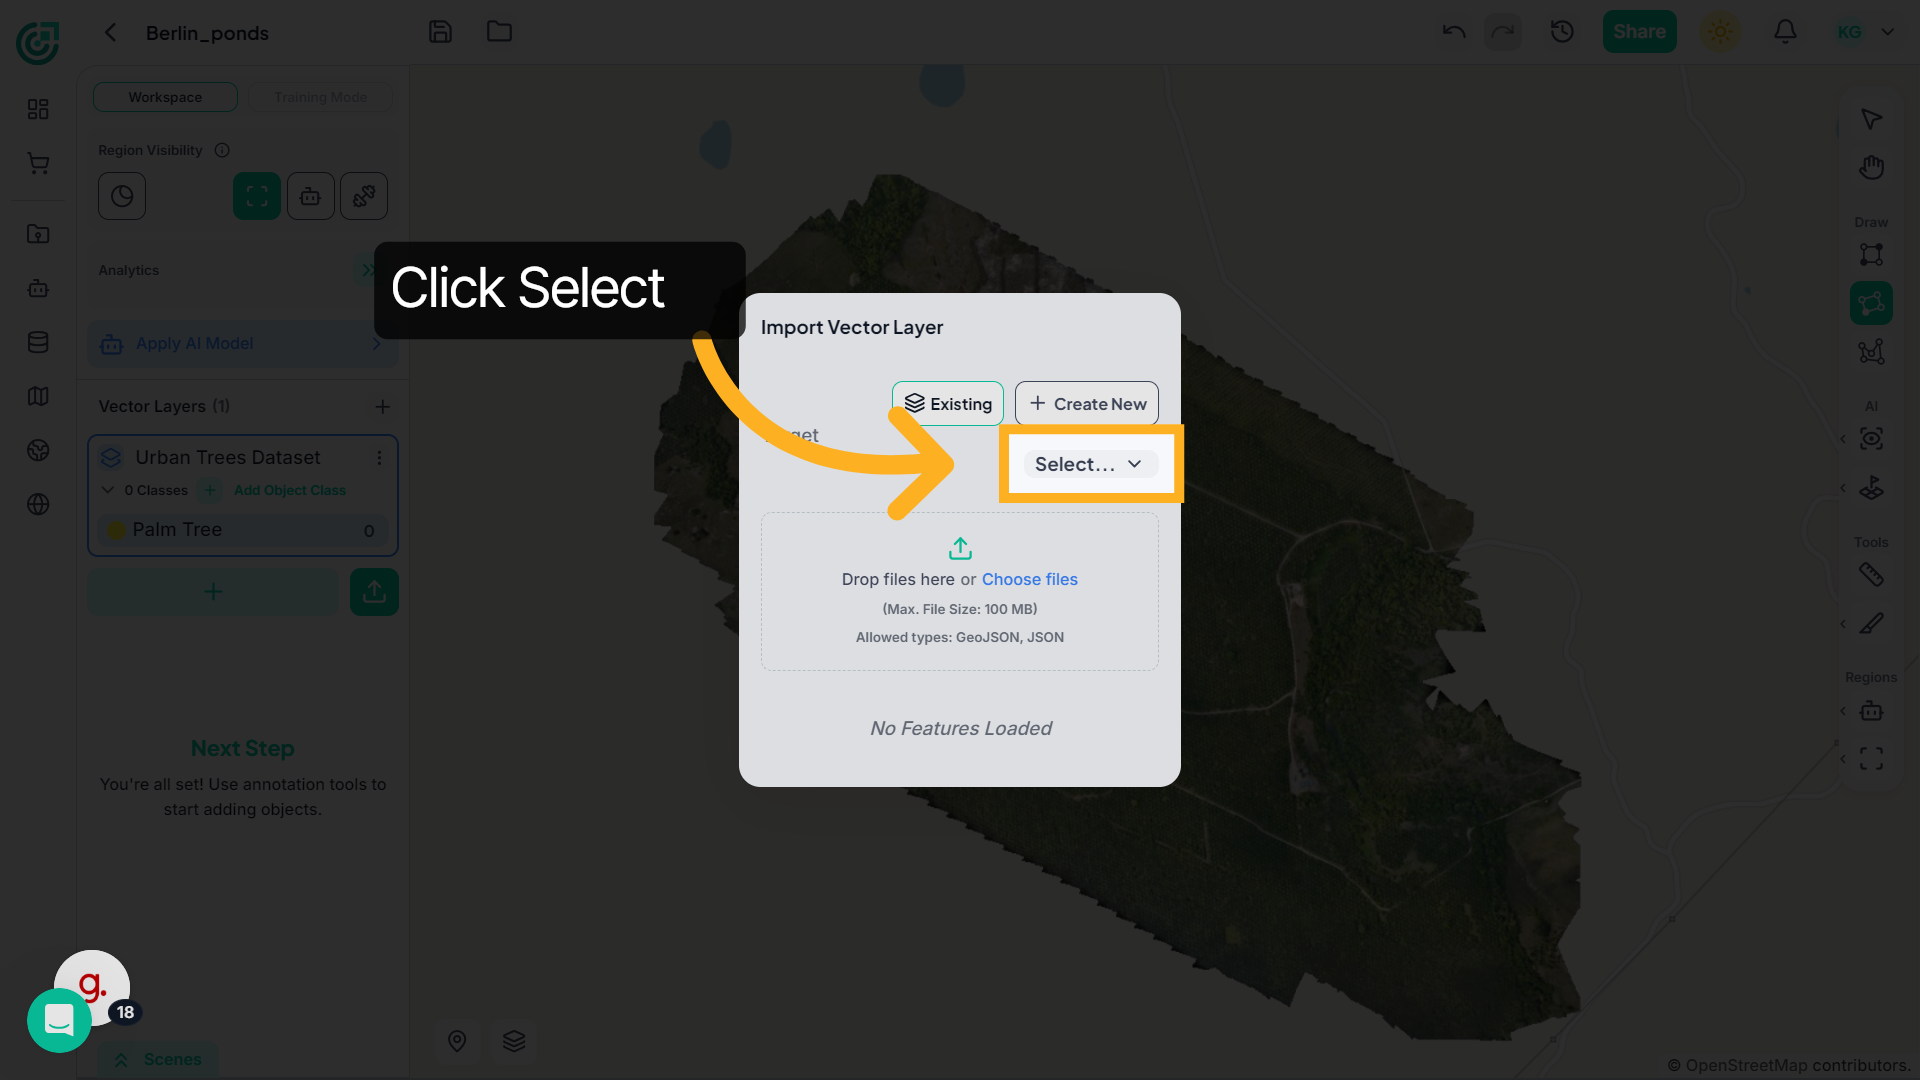
15. Open Selection Menu
Open the Select dropdown menu and choose the vector layer you want to use as the target for the imported data.
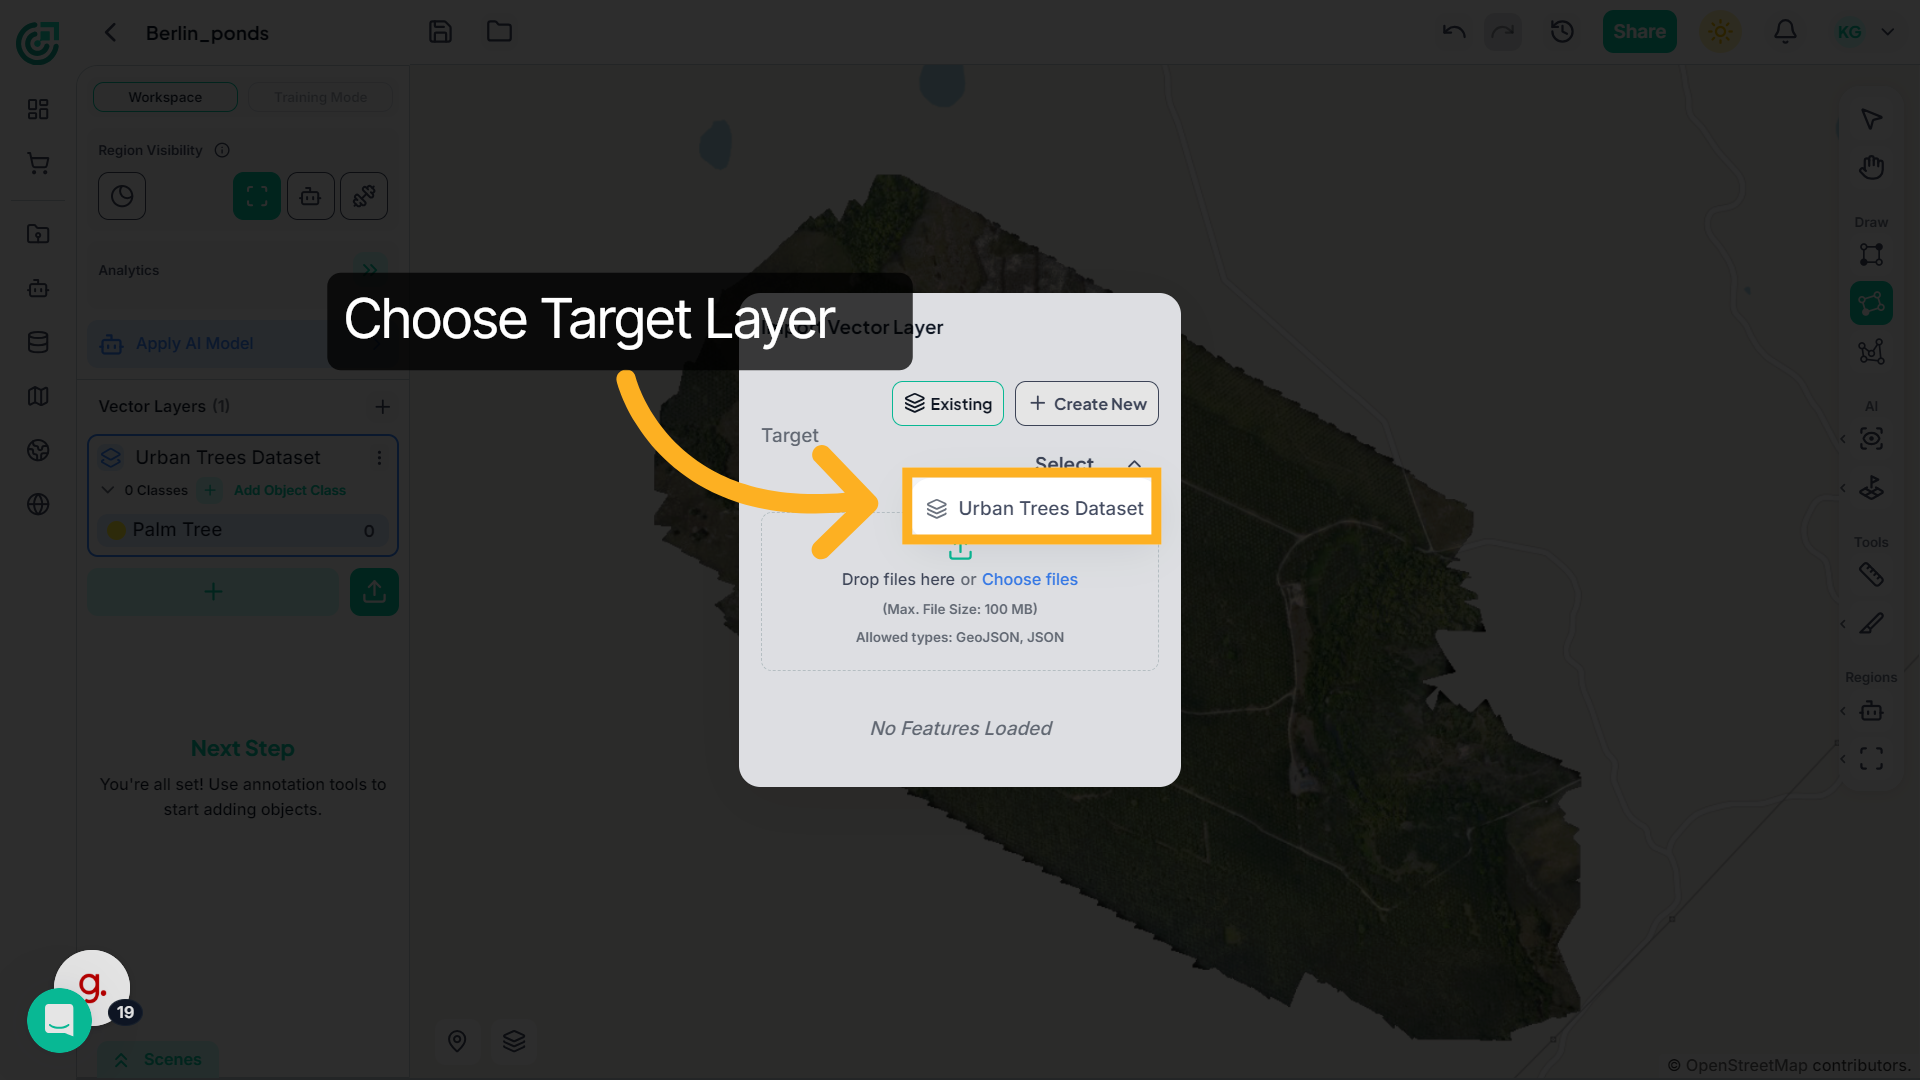
16. Confirm Selection Action
Click here to confirm your selection of the existing vector layer.
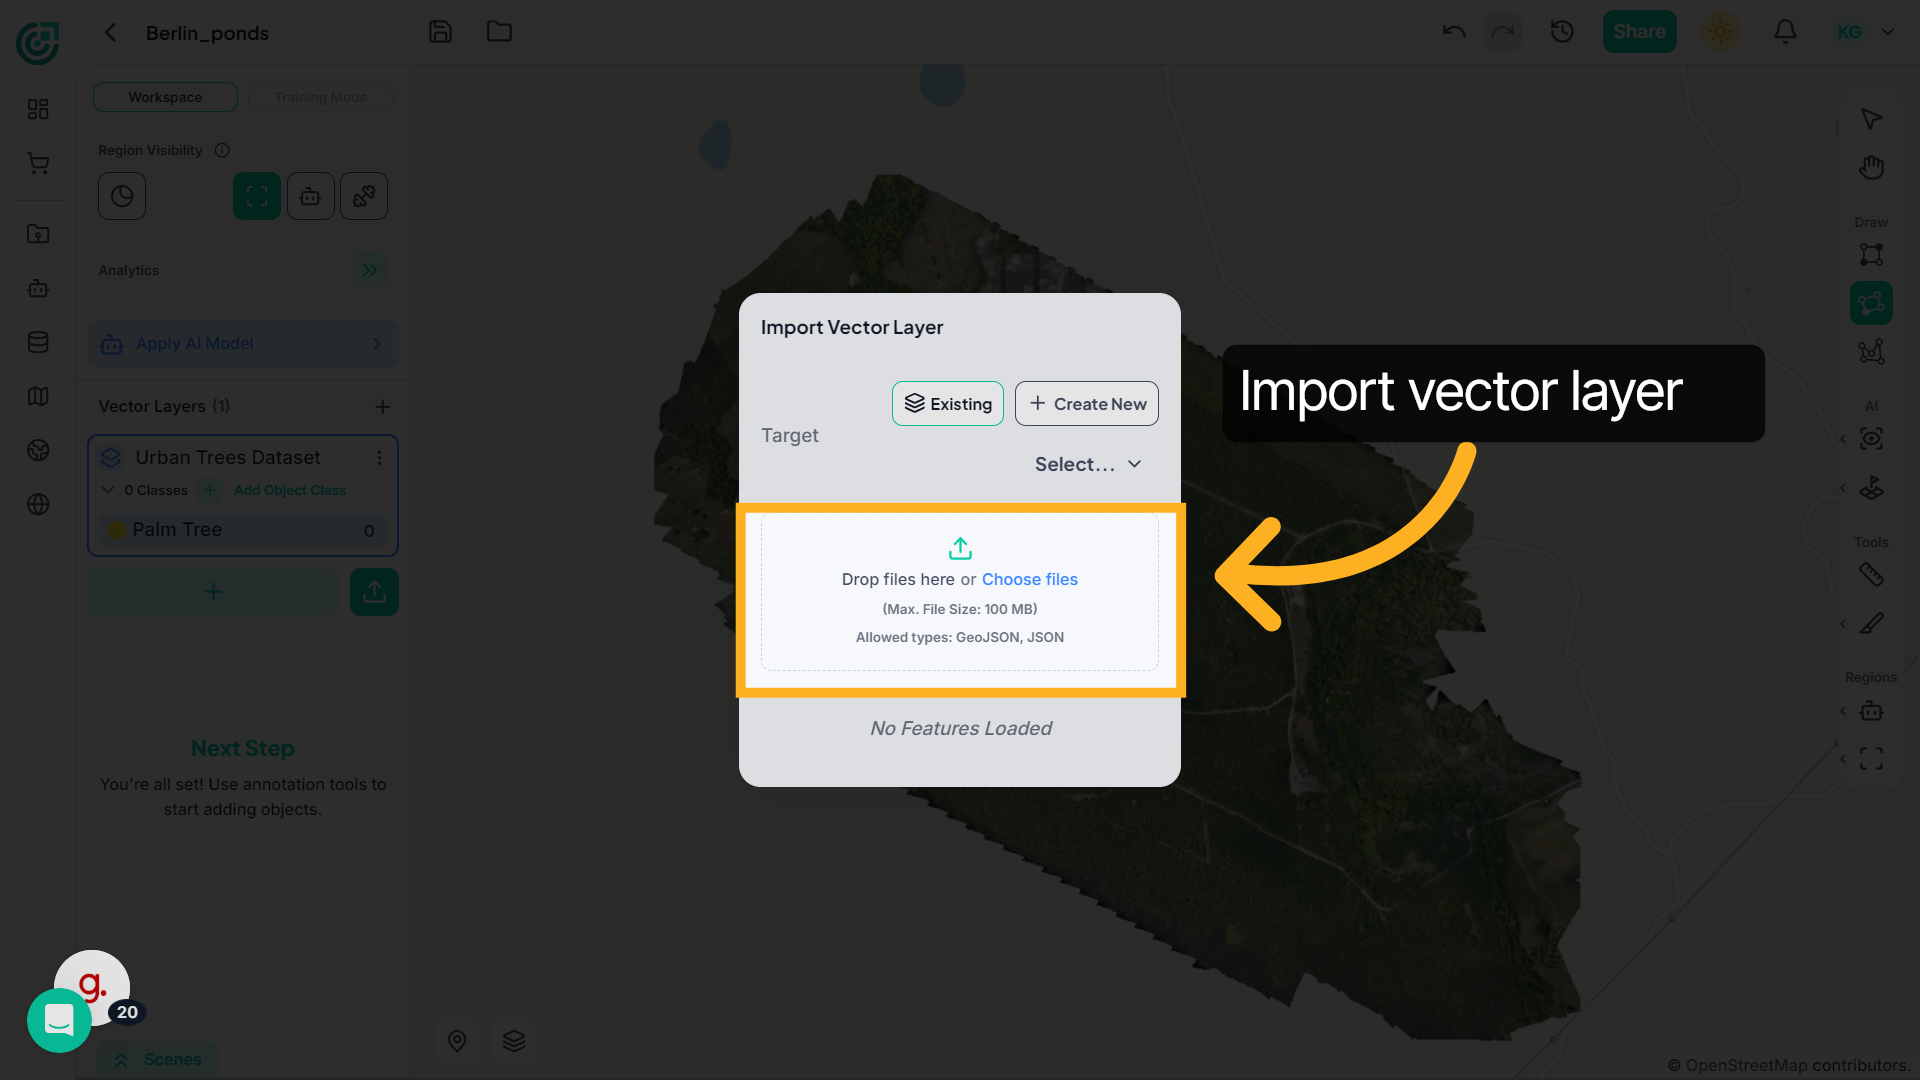
17. Upload Vector File
If vector data is available on your local system, upload it by dragging and dropping the GeoJSON or JSON file into the upload area, or by clicking Choose files to select it manually.
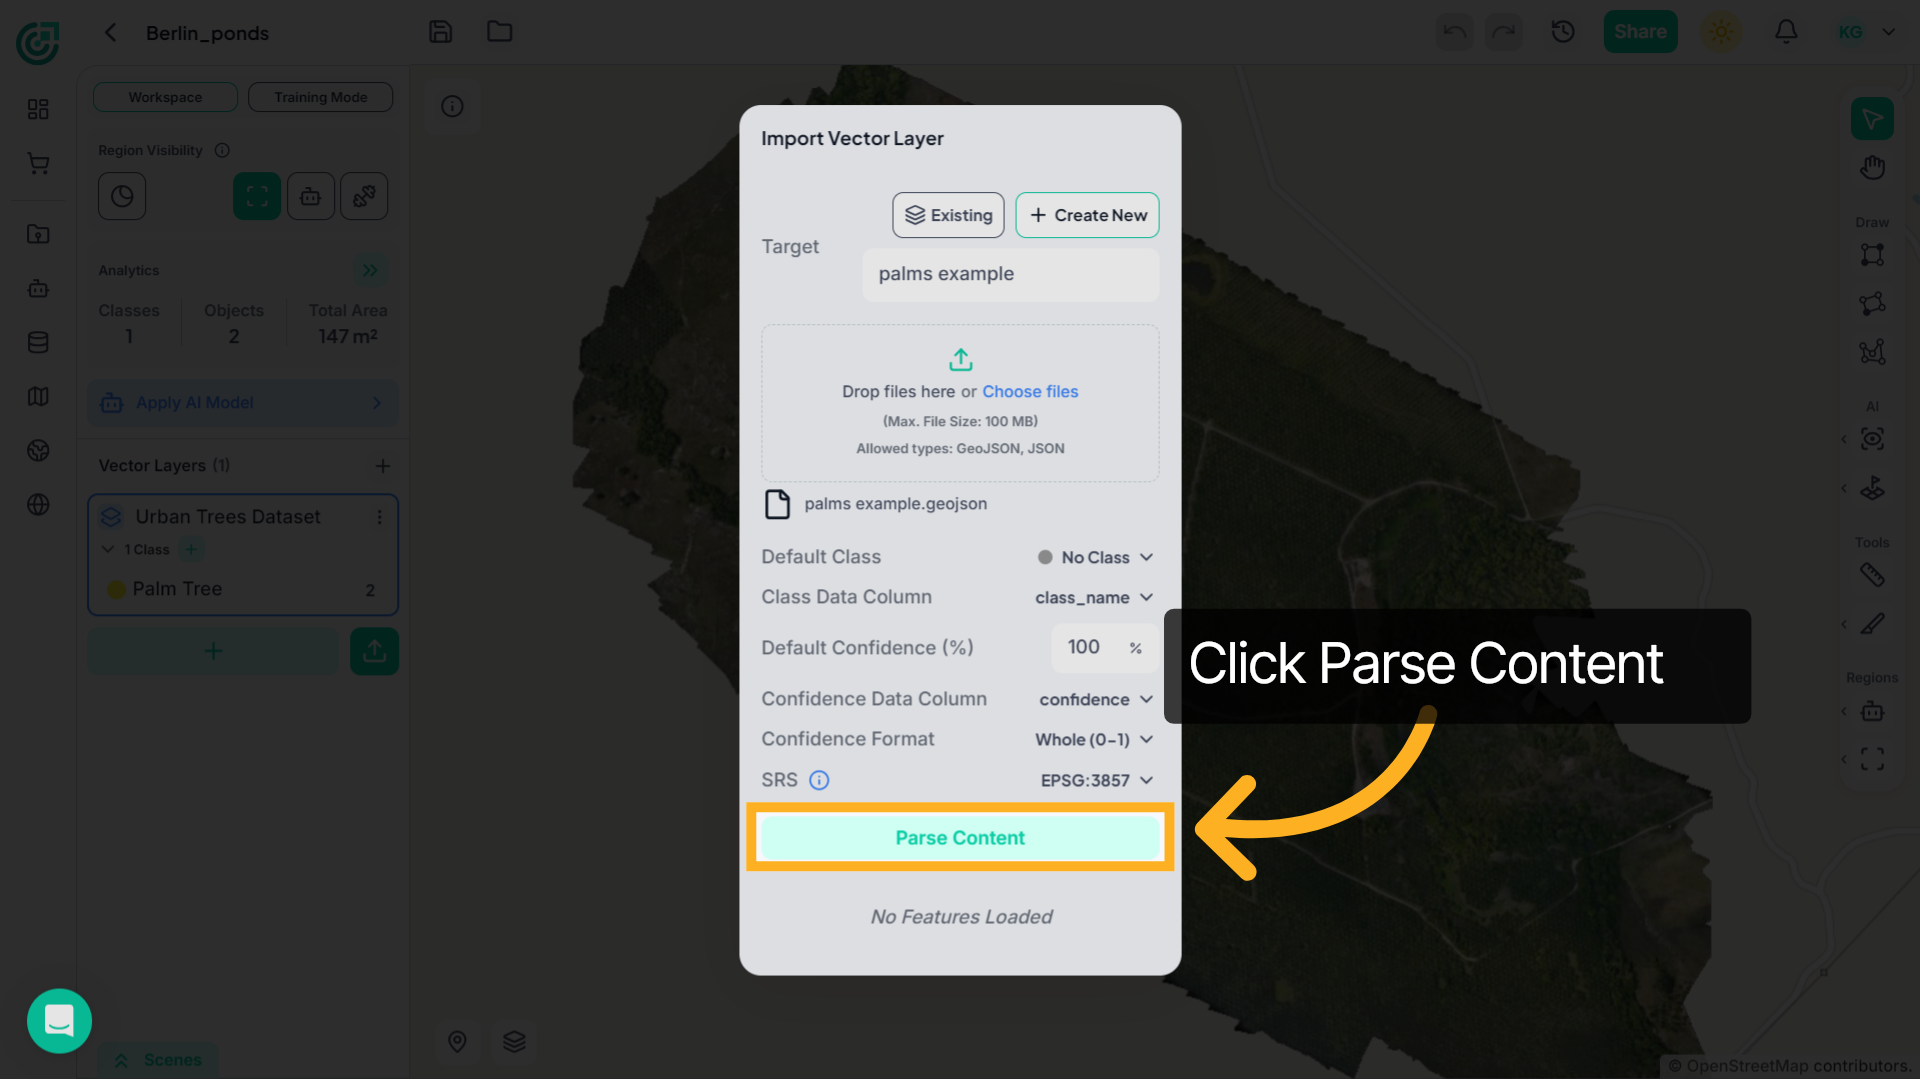
18. Parse Content
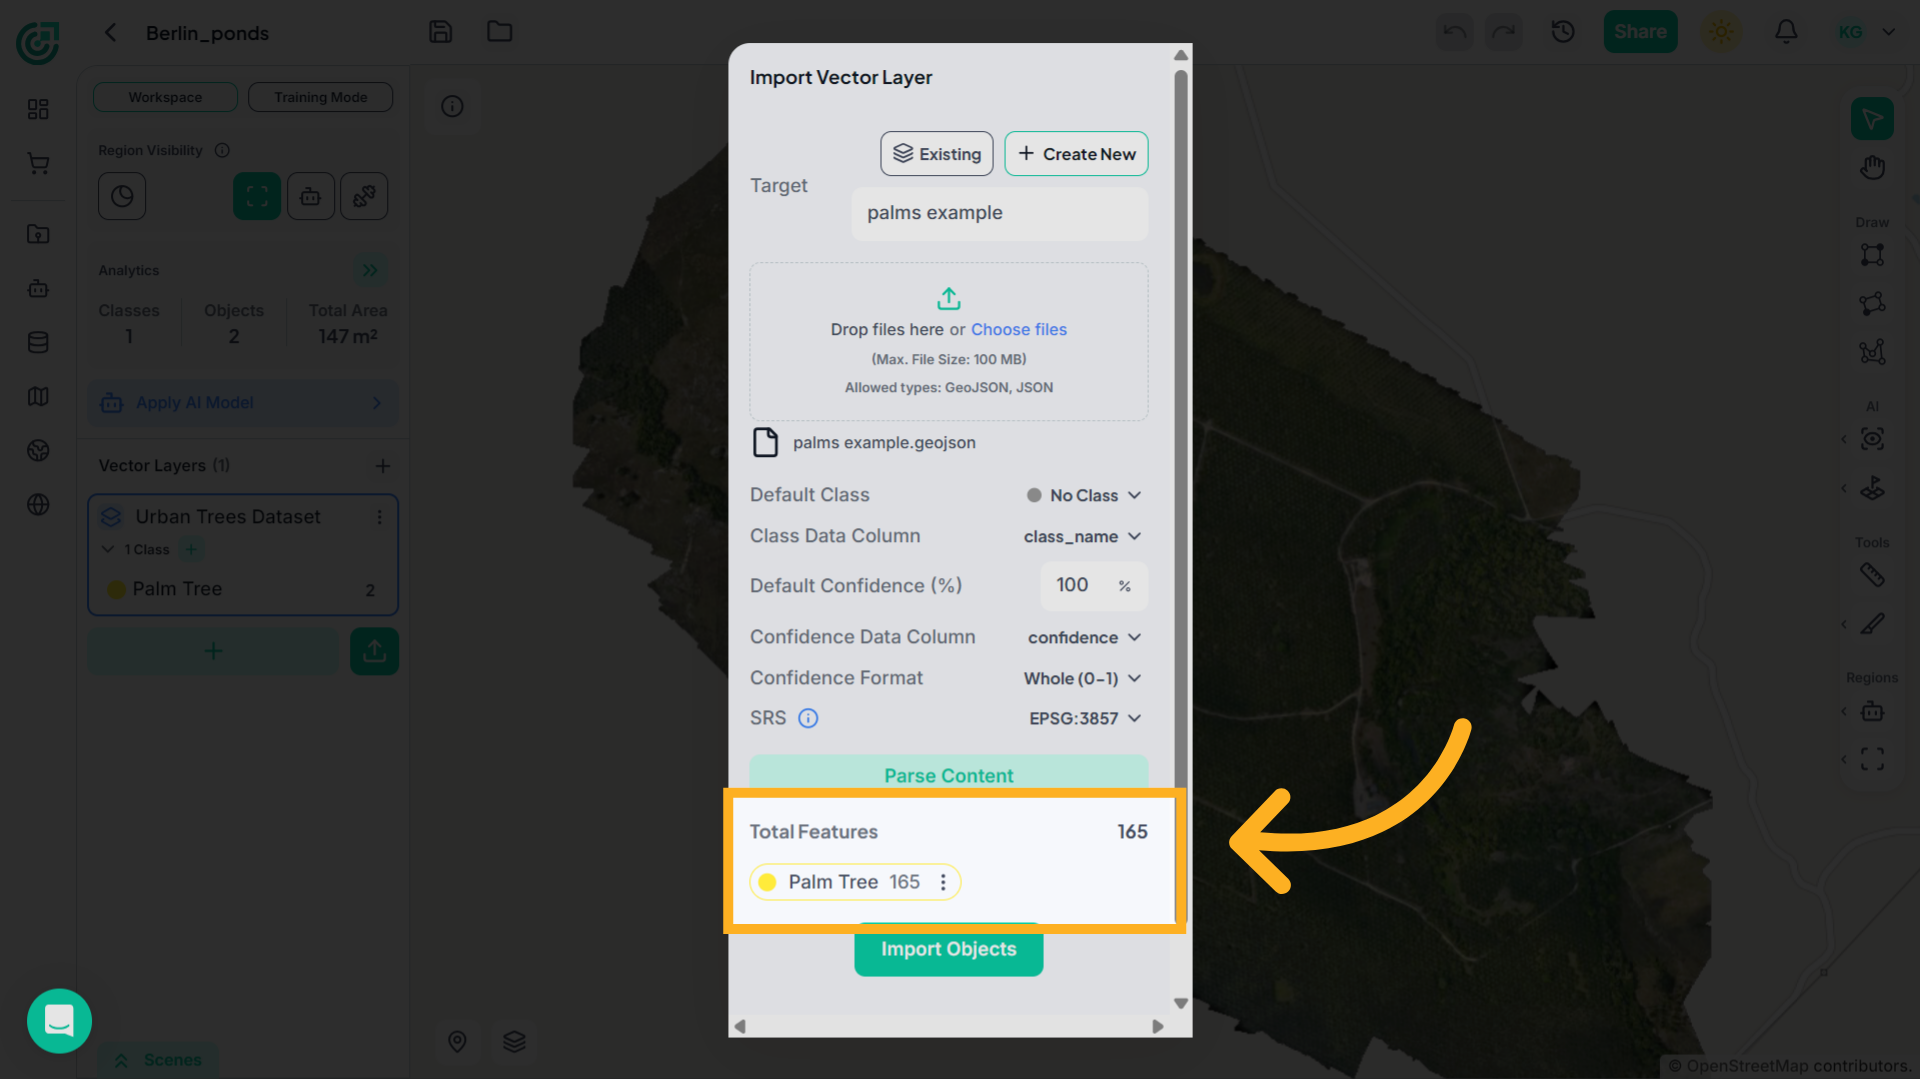
Once the file is uploaded, click Parse Content. This reads the file, detects the total number of features, and identifies the available class information for import.
19. Review Class Mapping
Now review the detected Class Data Column to ensure the objects are mapped to the correct class. If needed, use the three-dot menu to convert the objects to a different class before proceeding.
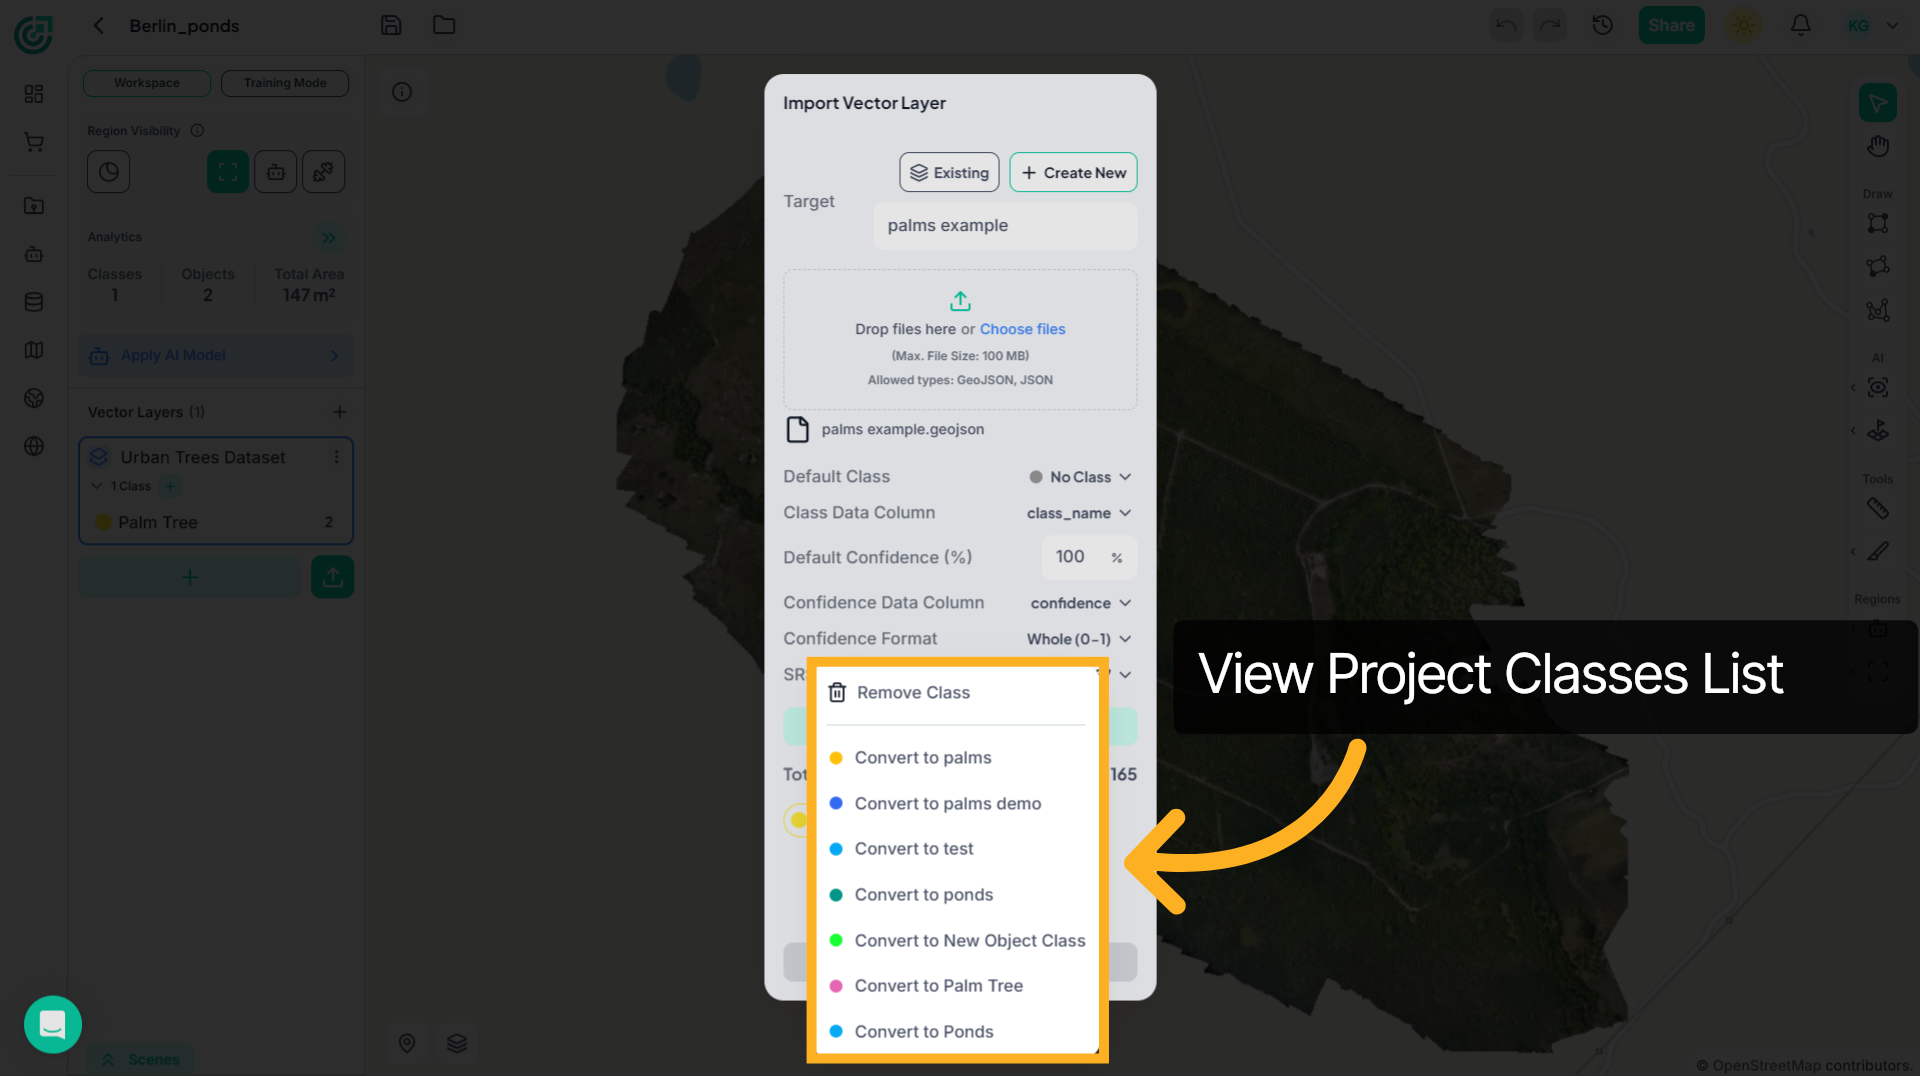
20. Convert Objects to Another Class
This opens a list of available classes in your project. From here, you can convert the imported features to another class before finalizing the import. Select the appropriate class, and the objects will update accordingly.
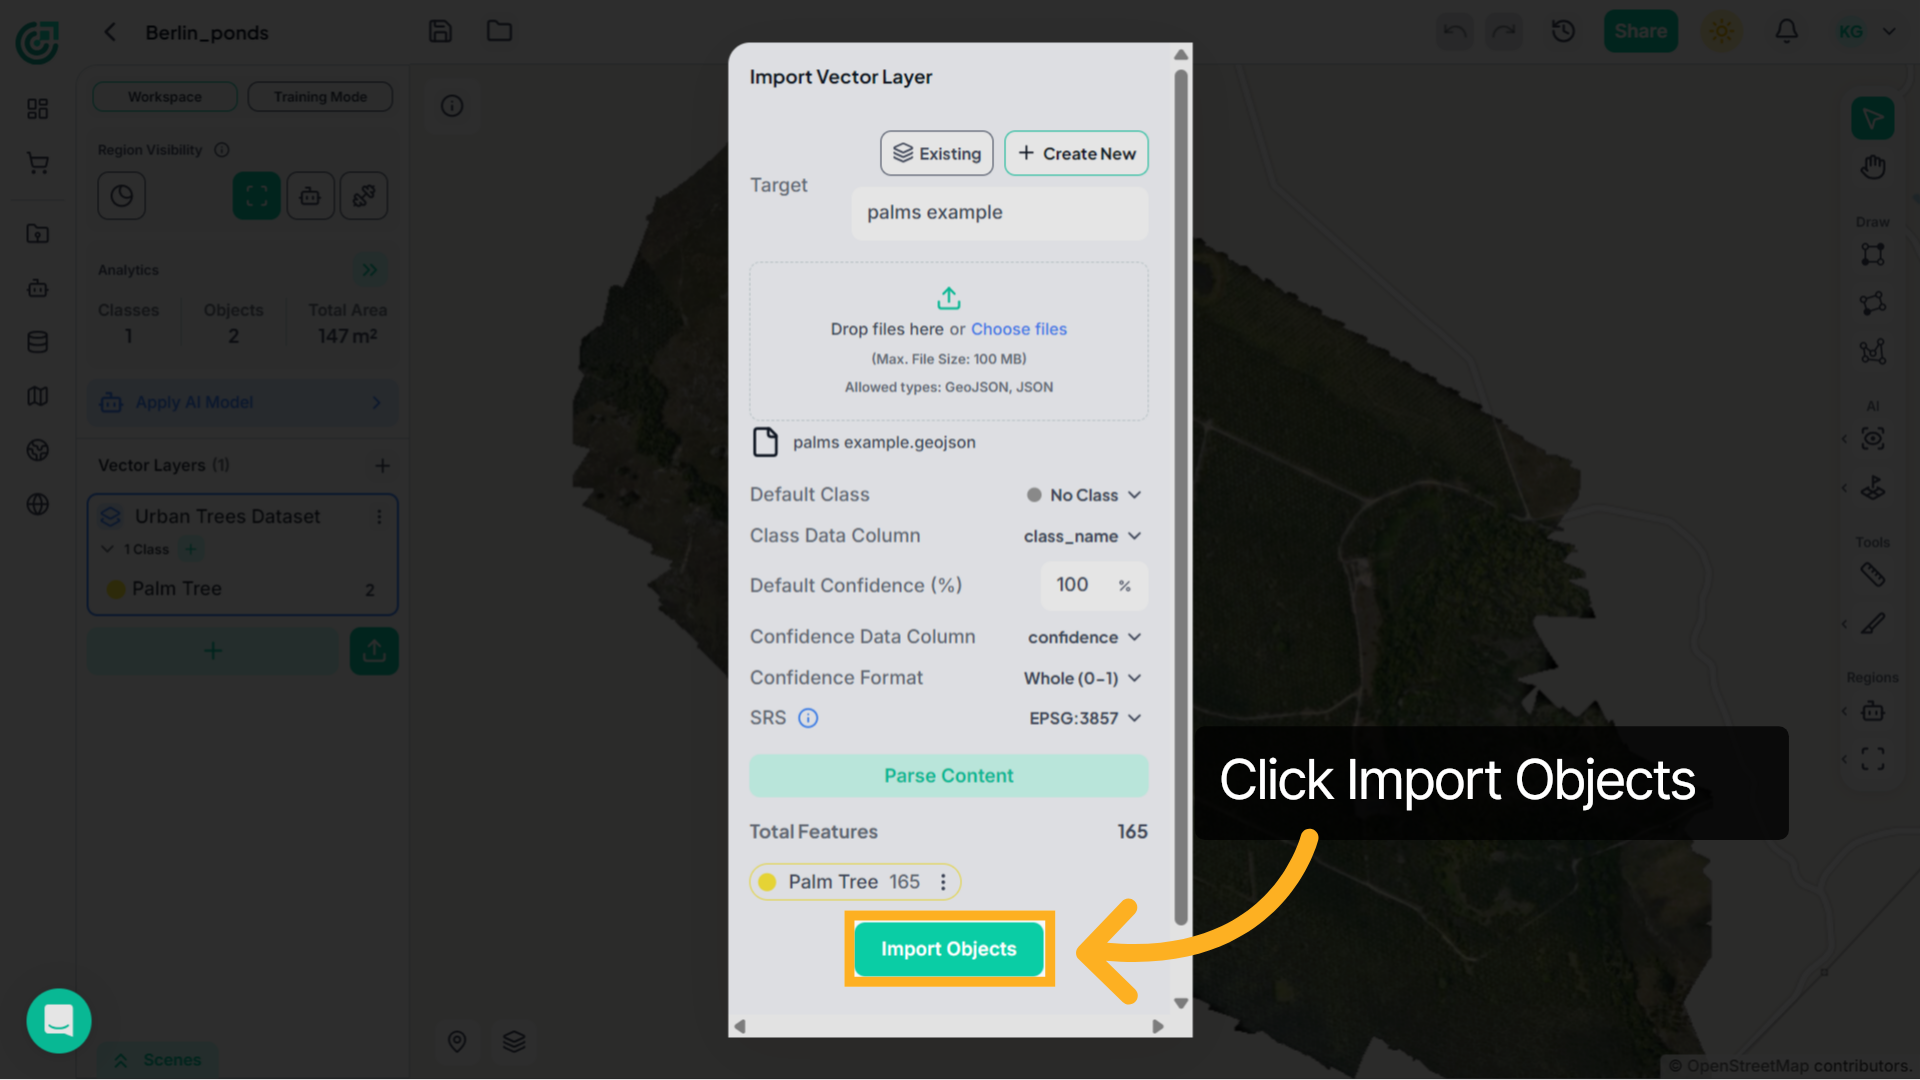
21. Import Objects
After confirming the class mapping and target layer, click Import Objects. The system will process and add the features to the selected vector layer.
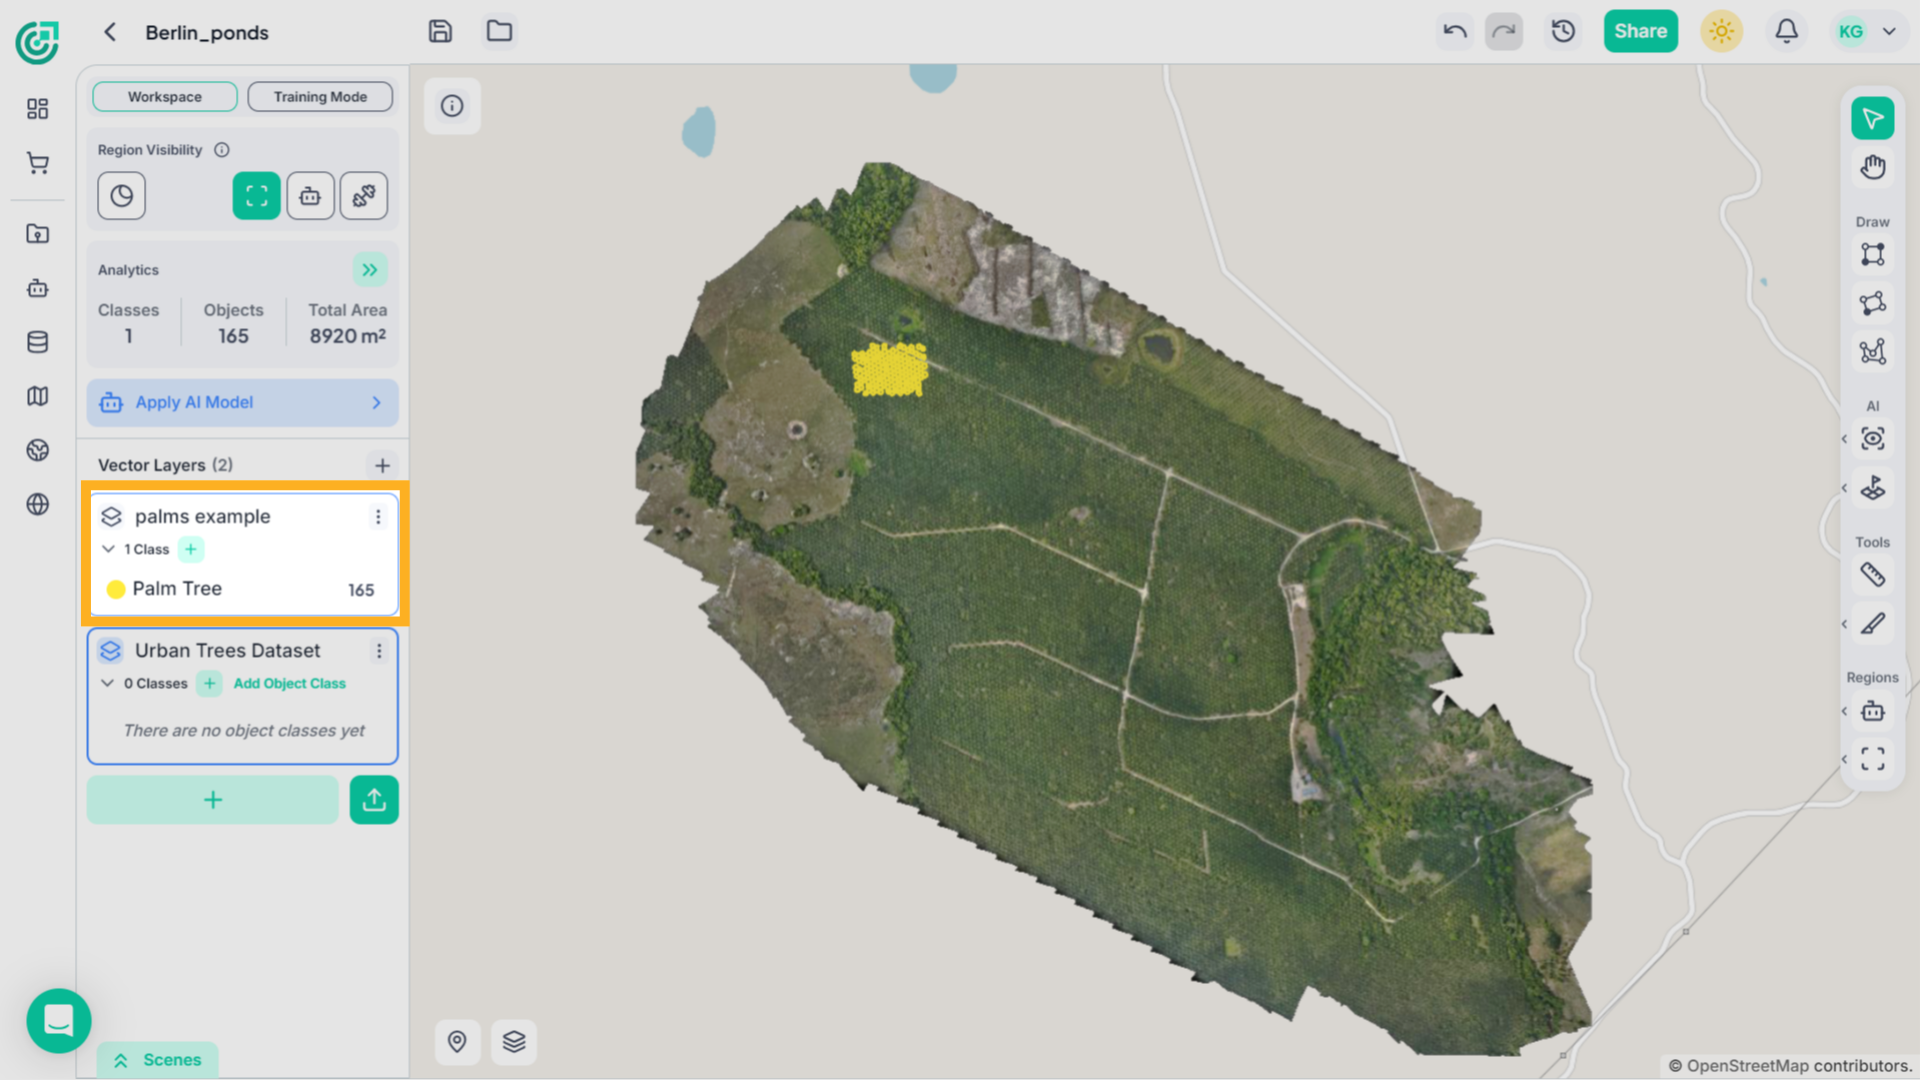
22. Verify Imported Objects
Once the import is complete, the objects will appear under the selected layer in the workspace. You can now select any object on the map to inspect it, and it will reflect the assigned class and color automatically.
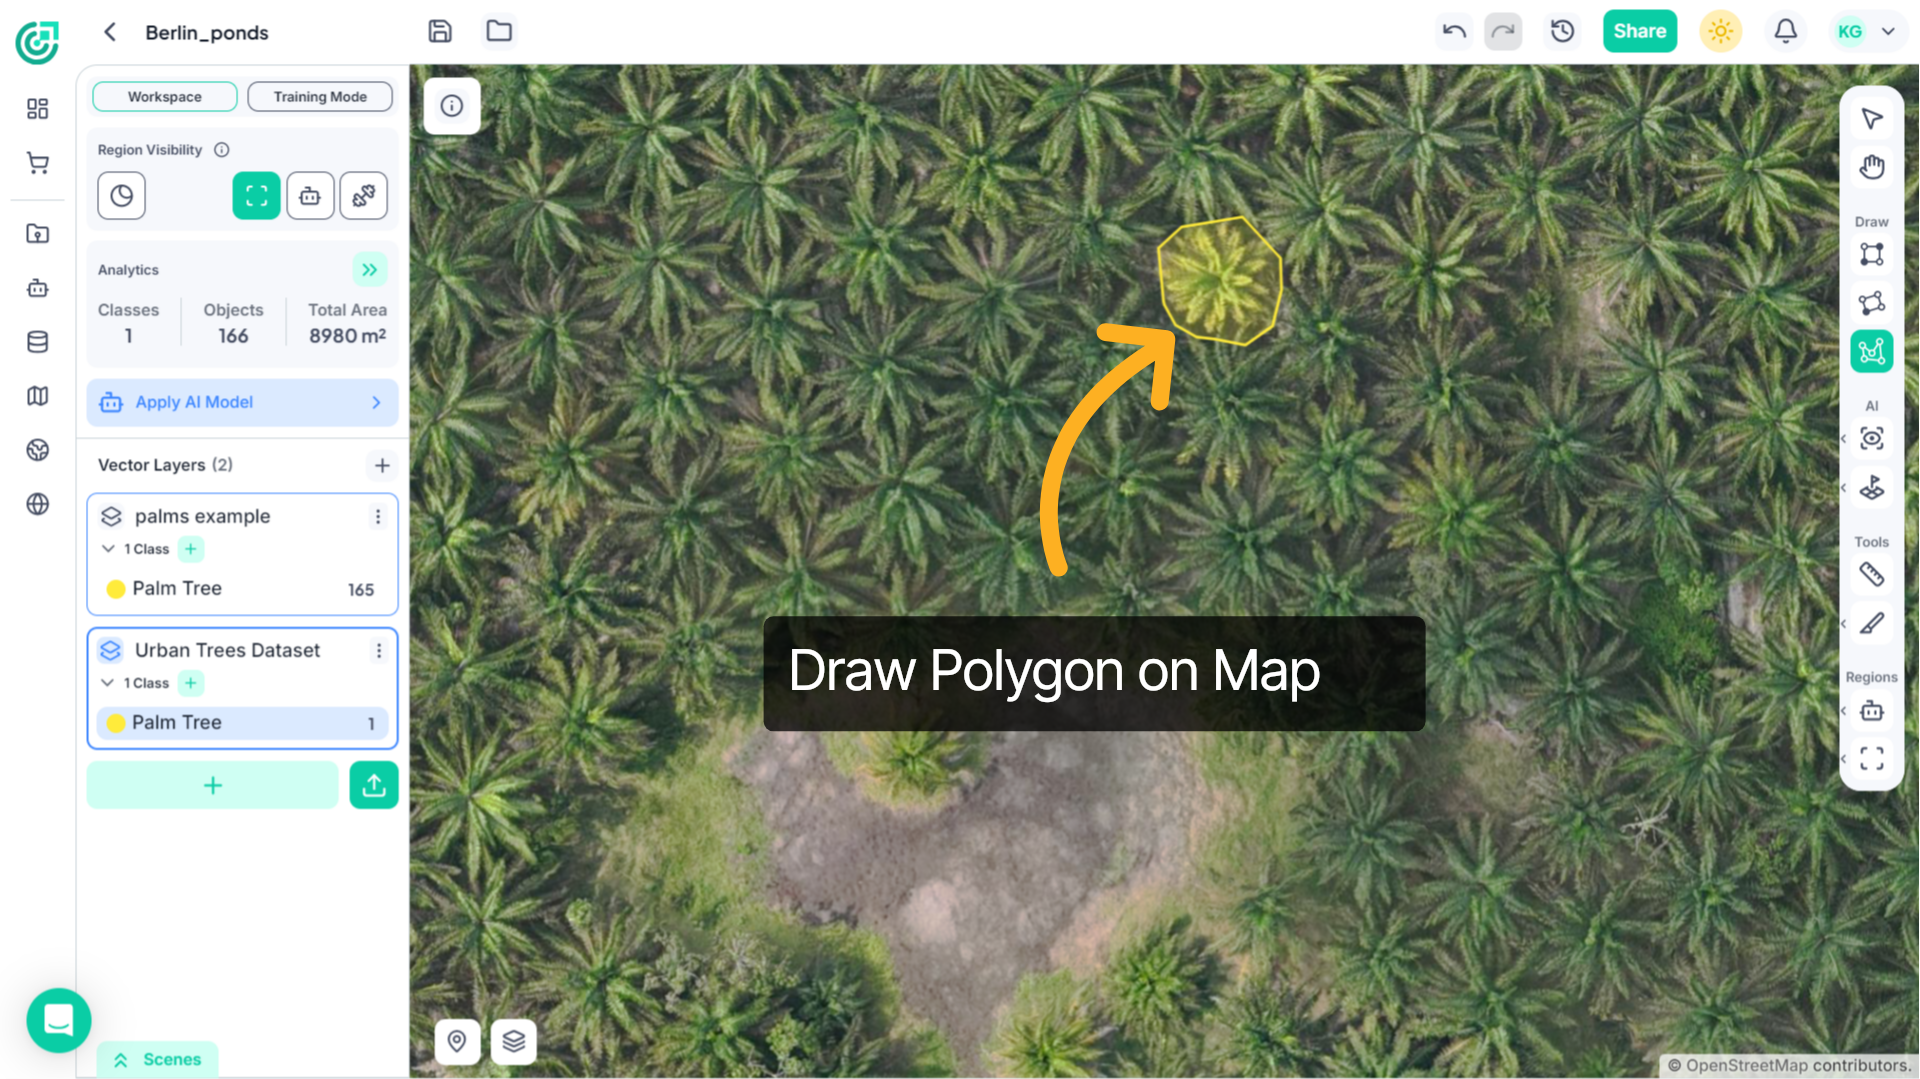
23. Switch to Draw Tool
Before creating or selecting new objects, switch to the appropriate drawing tool, for example, Draw Polygon, from the right toolbar. This activates annotation mode for creating new vector objects.

24. Select or Draw Object Area
Now draw a polygon around the desired area on the map. The newly created object will automatically be assigned to the active vector layer and class.
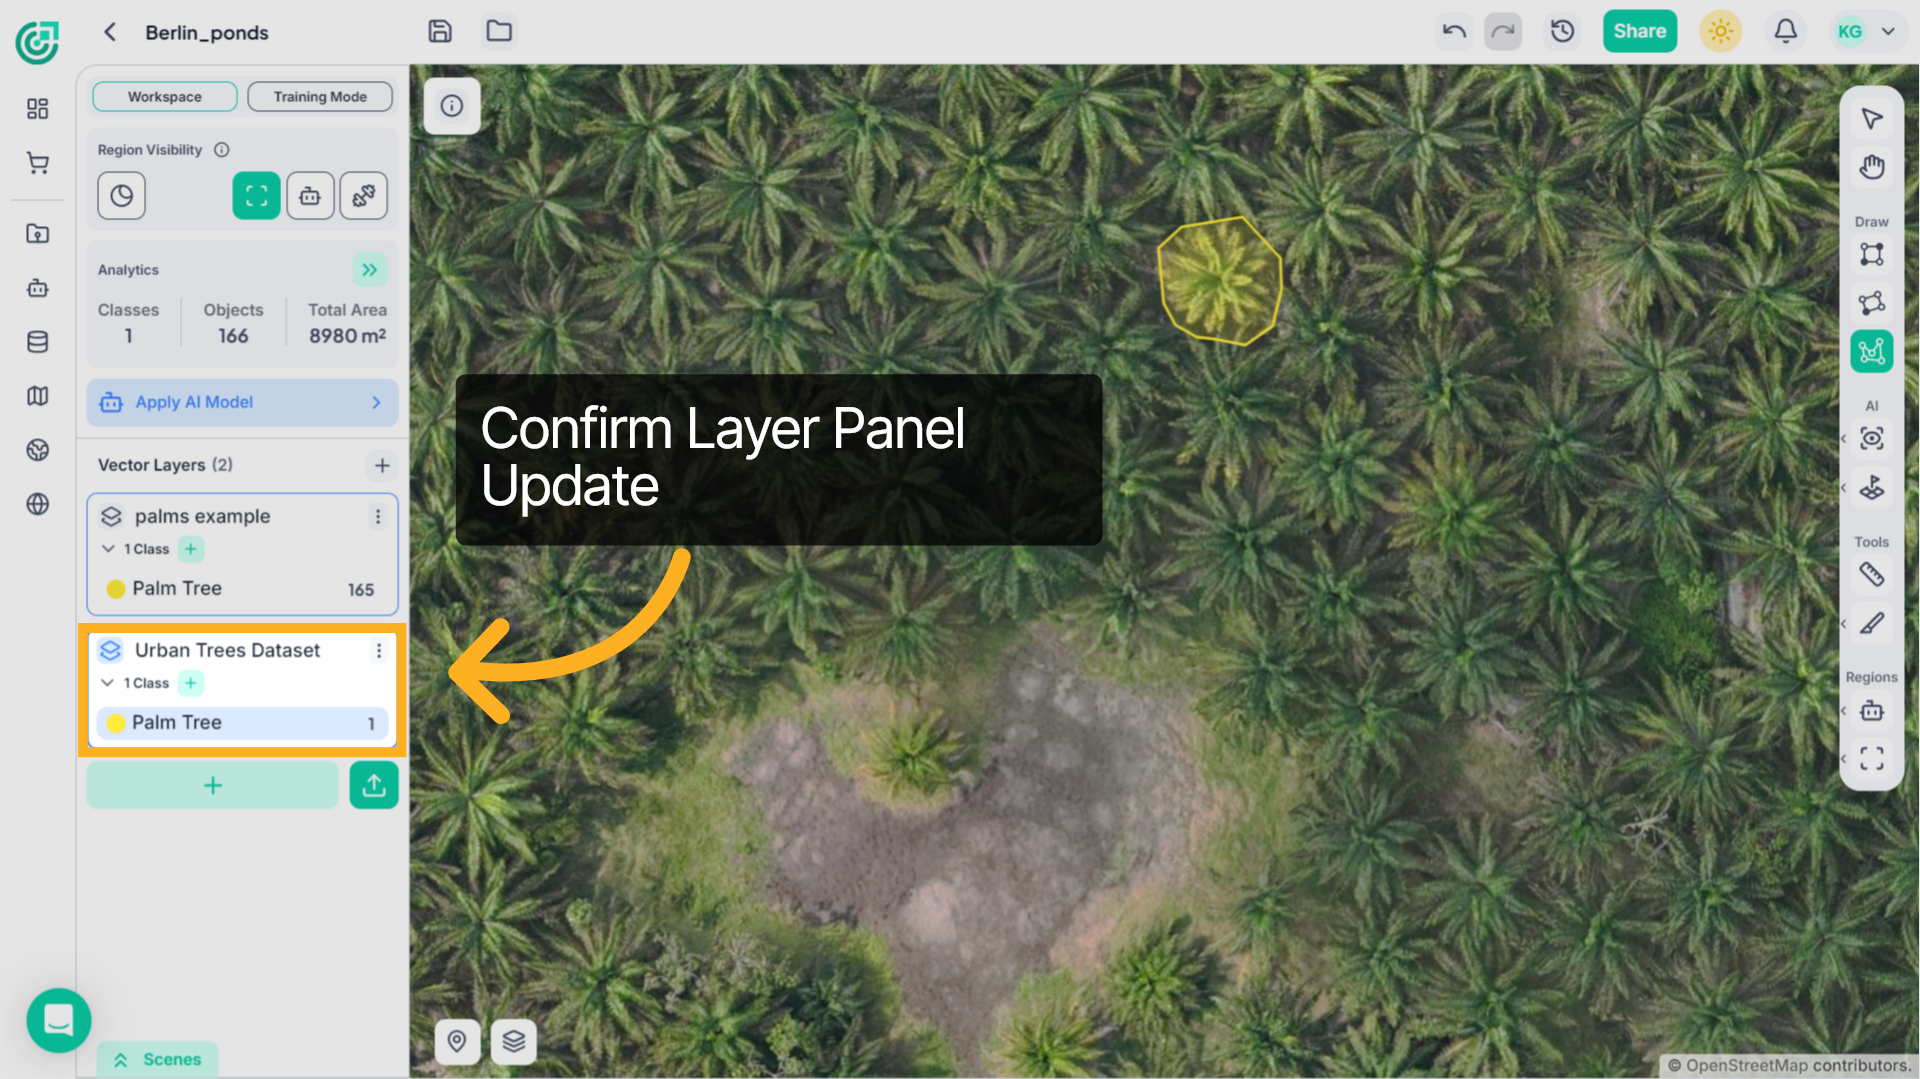
25. Confirm Layer Update
Once the object is created, the layer panel updates automatically, reflecting the assigned class and its associated color. This confirms that the object has been properly categorized within the dataset.
This demo demonstrated how to create vector layers, define object classes, import vector data, and assign objects within FlyPix AI. You can now organize and manage your spatial data efficiently using structured layers and classes in the workspace.