Perform Manual Annotation Workflow In FlyPix AI
This demo showcases how to perform manual annotation using FlyPix AI.
Go to app.flypix.ai
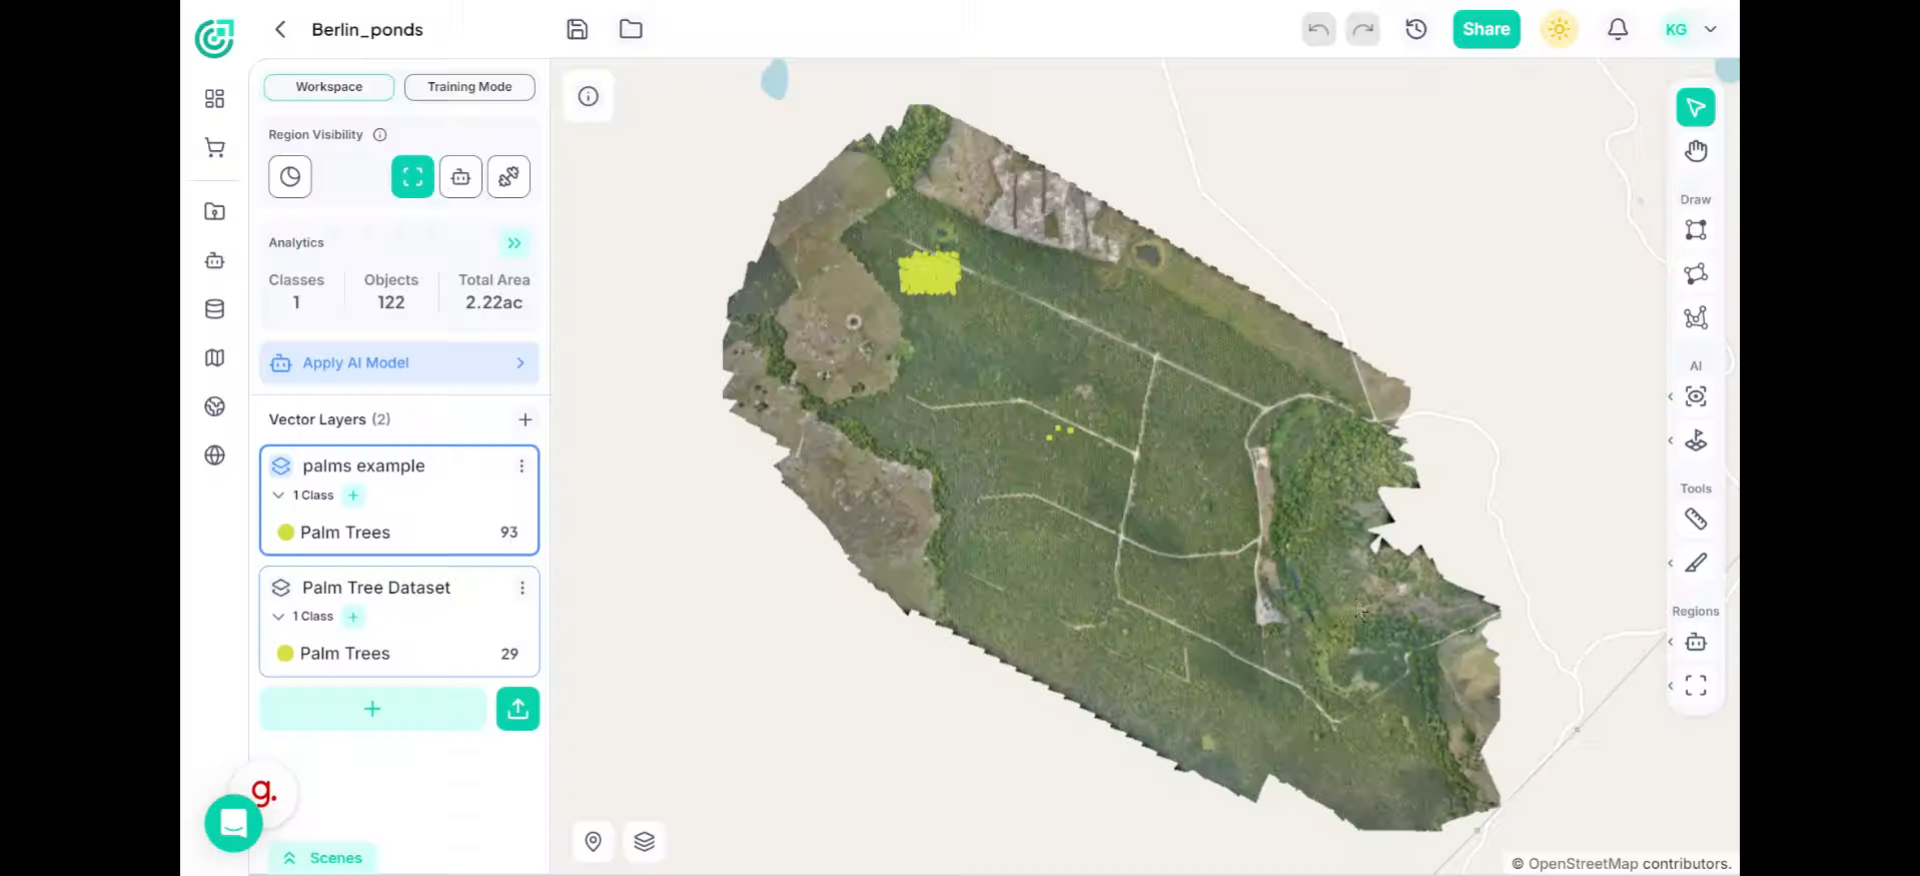
1. Access the Annotation Tools
Let’s start by looking at the toolbar on the left side of the screen. Under the Draw section, you’ll find the annotation tools we’ll be using.
2. Bounding Box Tool
If the object you’re marking has a simple rectangular shape, select the Bounding Box tool.
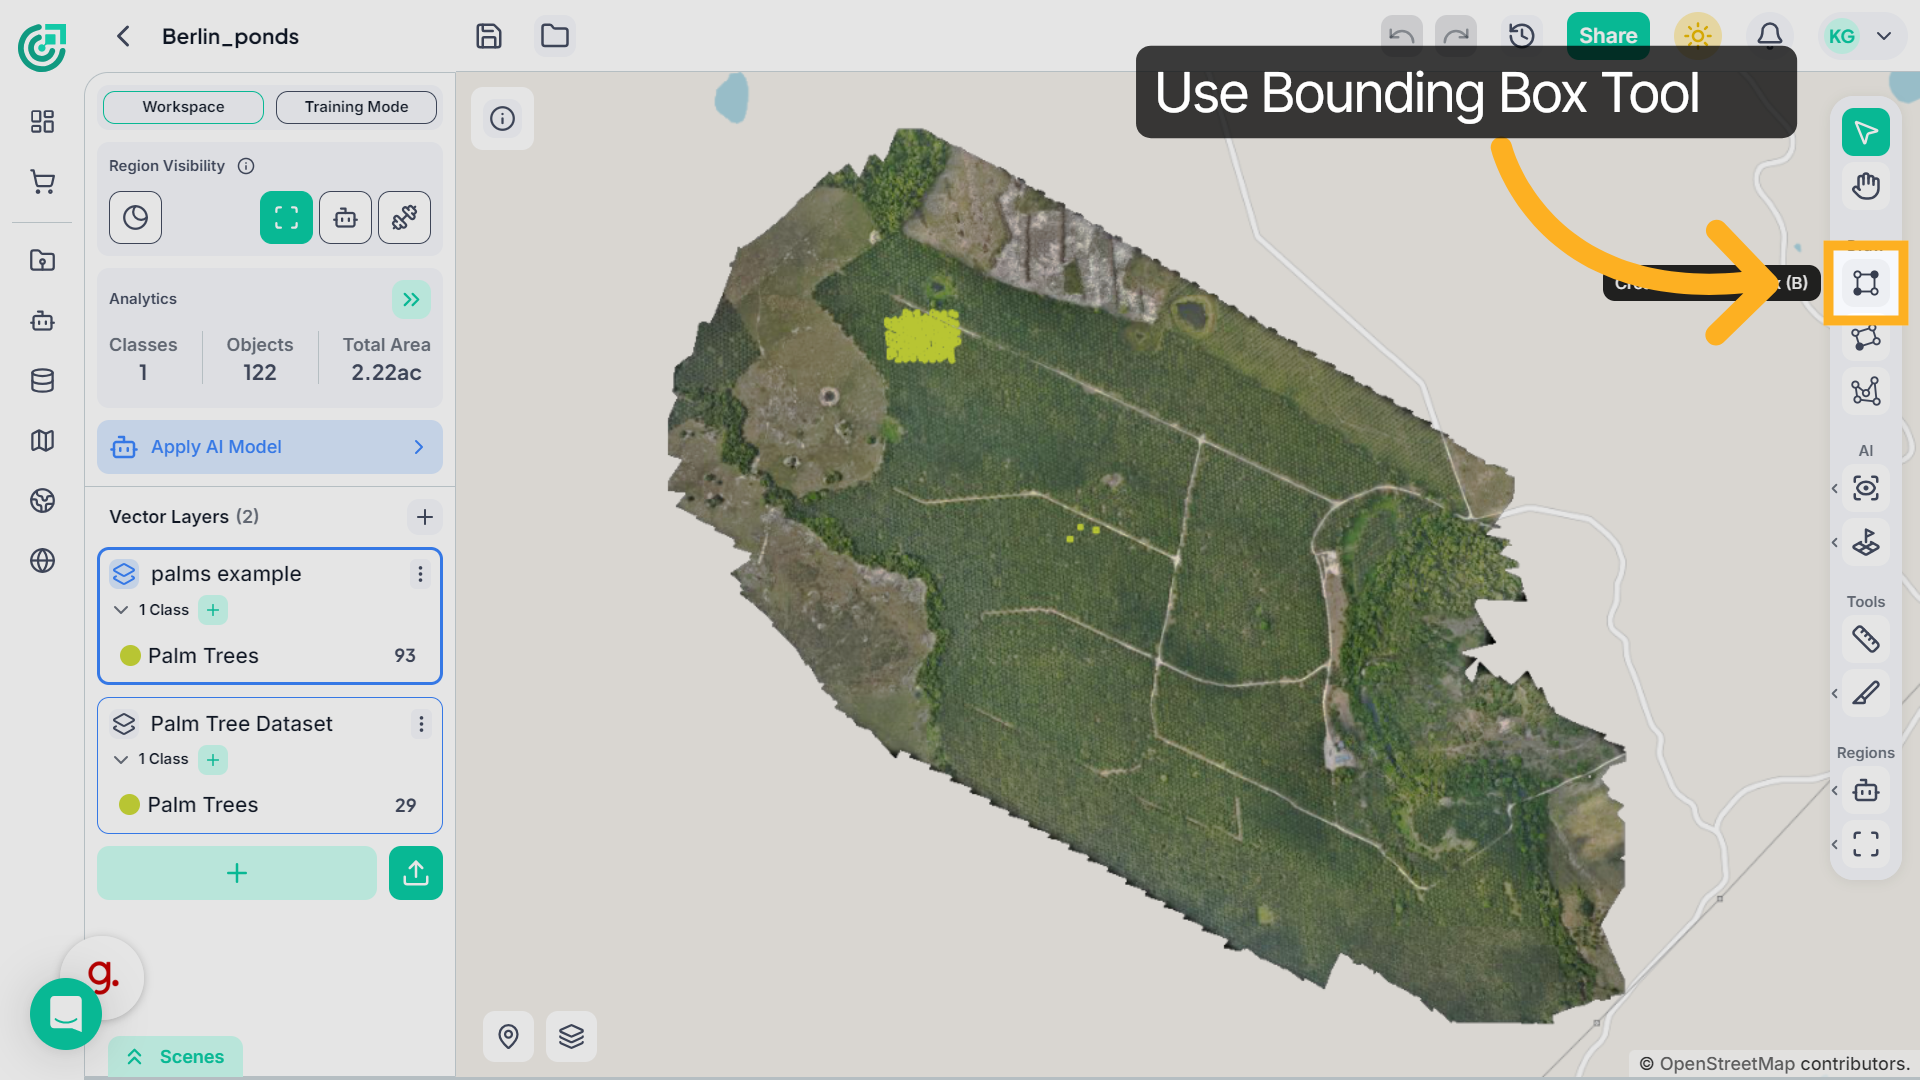
3. Annotate Using the Bounding Box Tool
Now, move your cursor over the object you want to annotate. Click and drag to draw a box around it. Release the mouse to place the annotation. Continue doing this for the other objects you see in the imagery. Use bounding boxes wherever a simple rectangular outline is enough to capture the object clearly.

4. Oriented Box Tool
If the object appears tilted or rotated, switch to the Oriented Box tool.
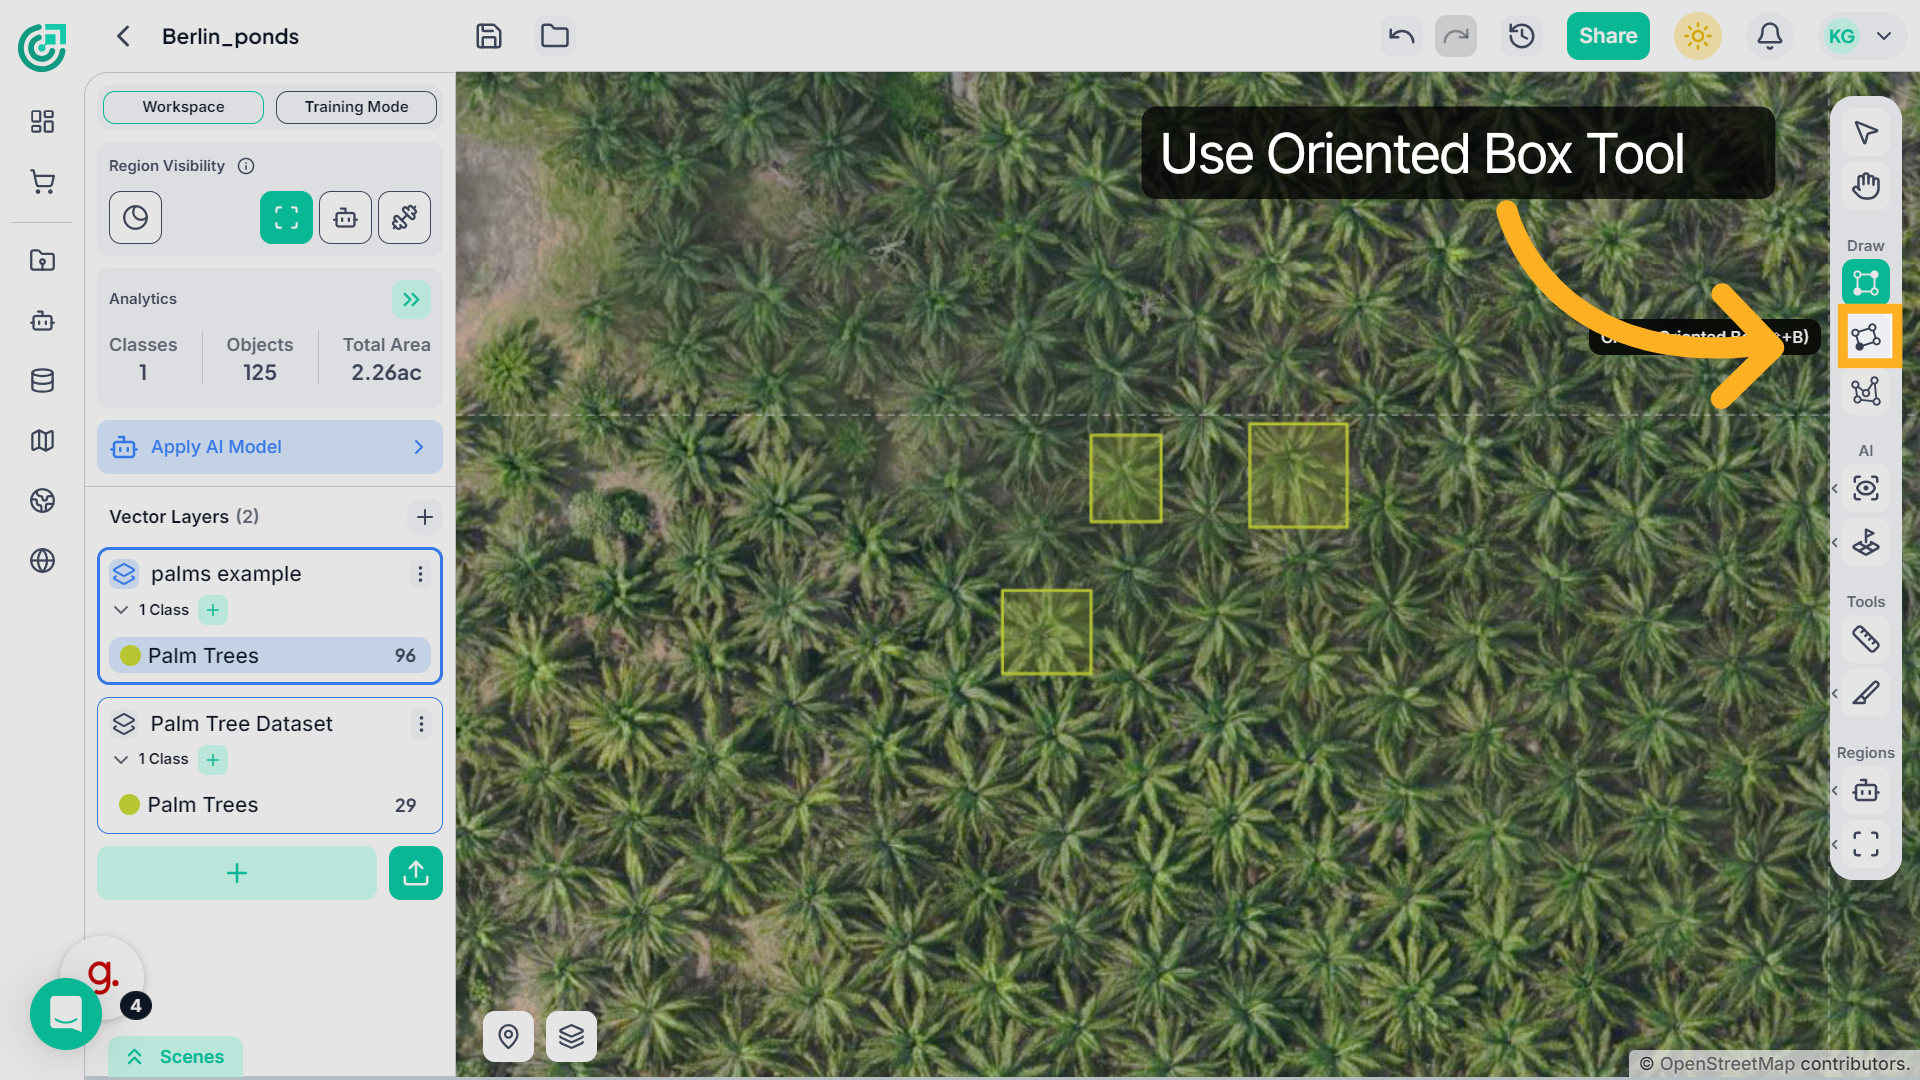
5. Annotate Using the Oriented Box Tool
With this tool selected, draw a box around an object just like before, but now adjust the angle to align it with the object’s orientation. This is especially useful when objects appear tilted or rotated in the image.Try annotating a few angled objects so you can see how the oriented box fits more precisely than a standard bounding box.
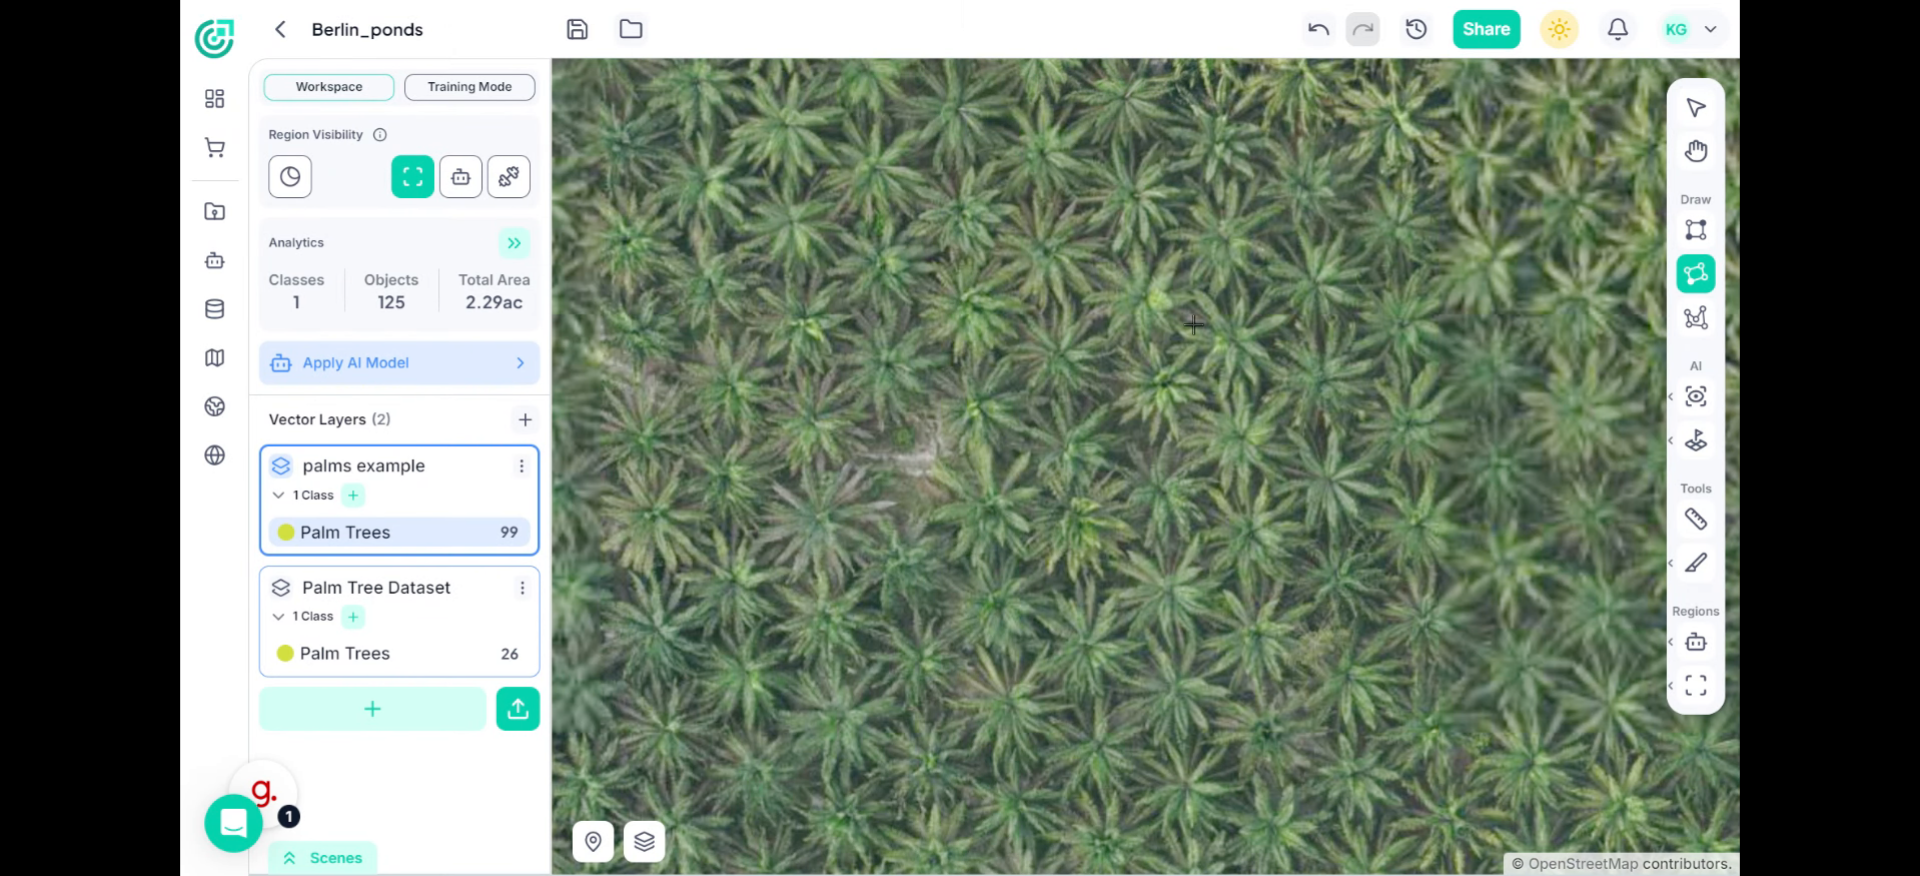
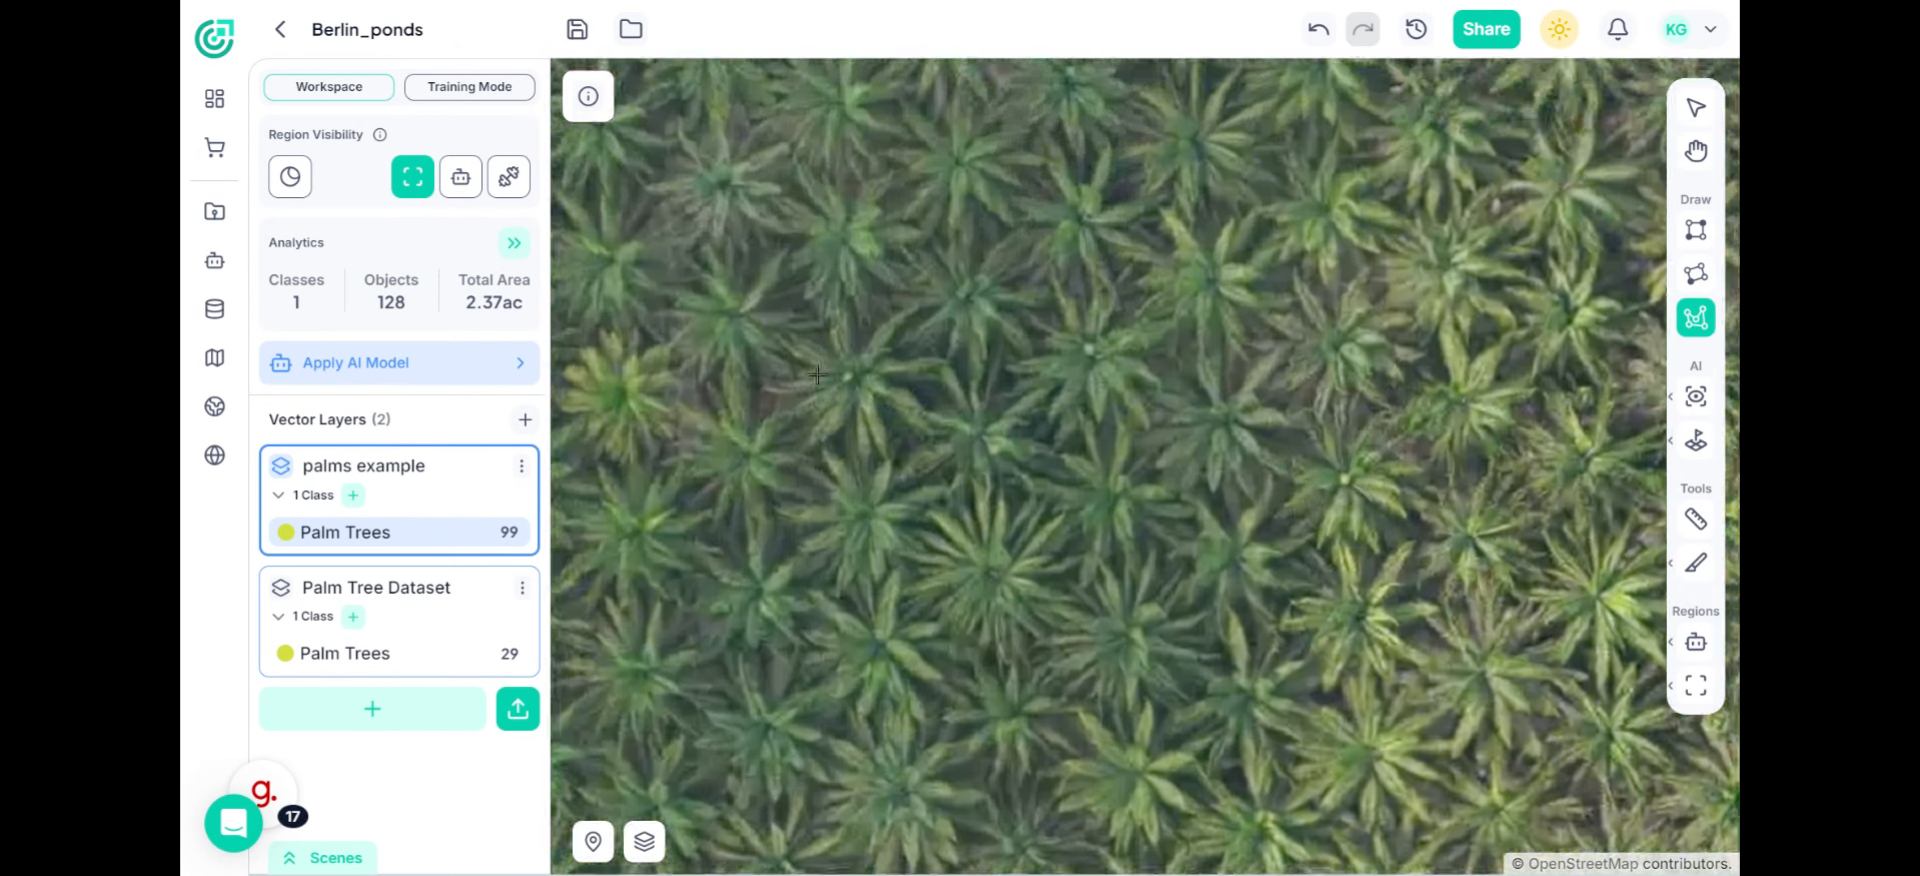
6. Polygon Tool
If the object has an irregular or complex shape, choose the Polygon tool.
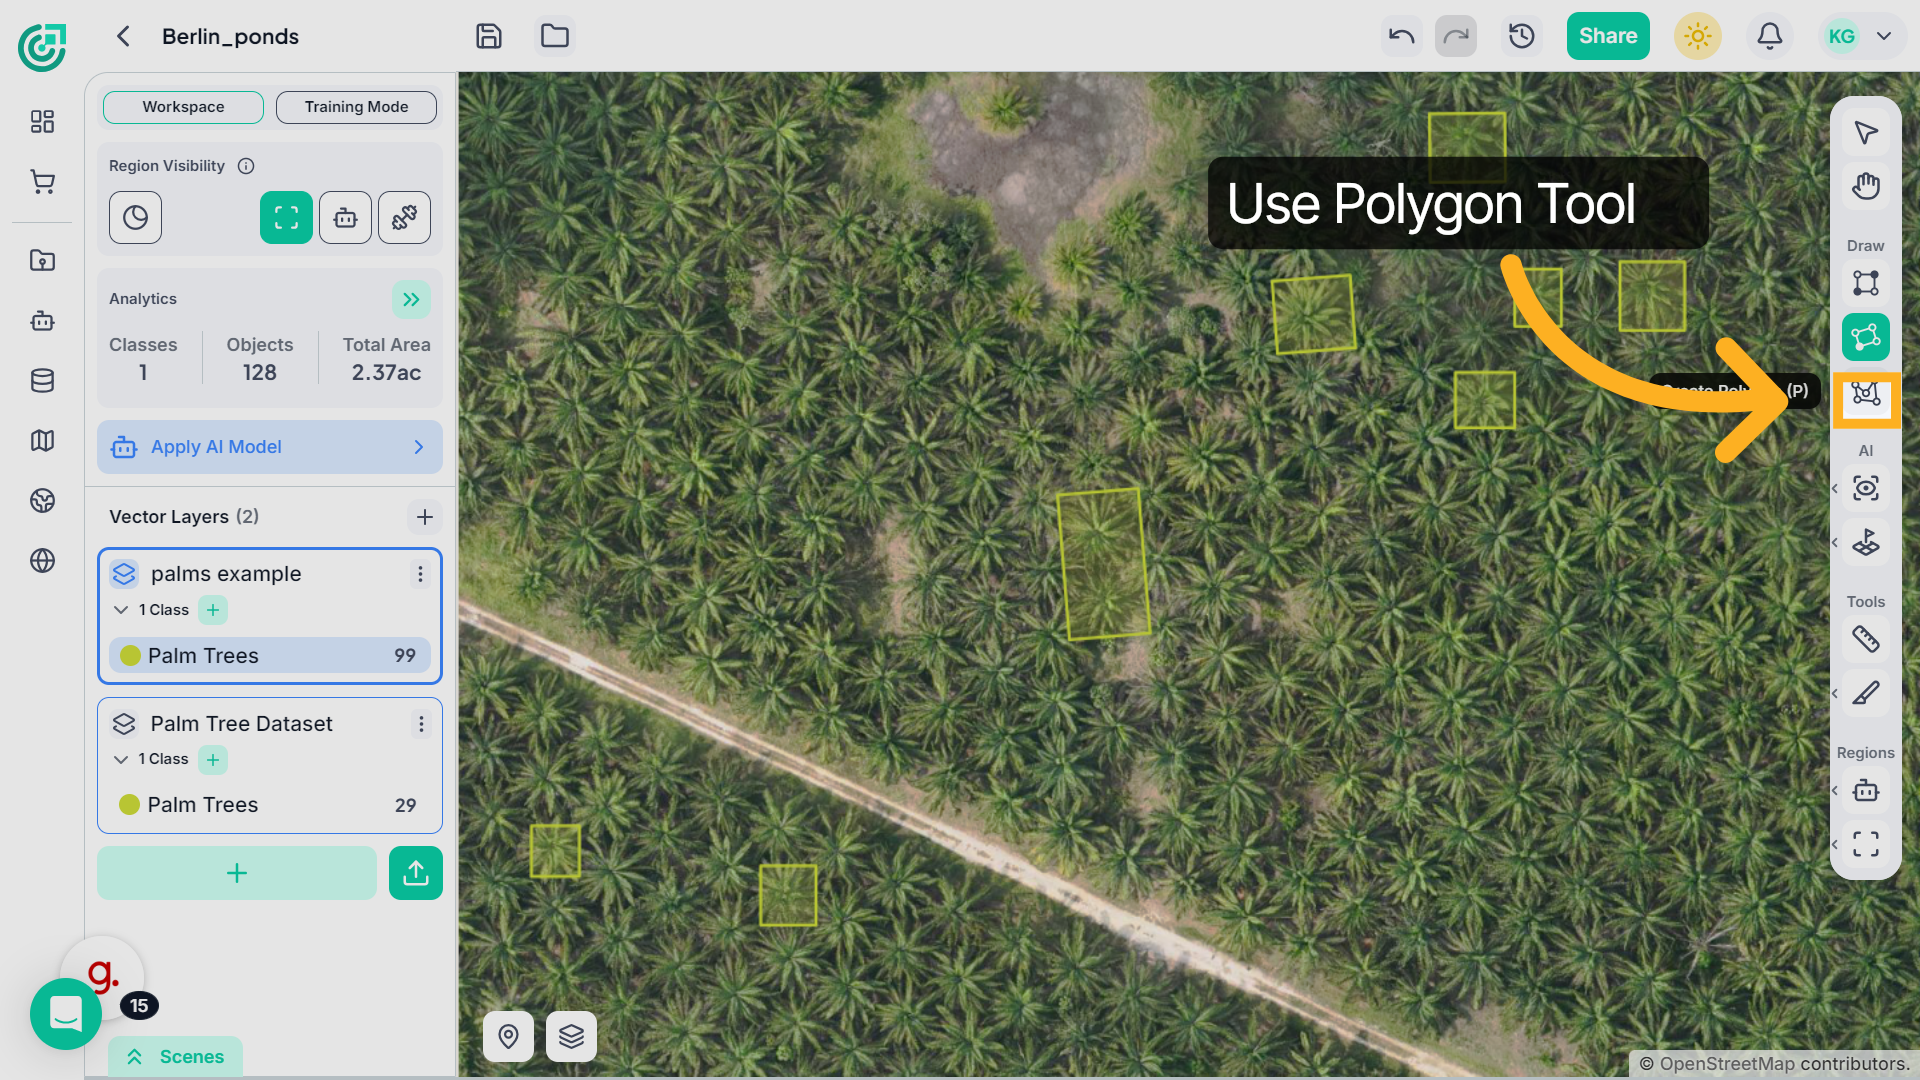
7. Annotate Using the Polygon Tool
Now, instead of dragging, click around the edges of an object to trace its exact shape. Keep placing points along the boundary, and then close the shape to complete the annotation. Use this tool for irregularly shaped objects where rectangular boxes would include too much background.
If you’ve now completed annotating your objects using the appropriate tools, your manual annotation process is complete. By choosing the right annotation type for each object, whether bounding box, oriented box, or polygon, you ensure higher precision and better-quality labeled data.