Edit And Manage Vector Layers And Classes In FlyPix AI
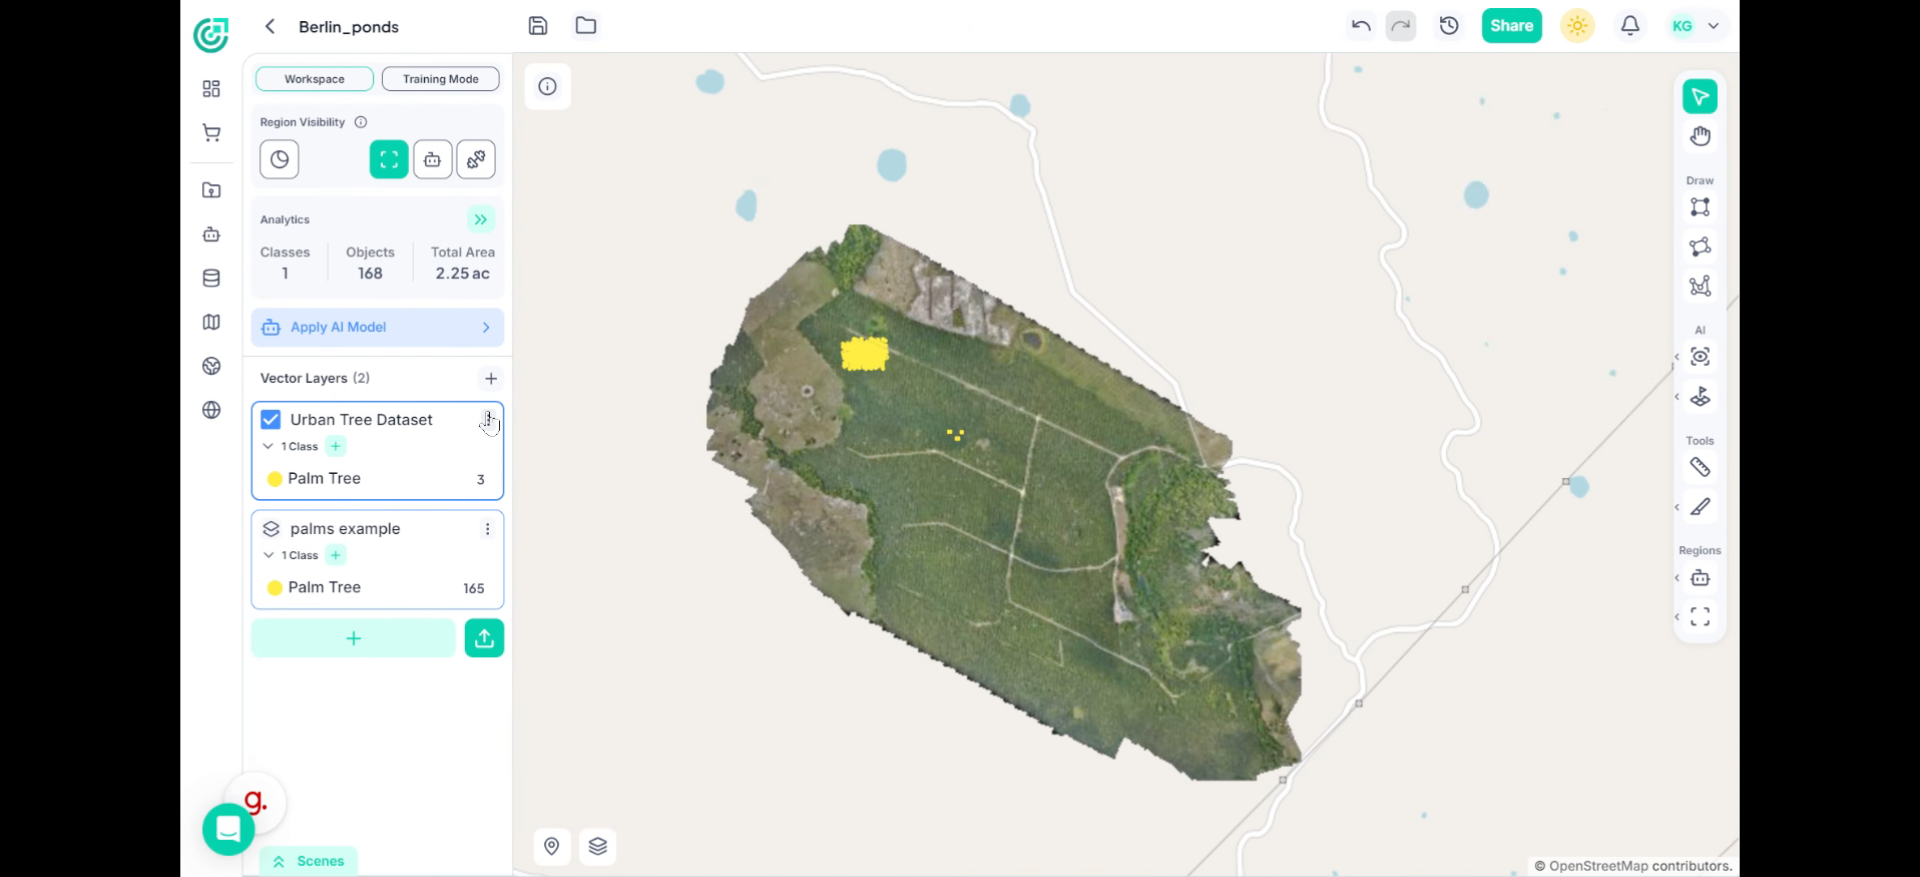
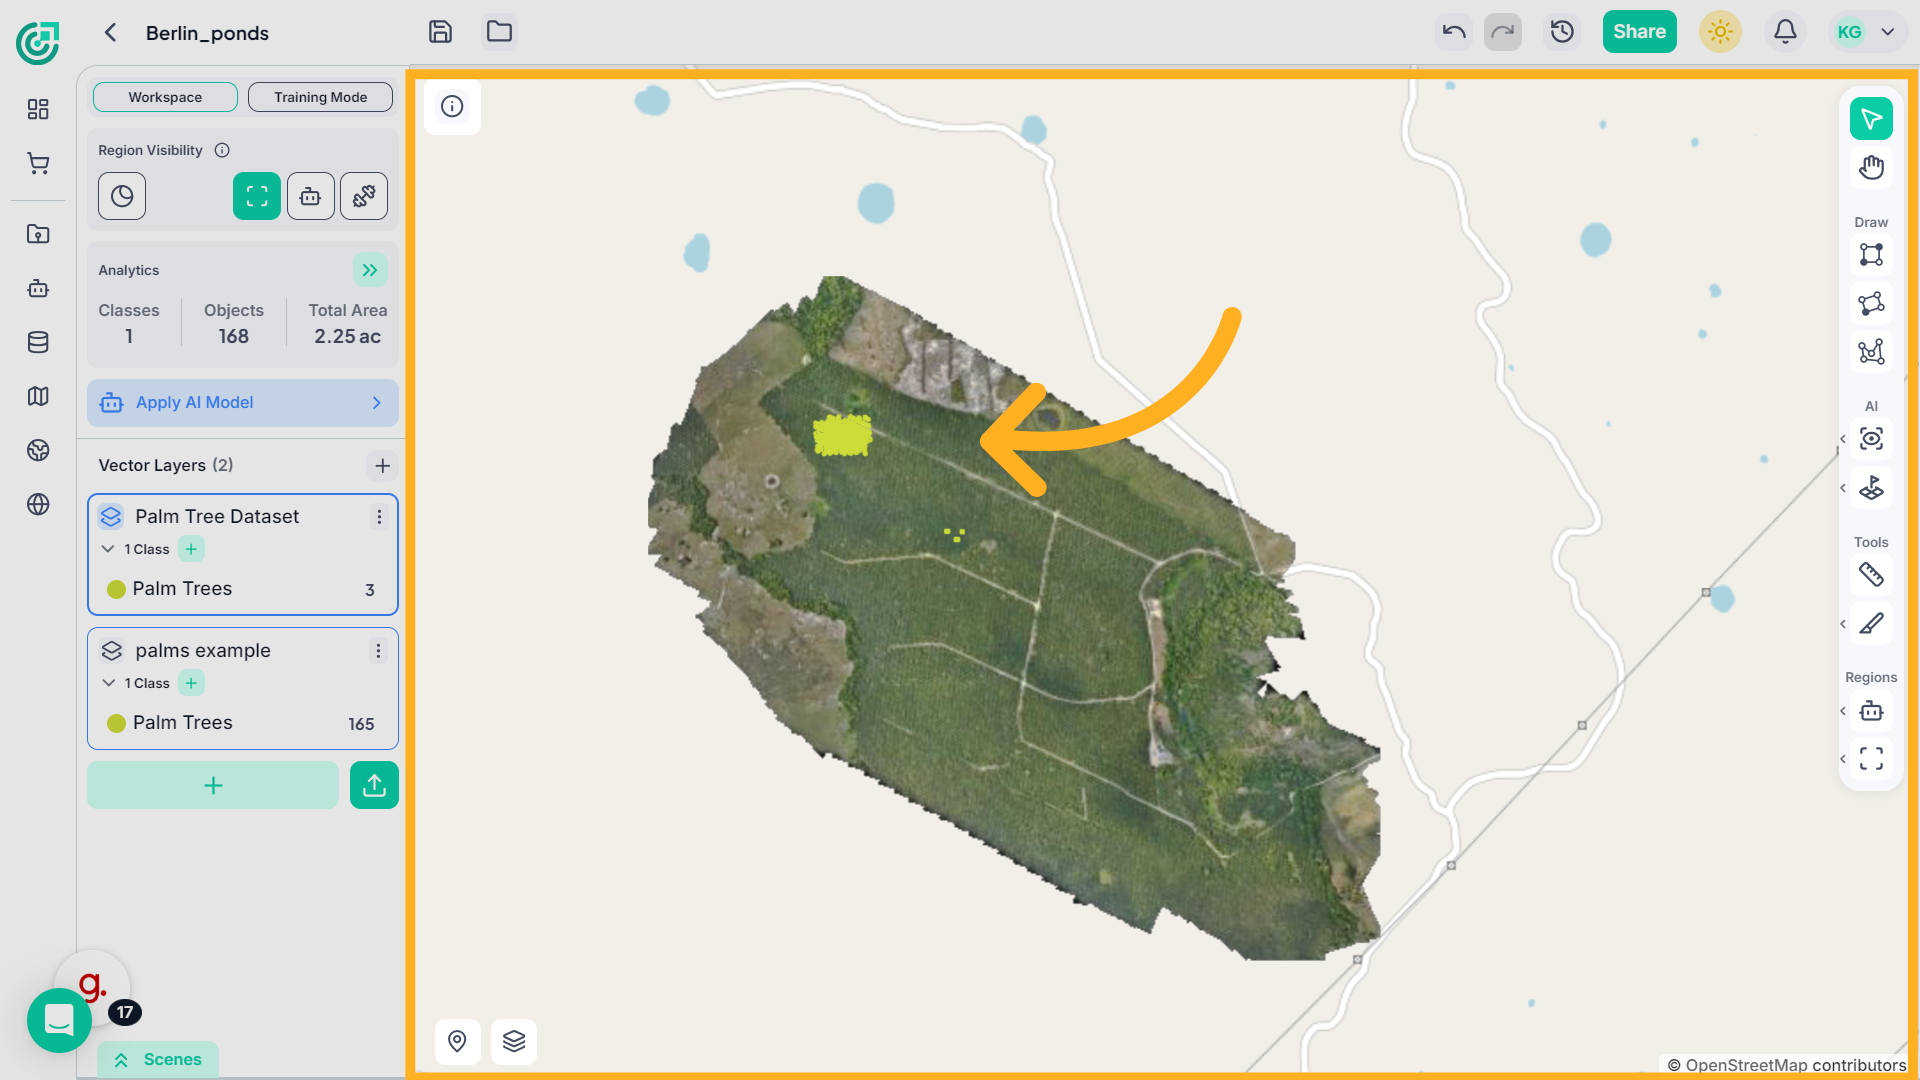
This demo showcases how to efficiently edit and manage vector layers and classes within FlyPix AI.
Go to app.flypix.ai
1. Introduction
You'll see how to rename datasets, change colors, merge annotations, export data, and delete unwanted elements to streamline your workflow.
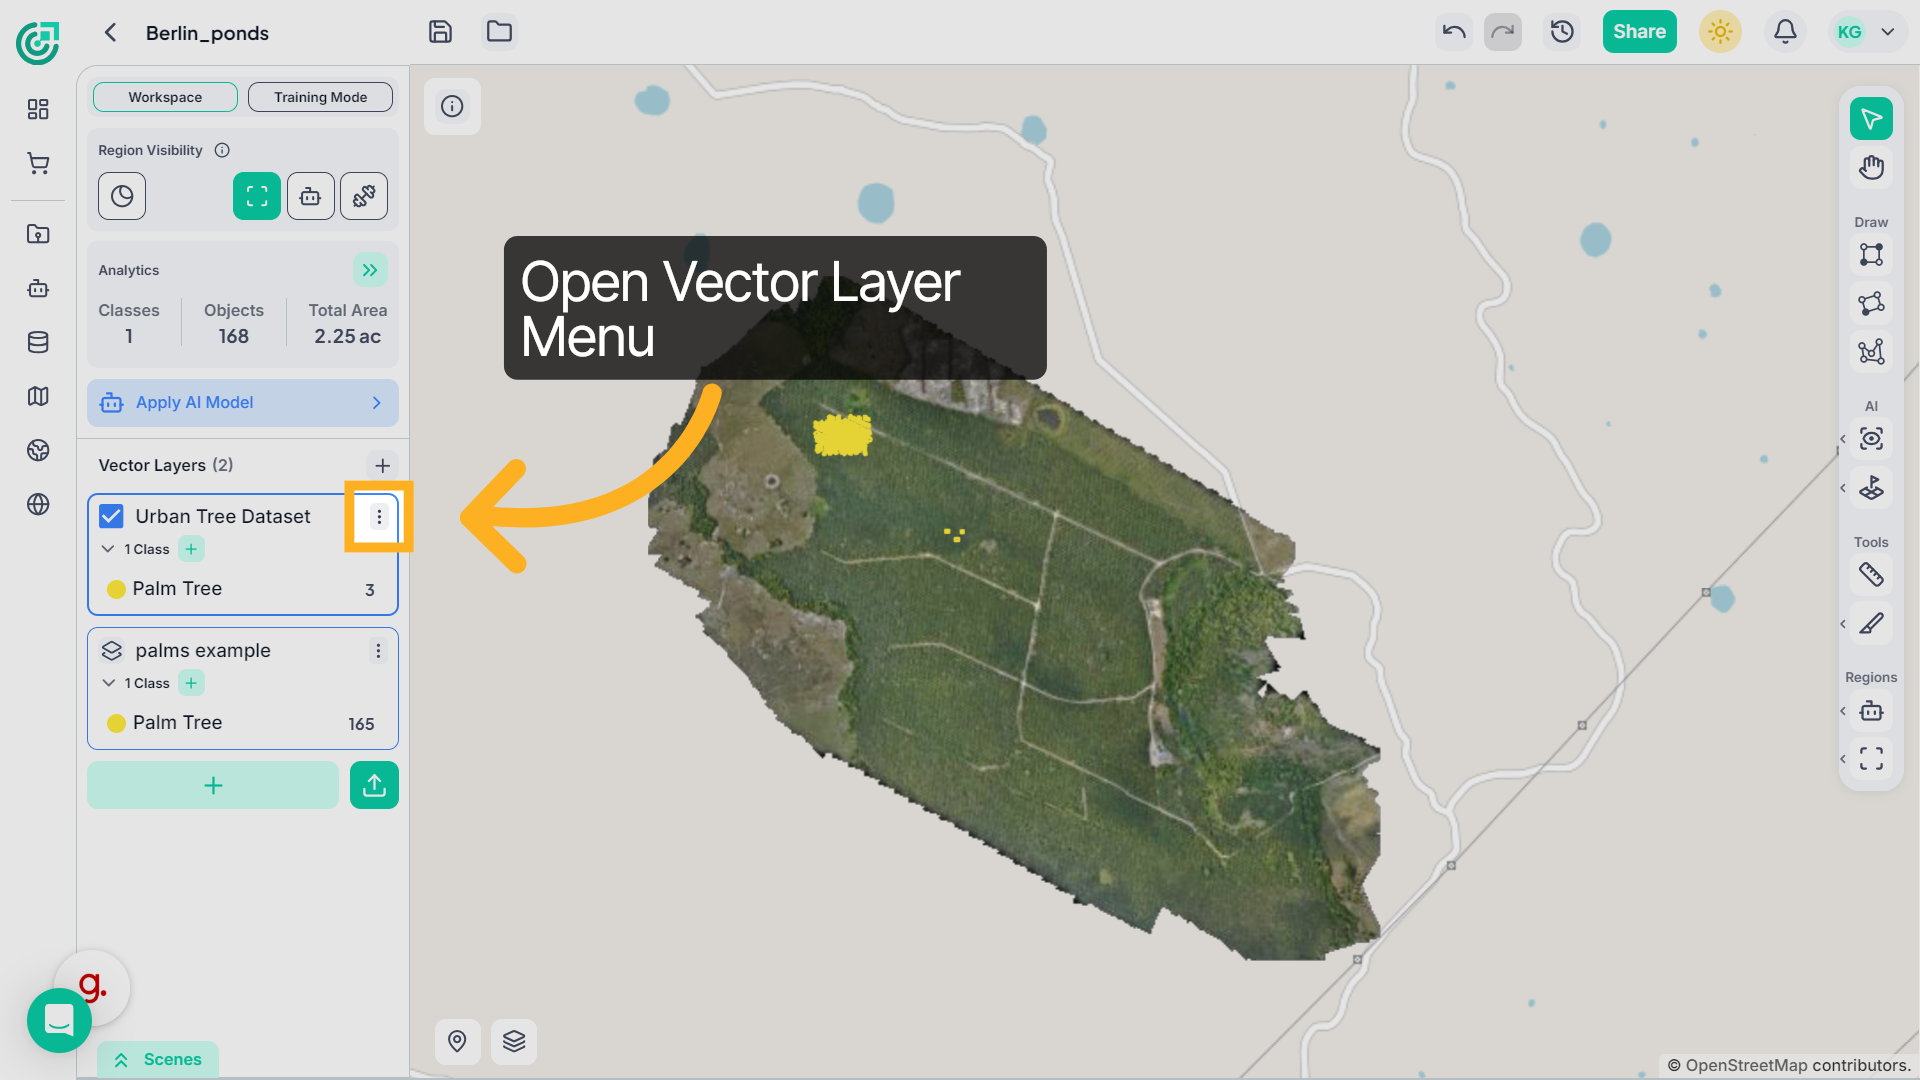
2. Open Layer Options
Start by going to the Vector Layers panel on the left side of the workspace. Click the three-dot menu next to the vector layer you want to edit.
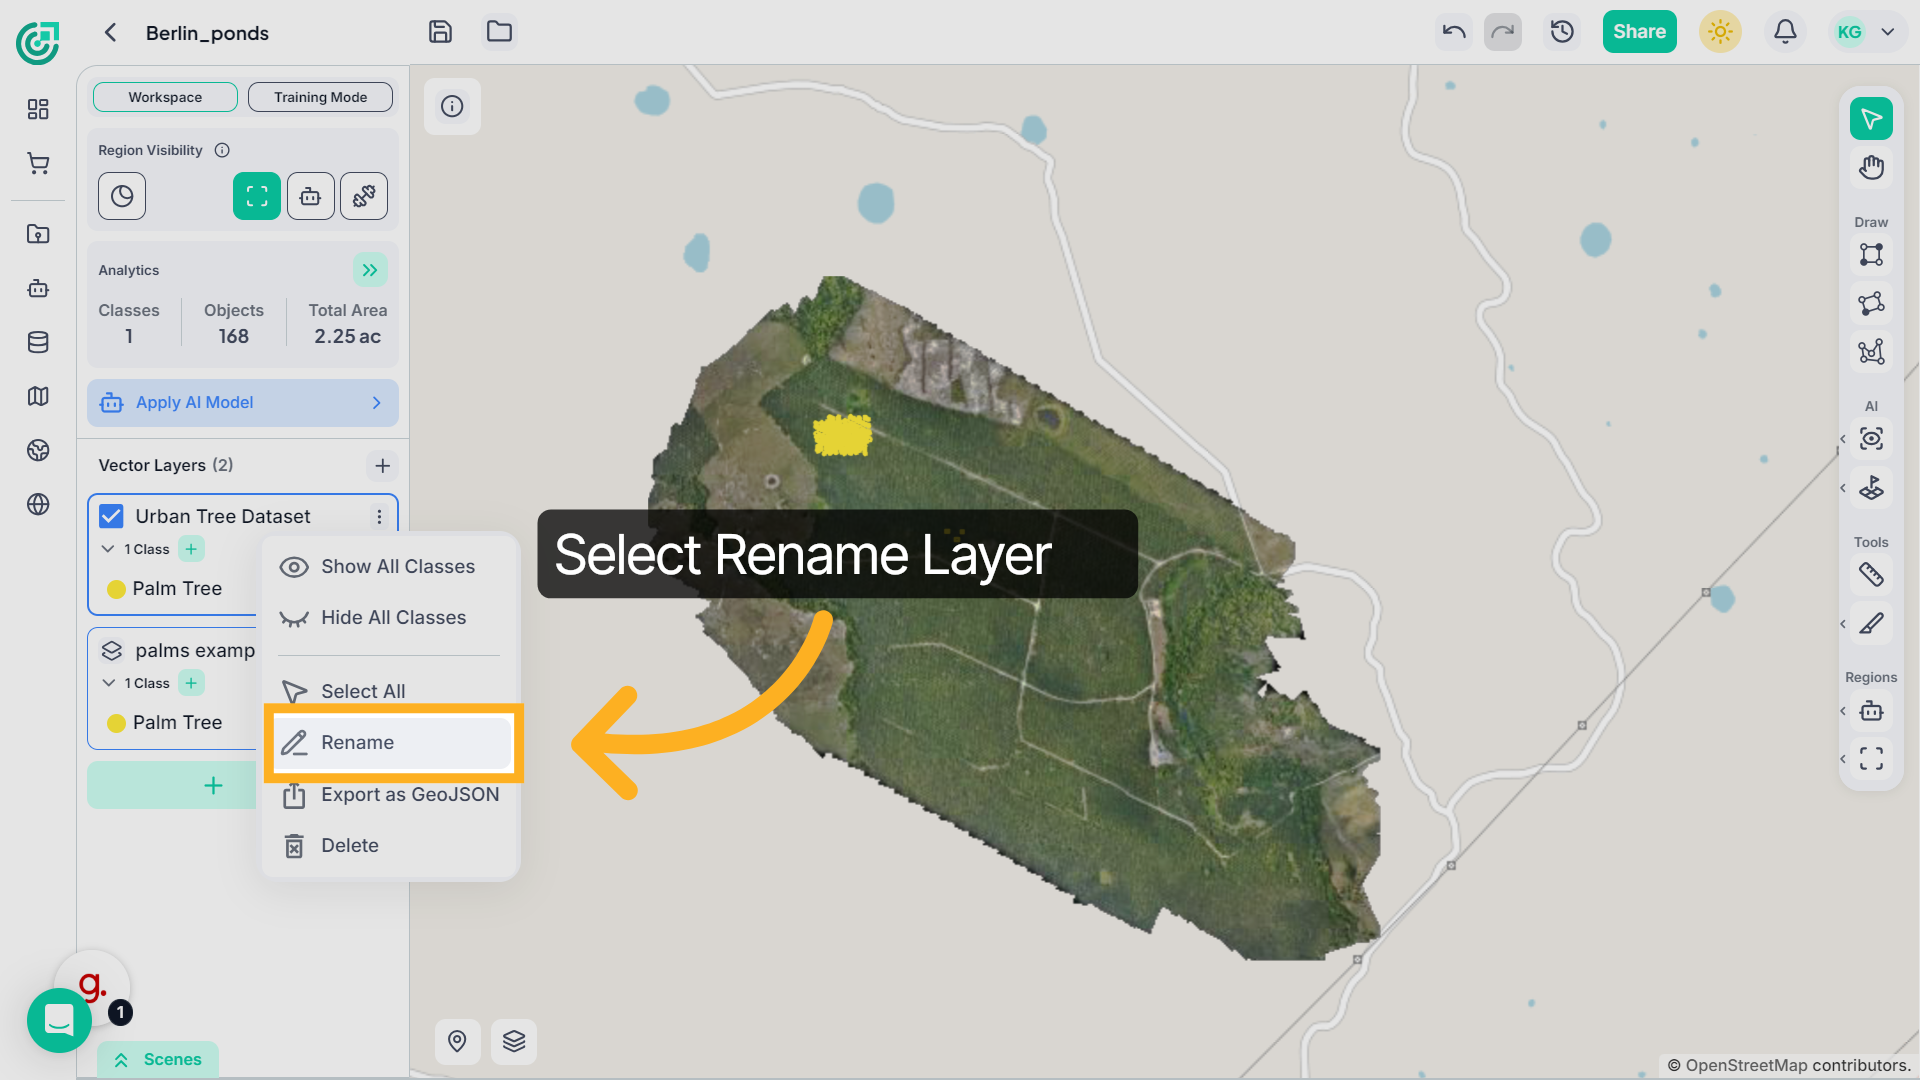
3. Select Rename Layer
From the menu, choose Rename.
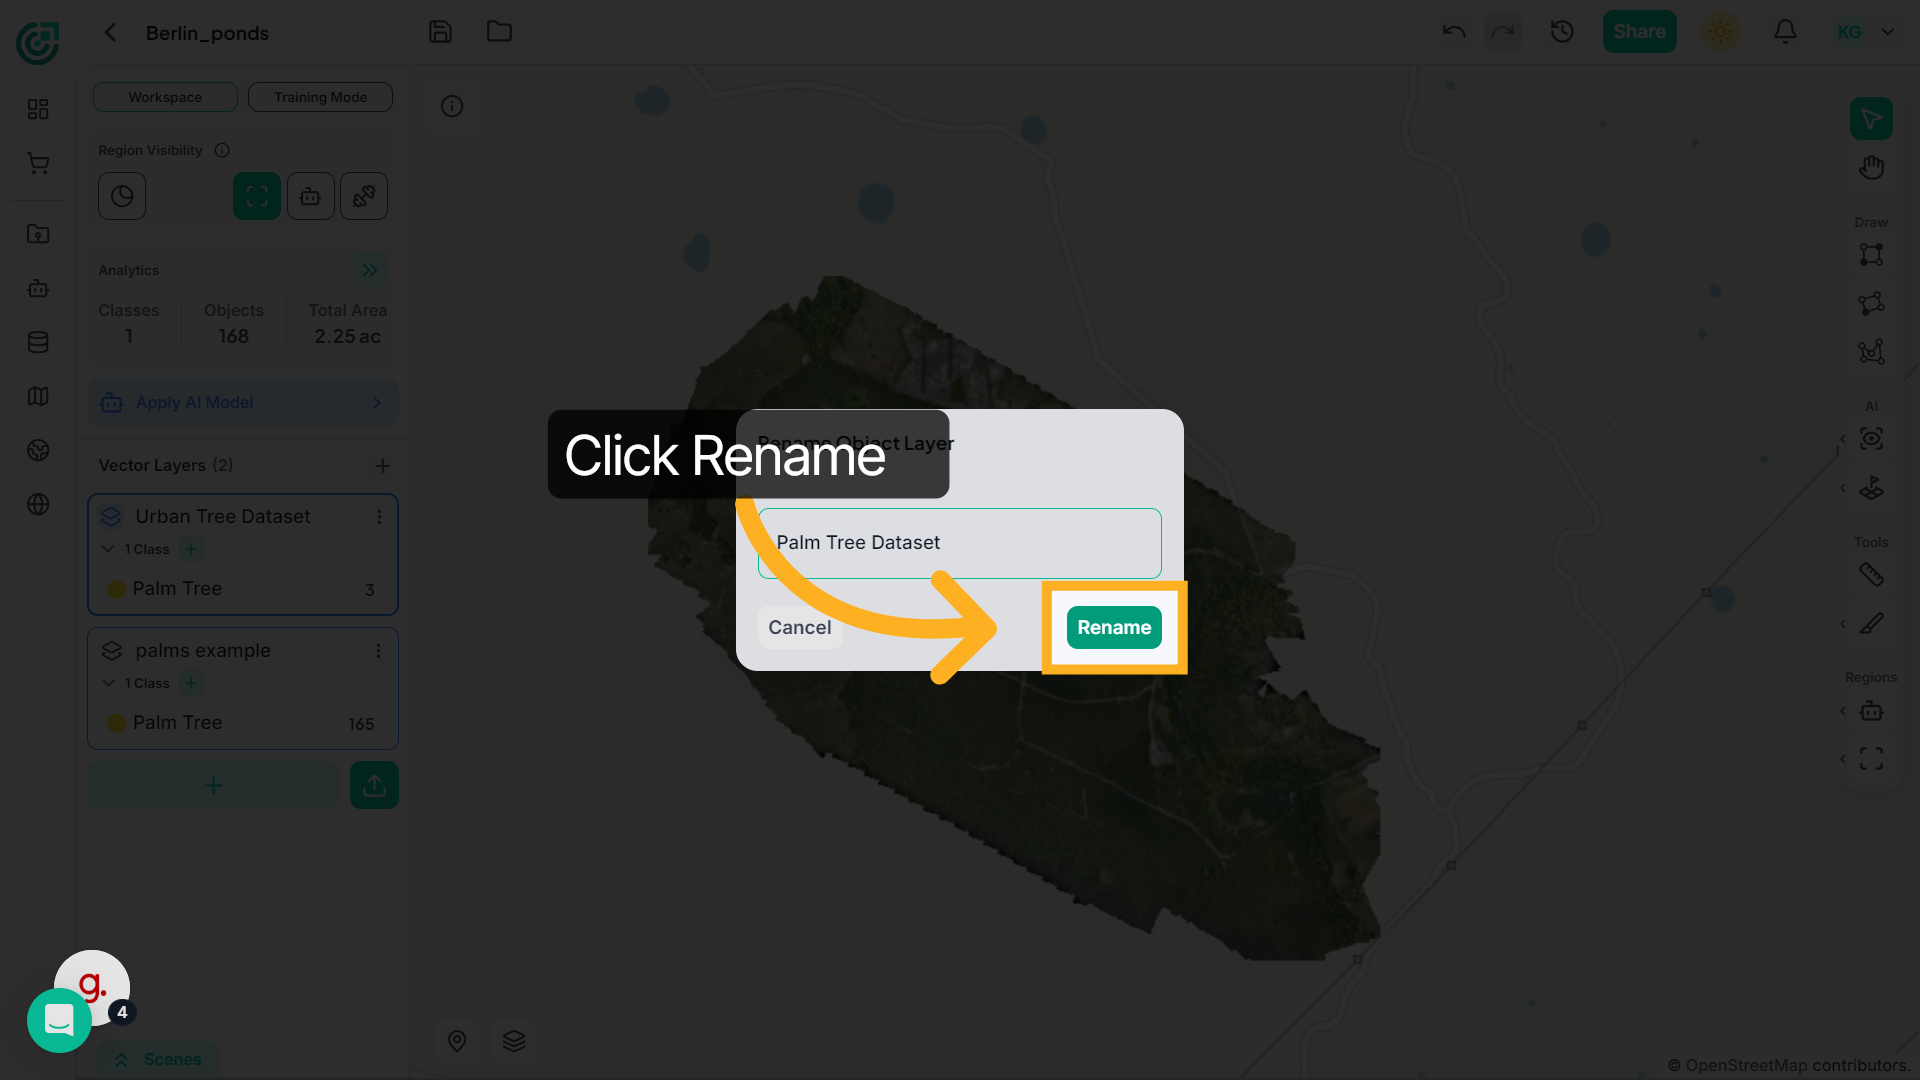
4. Enter New Layer Name
Type the new name for your vector layer.

5. Confirm Layer Rename
Click Rename to apply the change.
6. Verify Updated Layer
The updated vector layer name will immediately appear in the panel.

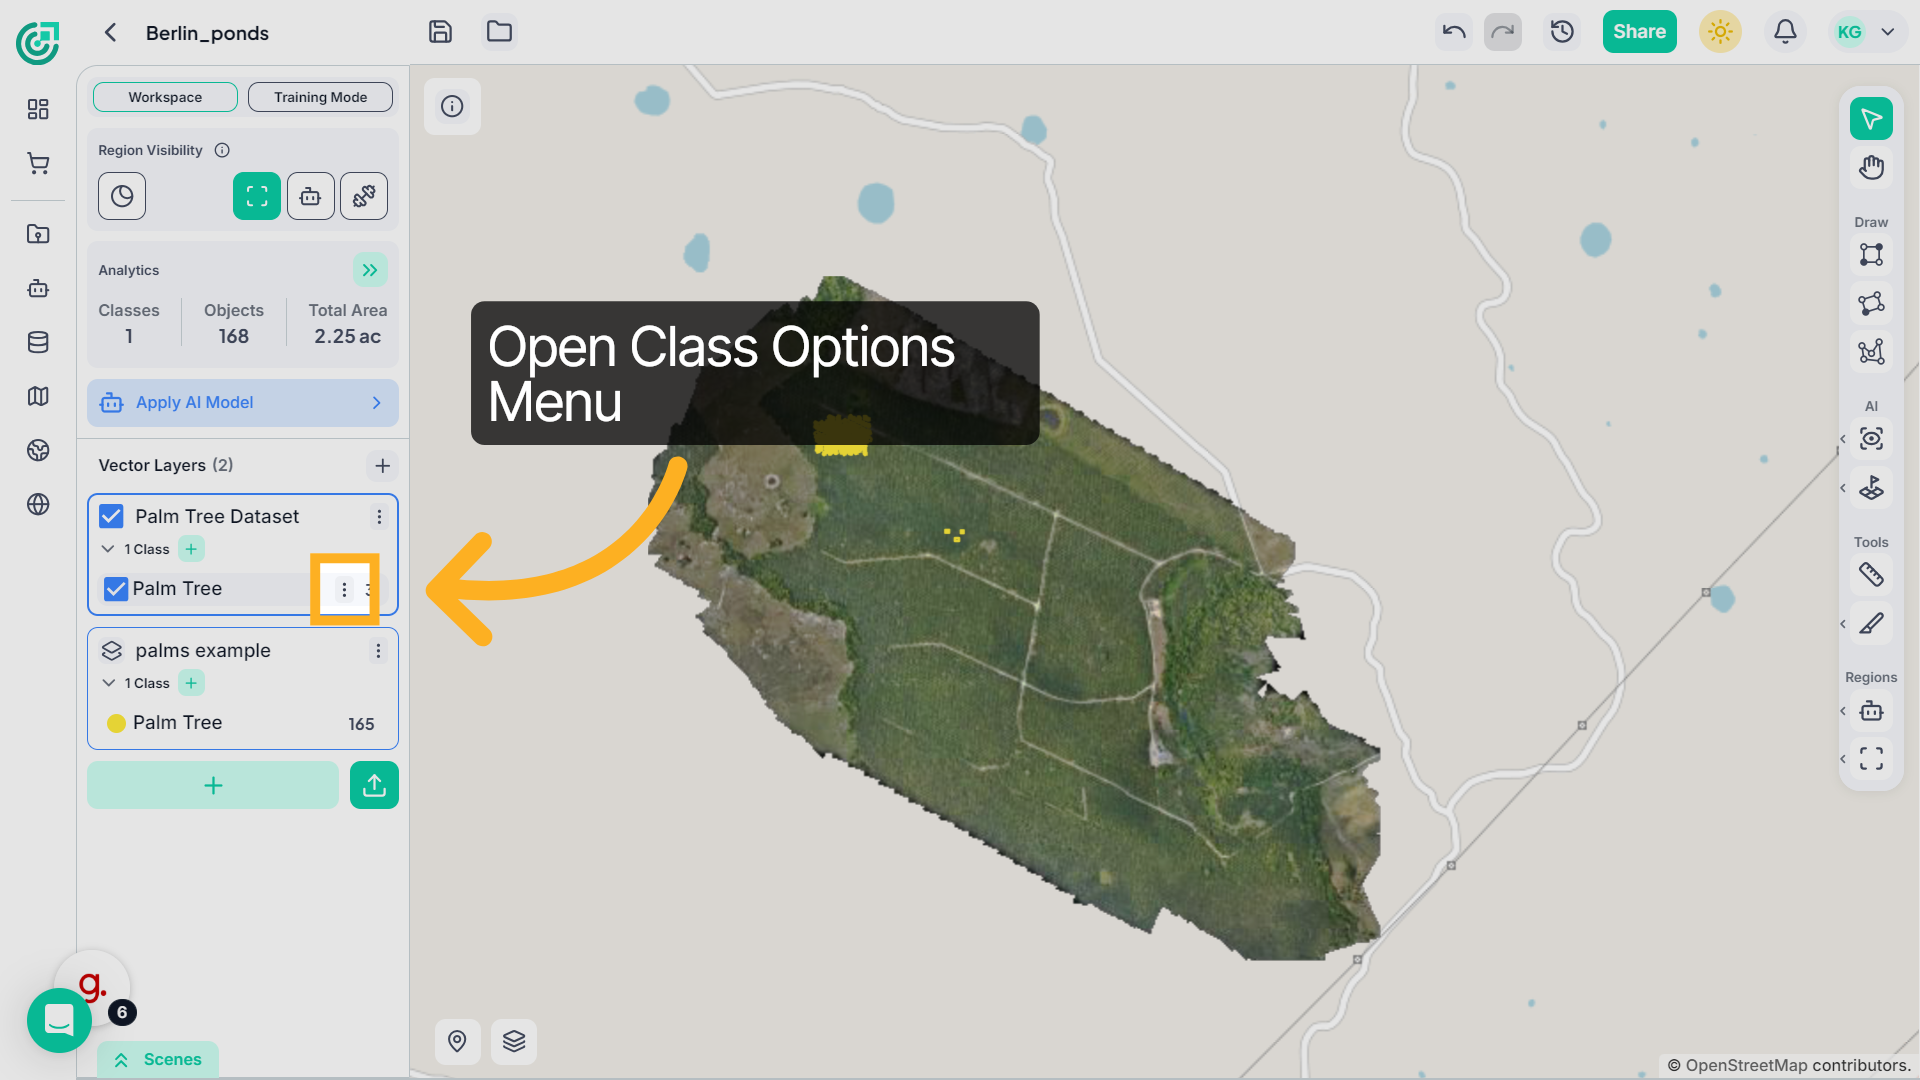
7. Open Class Options
Now expand the vector layer to view its classes. Click the three-dot menu next to the class you want to edit.
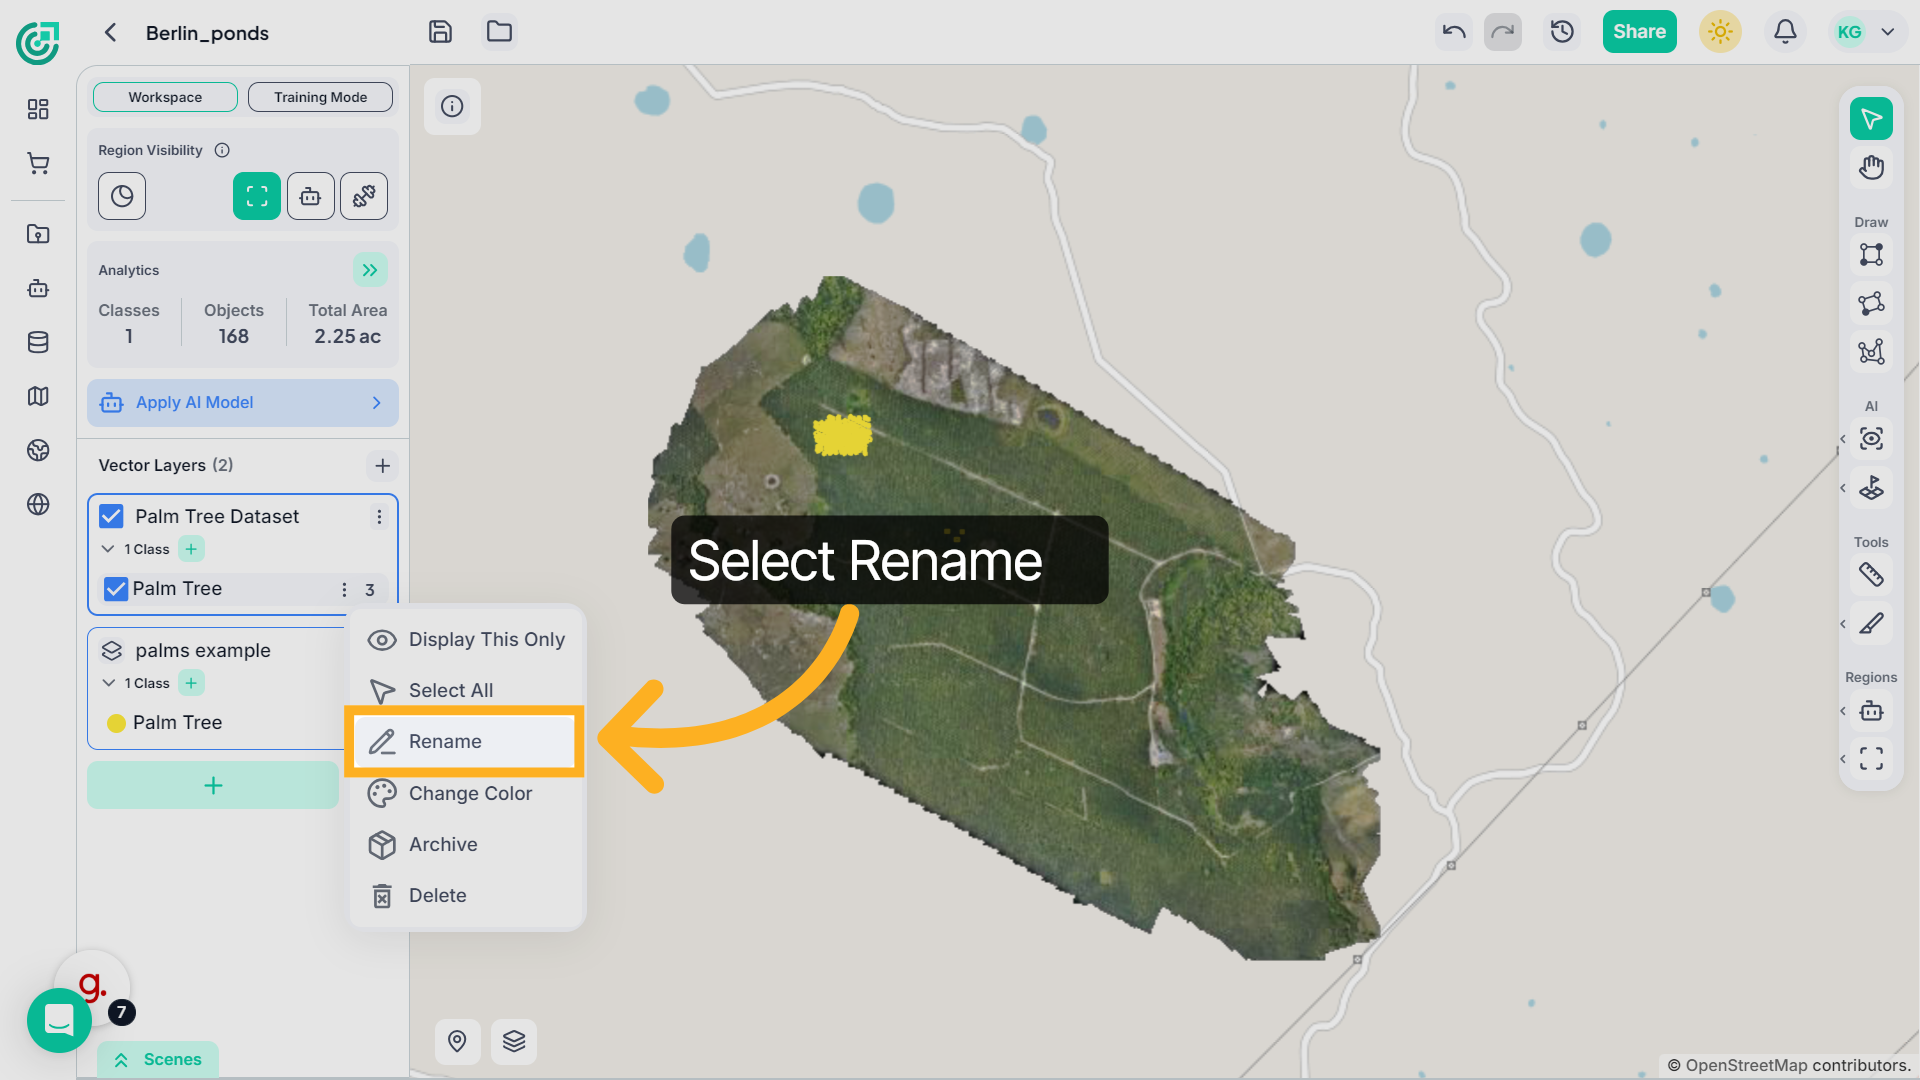
8. Select Rename Class
Choose Rename from the class menu.
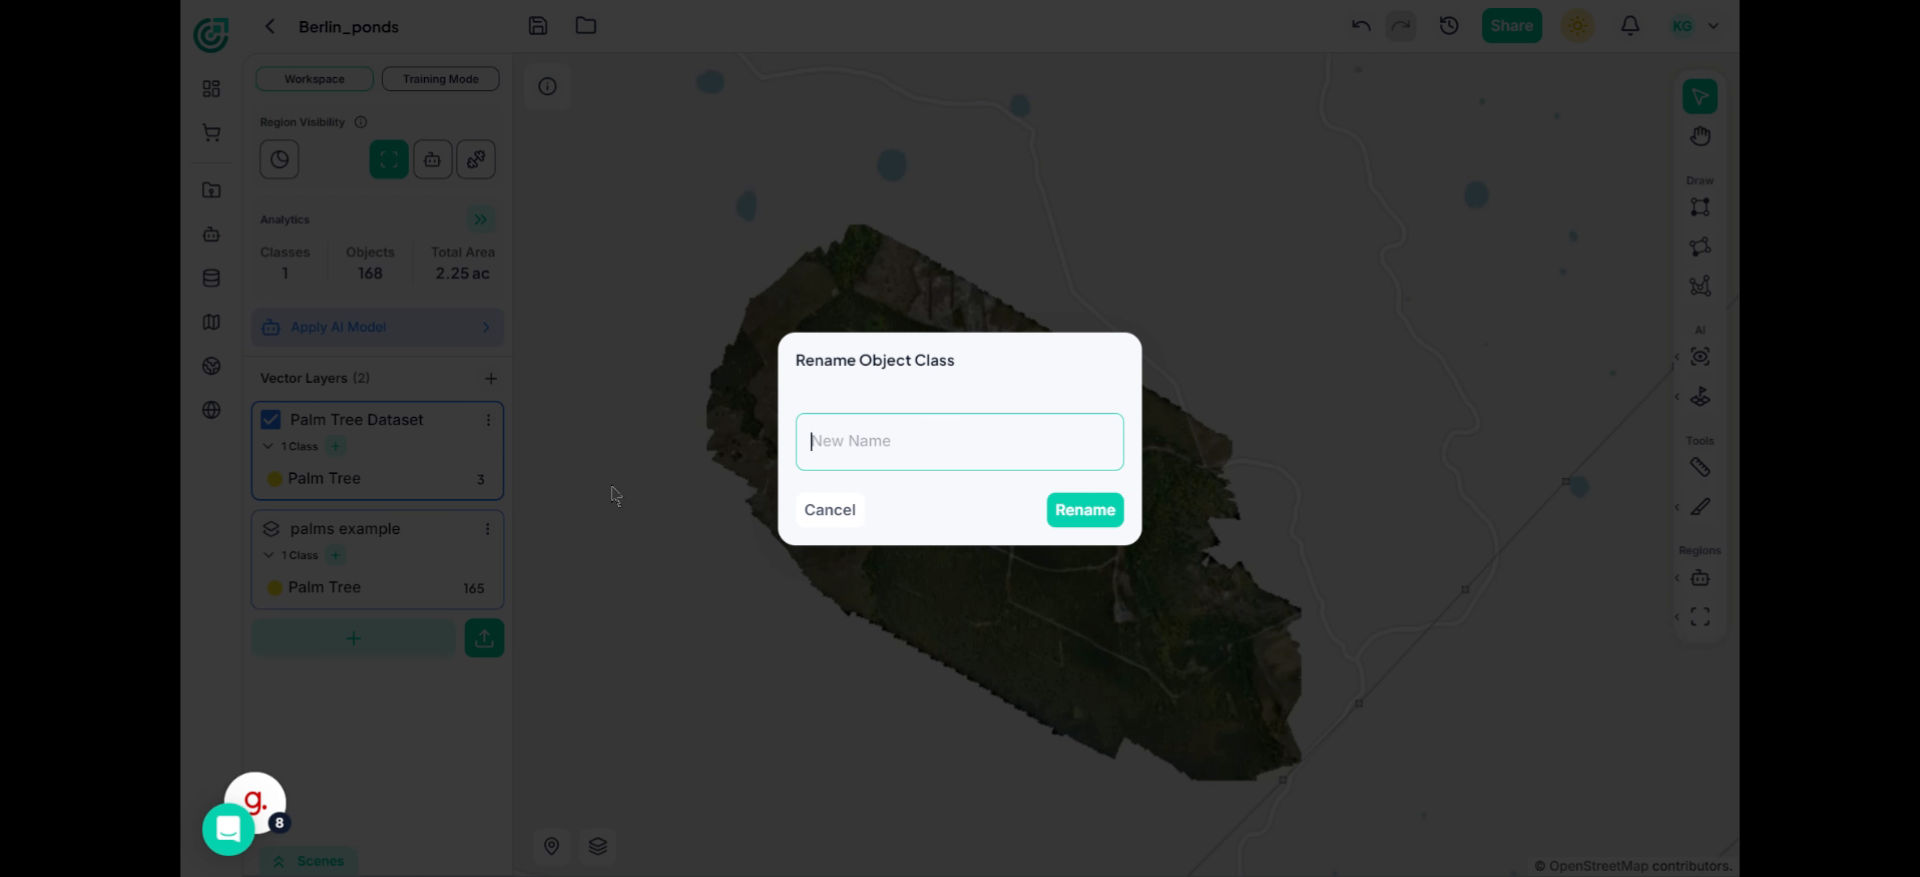
9. Enter New Class Name
Enter the updated class name.
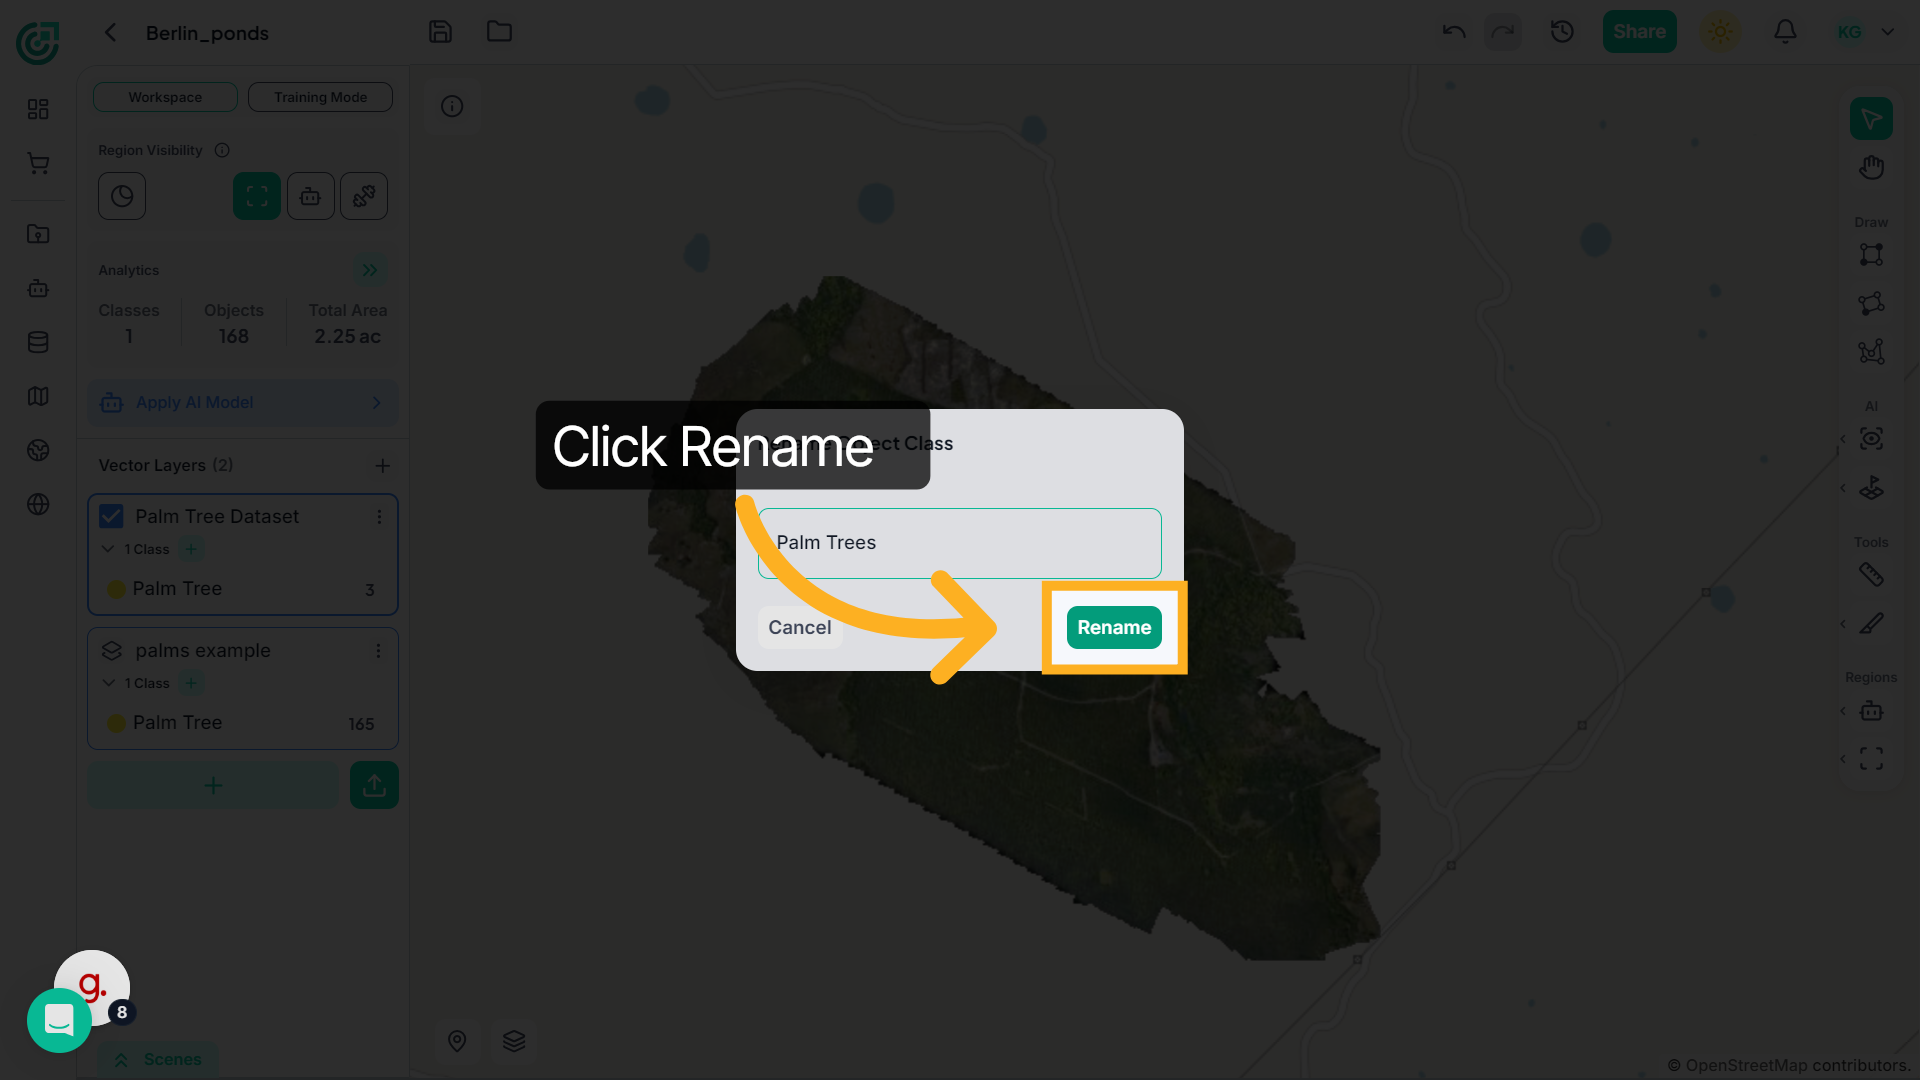
10. Apply Rename
Click Rename to save the updated class name.
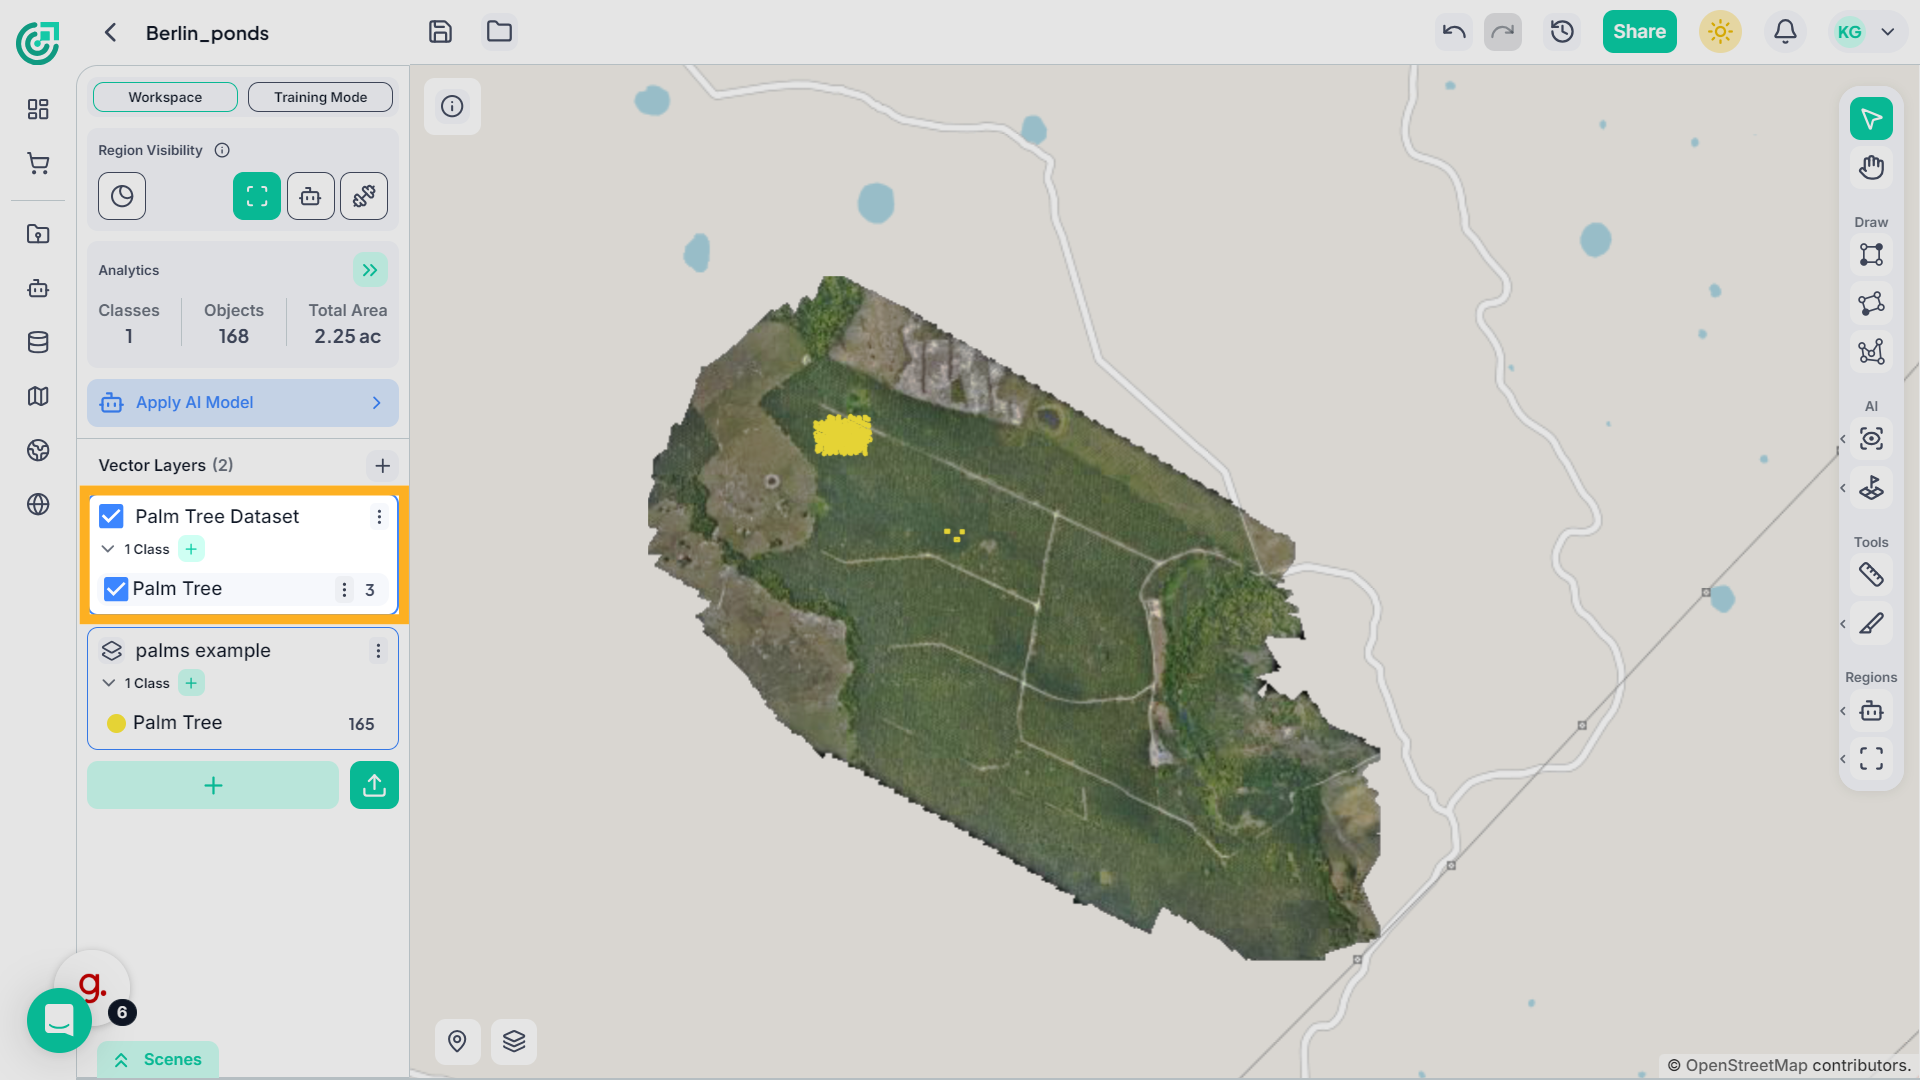
11. Verify Updated class
The updated class name will immediately appear in the panel.
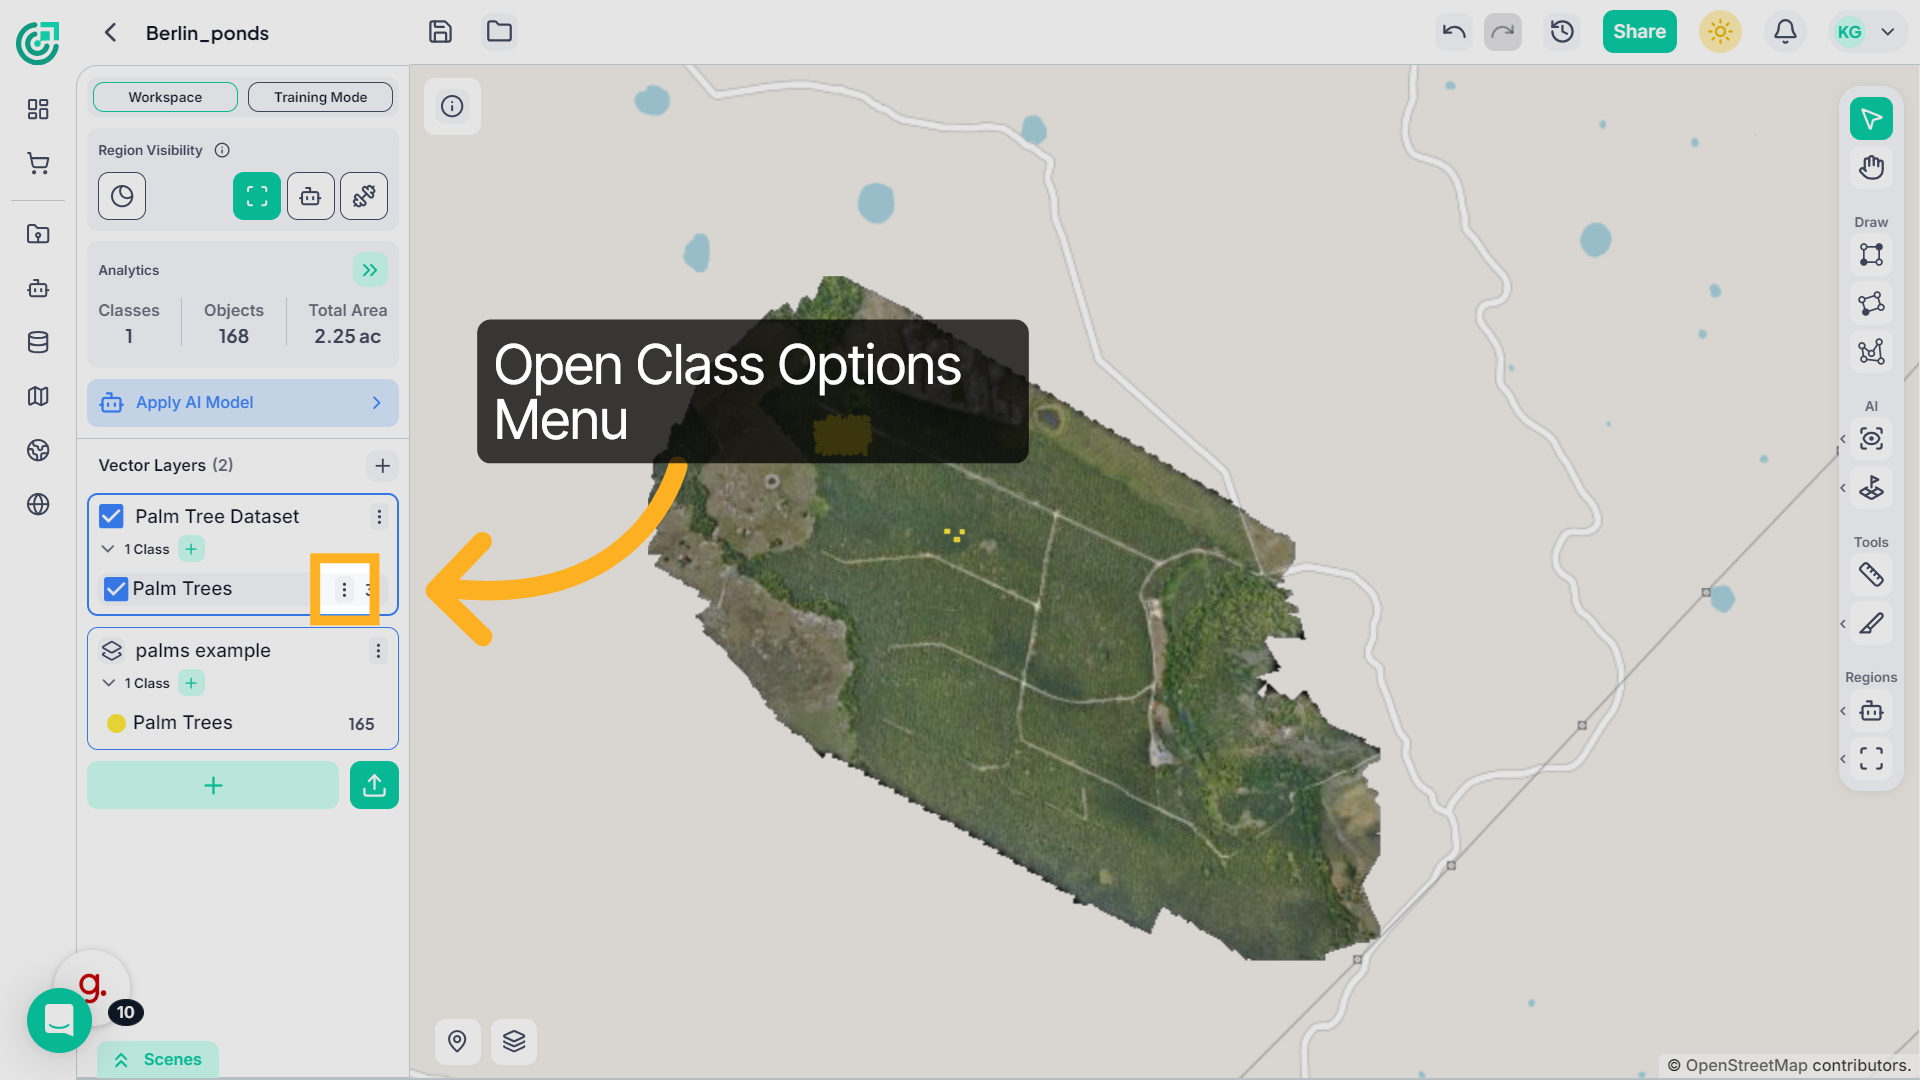
12. Access Color Settings
To change the class appearance, open the three-dot menu next to the class name.
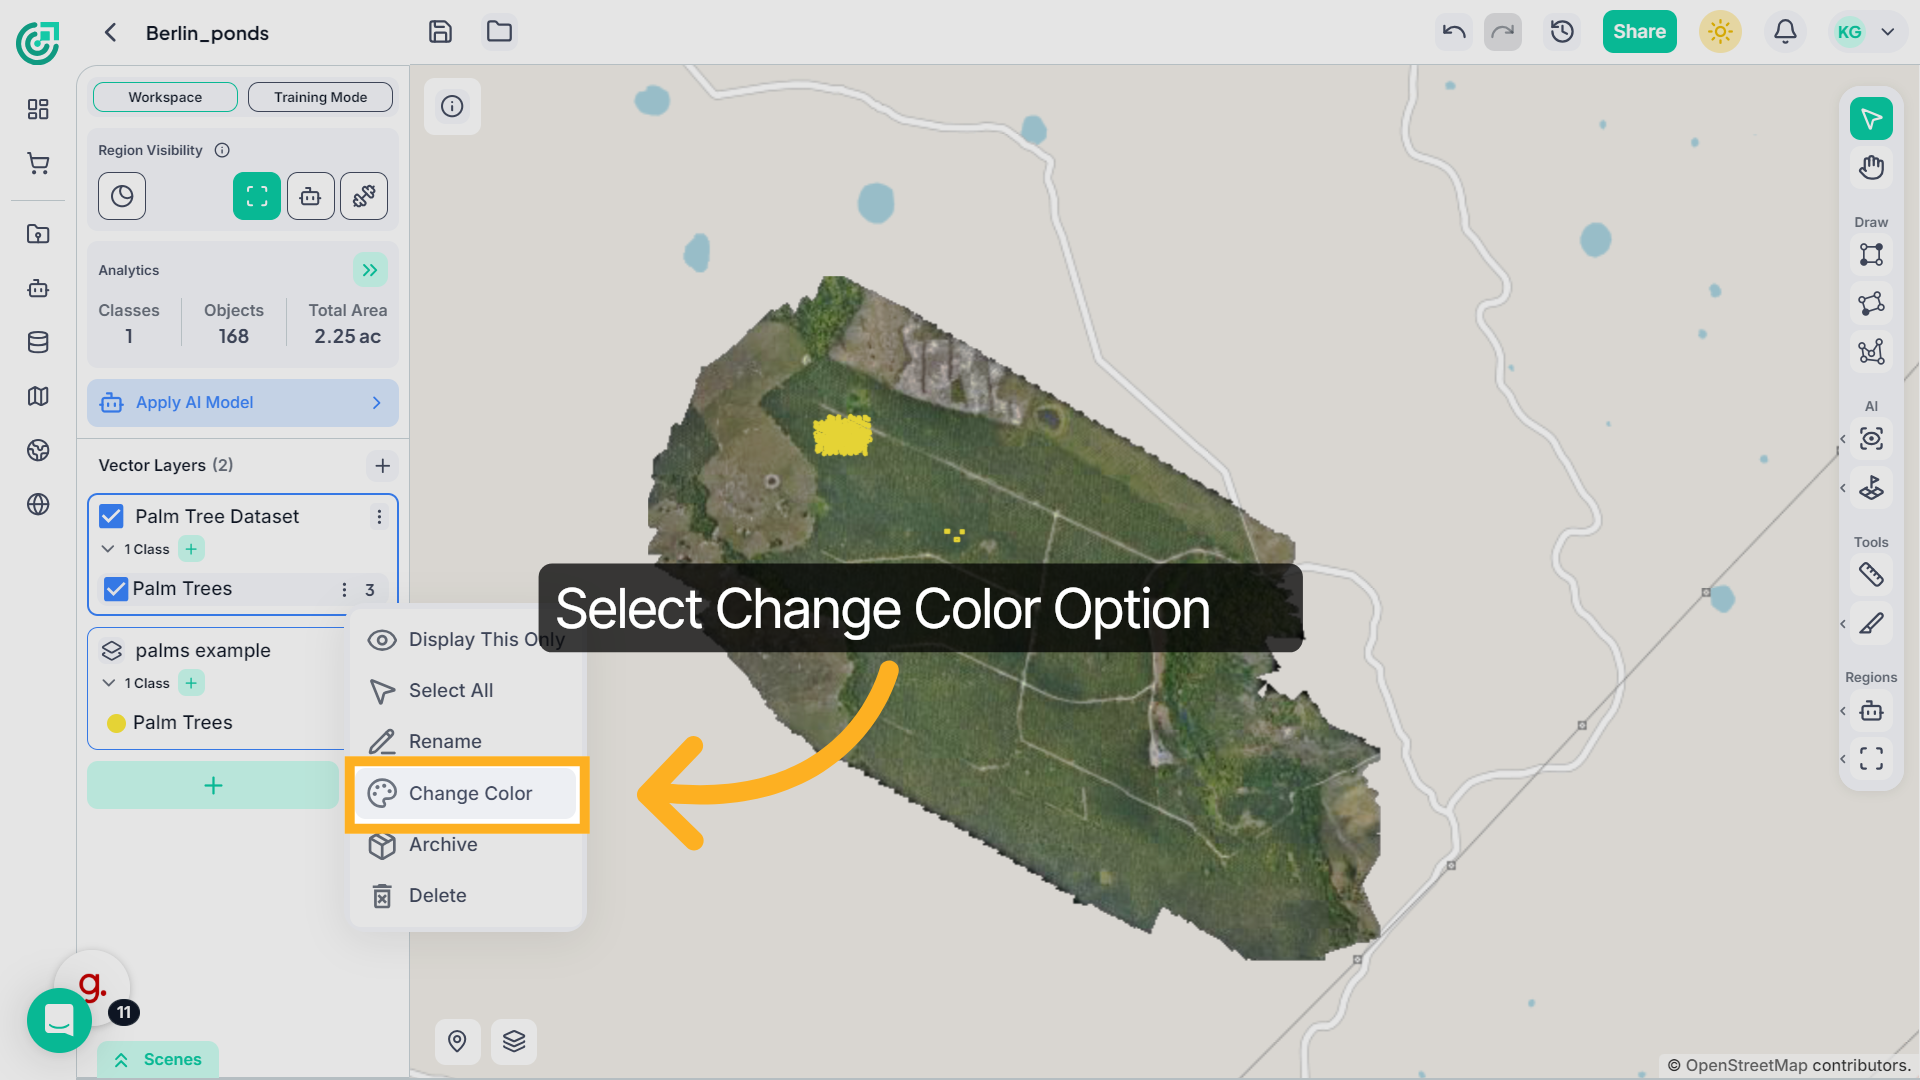
13. Open Change Color
From the available options, choose Change Color.
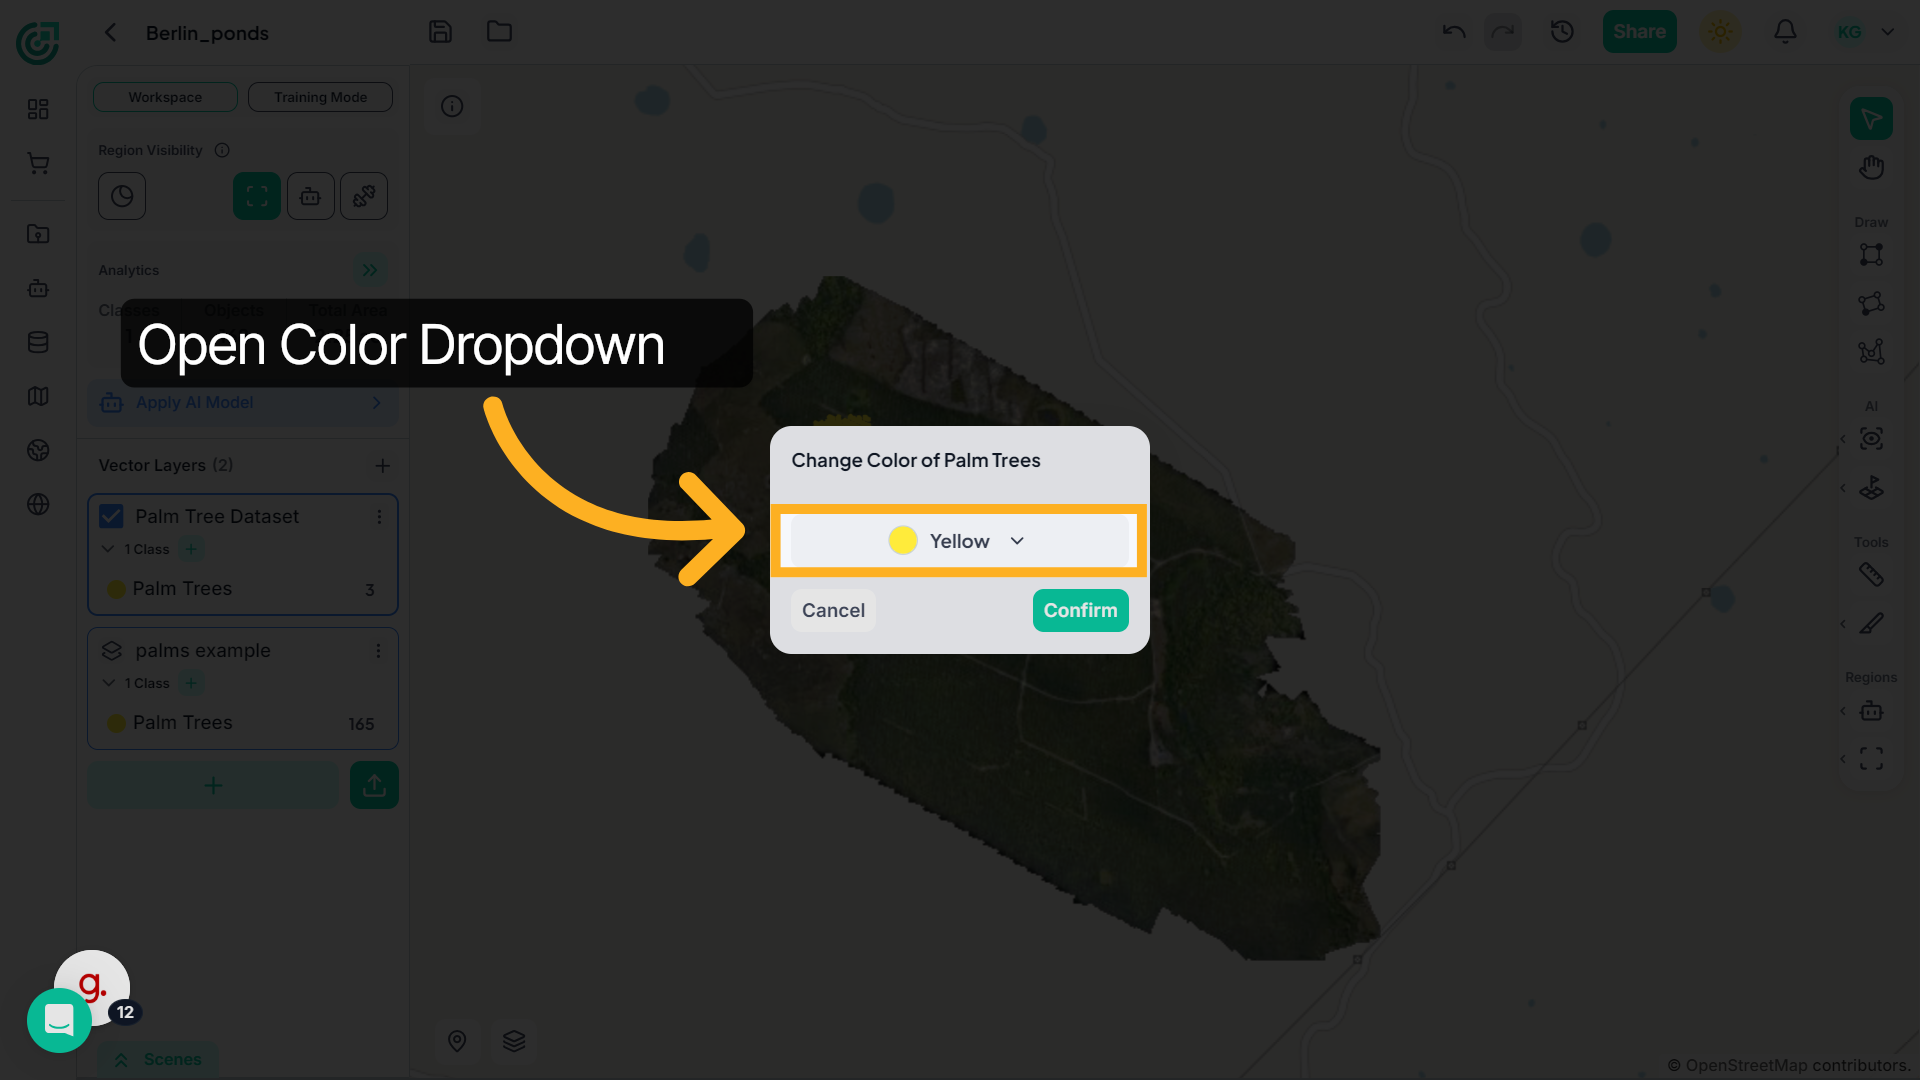
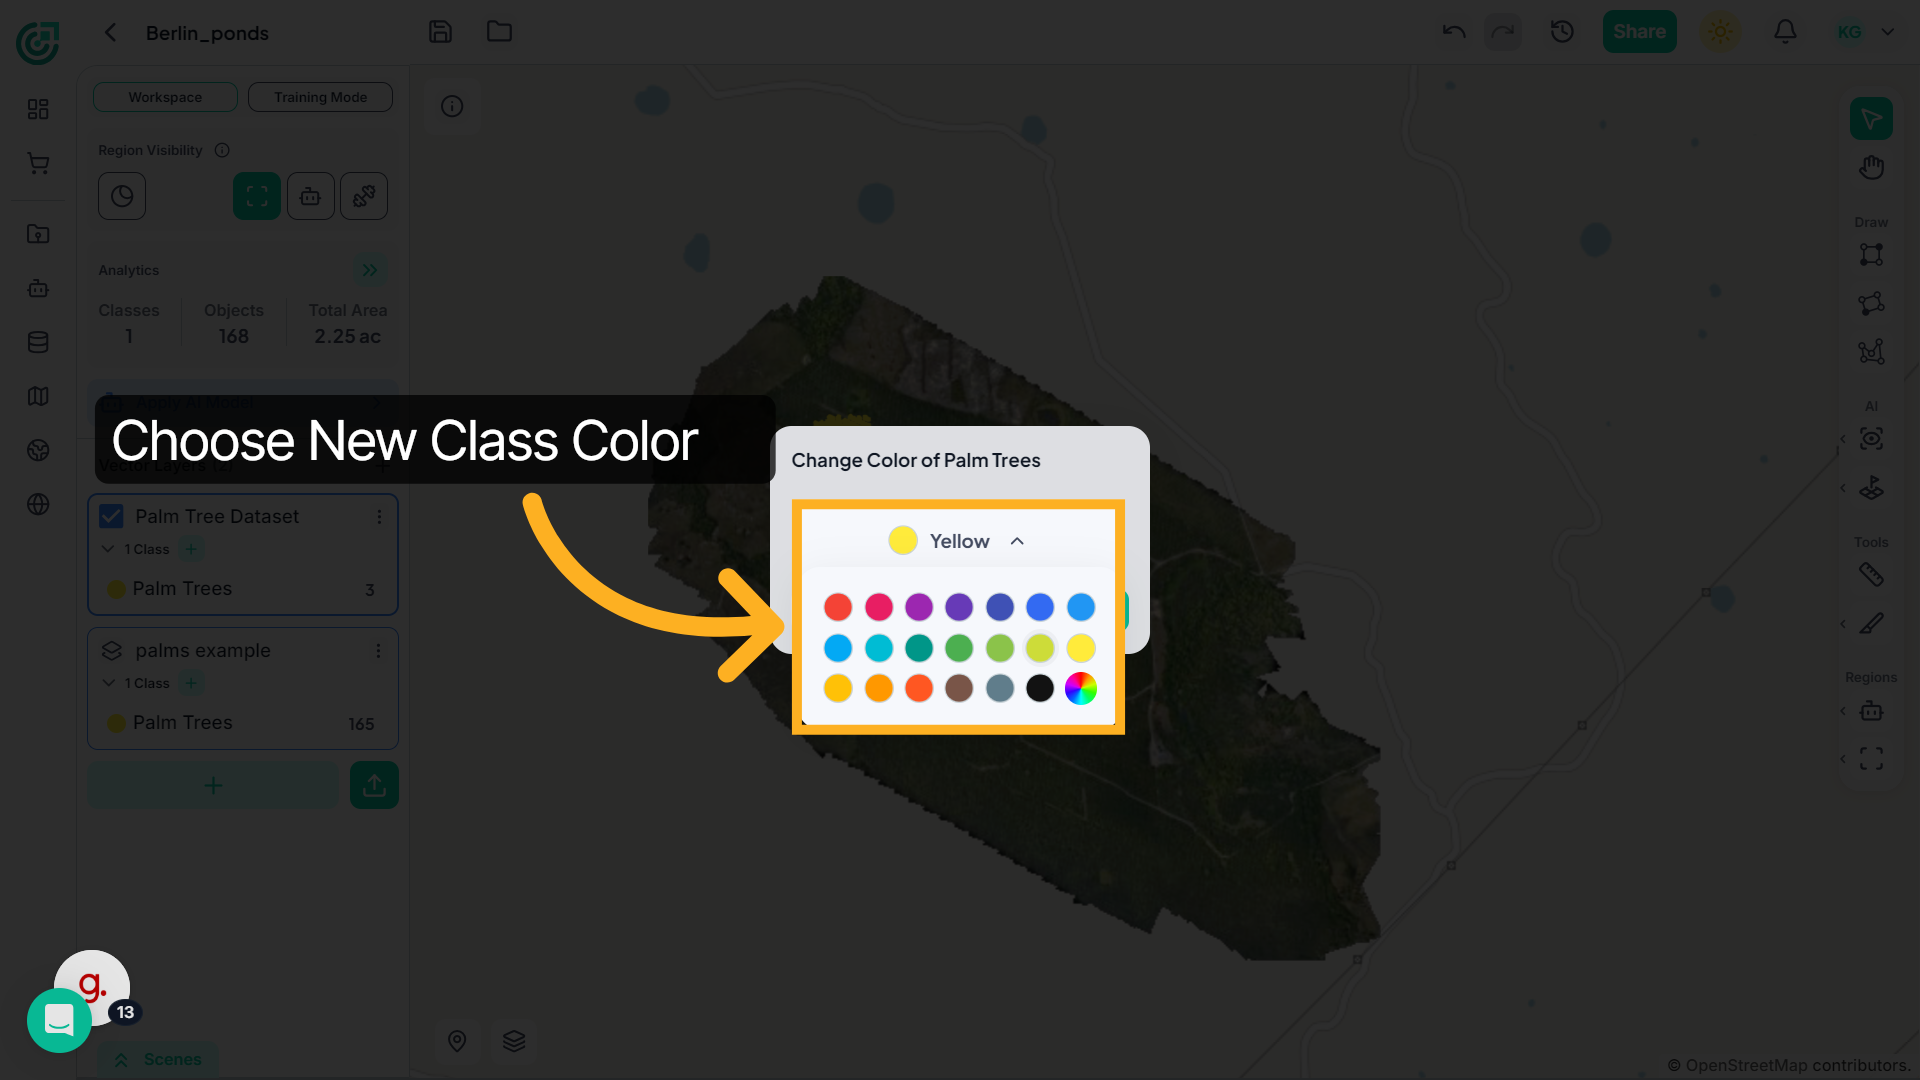
14. Select Yellow Color
Click the dropdown menu to select a color for this class.
15. Choose a new color
Now select a color that helps you clearly distinguish this class from others in the workspace.
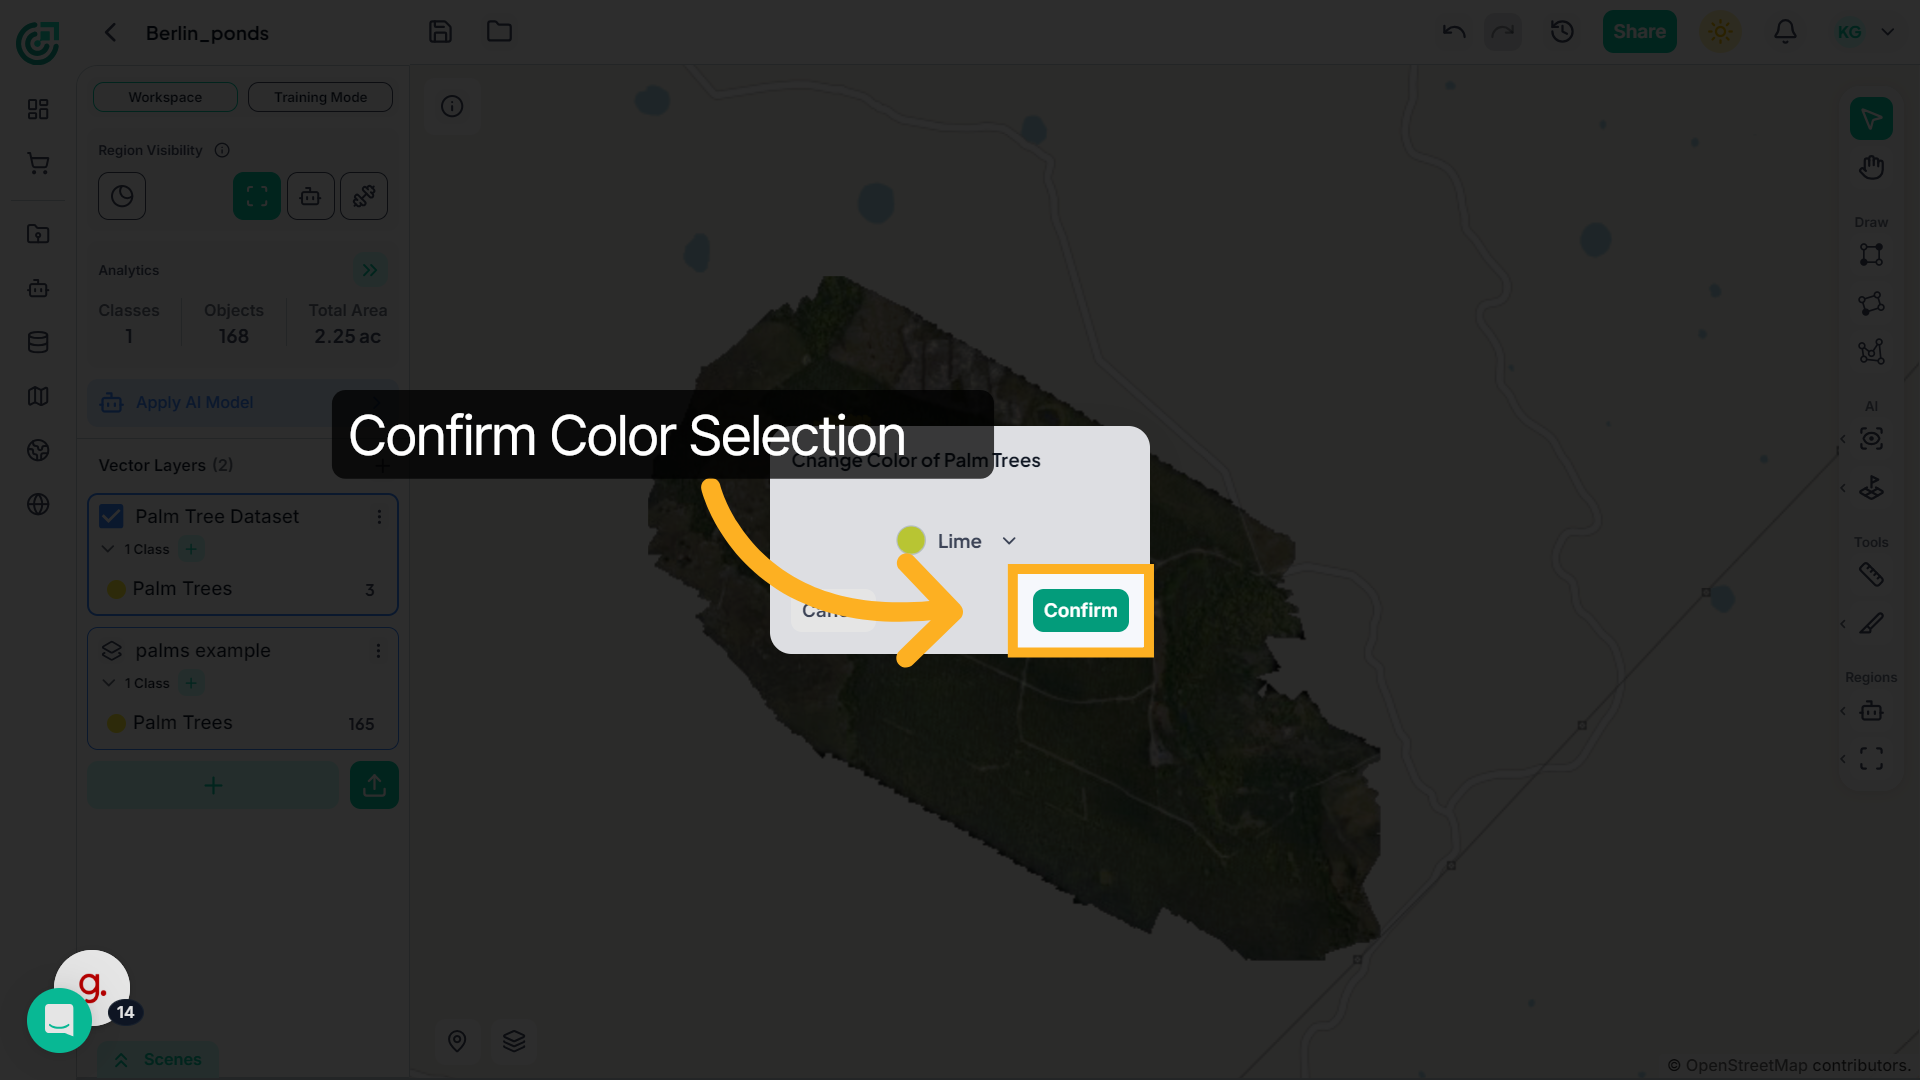
16. Finalize Color Update
Click Confirm, and the new color will instantly apply to all objects within that class.
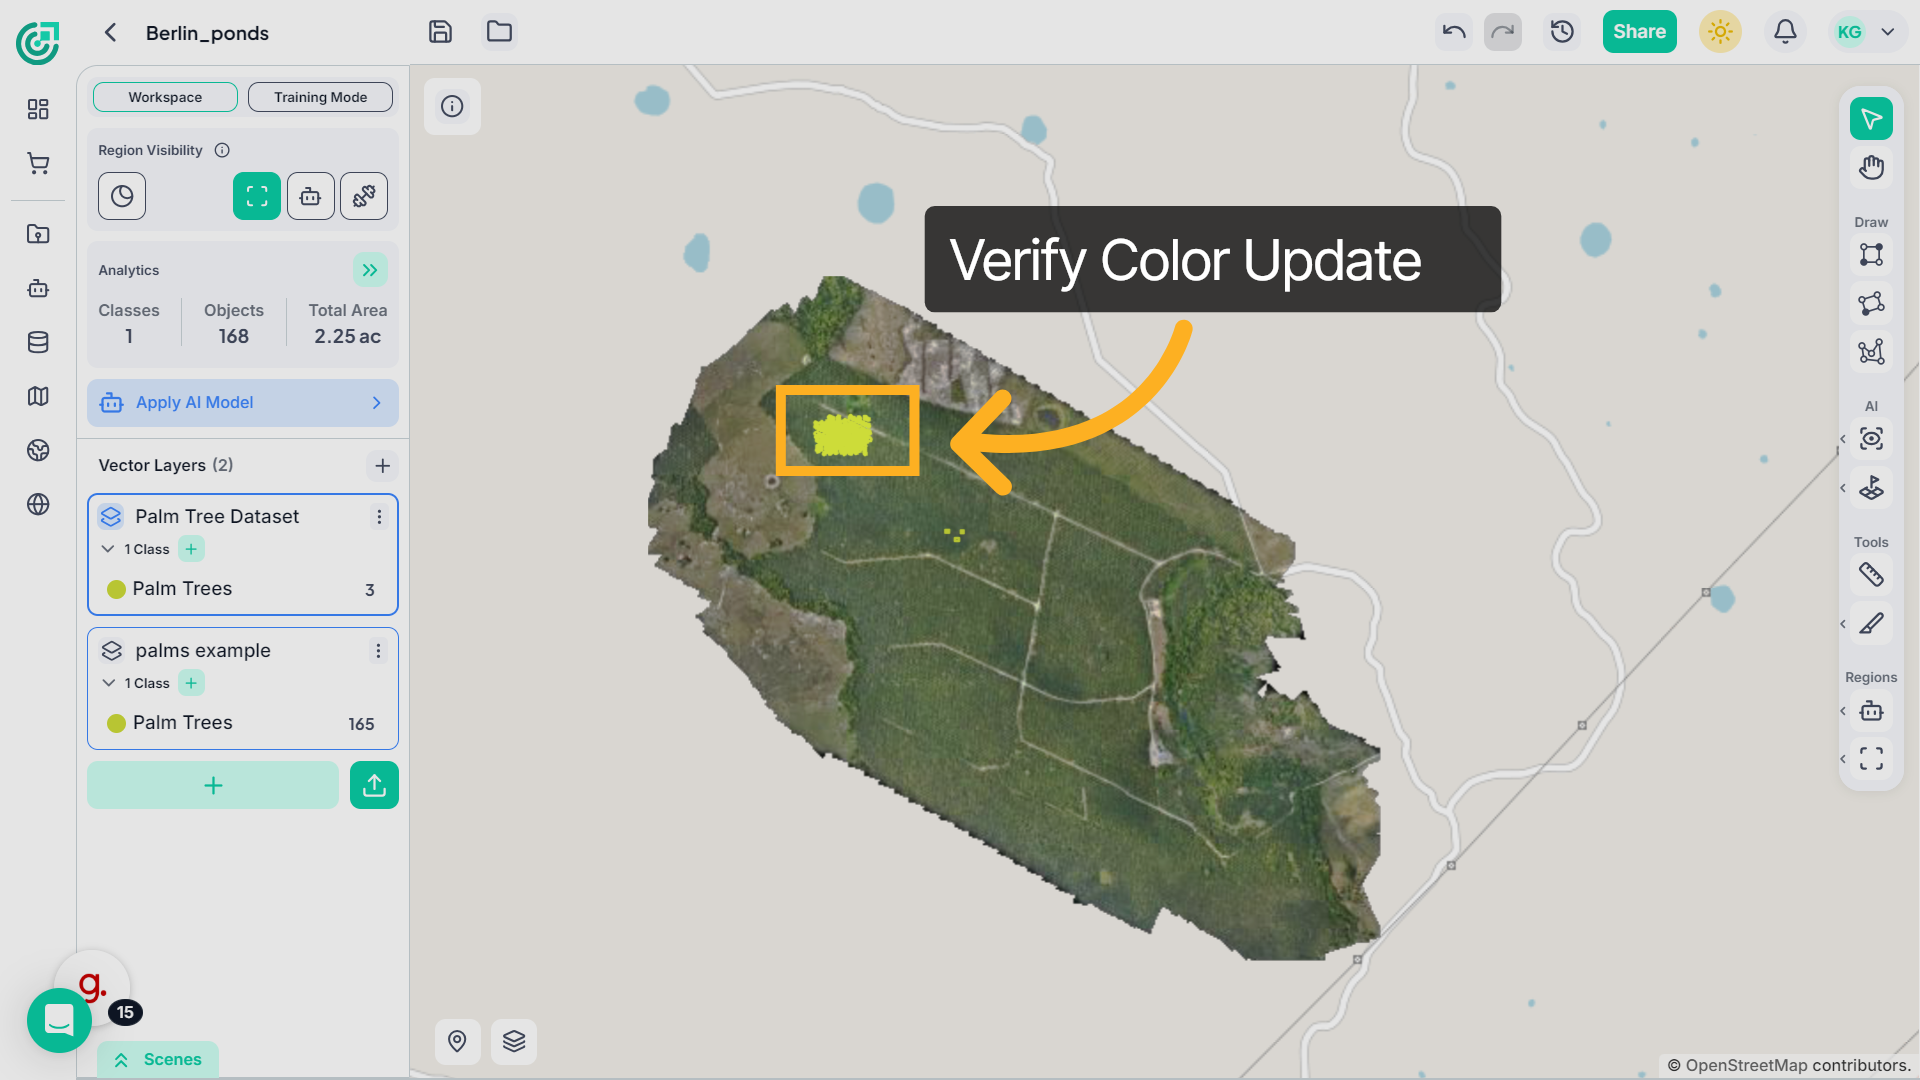
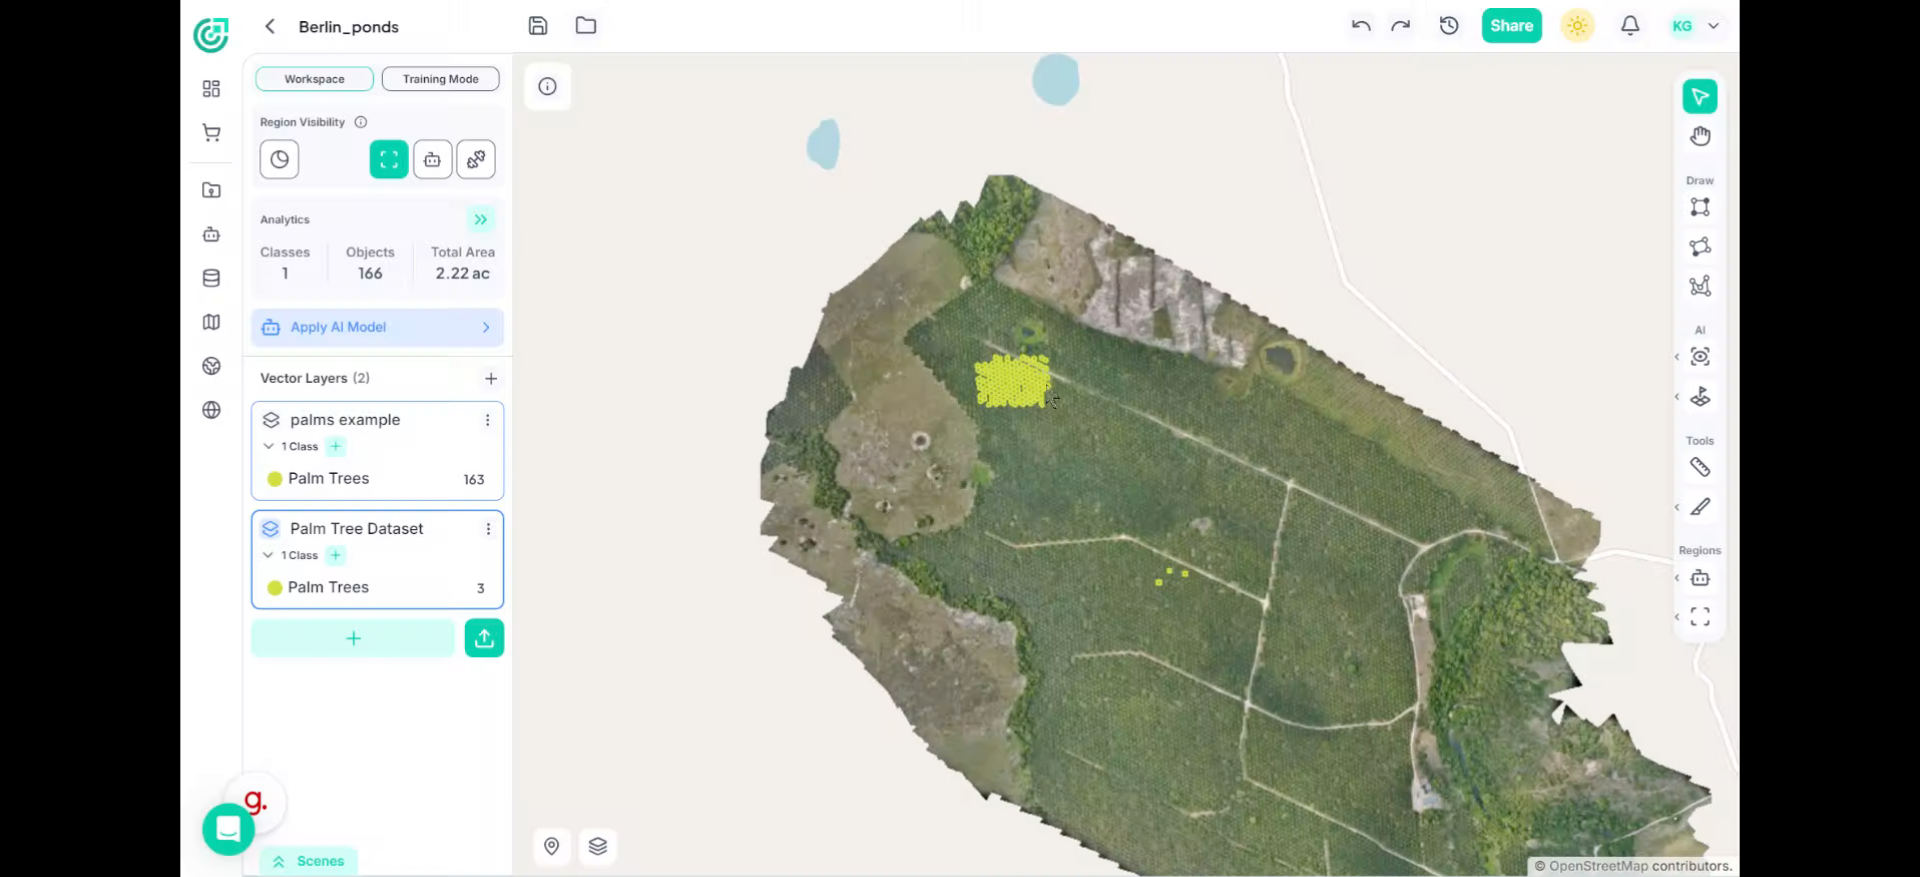
17. All objects updated
Once confirmed, you’ll immediately see the new color reflected across all objects in the map, making that class easier to identify.
18. Display Only One Class
If you’d like to concentrate on just this category, open the class menu and select Display This Only.
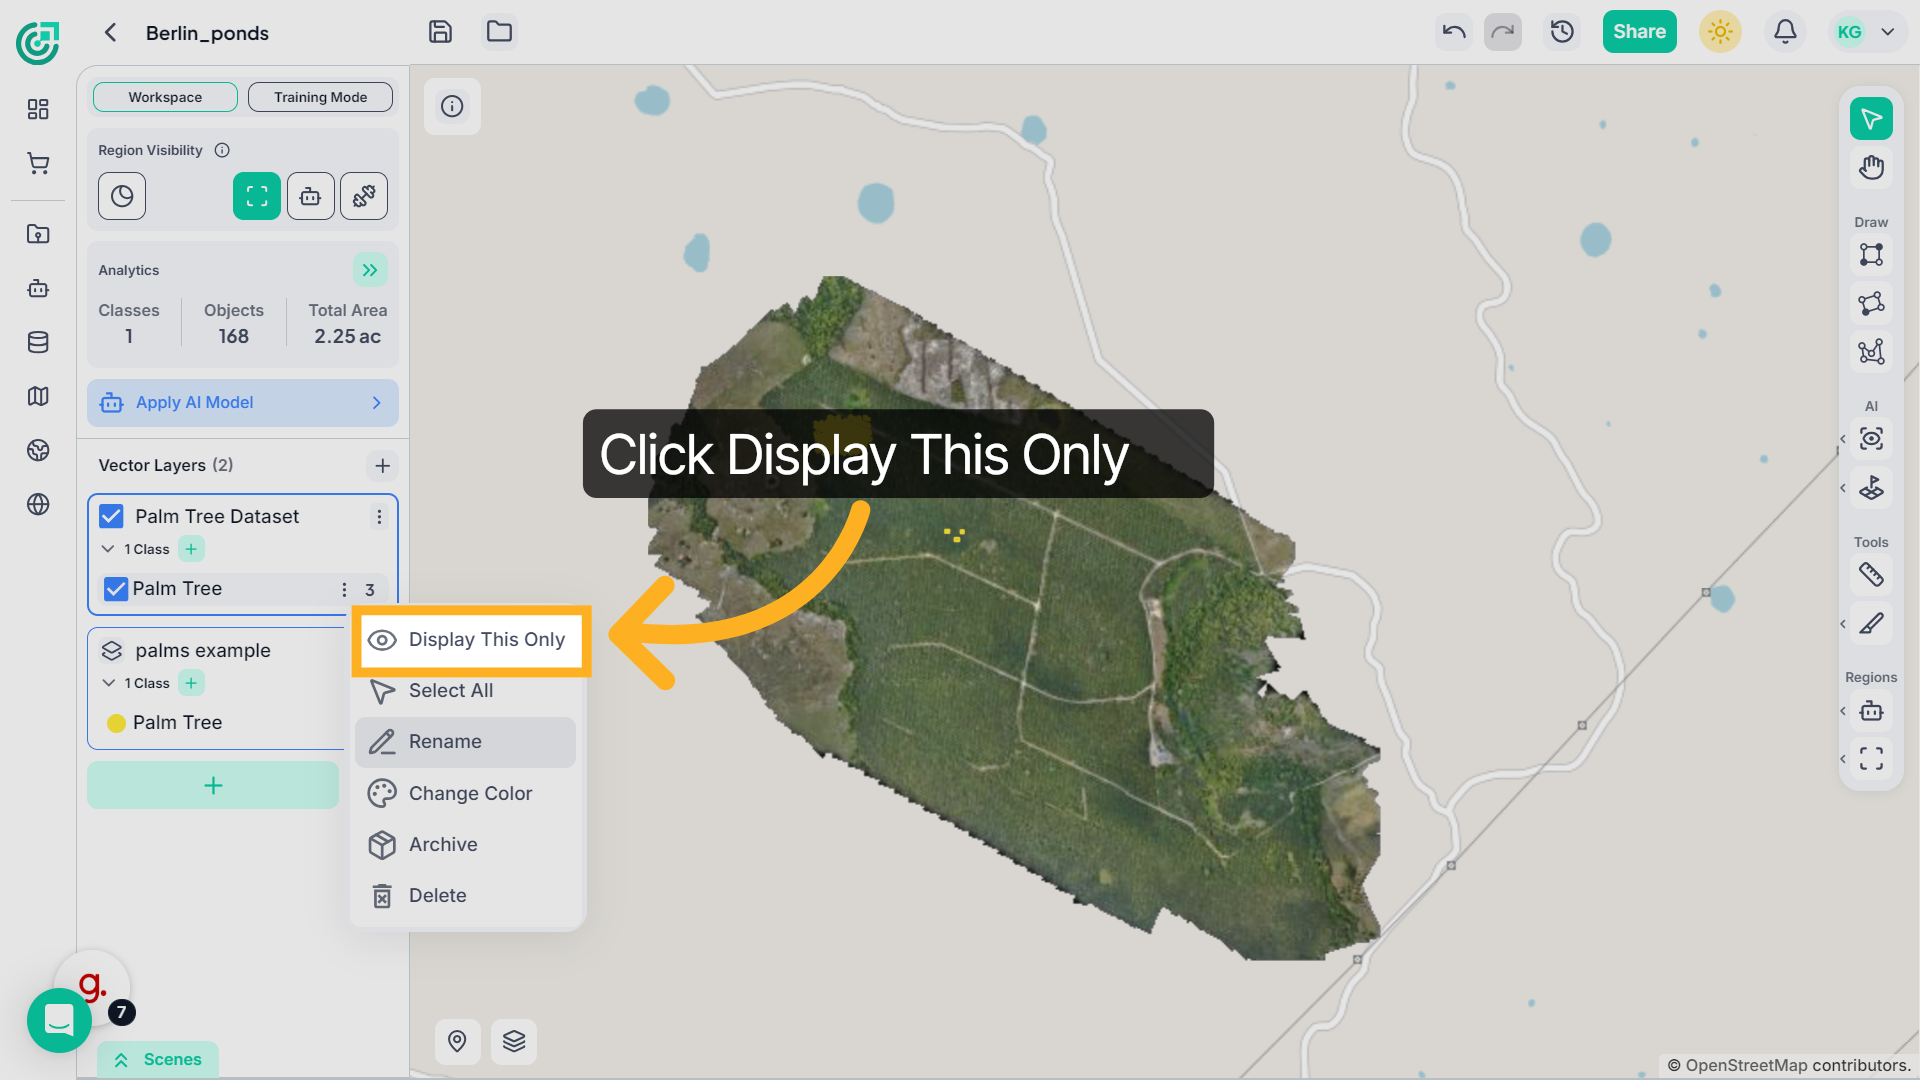
19. Focus on One Class
This temporarily hides other classes so you can review it more clearly.
20. Merge Annotations
To merge multiple annotations, first select them using the Select tool. Then click Merge Annotations in the annotation panel and confirm.The selected objects will combine into a single unified annotation.
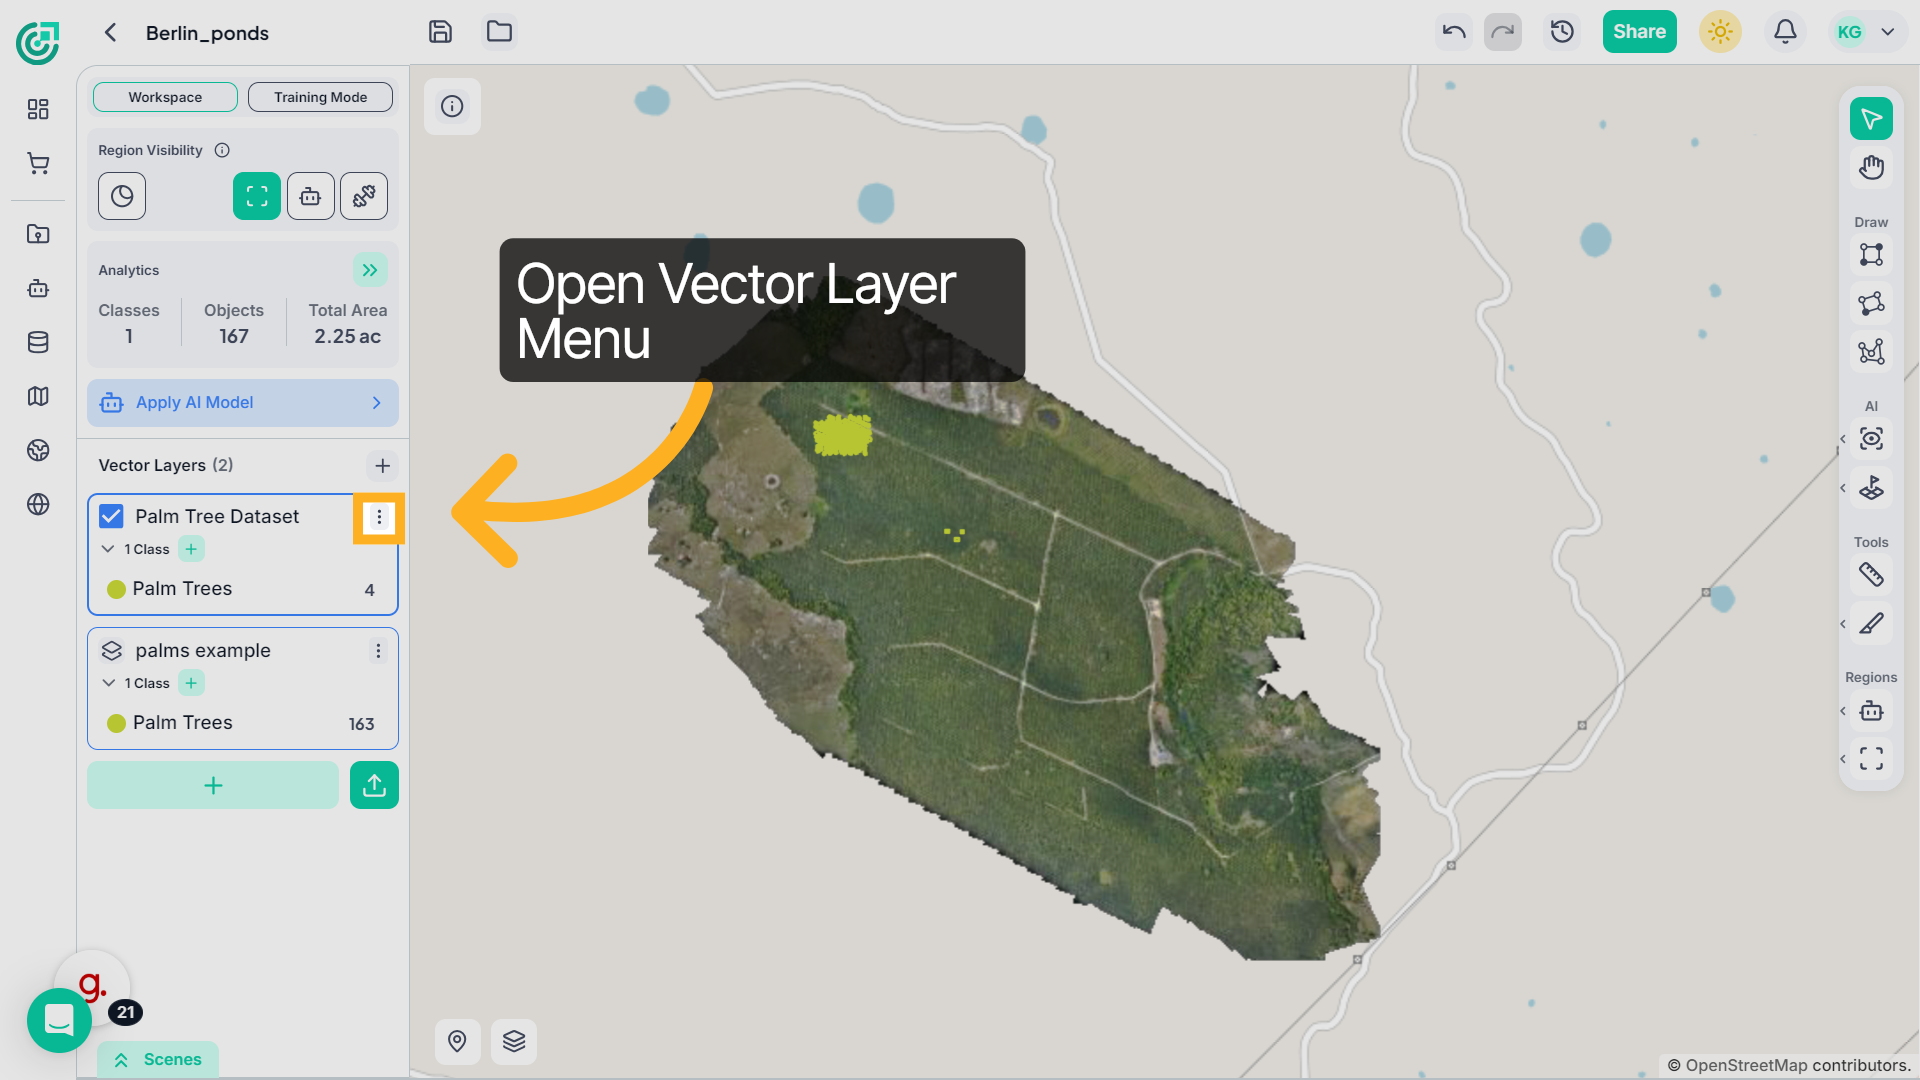
21. Export as GeoJSON
If you’d like to export your data, start by opening the three-dot menu next to the vector layer.
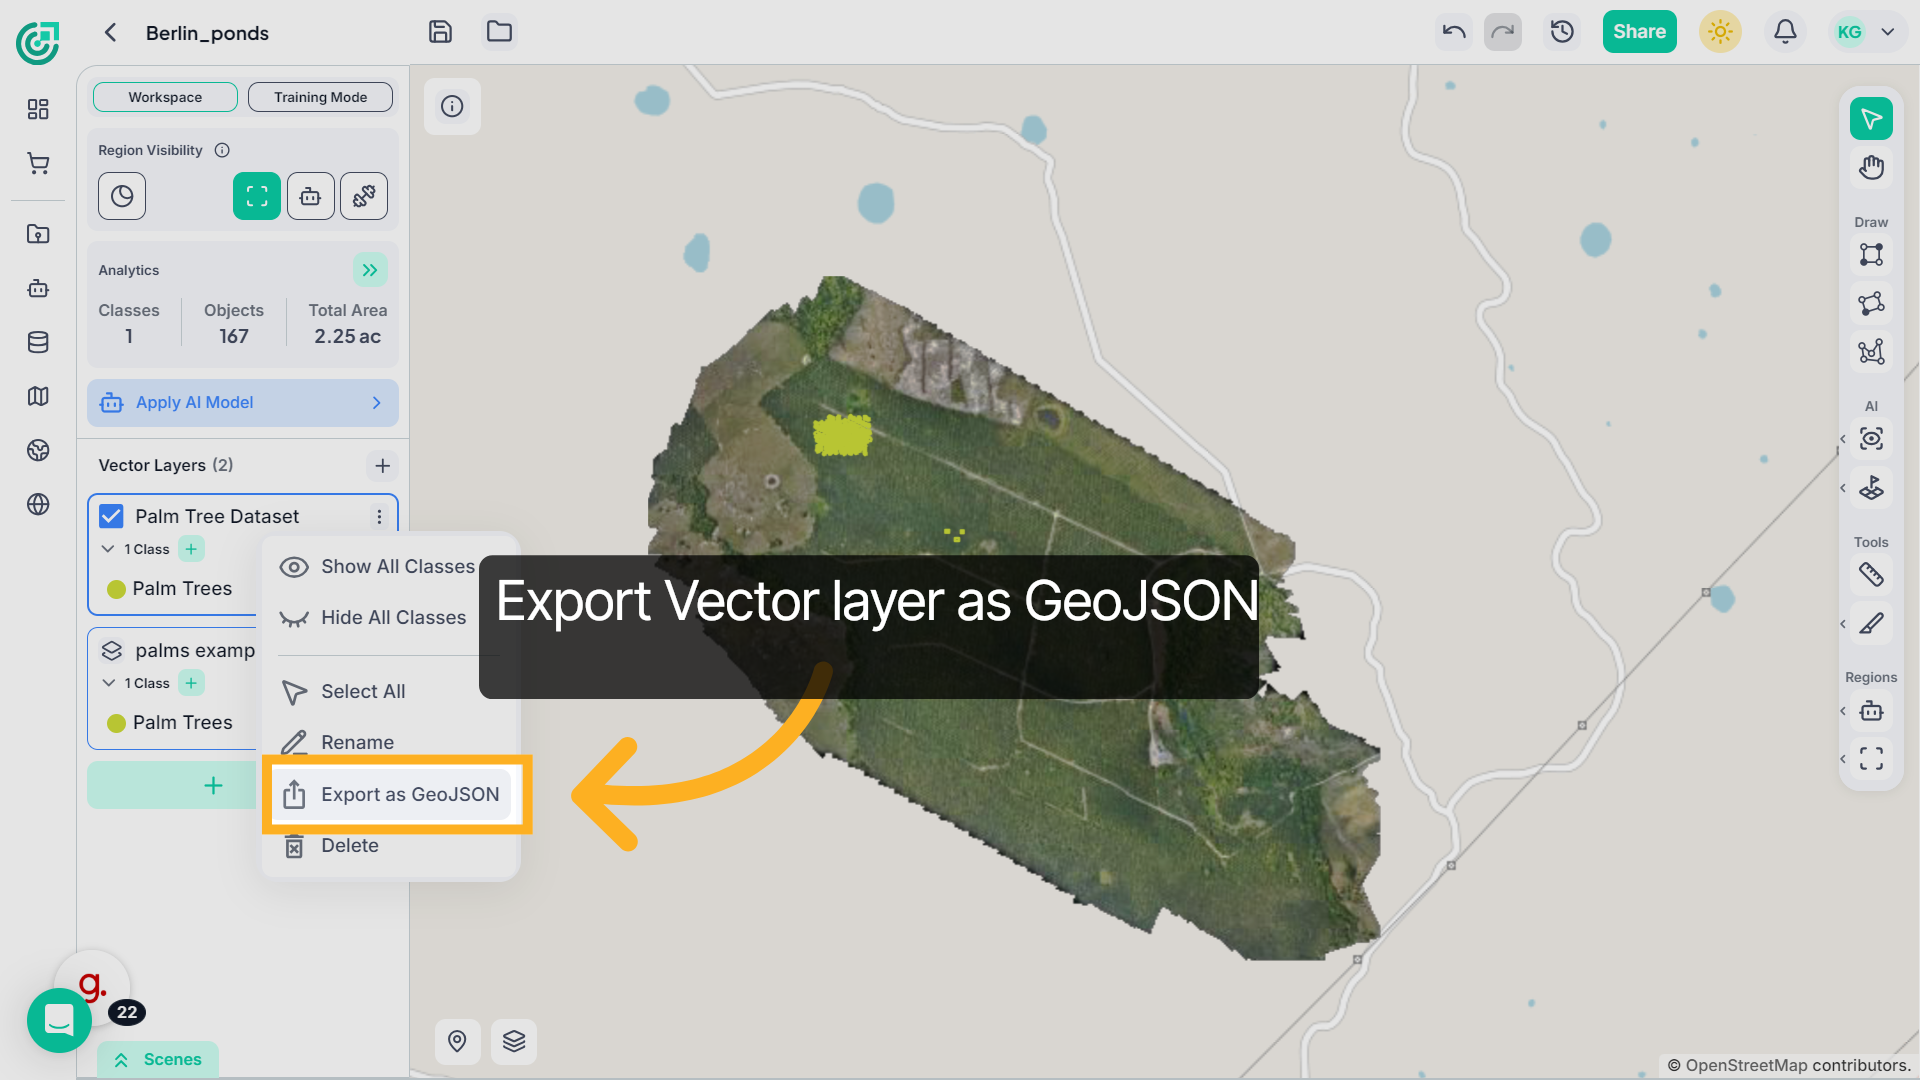
22. Export Data as GeoJSON
From the menu, select Export as GeoJSON to save your annotations in GeoJSON format. The system will generate and download a GeoJSON file containing your annotations
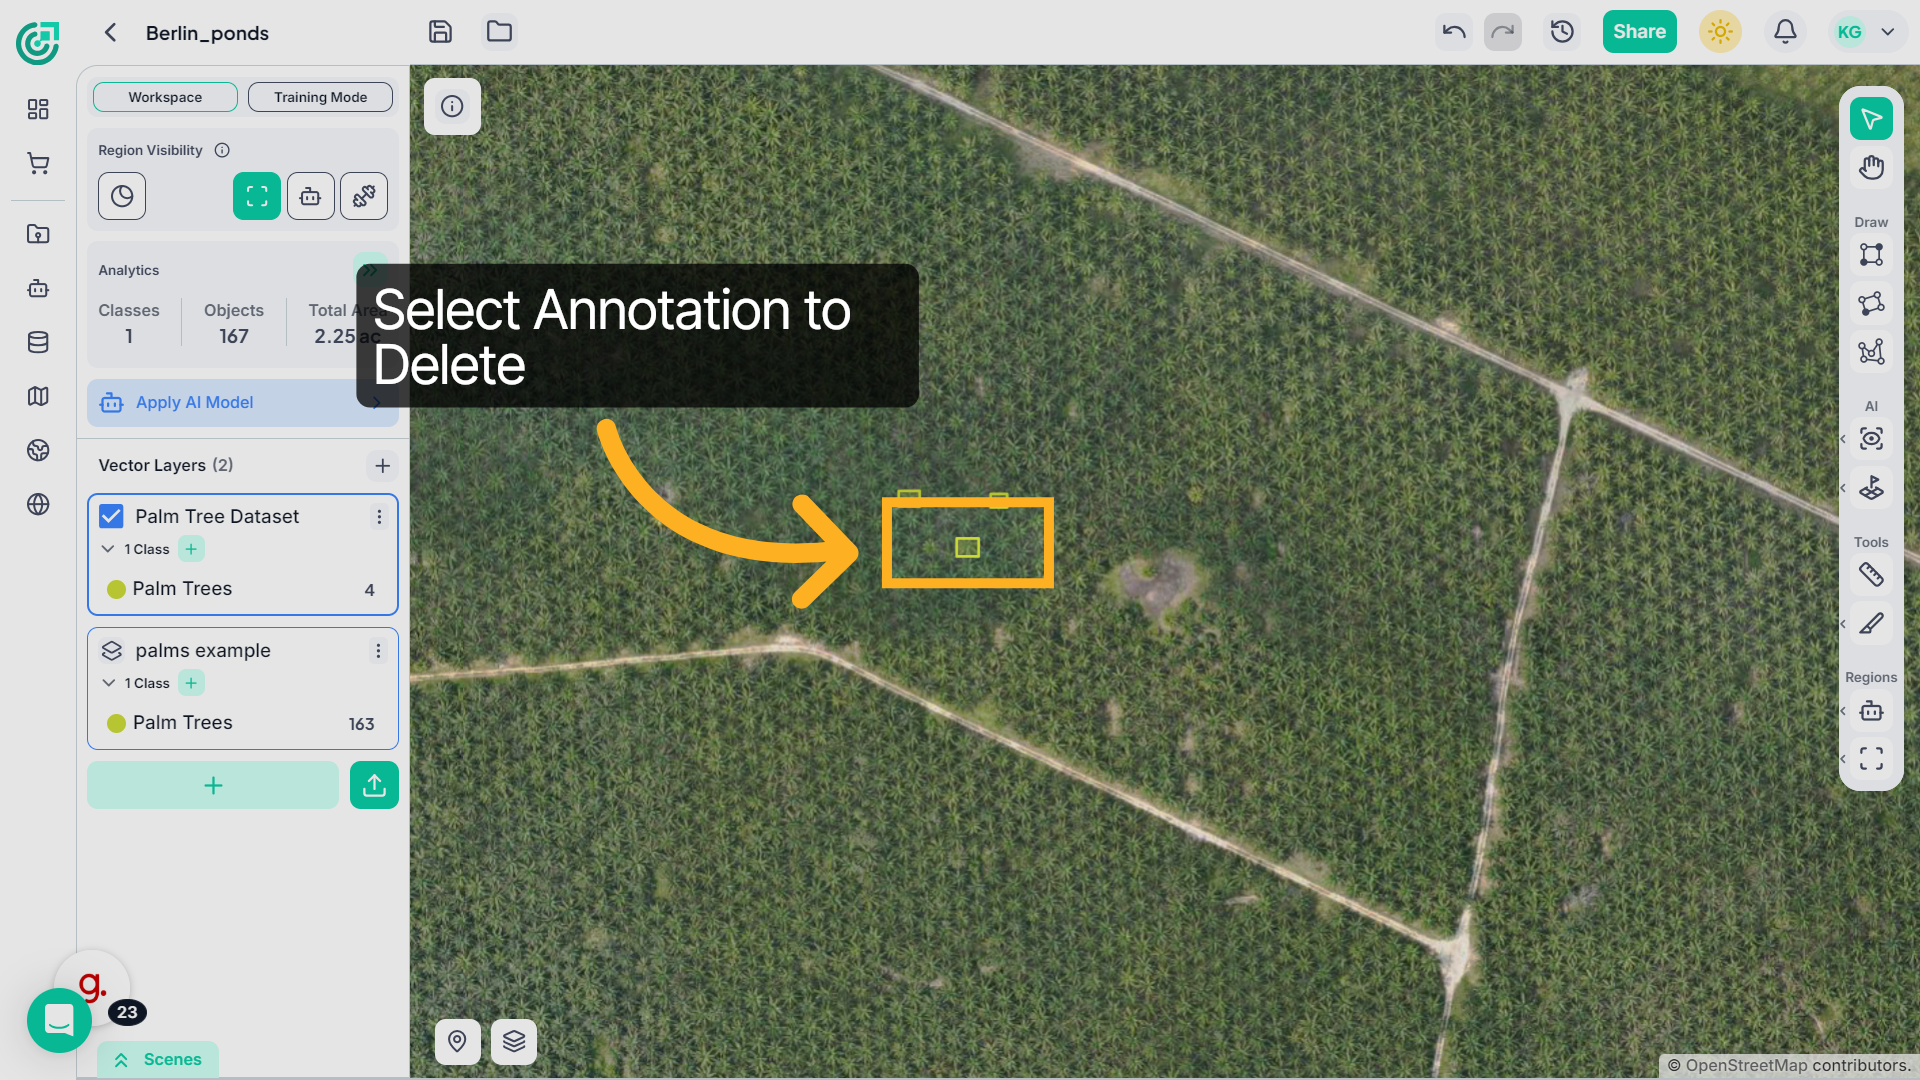
23. Delete Annotation
To remove a specific annotation, simply click on it using the Select tool.
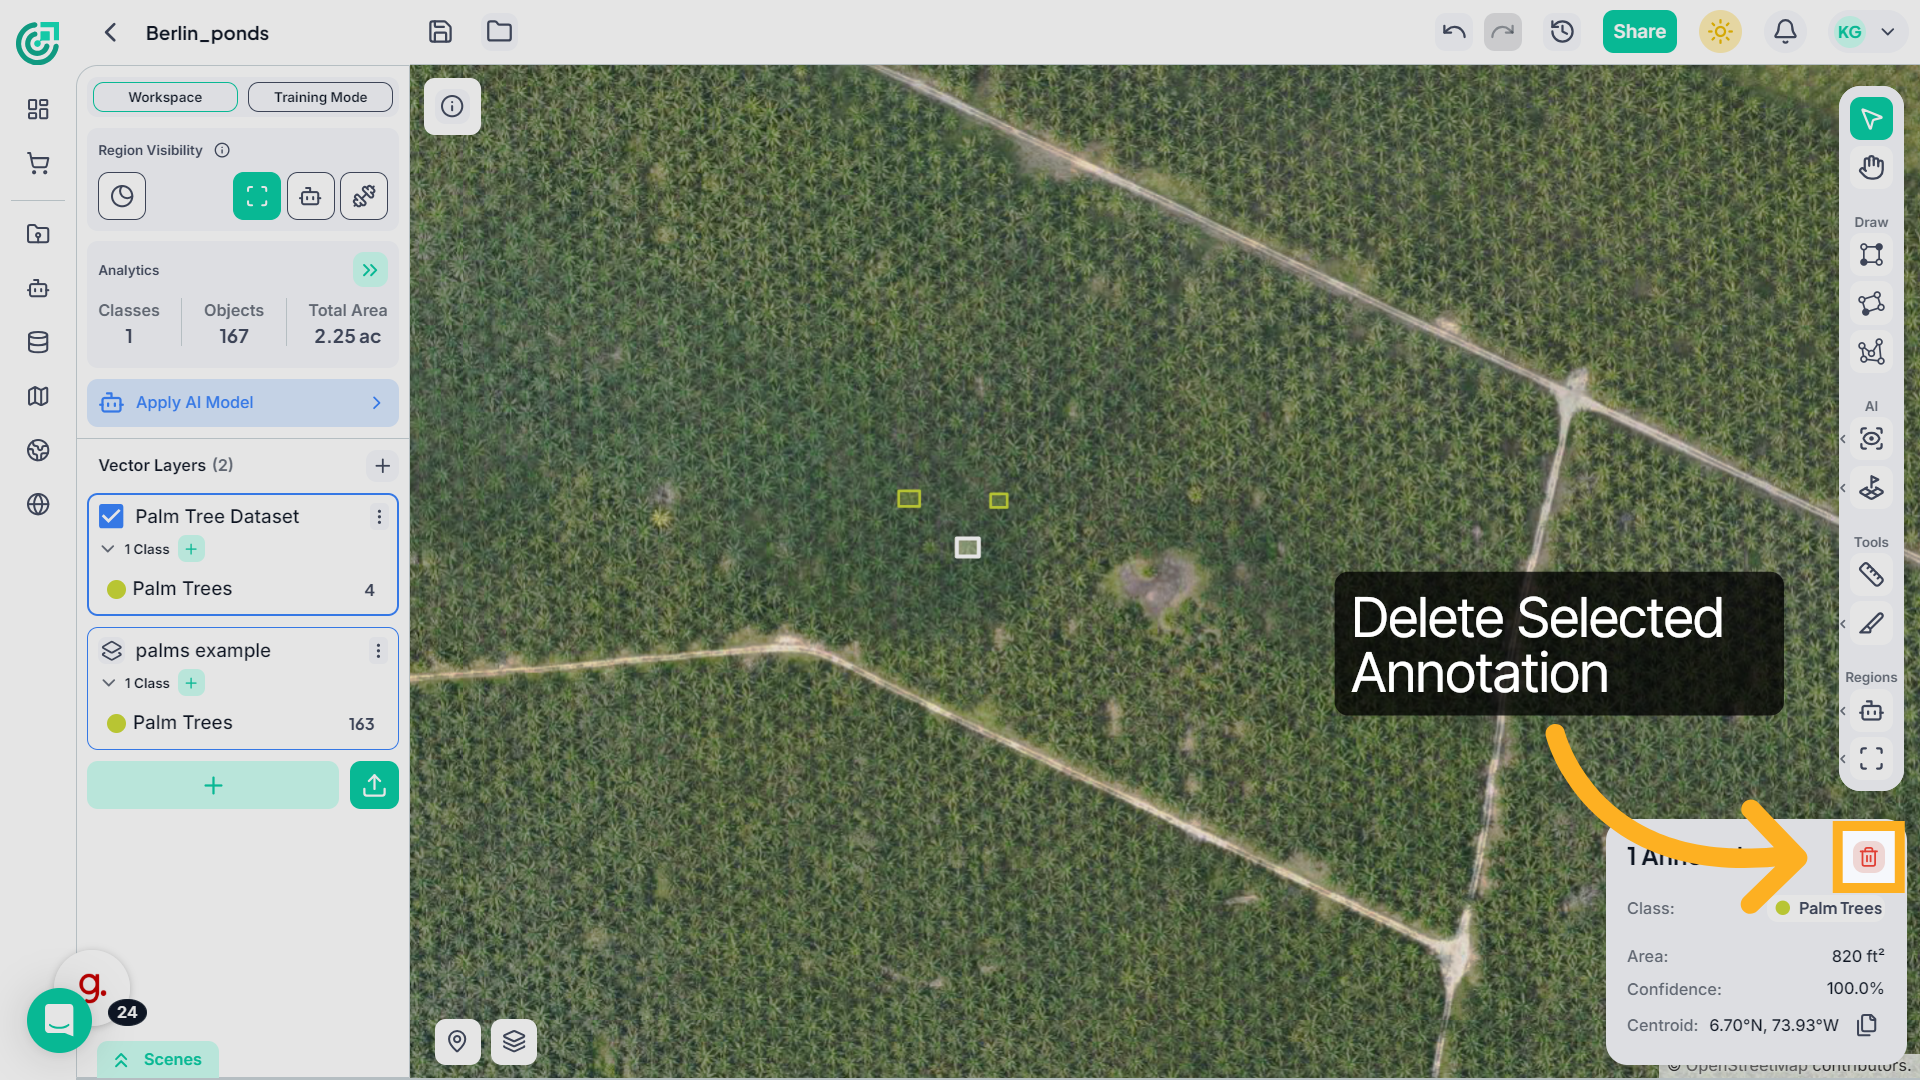
24. Access Additional Options
Once selected, click on the delete annotation. The selected annotation will be permanently removed from the workspace.
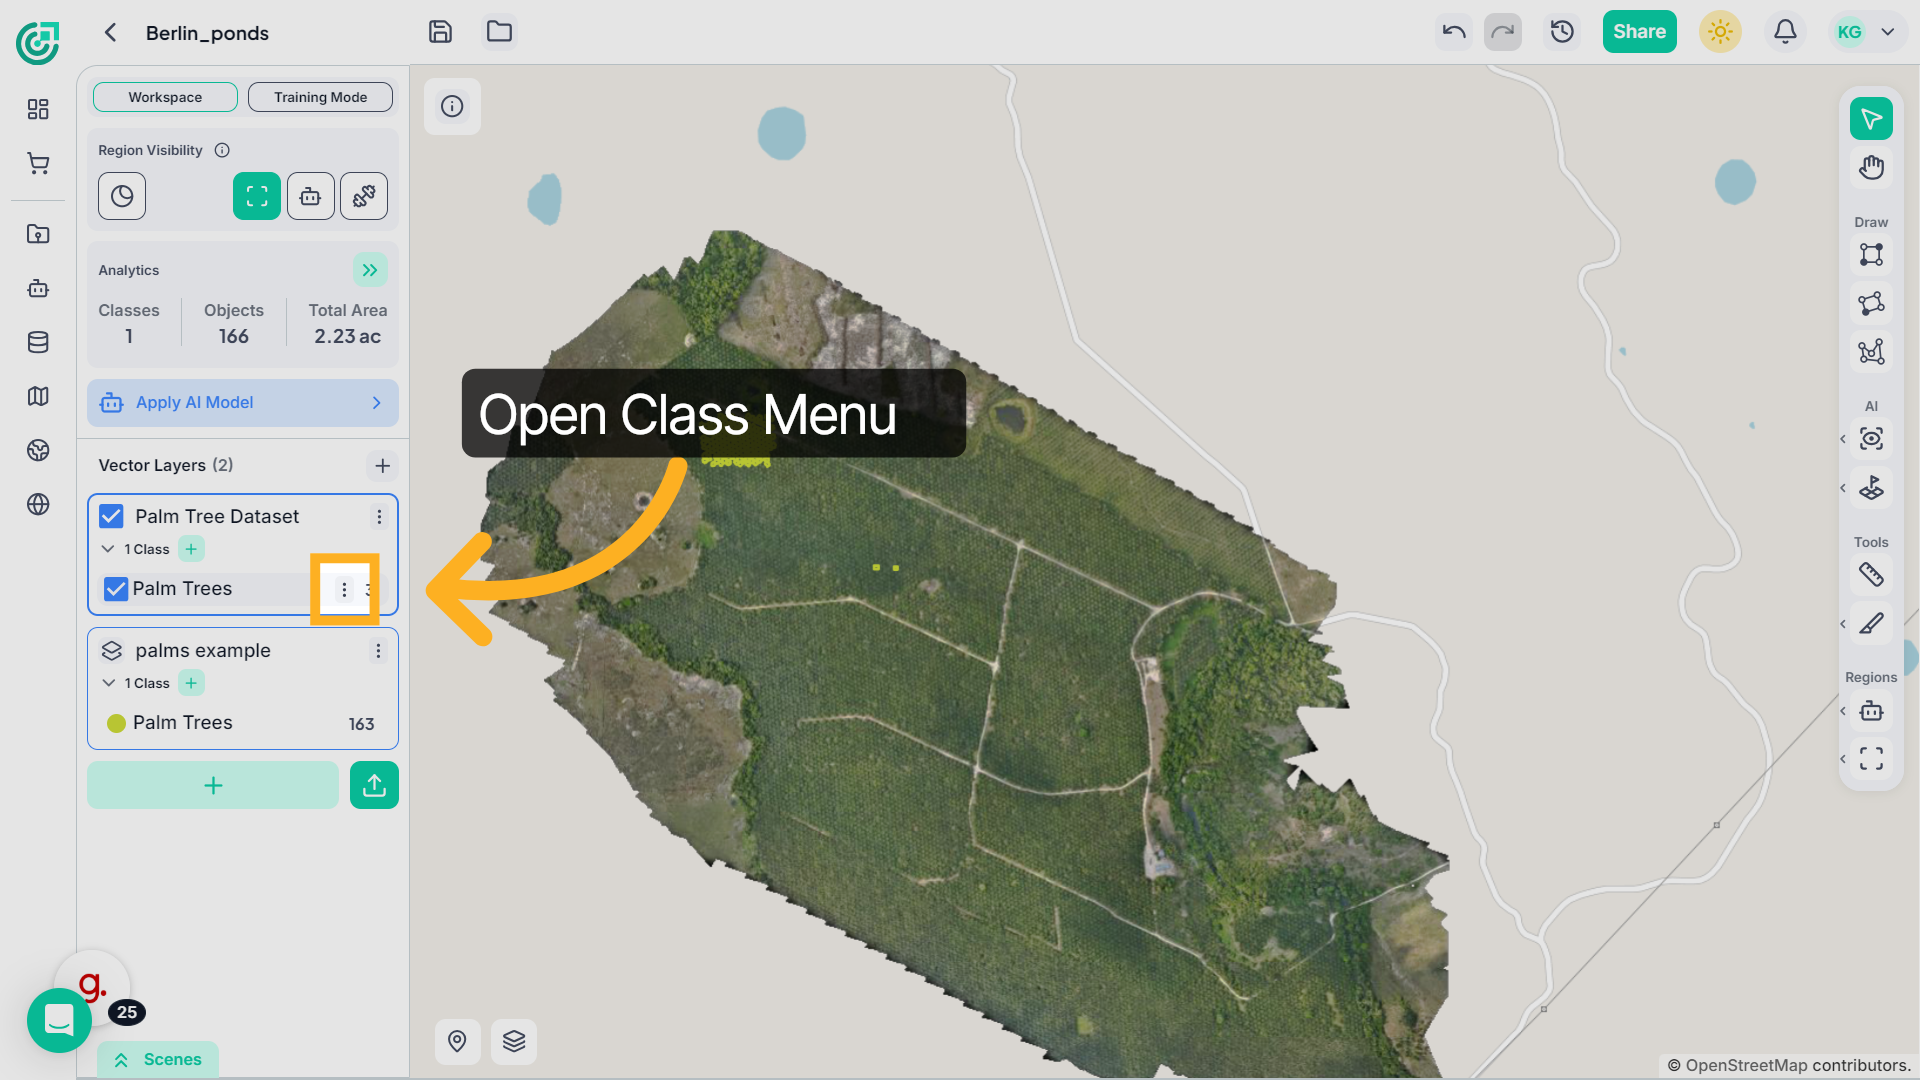
25. Delete a Class
If you no longer need a specific class, go to the Vector Layers panel and click the three-dot menu next to the class name.
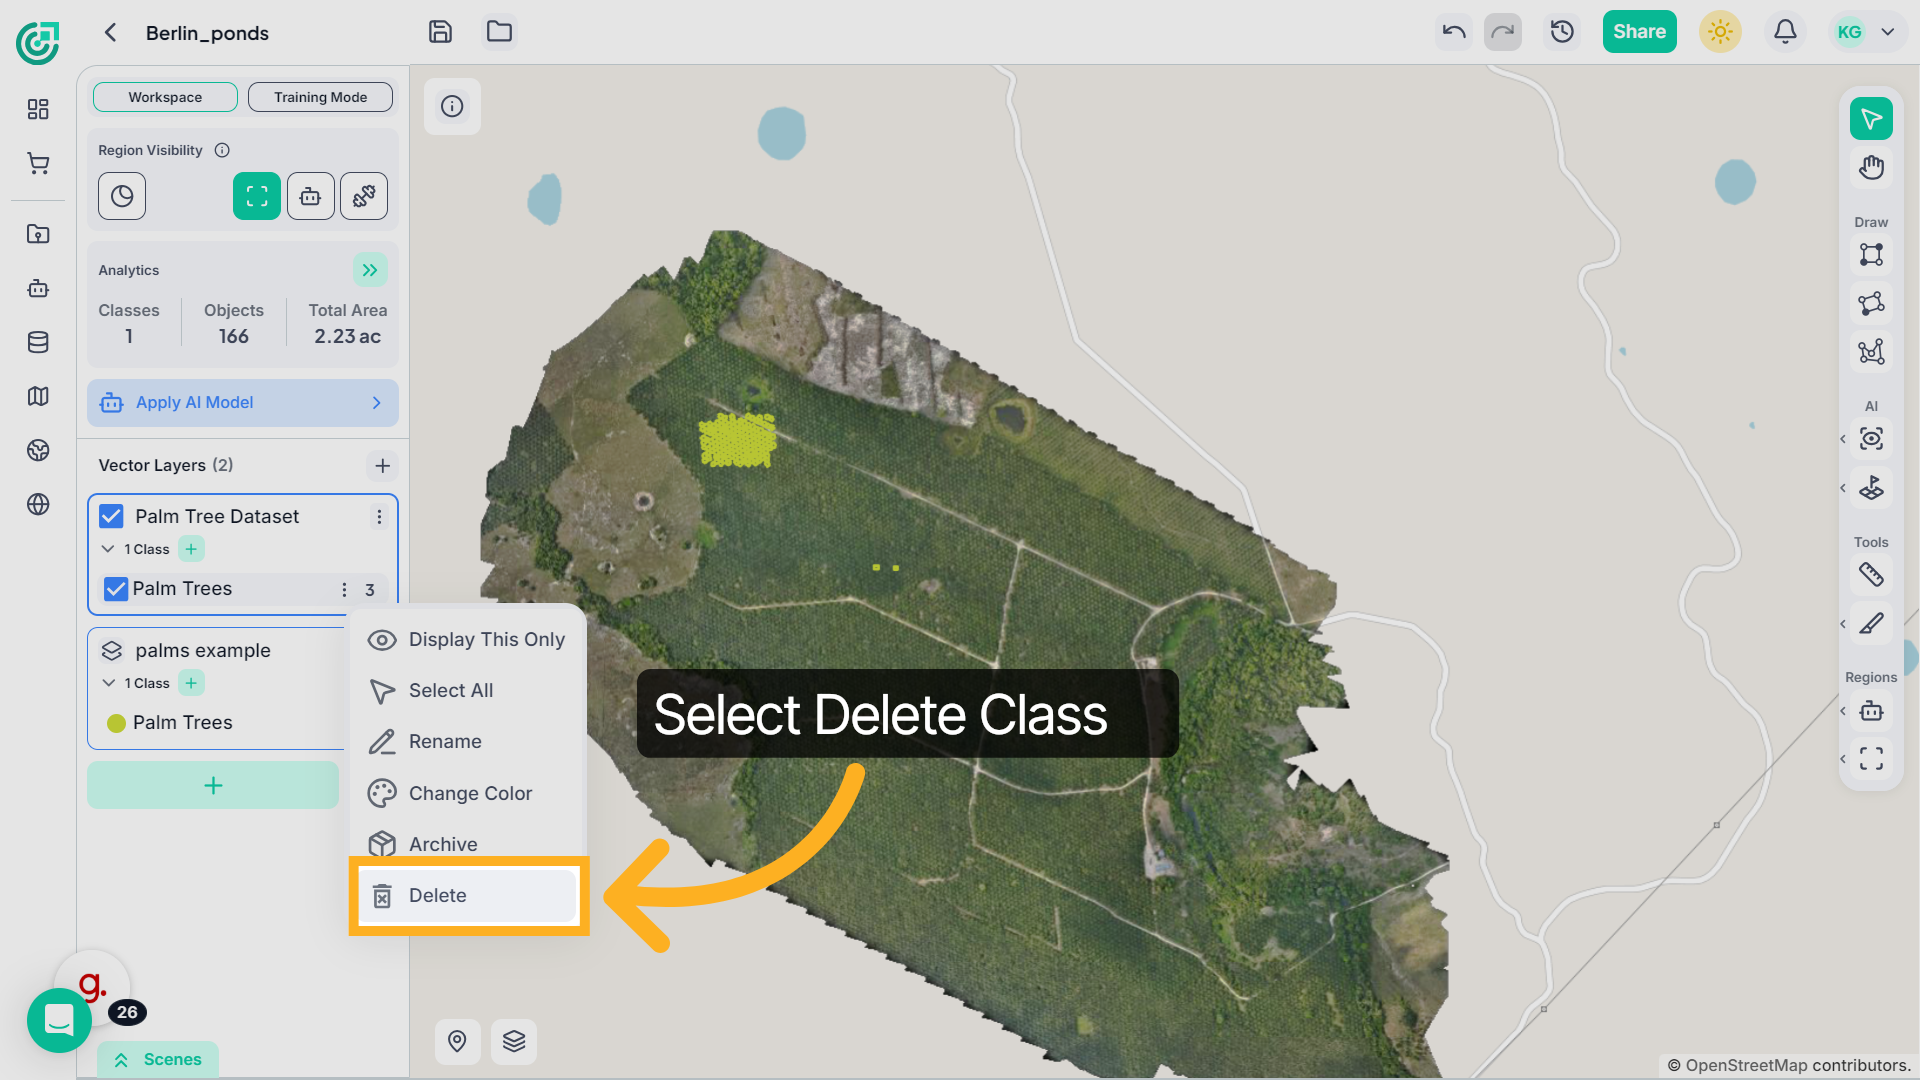
26. Initiate Delete Action
This opens the class management options. From the dropdown menu, select Delete.
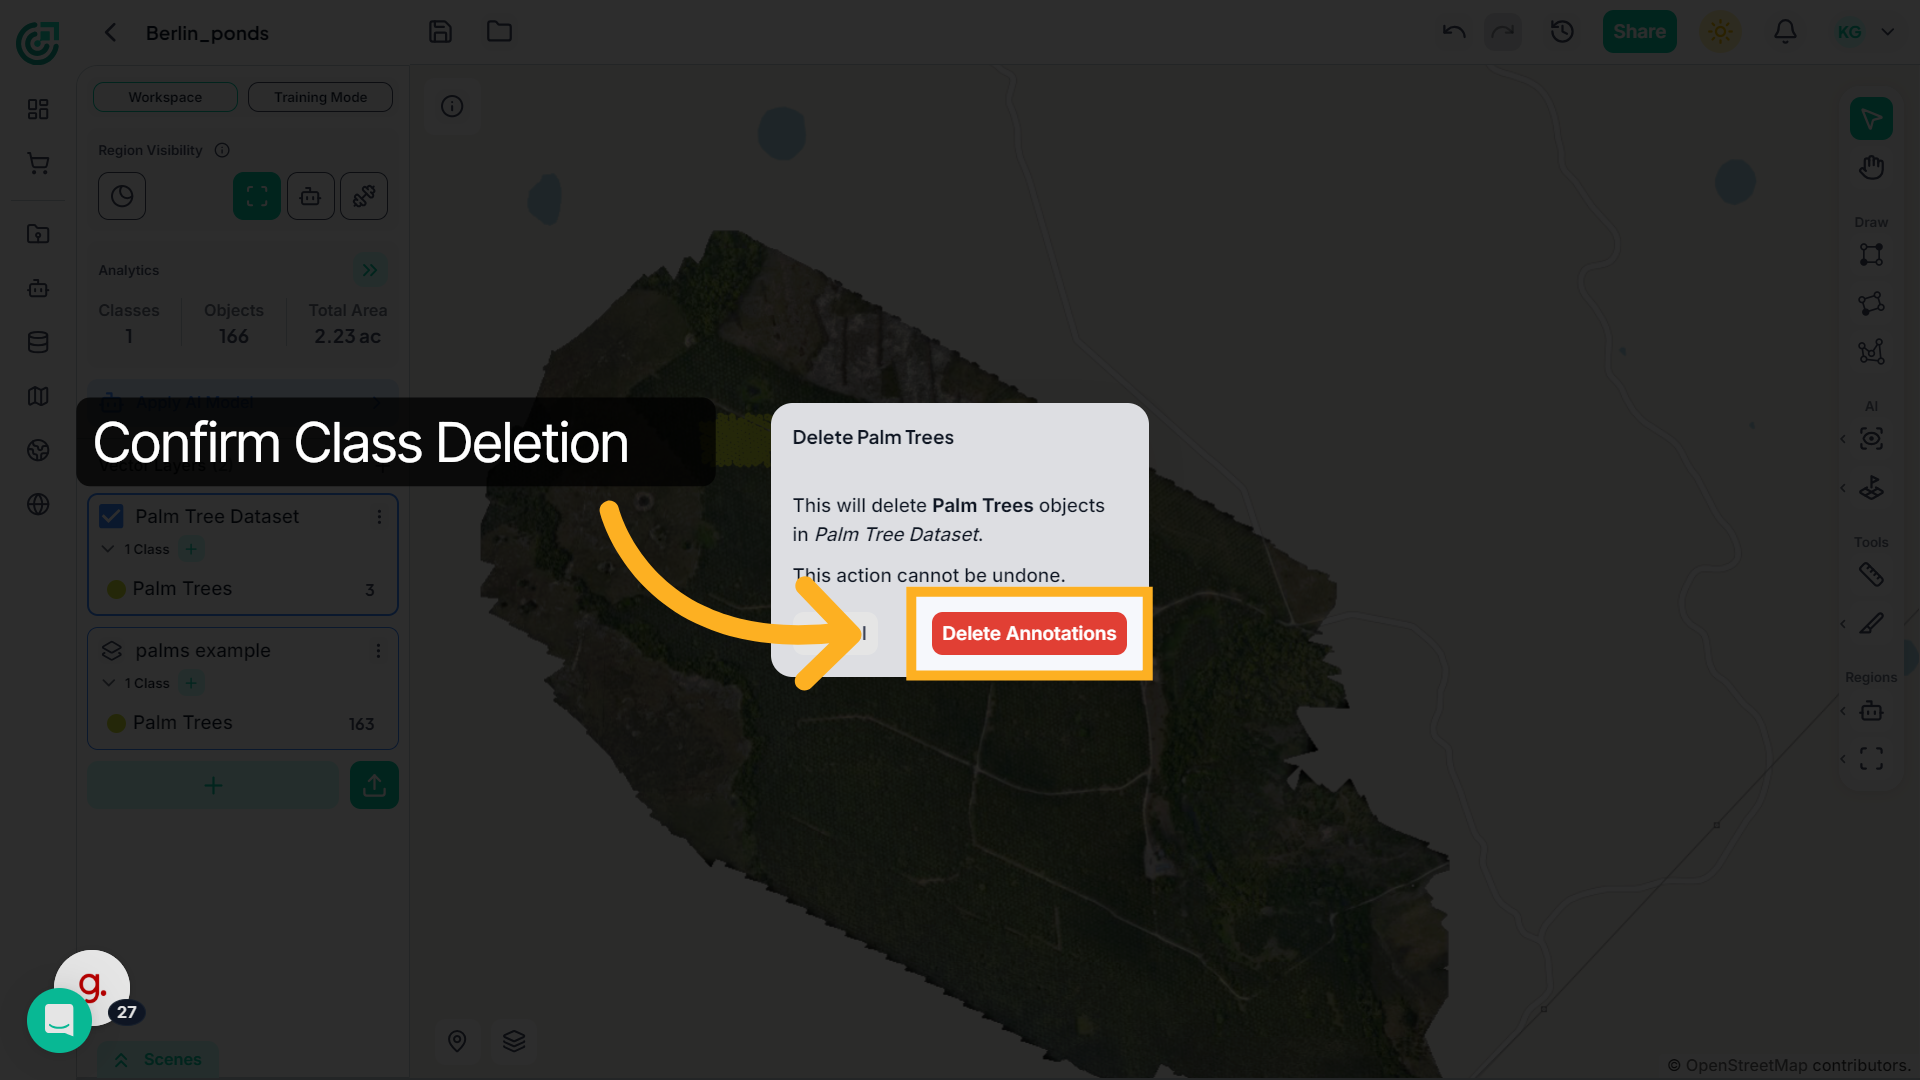
27. Confirm Class Deletion
A confirmation prompt will appear to prevent accidental removal. Click Delete again to confirm. Once confirmed, the class and all annotations assigned to it will be permanently removed from the workspace.
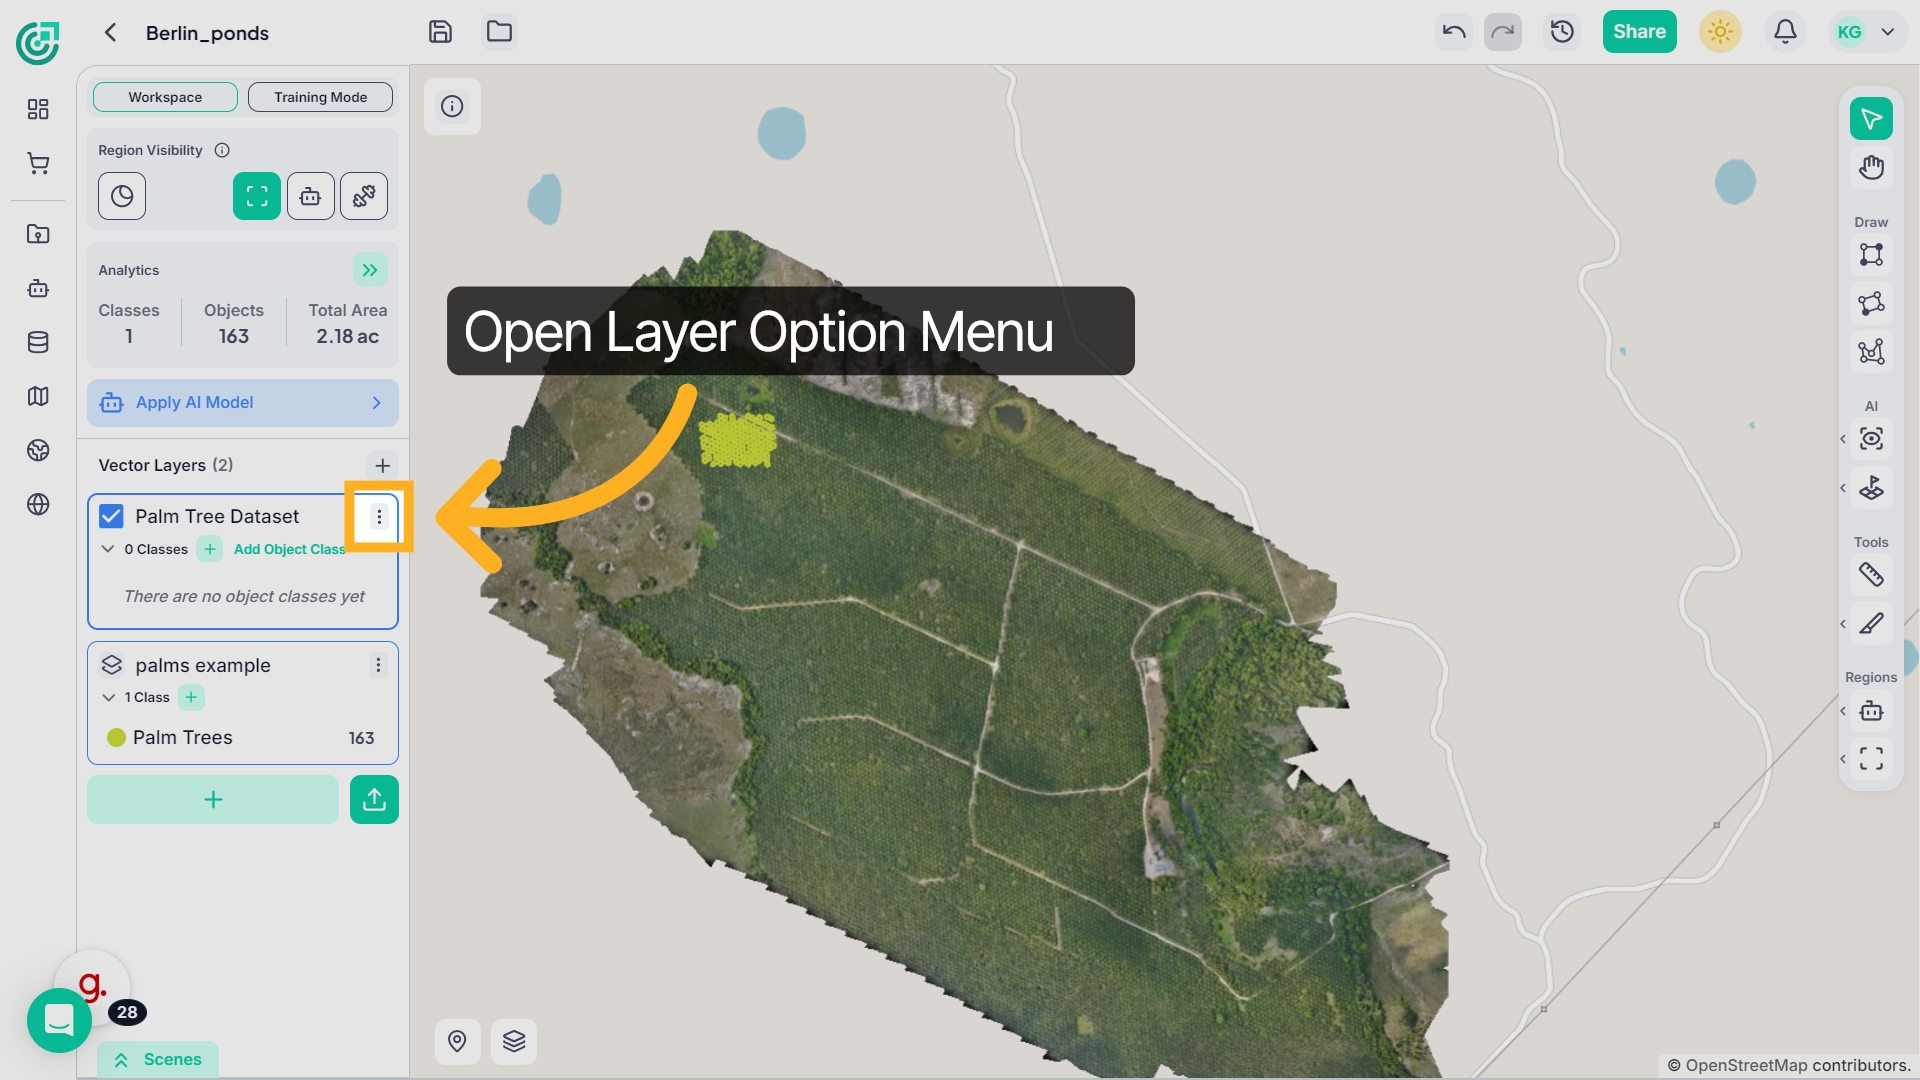
28. Delete a Vector Layer
To remove an entire vector layer, click the three-dot menu next to the vector layer.
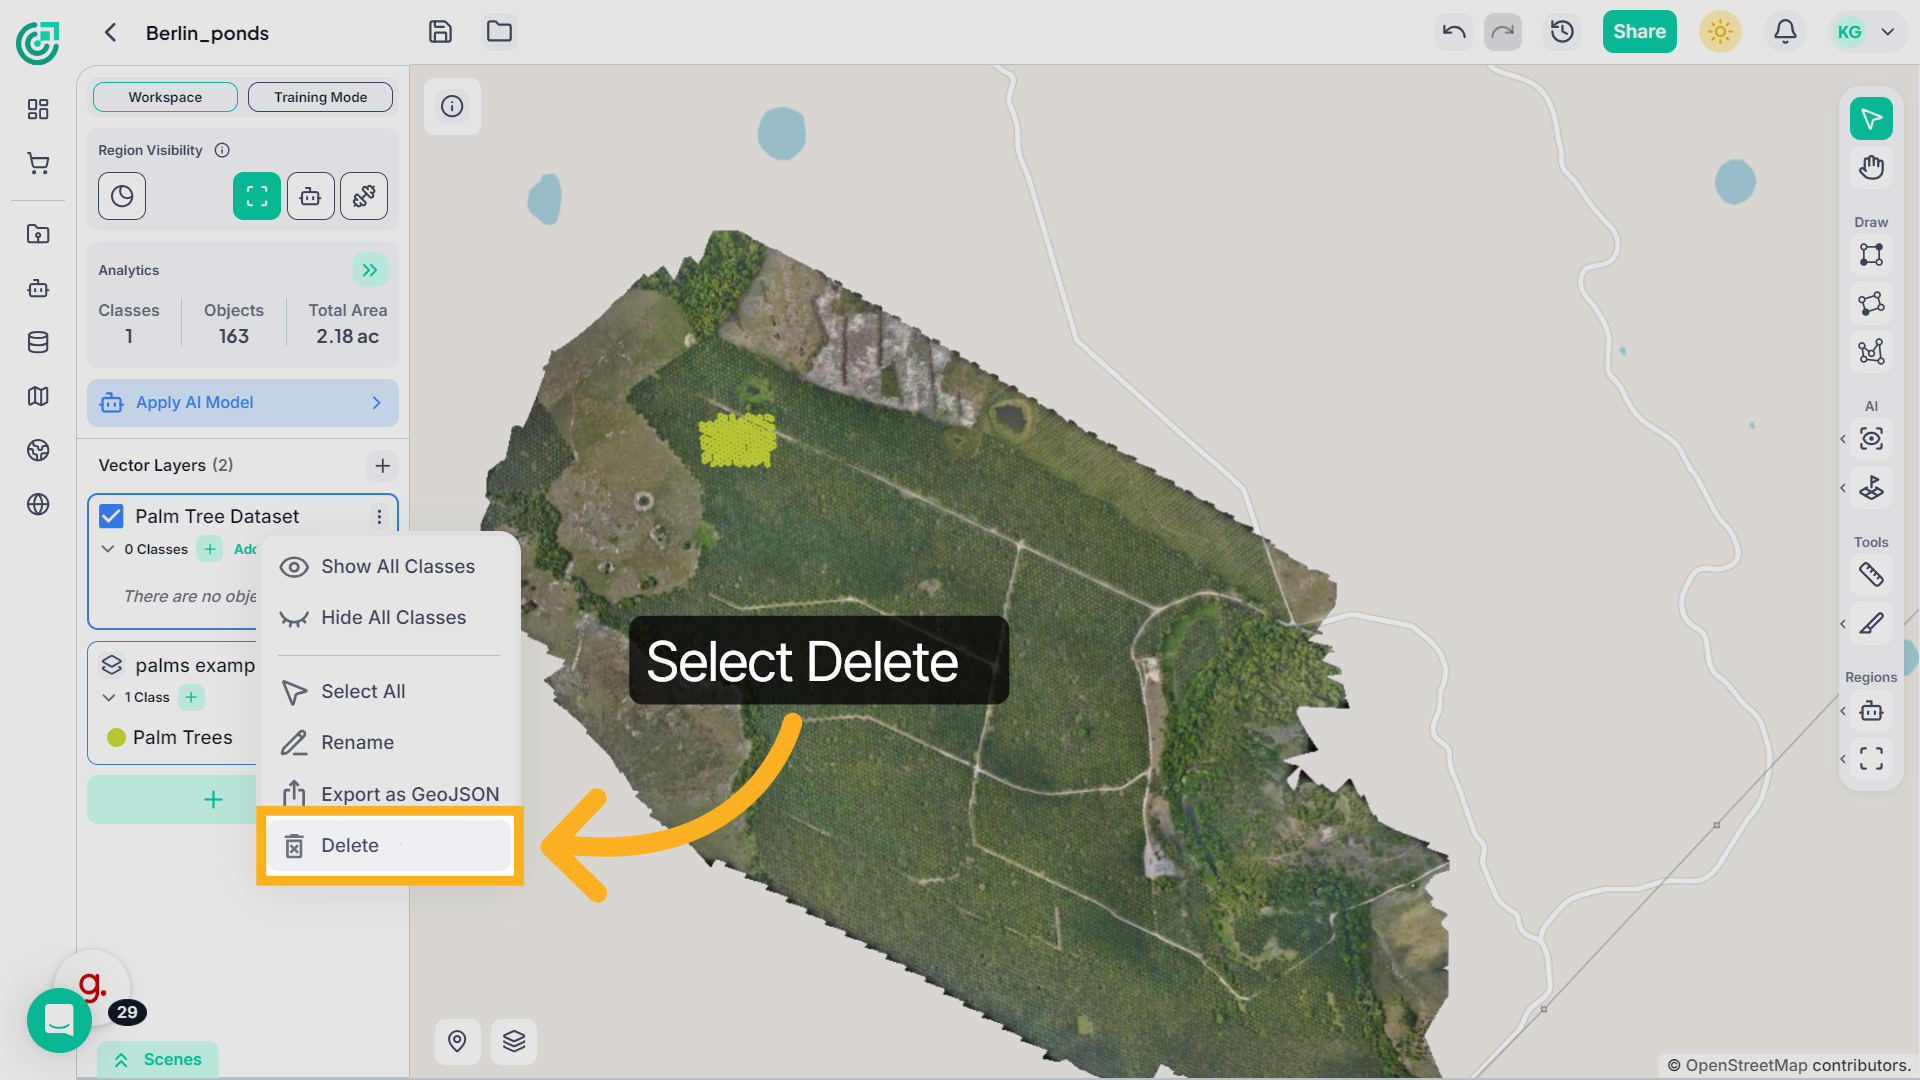
29. Select Delete Layer
From the dropdown menu, select Delete.
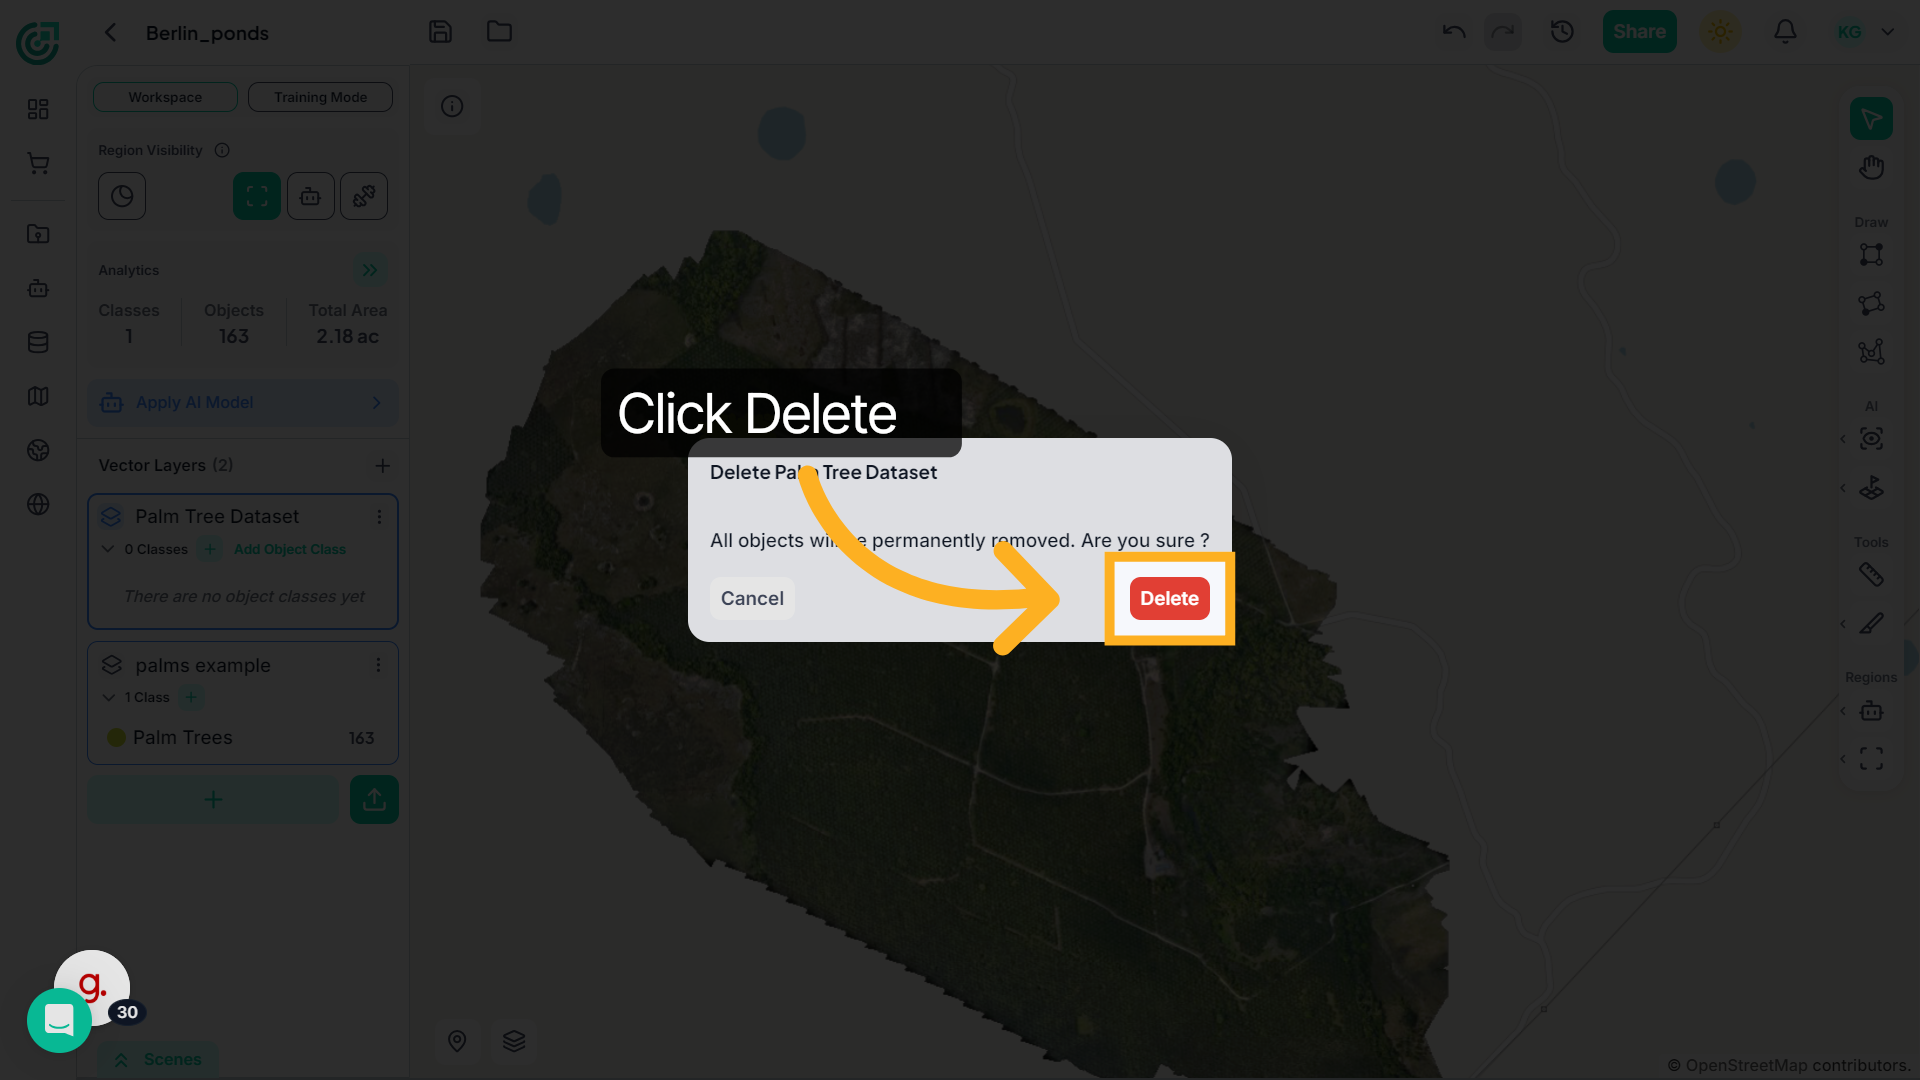
30. Confirm Layer Deletion
A confirmation prompt will appear to prevent accidental removal. Click Delete again to confirm. Once confirmed, the vector layer, along with all associated classes and annotations, will be permanently removed from the workspace.
And that’s how you can fully manage and clean up your vector data inside FlyPix AI. Whether you're refining classes, reorganizing datasets, or removing unused layers, these tools help you maintain a structured and efficient geospatial workflow.