Demonstrate Region Management in FlyPix AI
This demo showcases how FlyPix AI enables efficient region management within your workspace, allowing you to precisely control where AI models predict and where they learn.
Go to app.flypix.ai
1. Introduction
In this walkthrough, you’ll learn how to create regions, configure inference and training behaviors, divide work across teams, apply AI models to specific areas, and optimize credit usage.
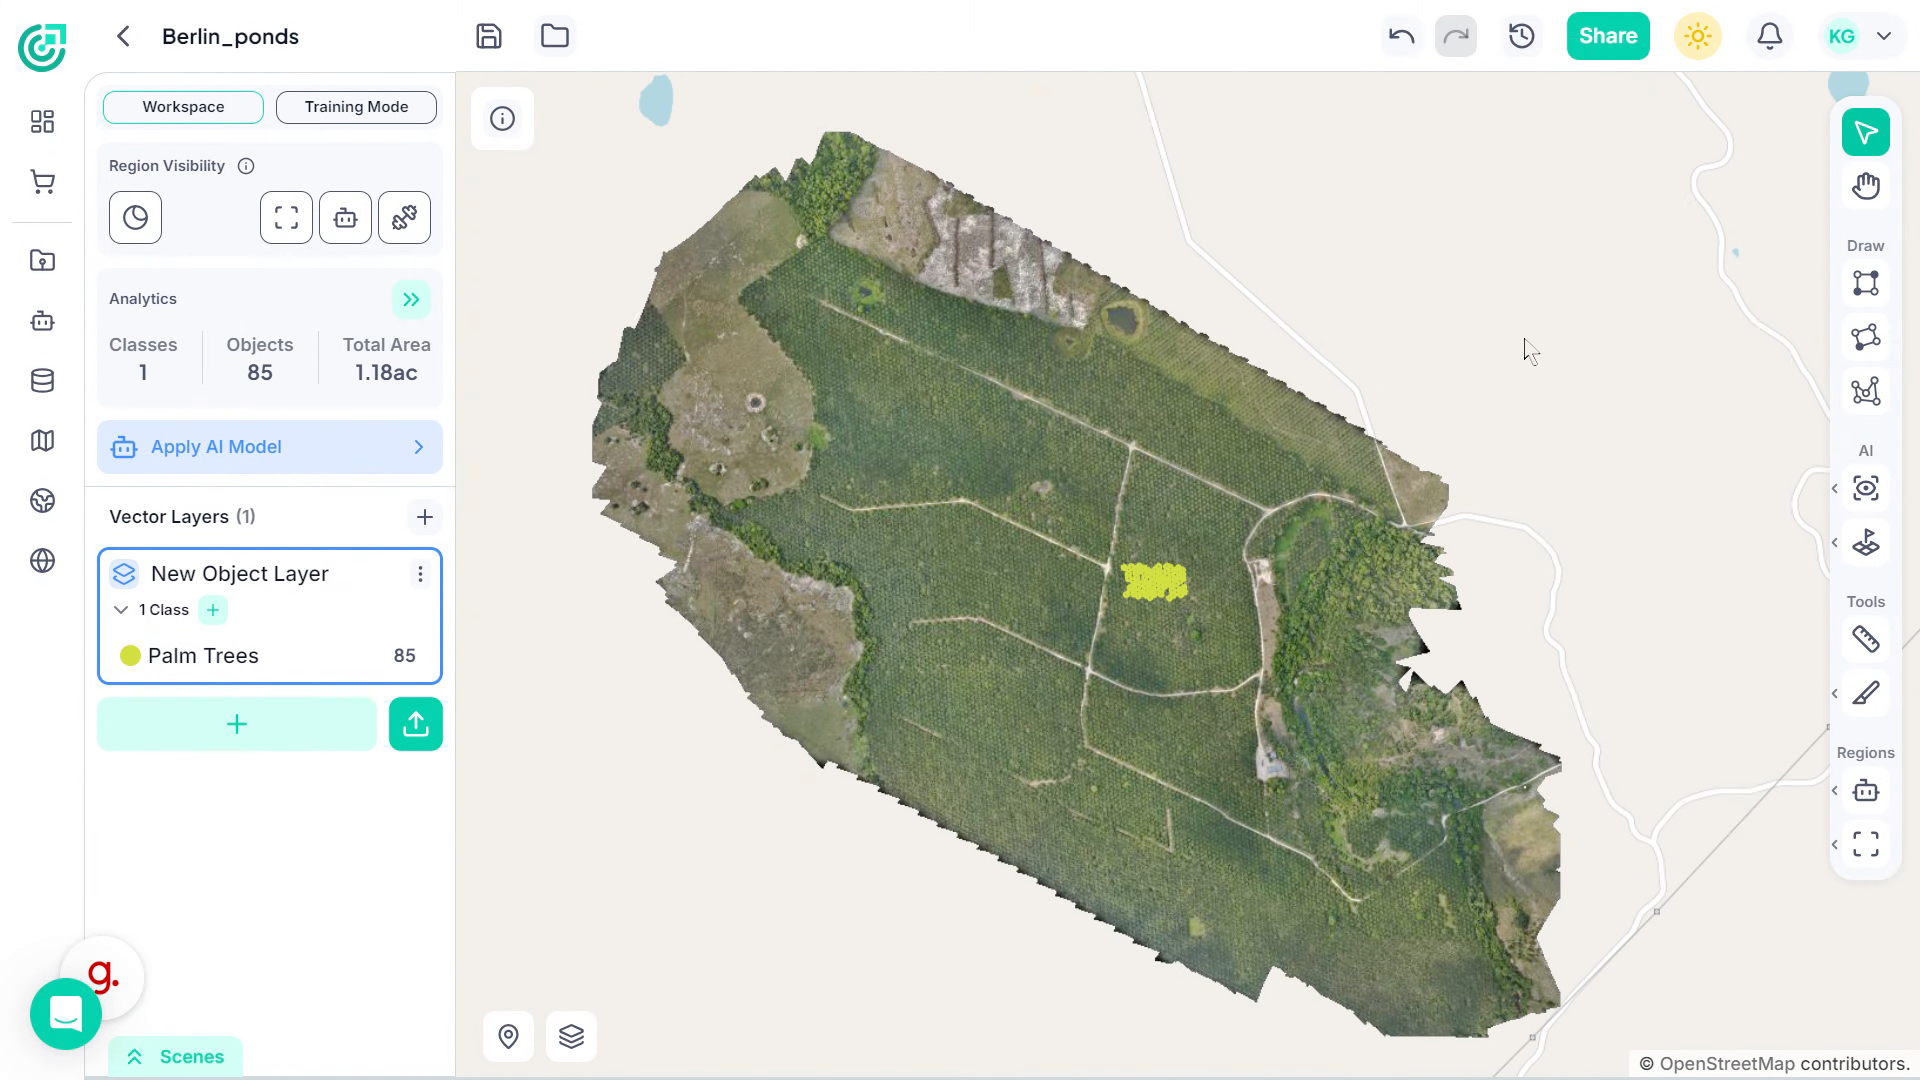
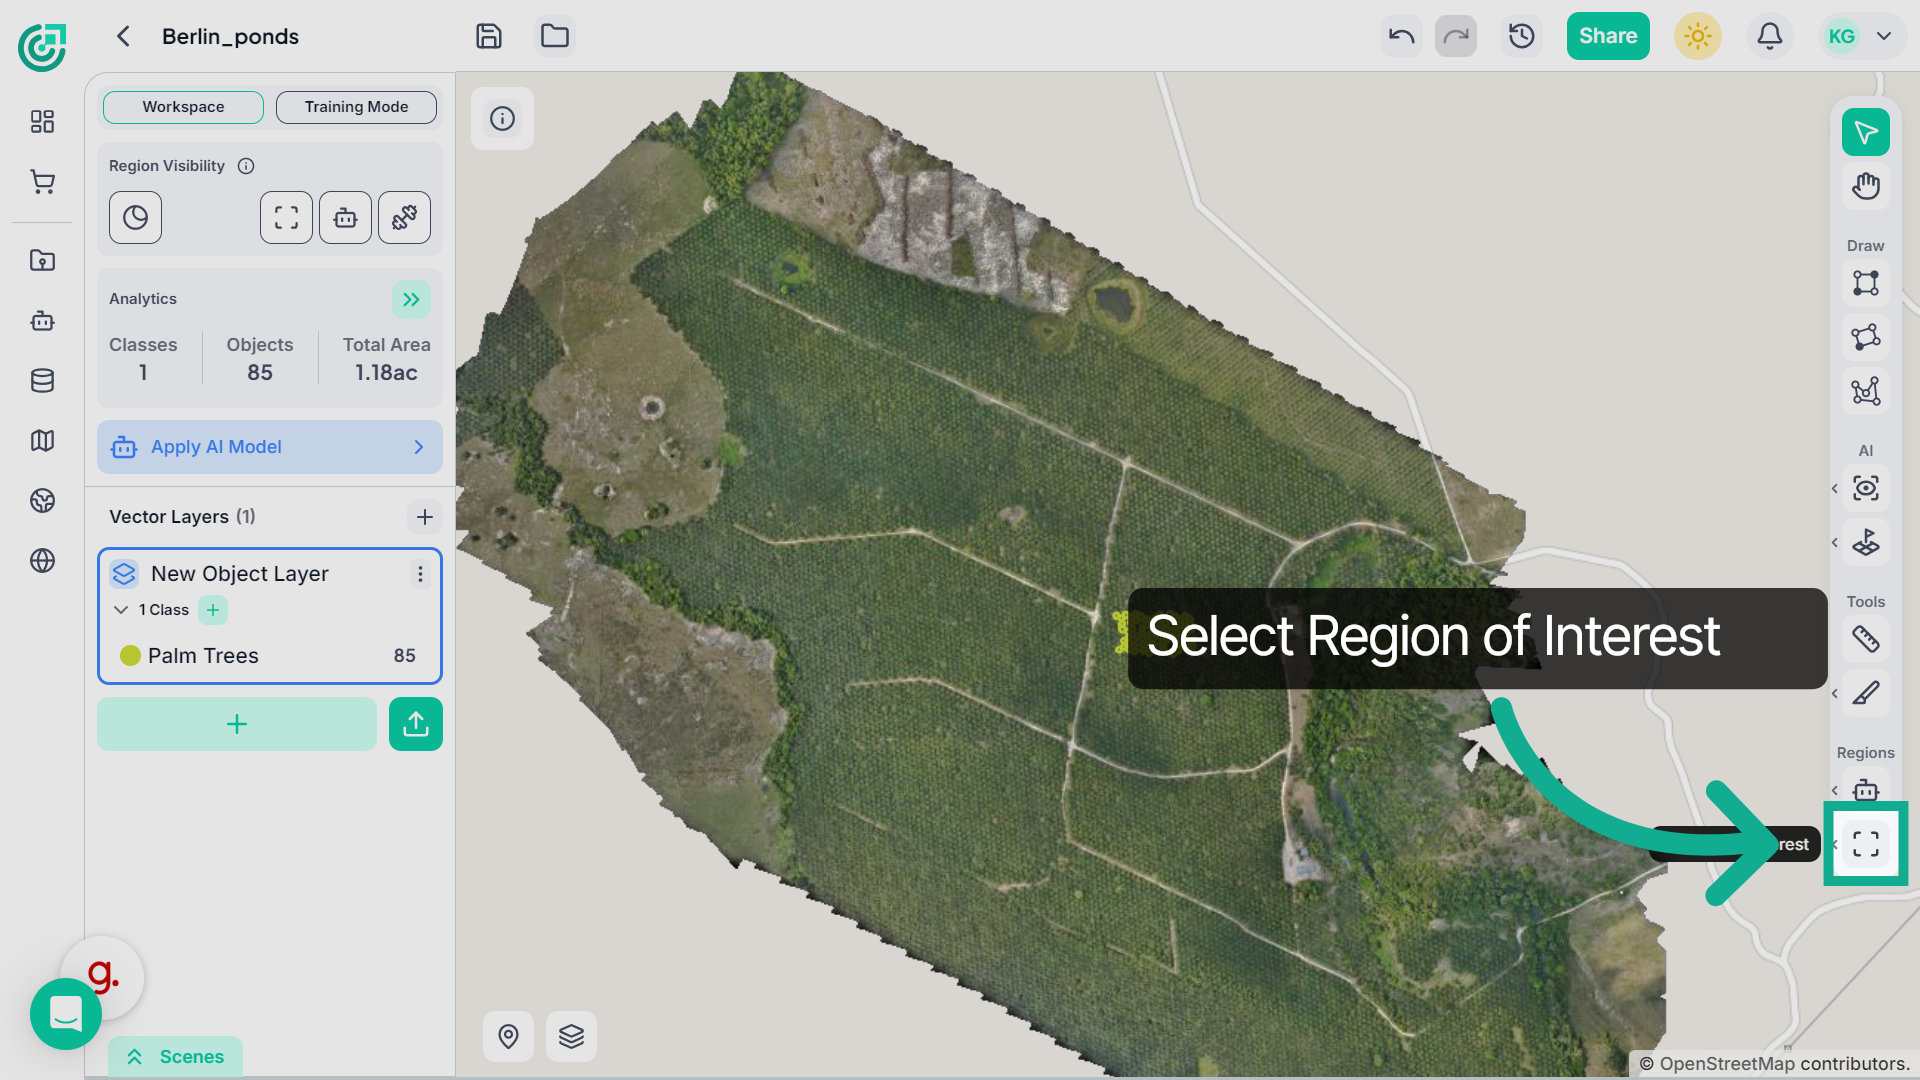
2. Begin Region Management
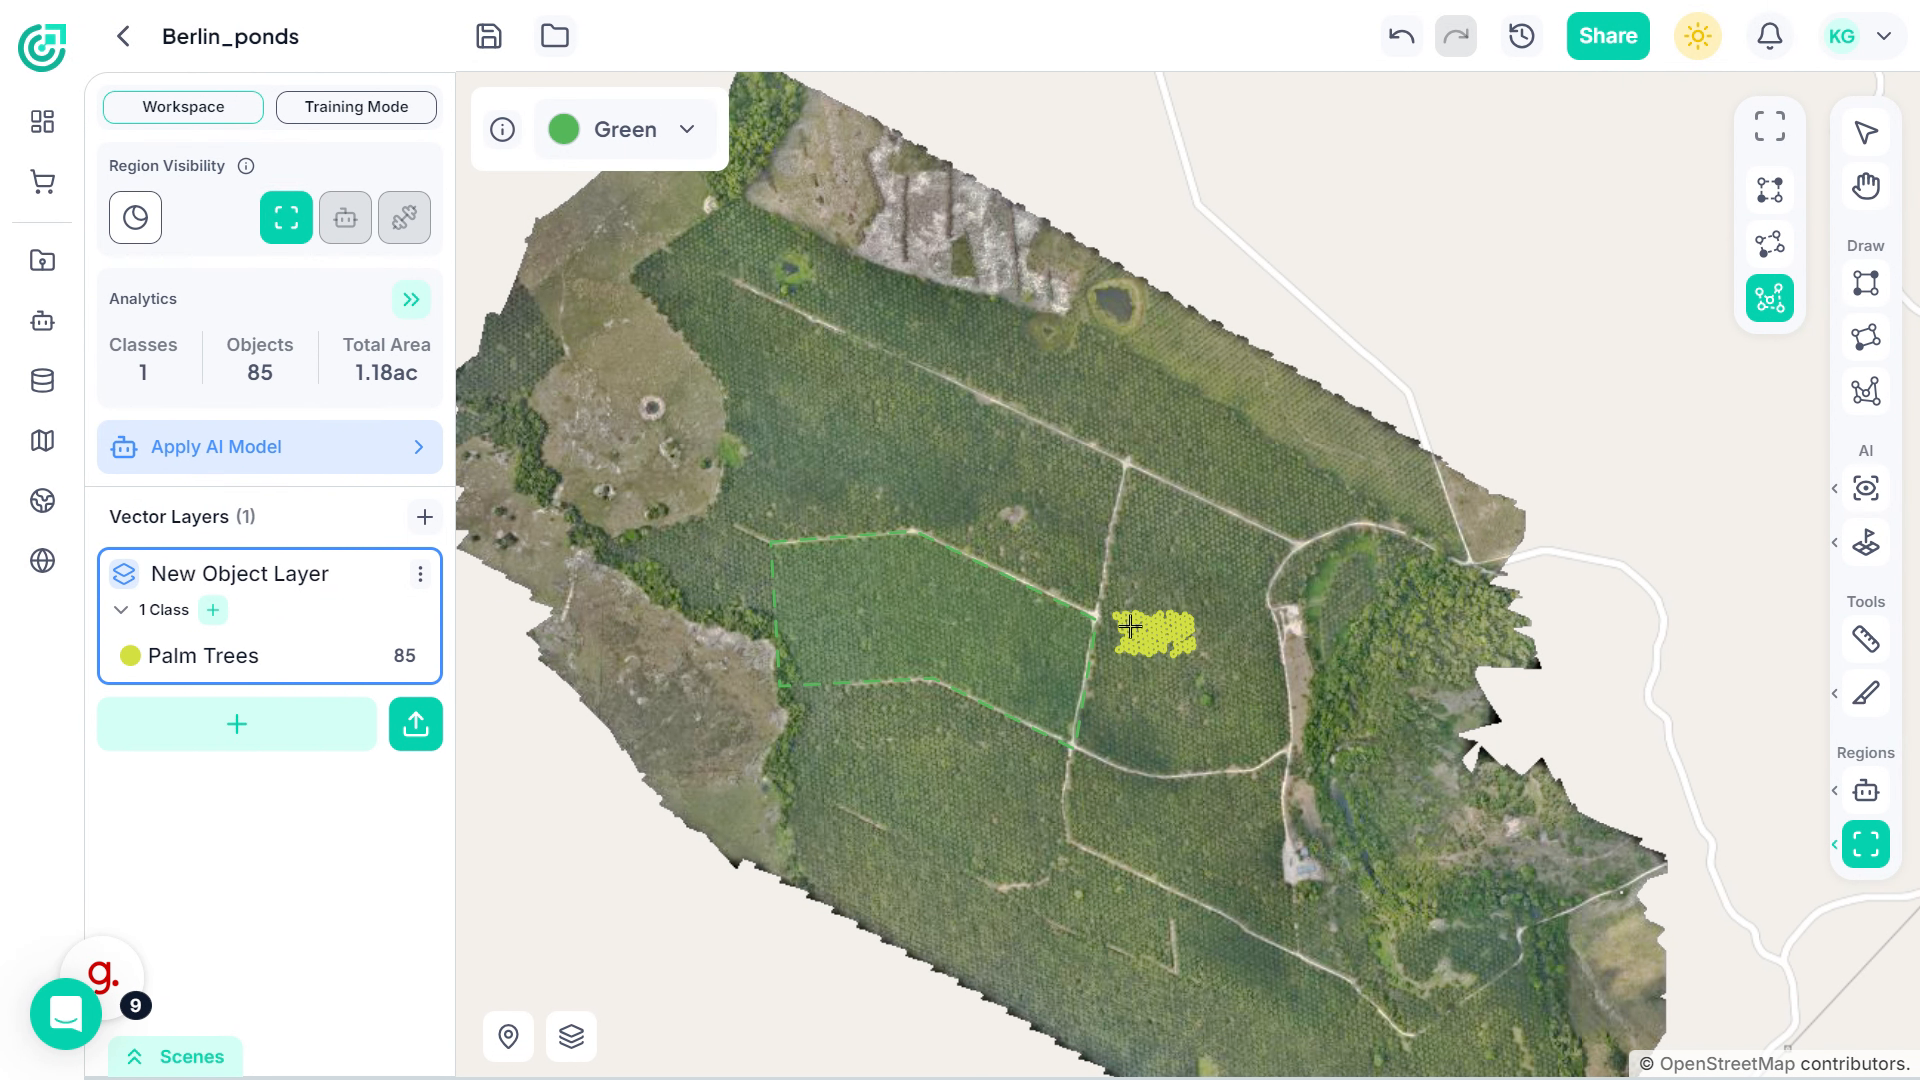
In the Regions section, you’ll find two main options. Let’s start with Regions of Interest. This allows you to define and draw custom boundaries around specific areas in the imagery where you want to focus your analysis or workflow.
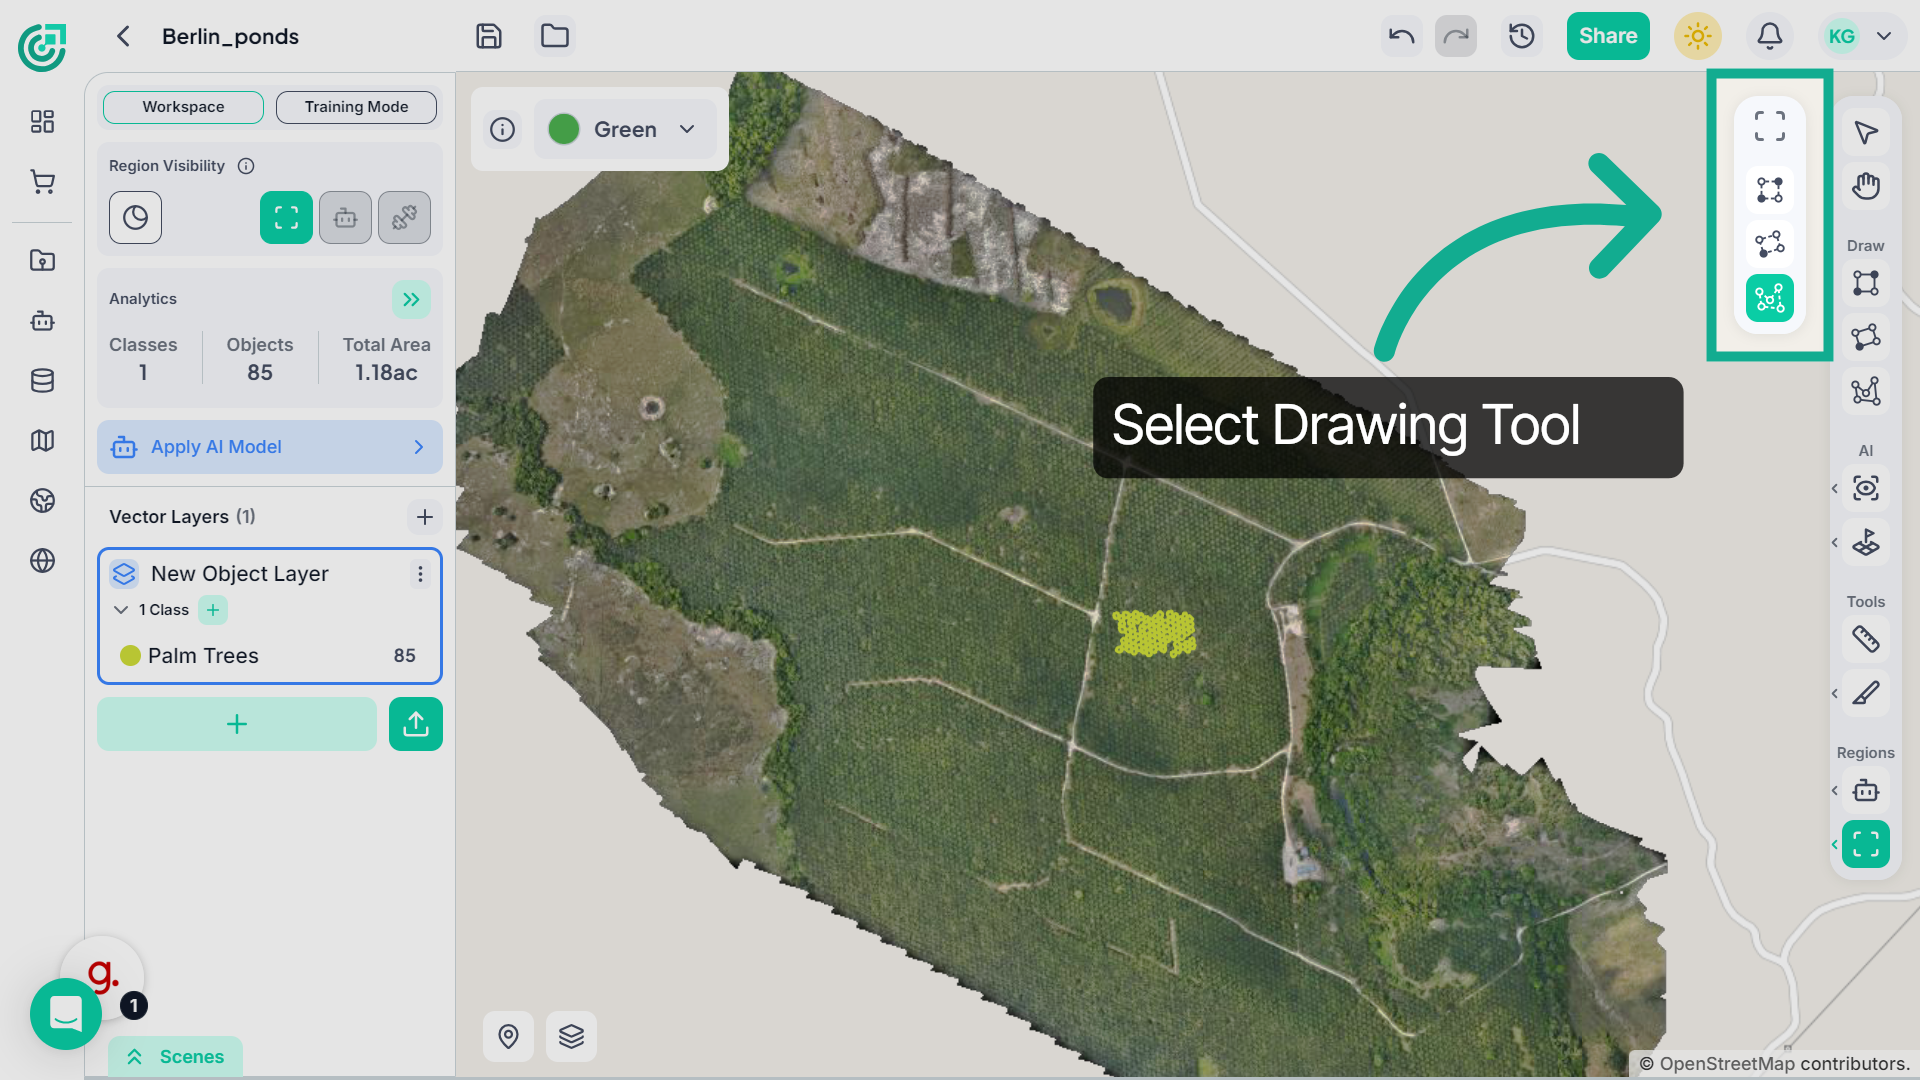
3. Select Draw Tool
Now select an appropriate tool to create a region of your interest, you can draw a standard bounding box, create an oriented region for angled areas, or use the polygon option to define a custom-shaped boundary.
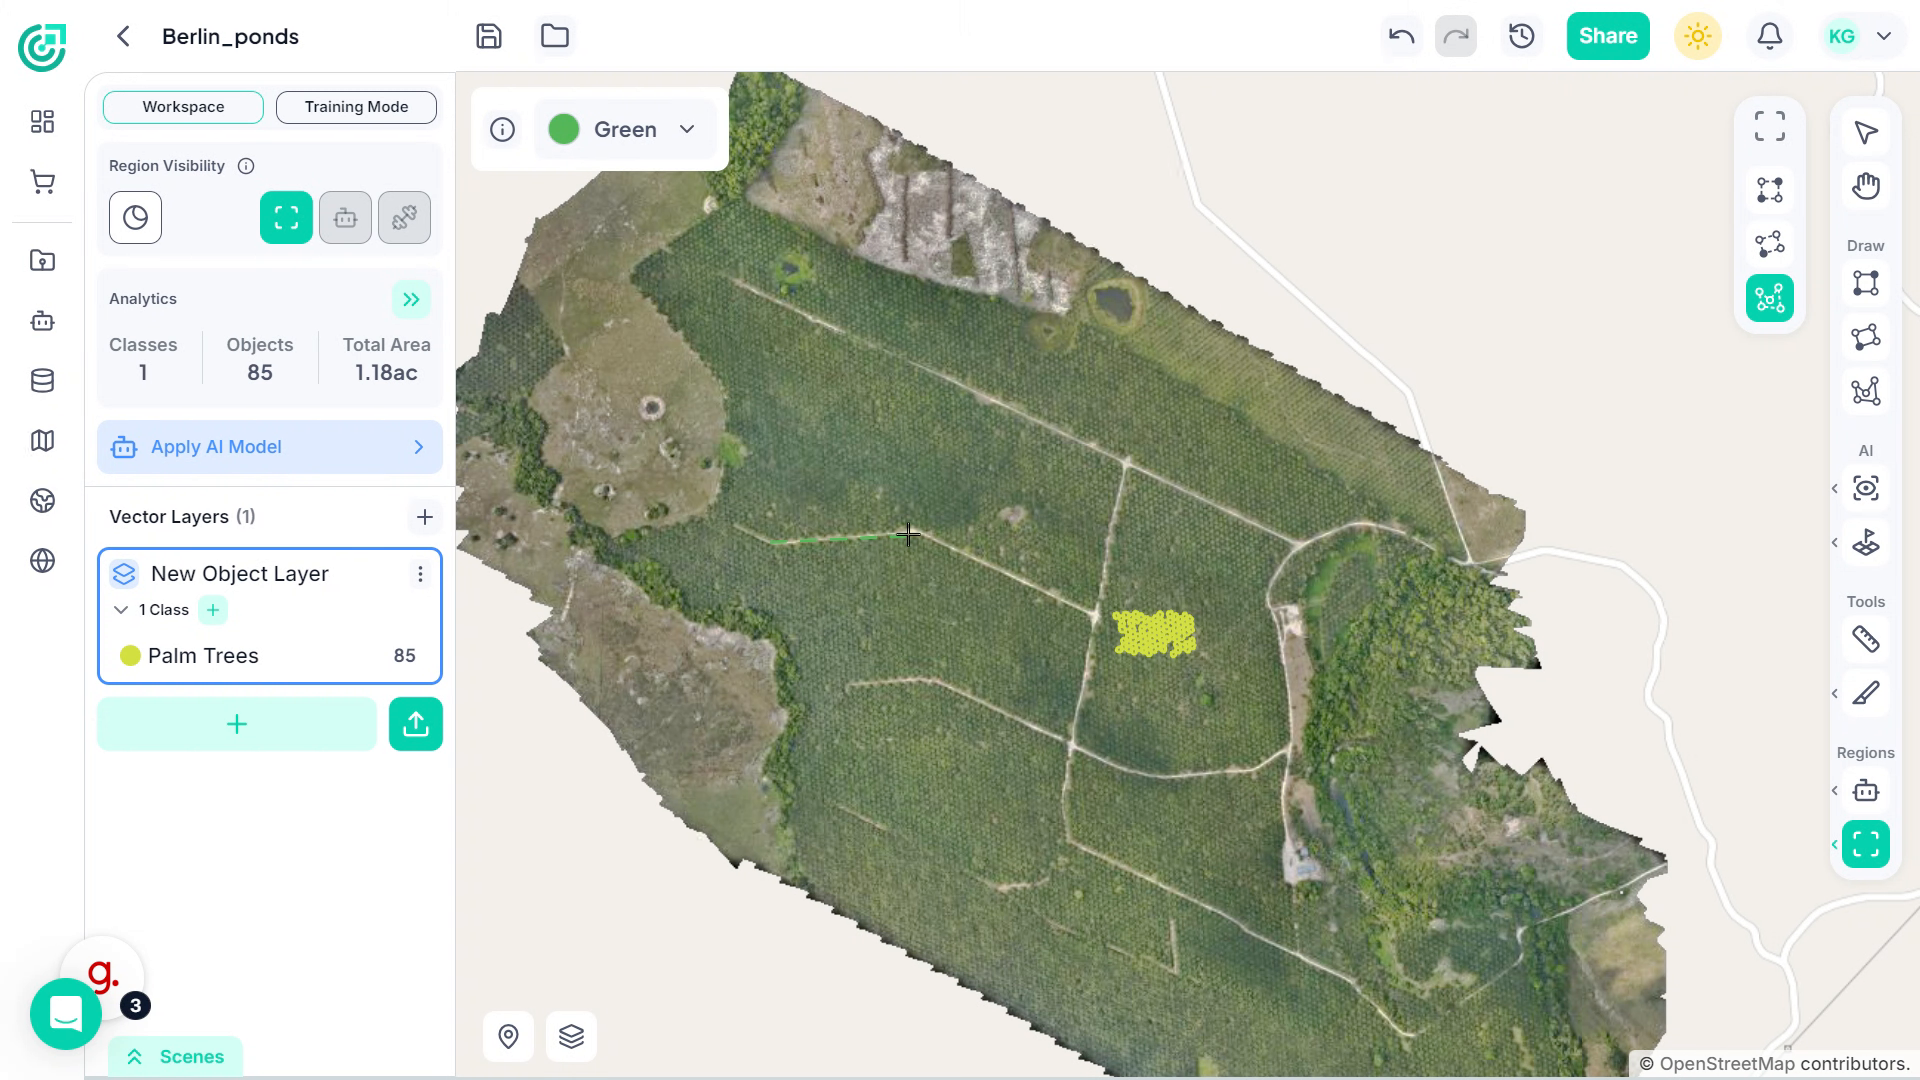
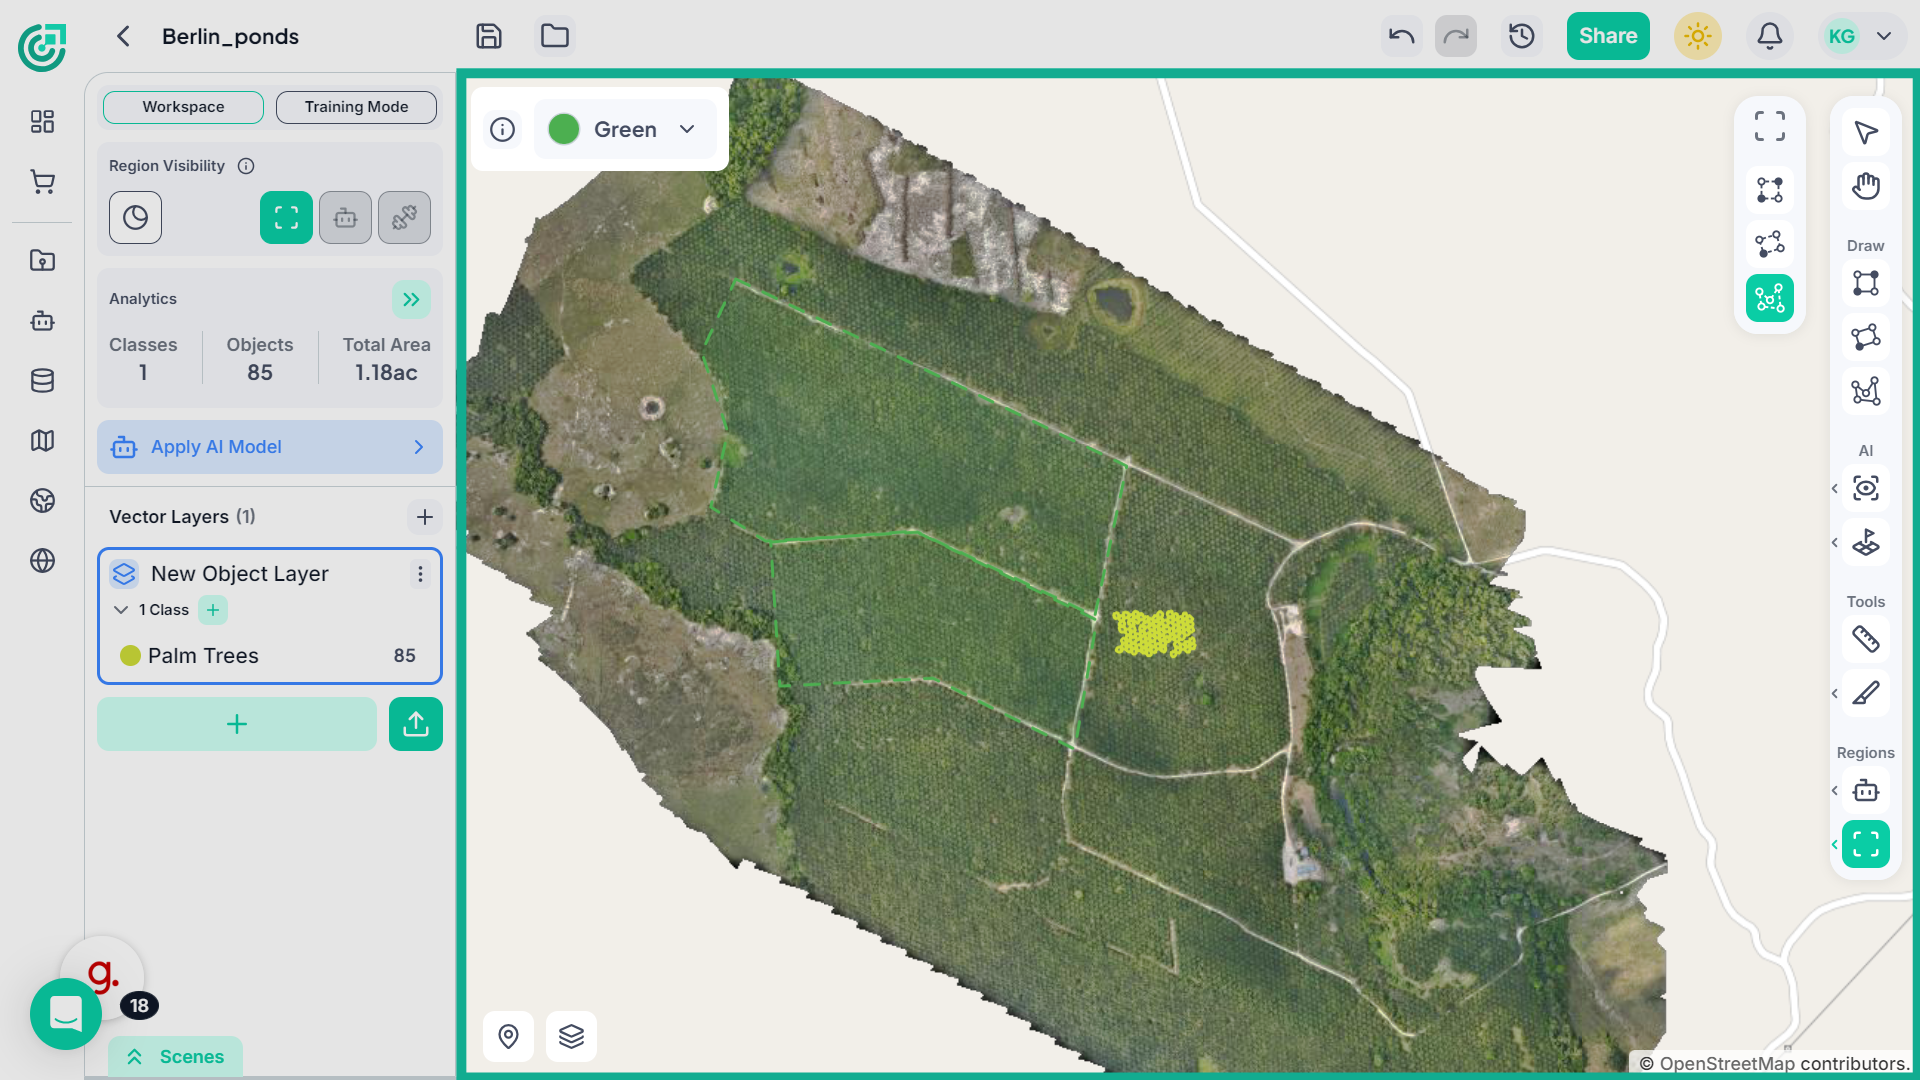
4. Draw a Region Boundary
Now draw a boundary around the area of your interest, you can create a rectangular region, an oriented boundary for angled areas, or a custom polygon shape depending on the area you want to define.
5. Create Multiple Regions for Team Collaboration
If you have two or three annotators working on the same project, you can create multiple regions and divide the workspace accordingly. Each region can represent a separate working area, allowing team members to focus on their assigned sections without overlapping.
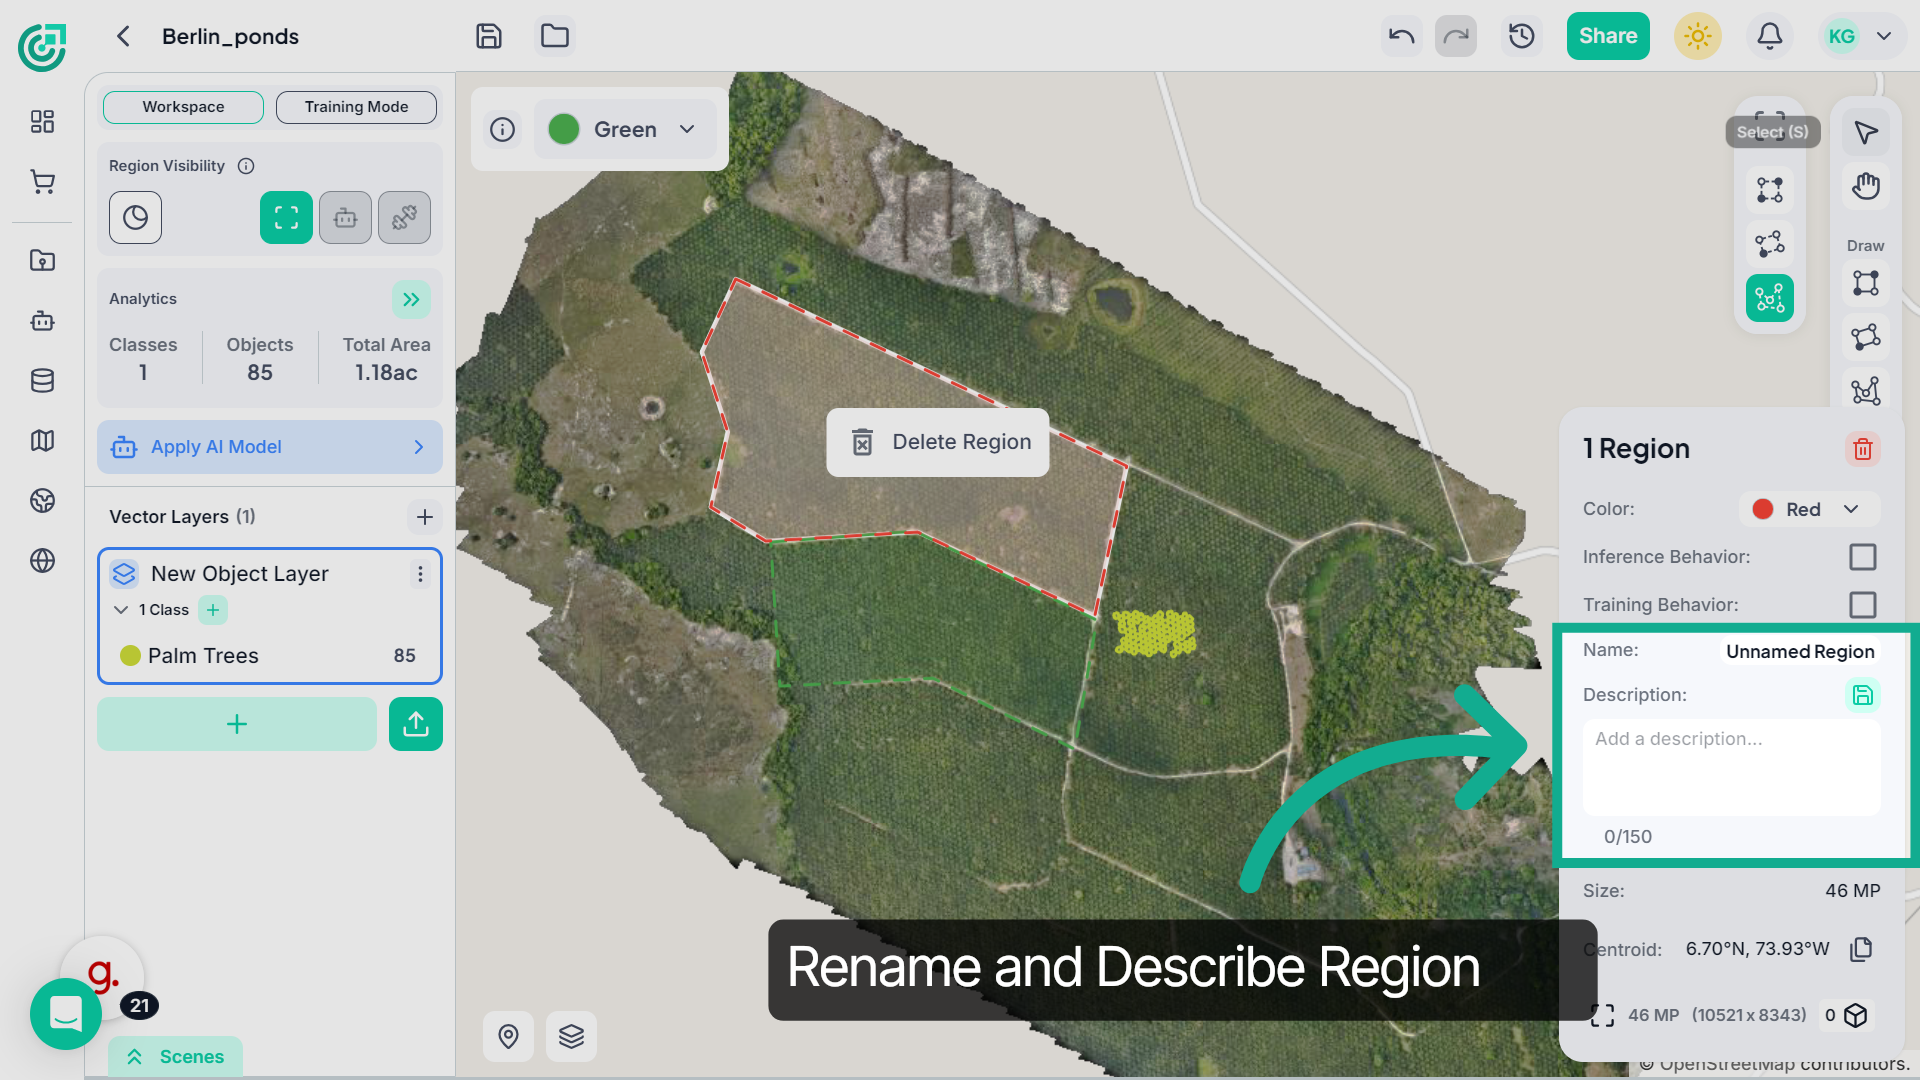
6. Review Region Settings
Right-click on the selected region, and a configuration panel will appear, allowing you to adjust its settings, rename it, and define its behavior.
7. Rename and Describe the Region
Here you can rename the region and add a short description to clearly define its purpose, making it easier to organize and manage multiple regions.
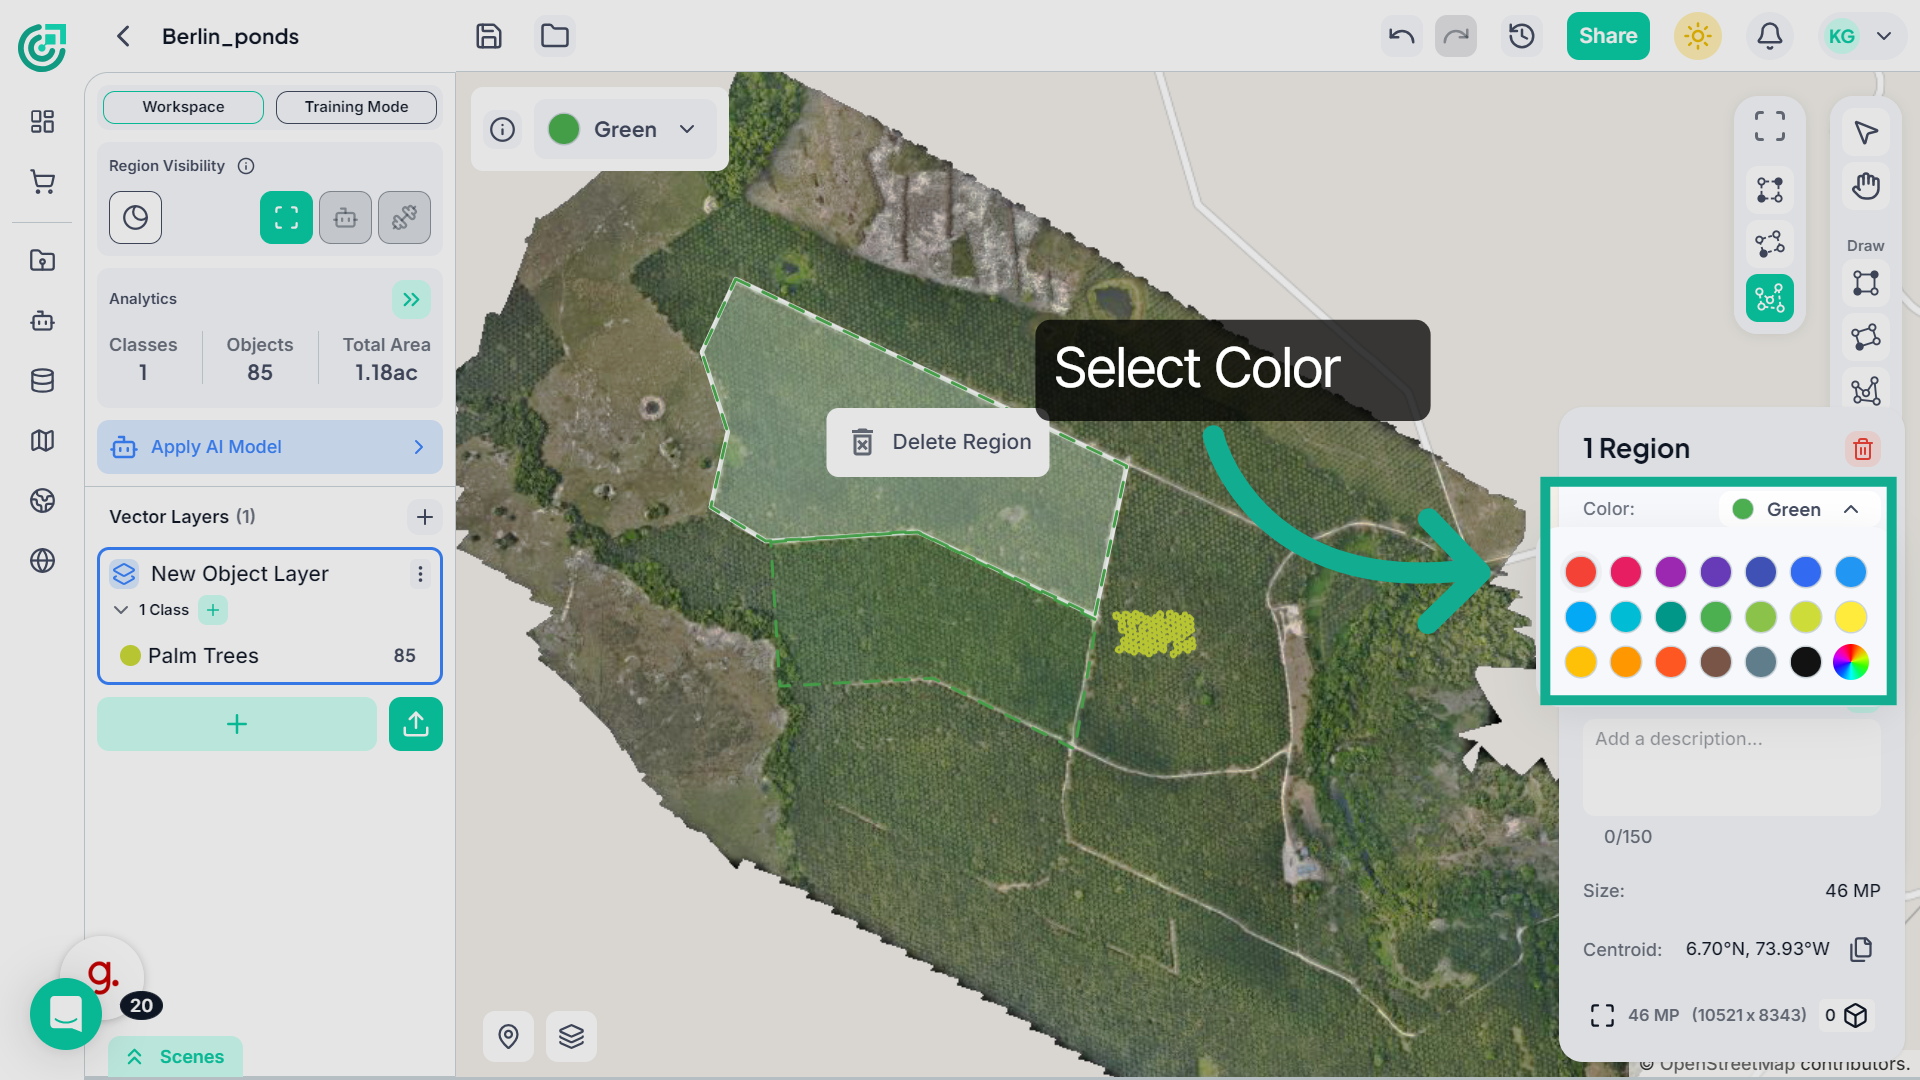
8. Change Region Color
If you want to assign a different color to a region, click on the color dropdown in the region settings panel.
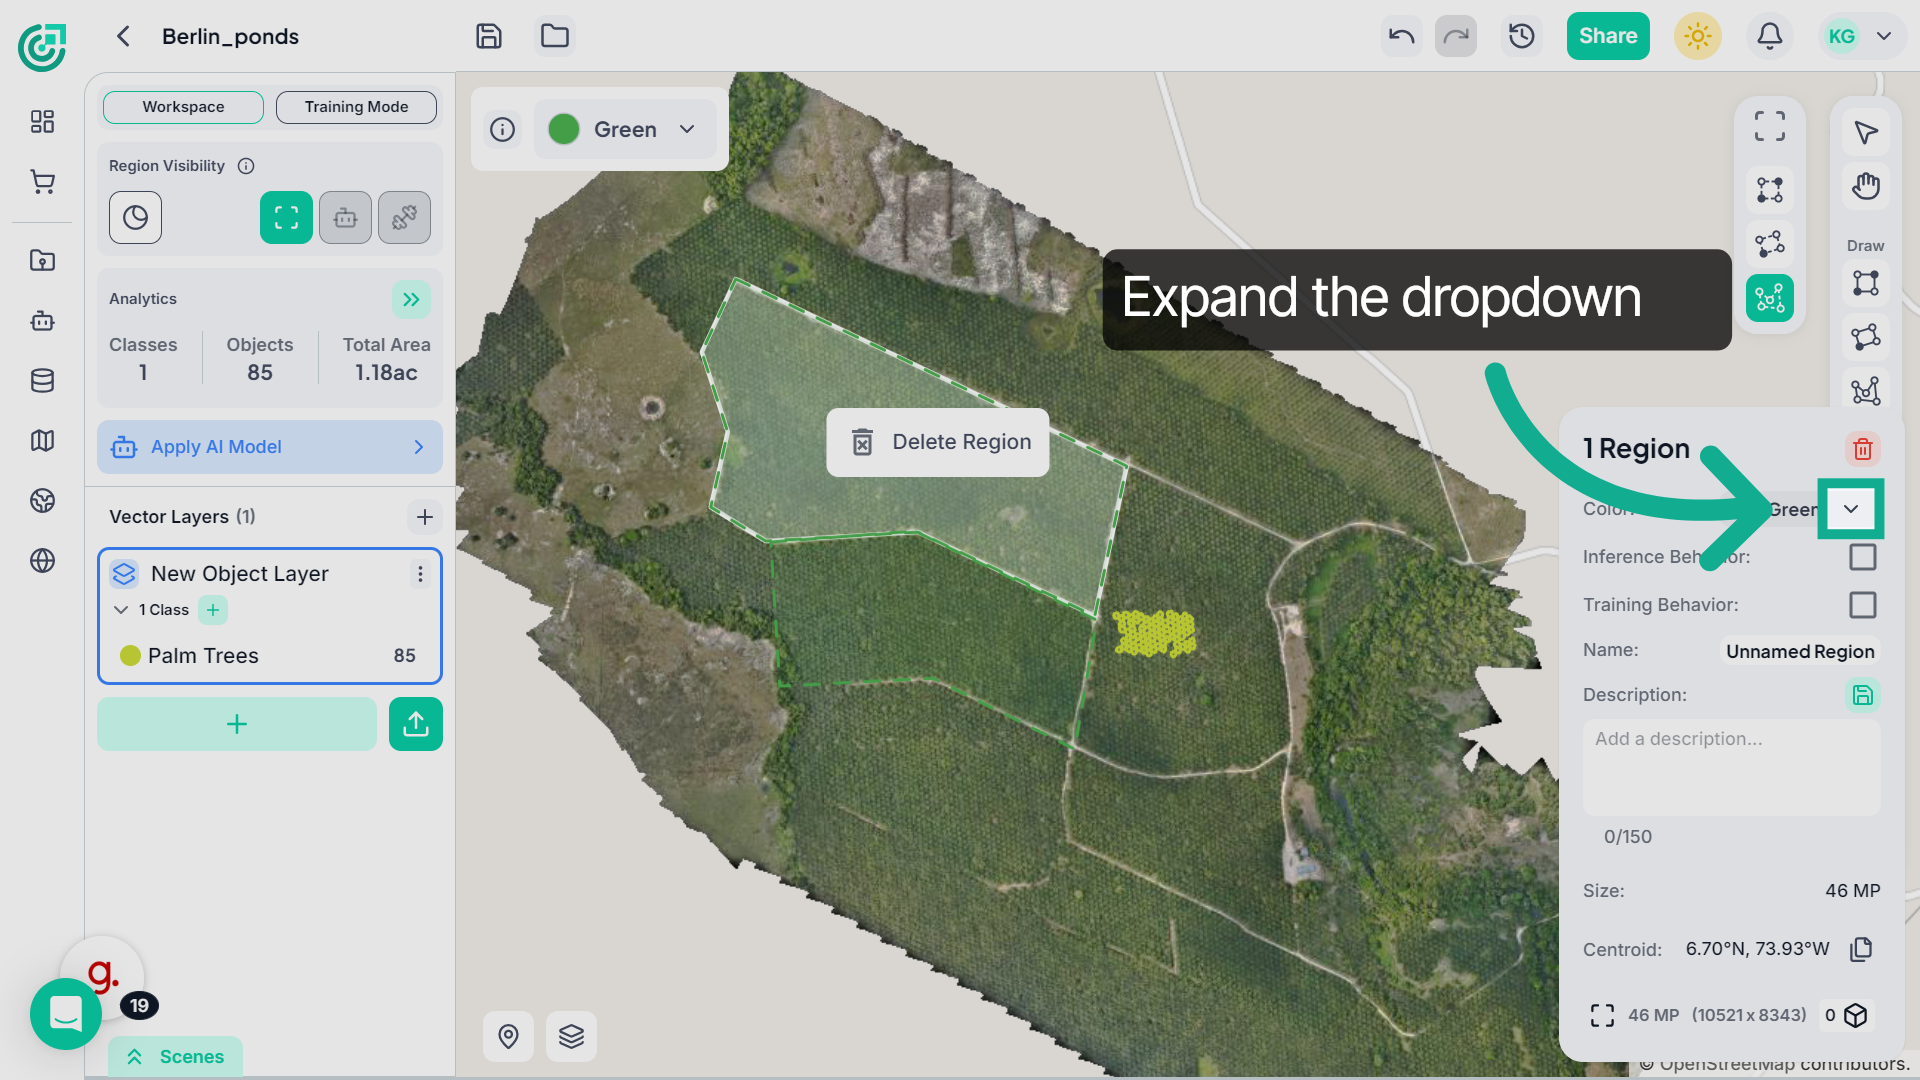
9. Change Region Color
Then select the desired color to visually distinguish that region within the workspace.
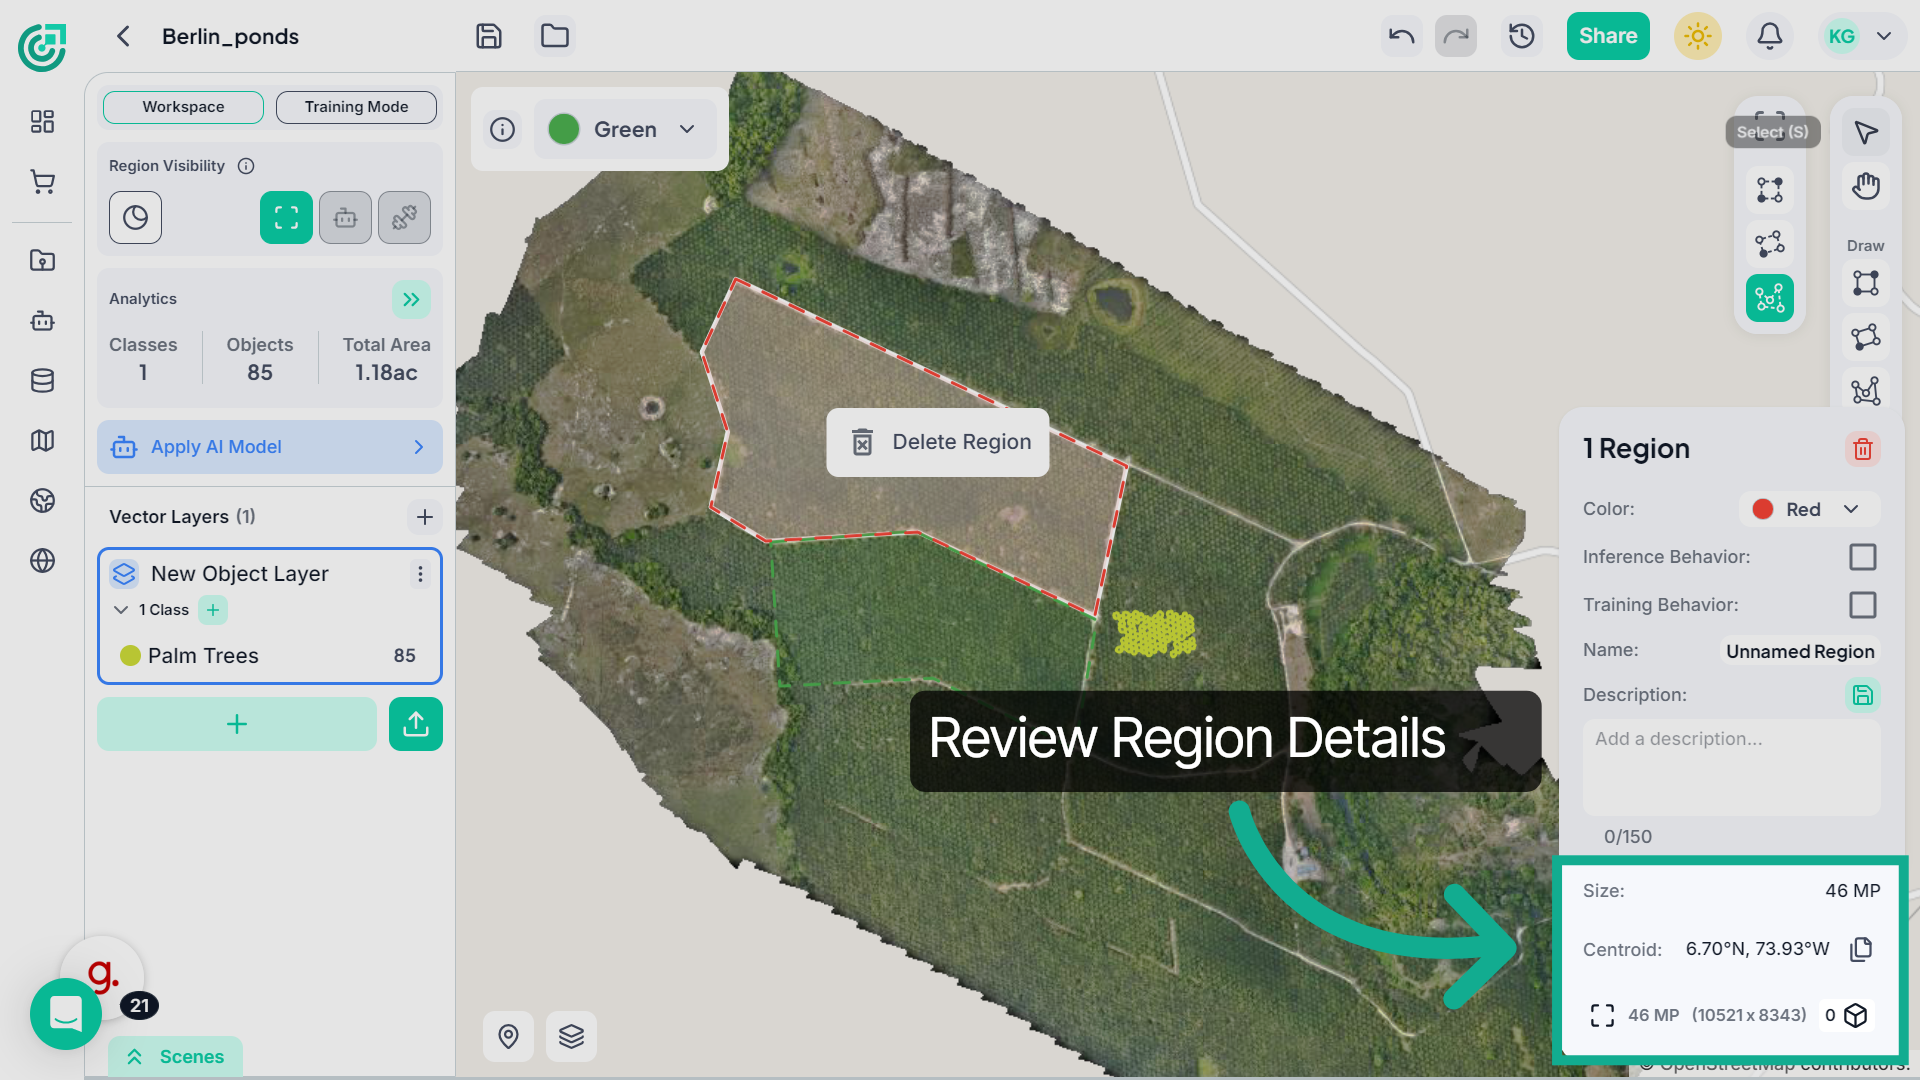
10. Review Region Details
You can also review region details such as the total size in megapixels and the centroid coordinates, which indicate the geographic location of the selected region.
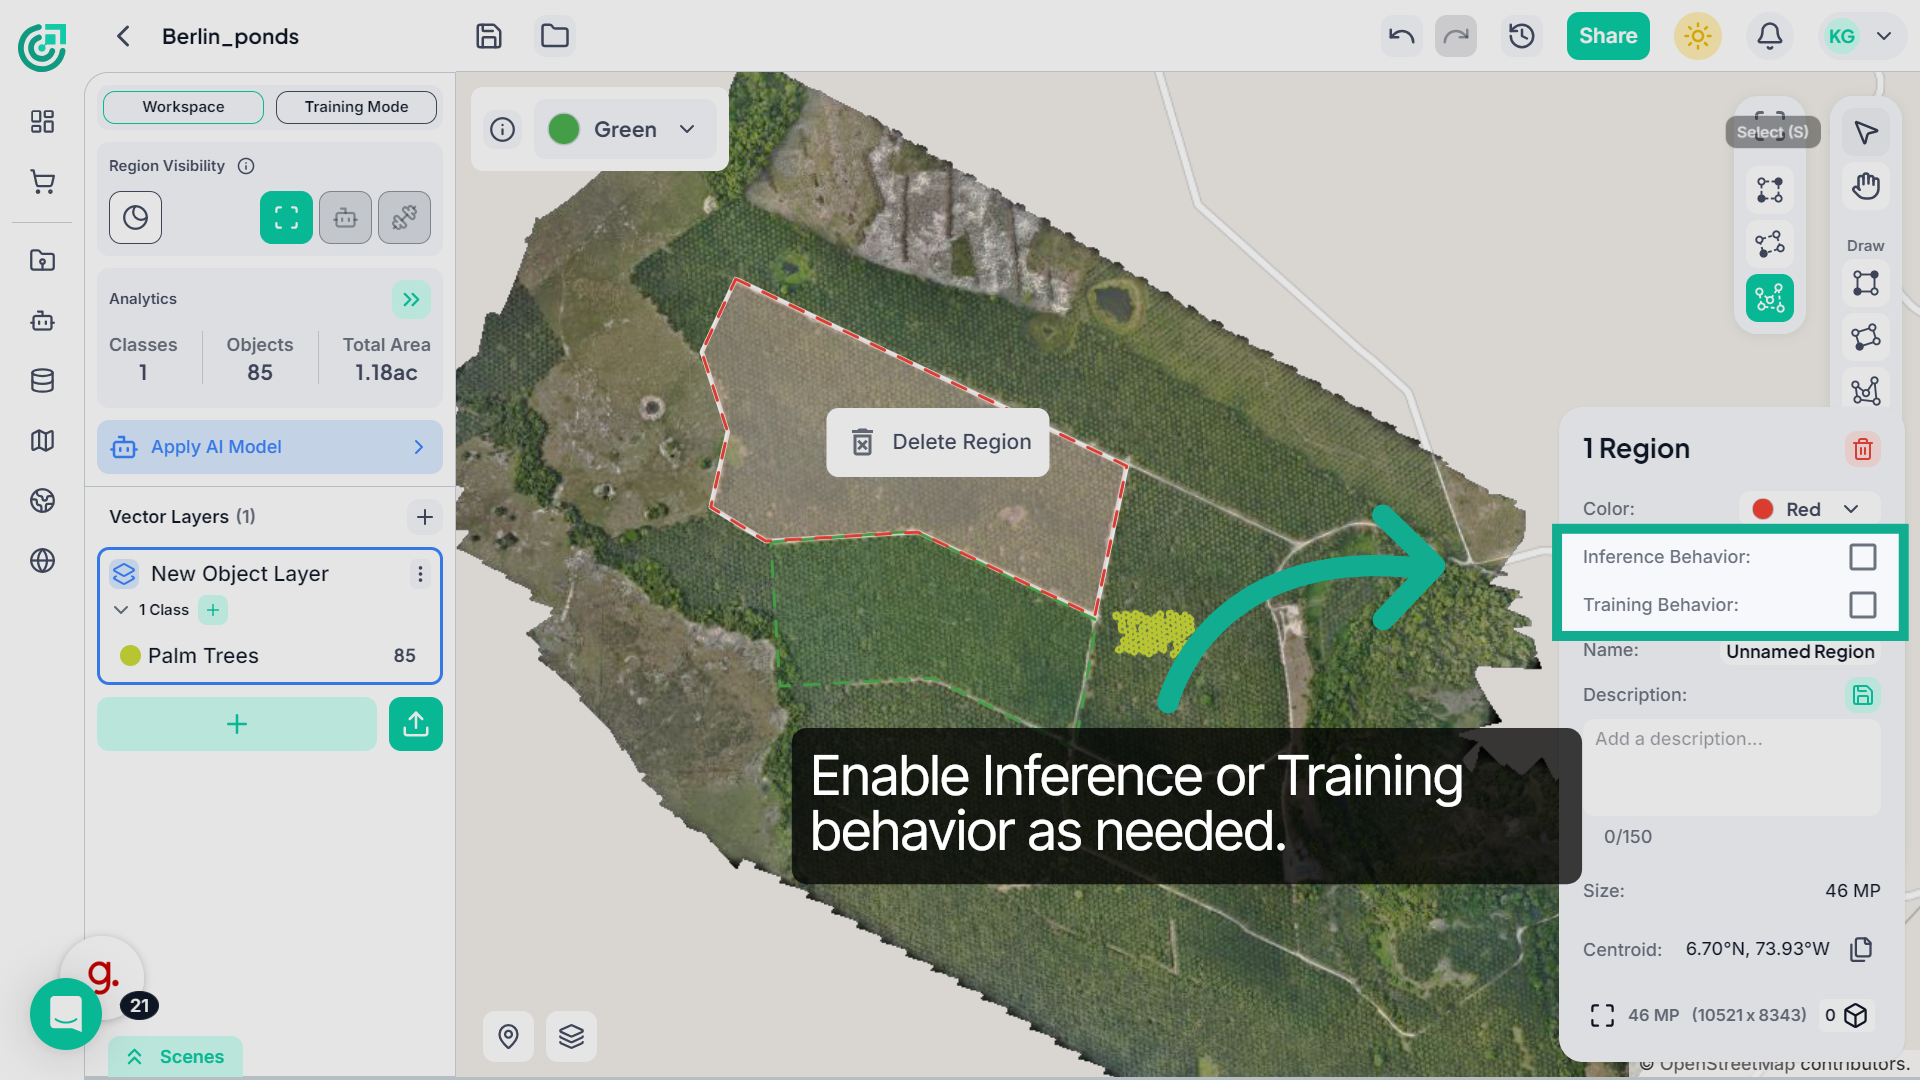
11. Assign Region to a Behavior
Next, assign the region behavior by enabling Inference or Training depending on how you want the system to use this area.
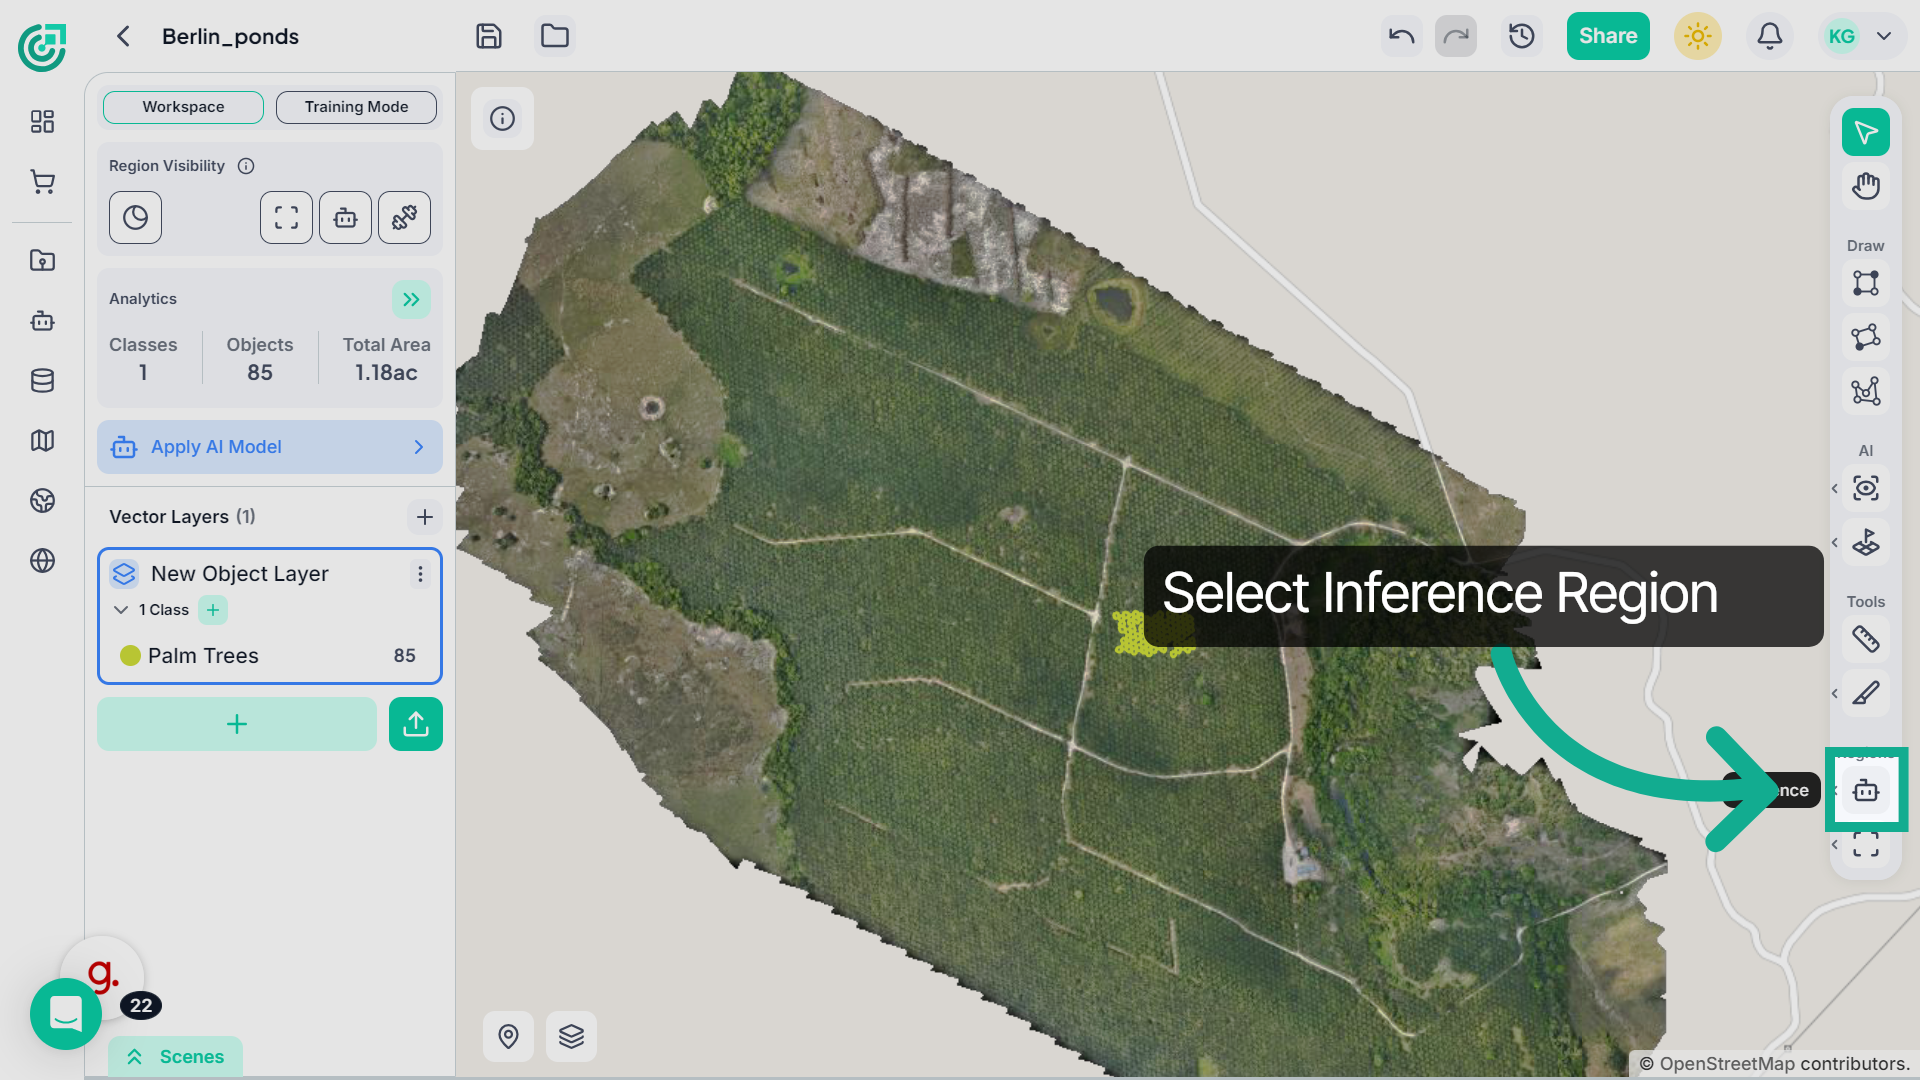
12. Create an Inference Region
You can directly create an Inference Region by selecting the inference option and then drawing the boundary on the map.
13. Create a Region
Now create a region by drawing a boundary around the area you want to define on the map.
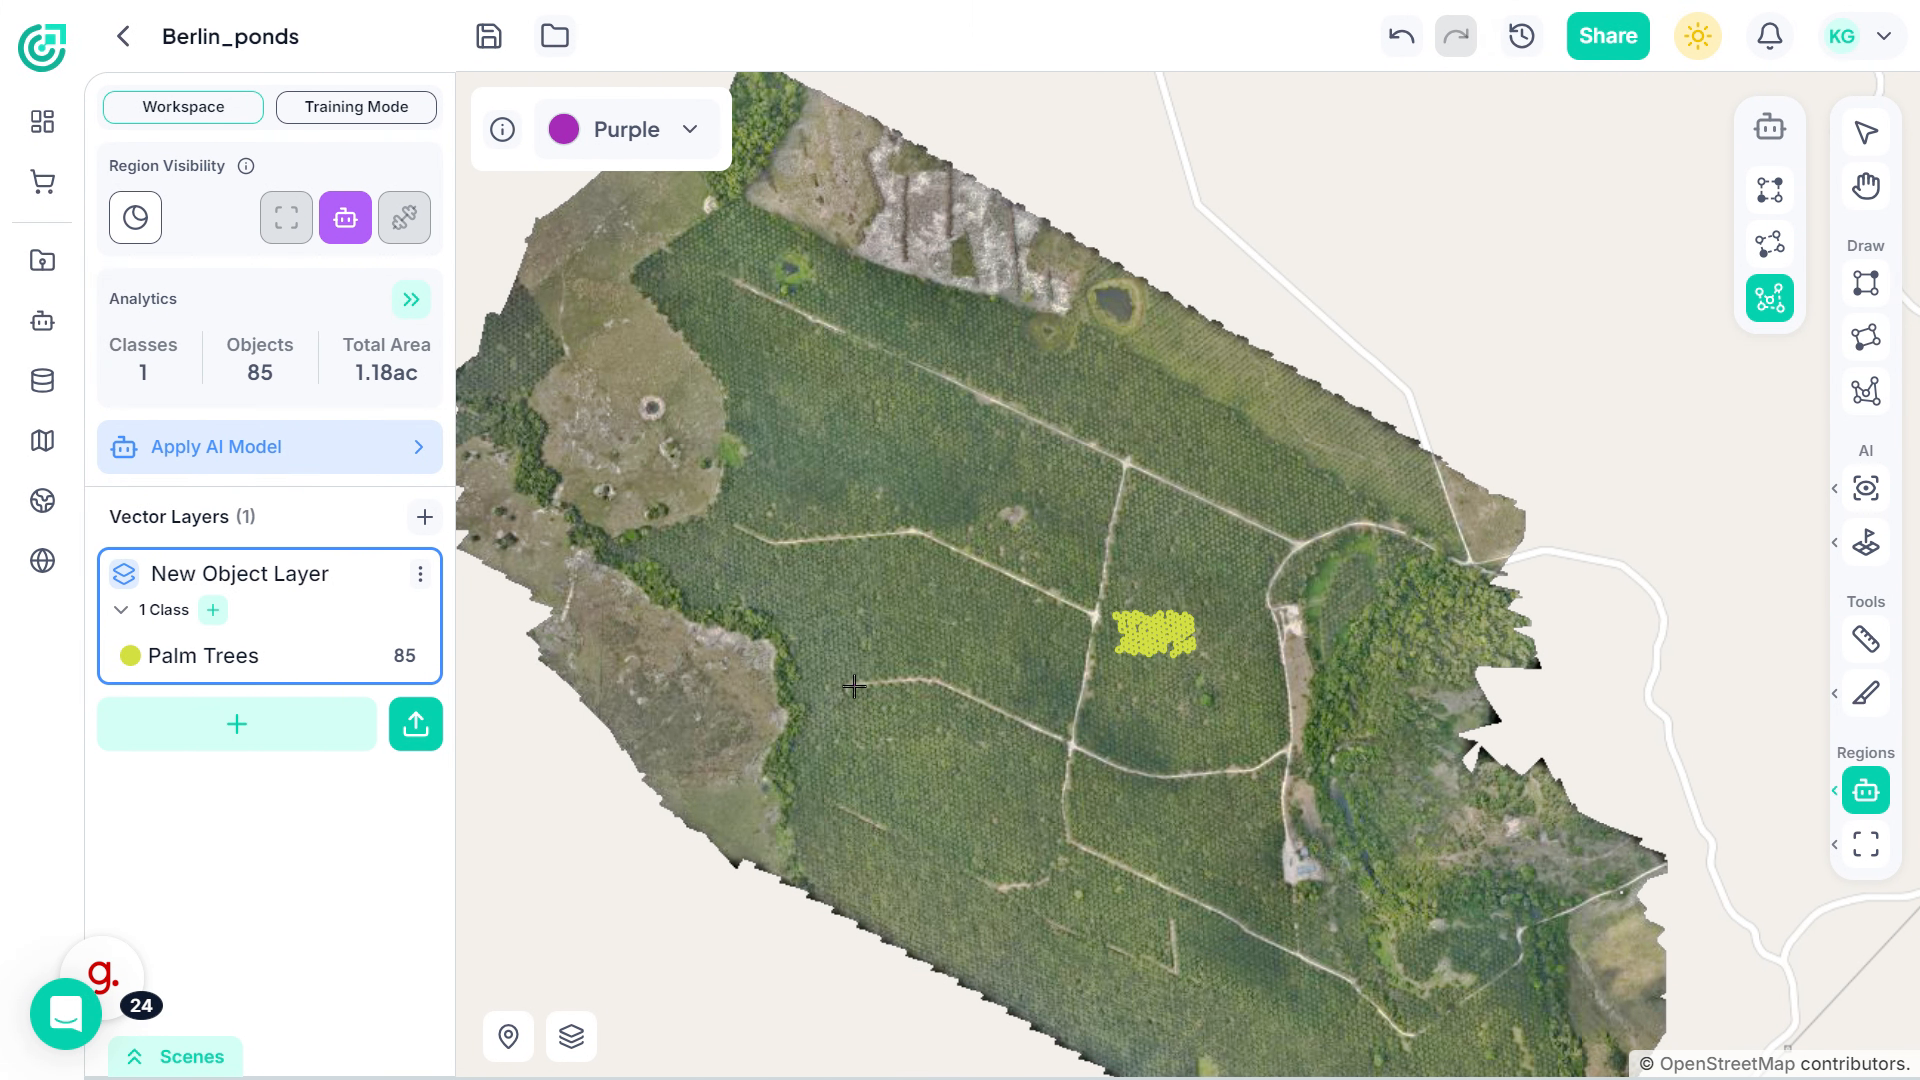
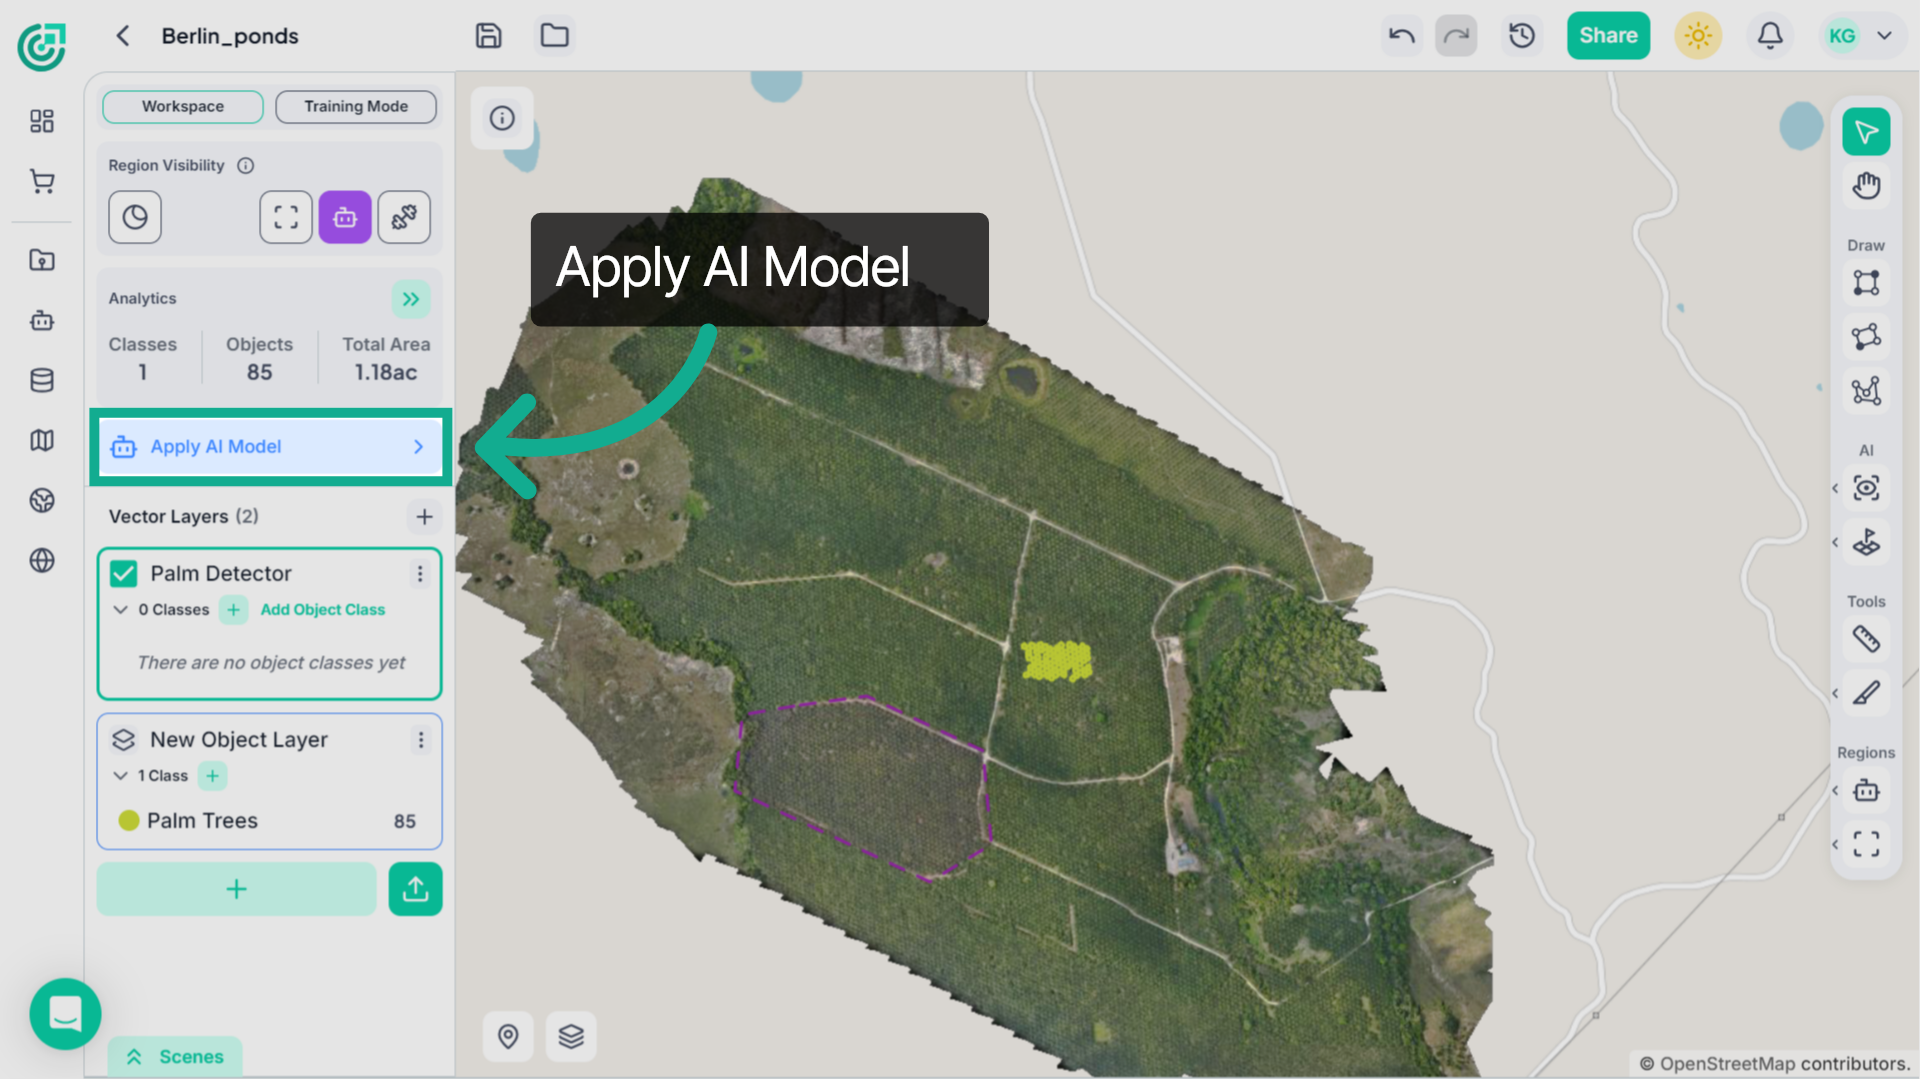
14. Apply AI Model
Once the inference region is defined, you can apply the selected AI model to run detection only within that selected region.
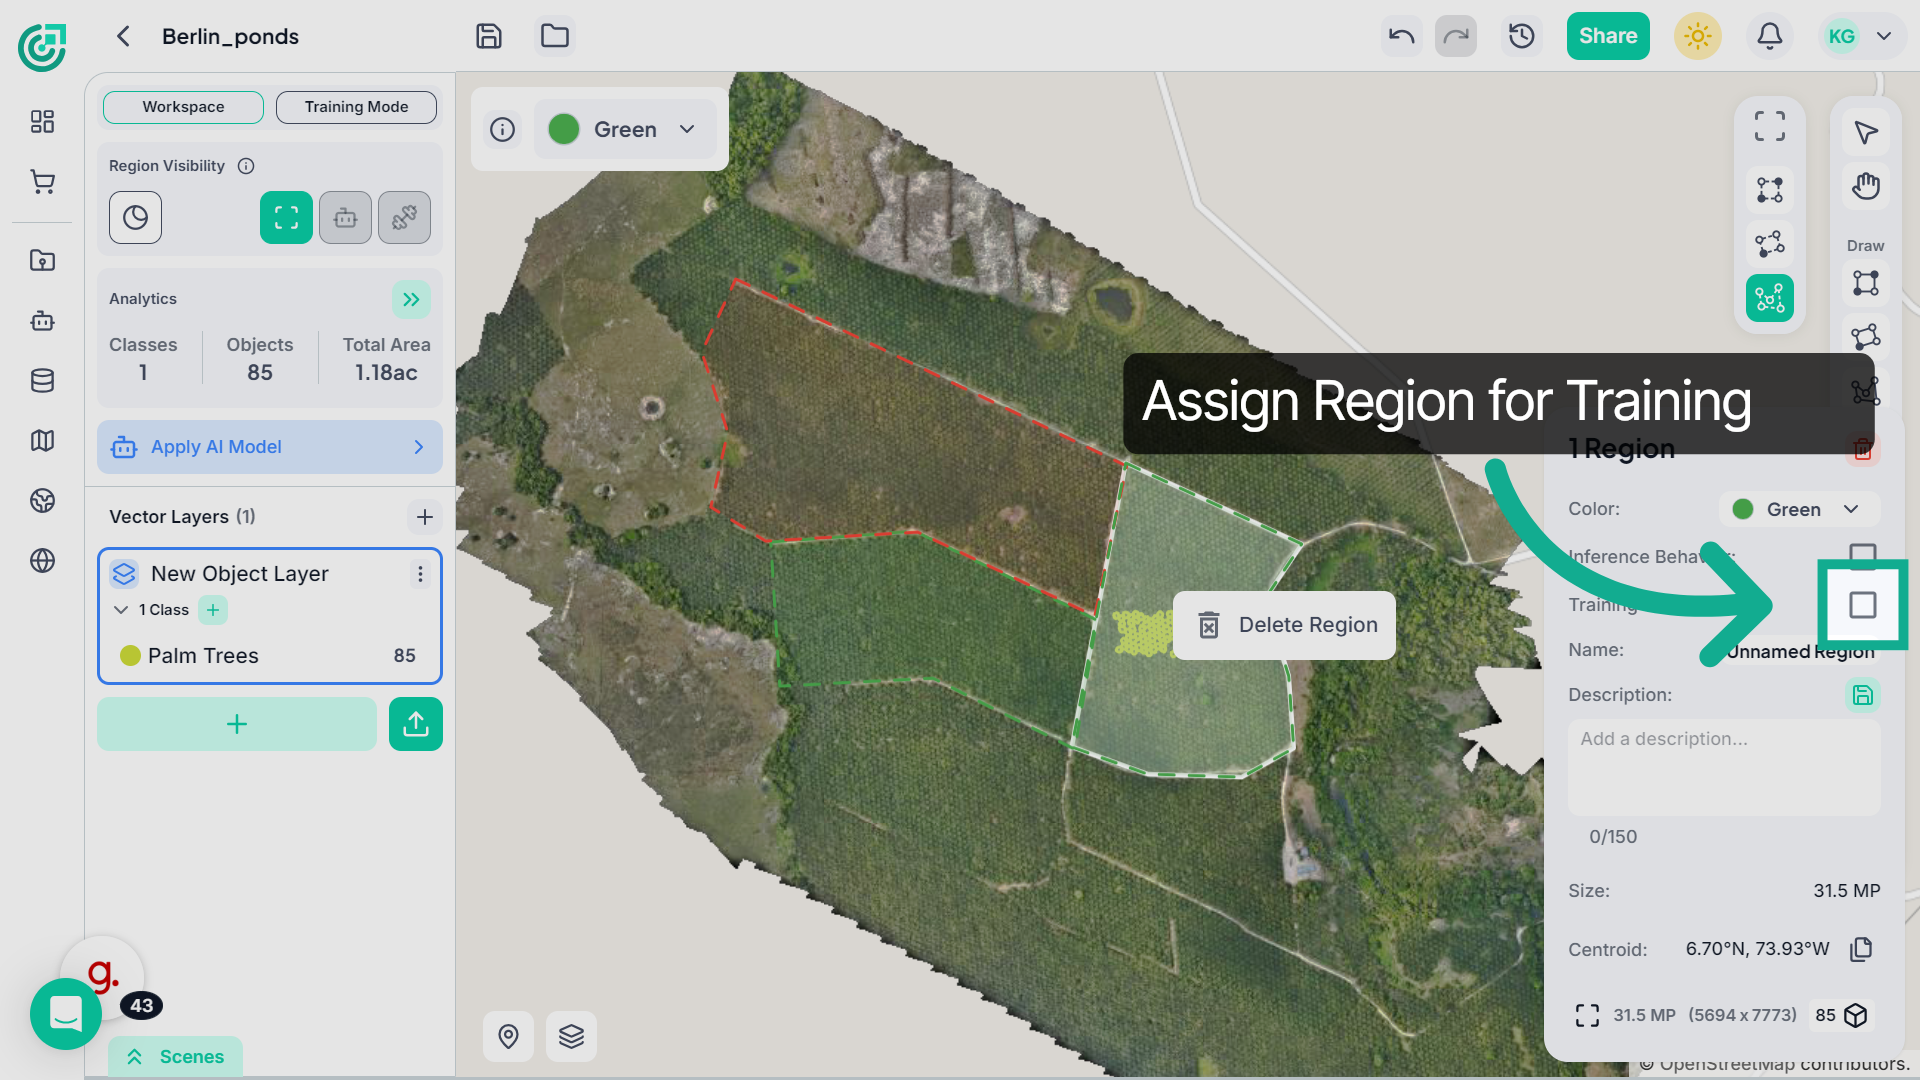
15. Enable Region Setting
If you already have a region created, you can assign it as a training region by enabling the Training option for that selected area.
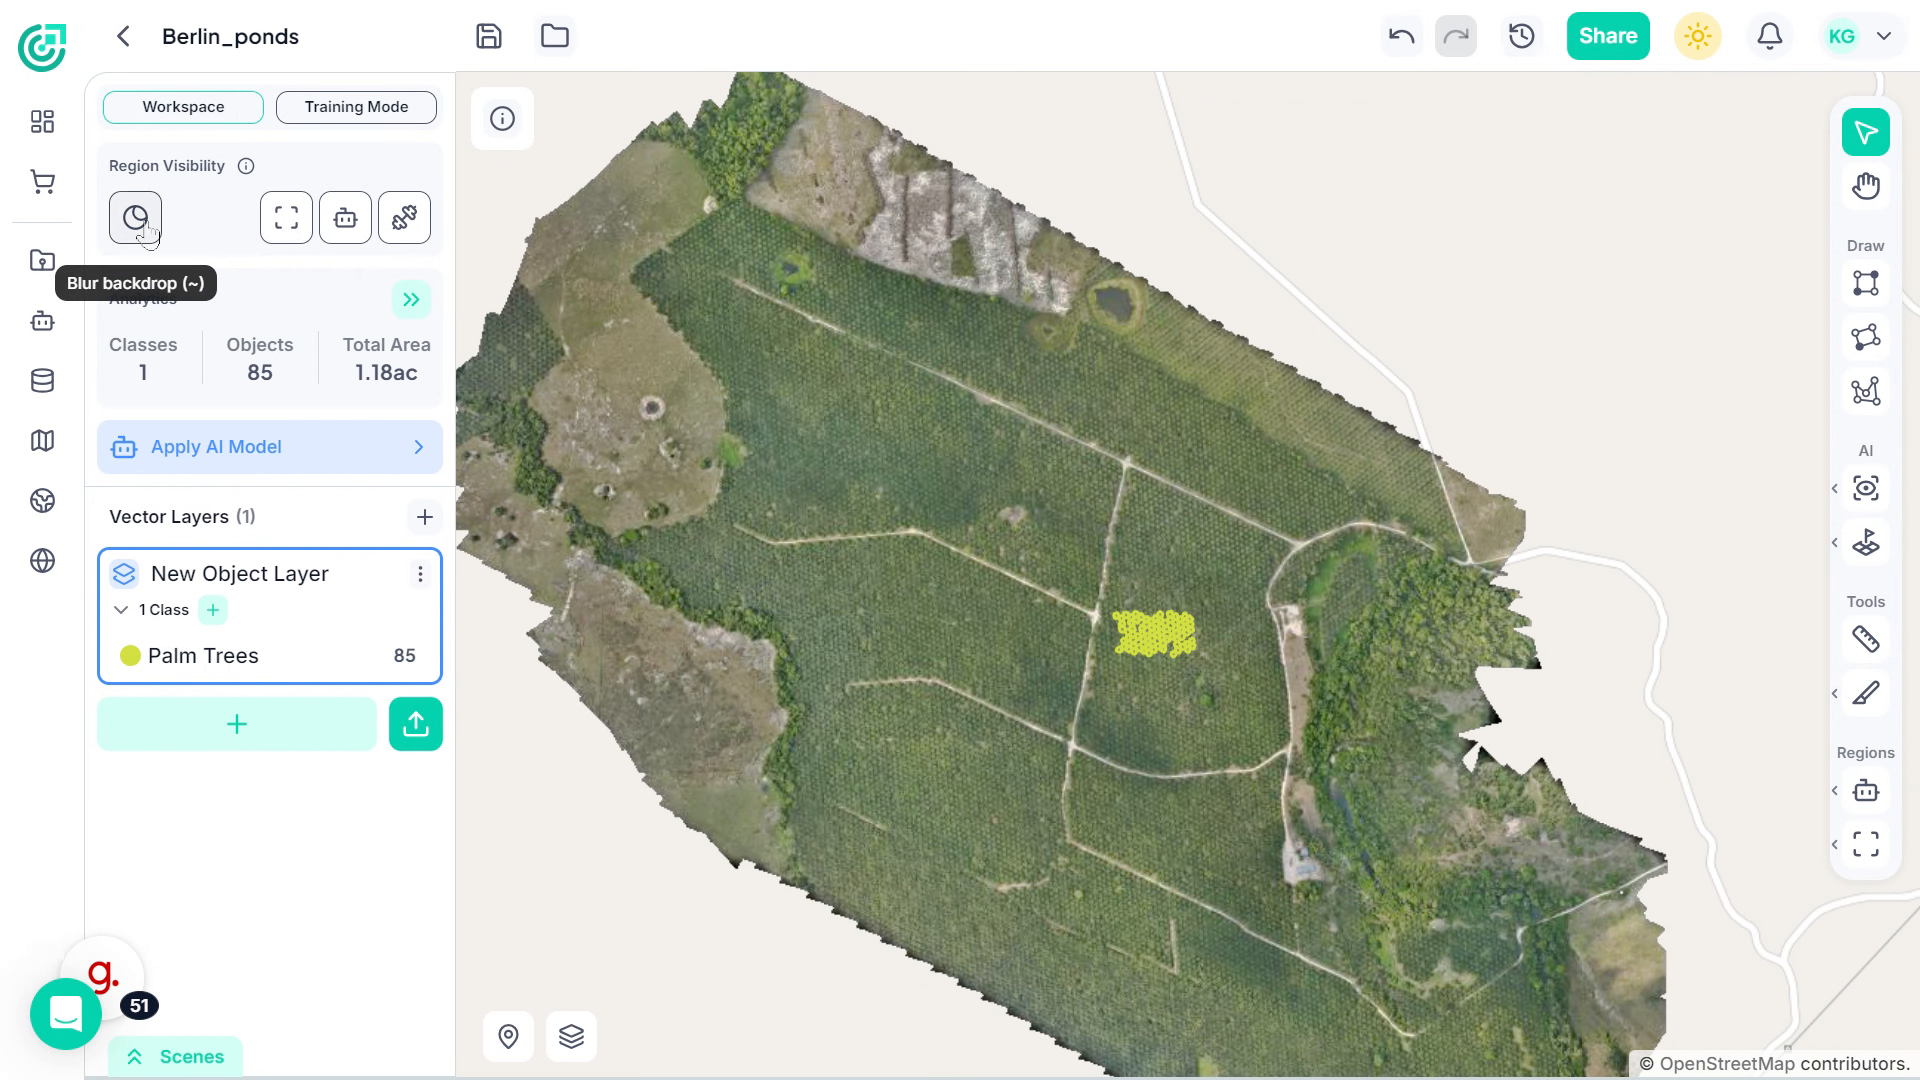
16. Enable Blur Backdrop
If you want to focus only on the active region, enable Blur Backdrop. This darkens the areas outside the selected boundary.
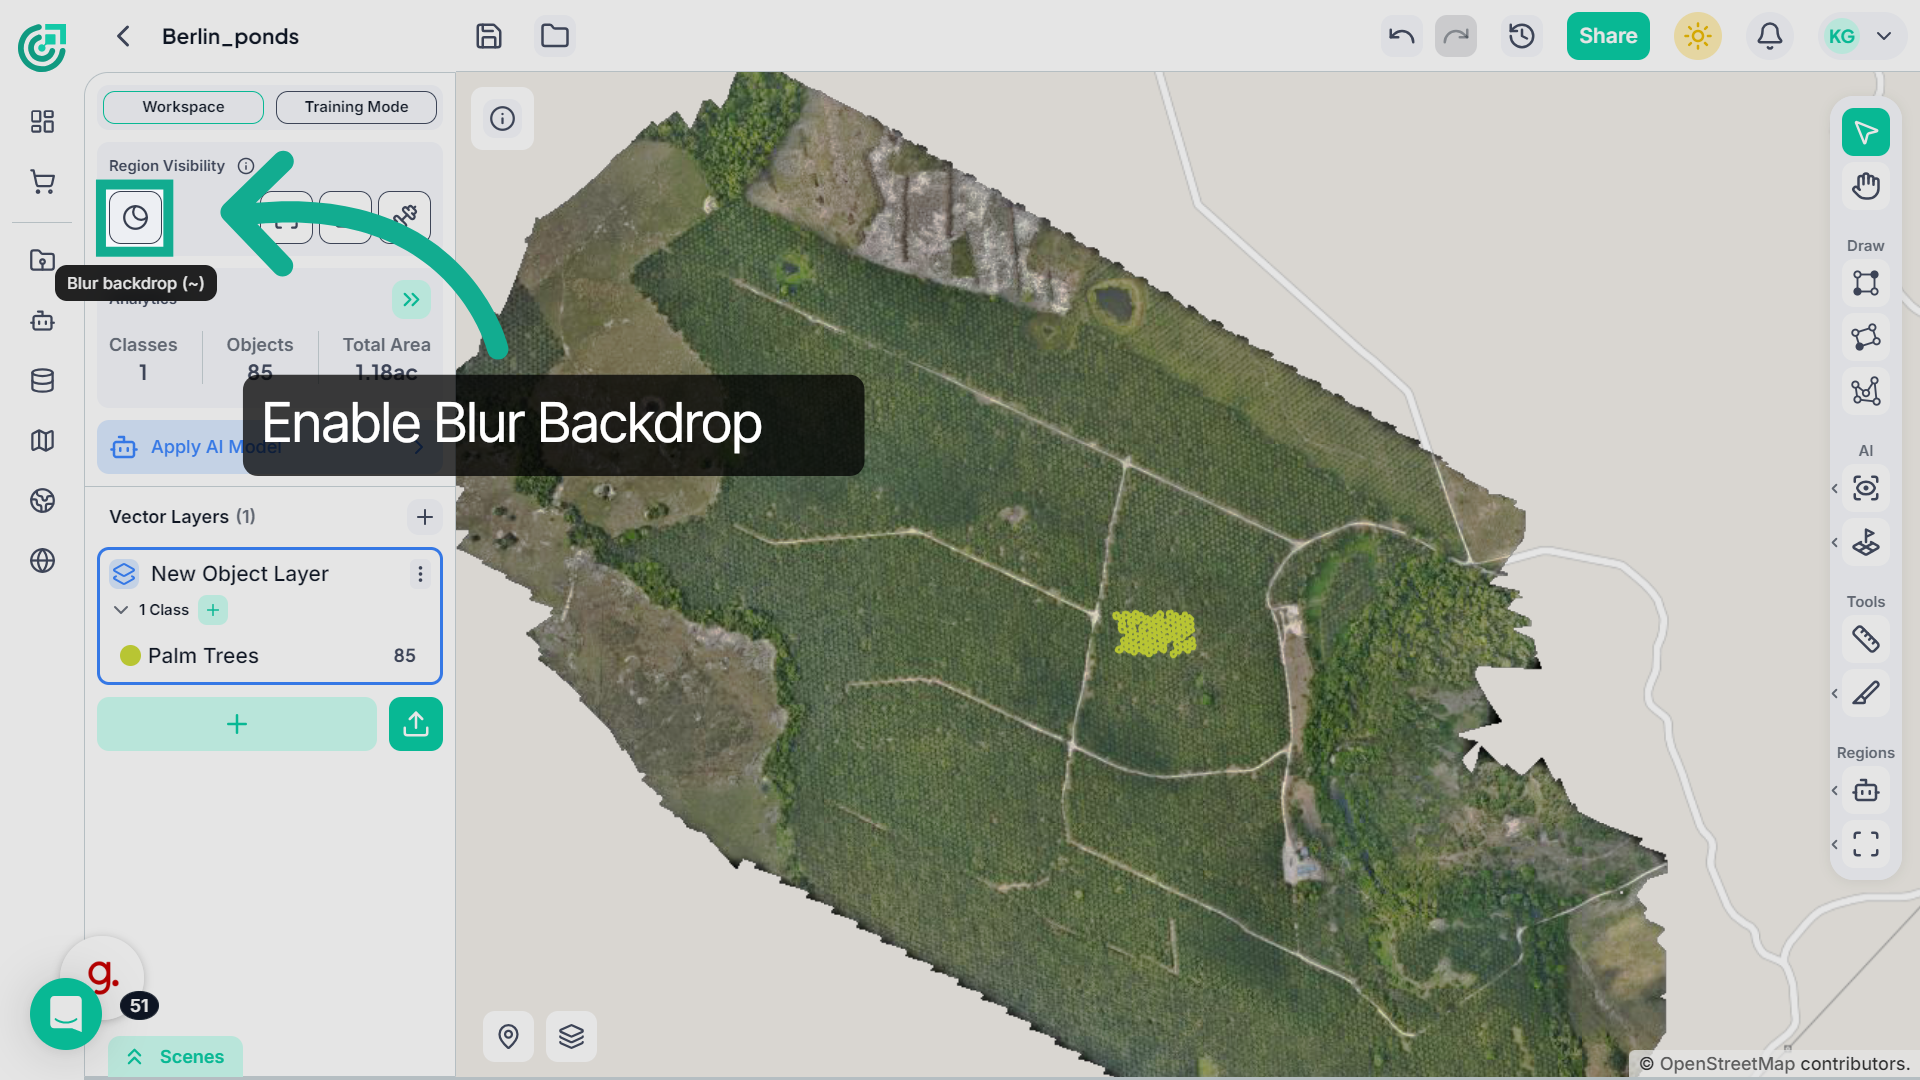
17. Create a Region
Once enabled, the blur effect applies to the selected region type, whether it’s a Region of Interest, Inference Region, or Training Region, helping you clearly focus on the active area.
This demo highlights how FlyPix AI streamlines region management by enabling you to define regions, configure behaviors, apply AI models efficiently, and focus analysis on the most relevant areas of your imagery.