Explore Smart Segmentation Features in ORION Platform
This demo showcases ORION's Smart Segmentation capabilities to help you efficiently analyze and categorize data.
Go to app.flypix.ai
1. Introduction
You'll see how the platform streamlines segmentation workflows for better decision-making.

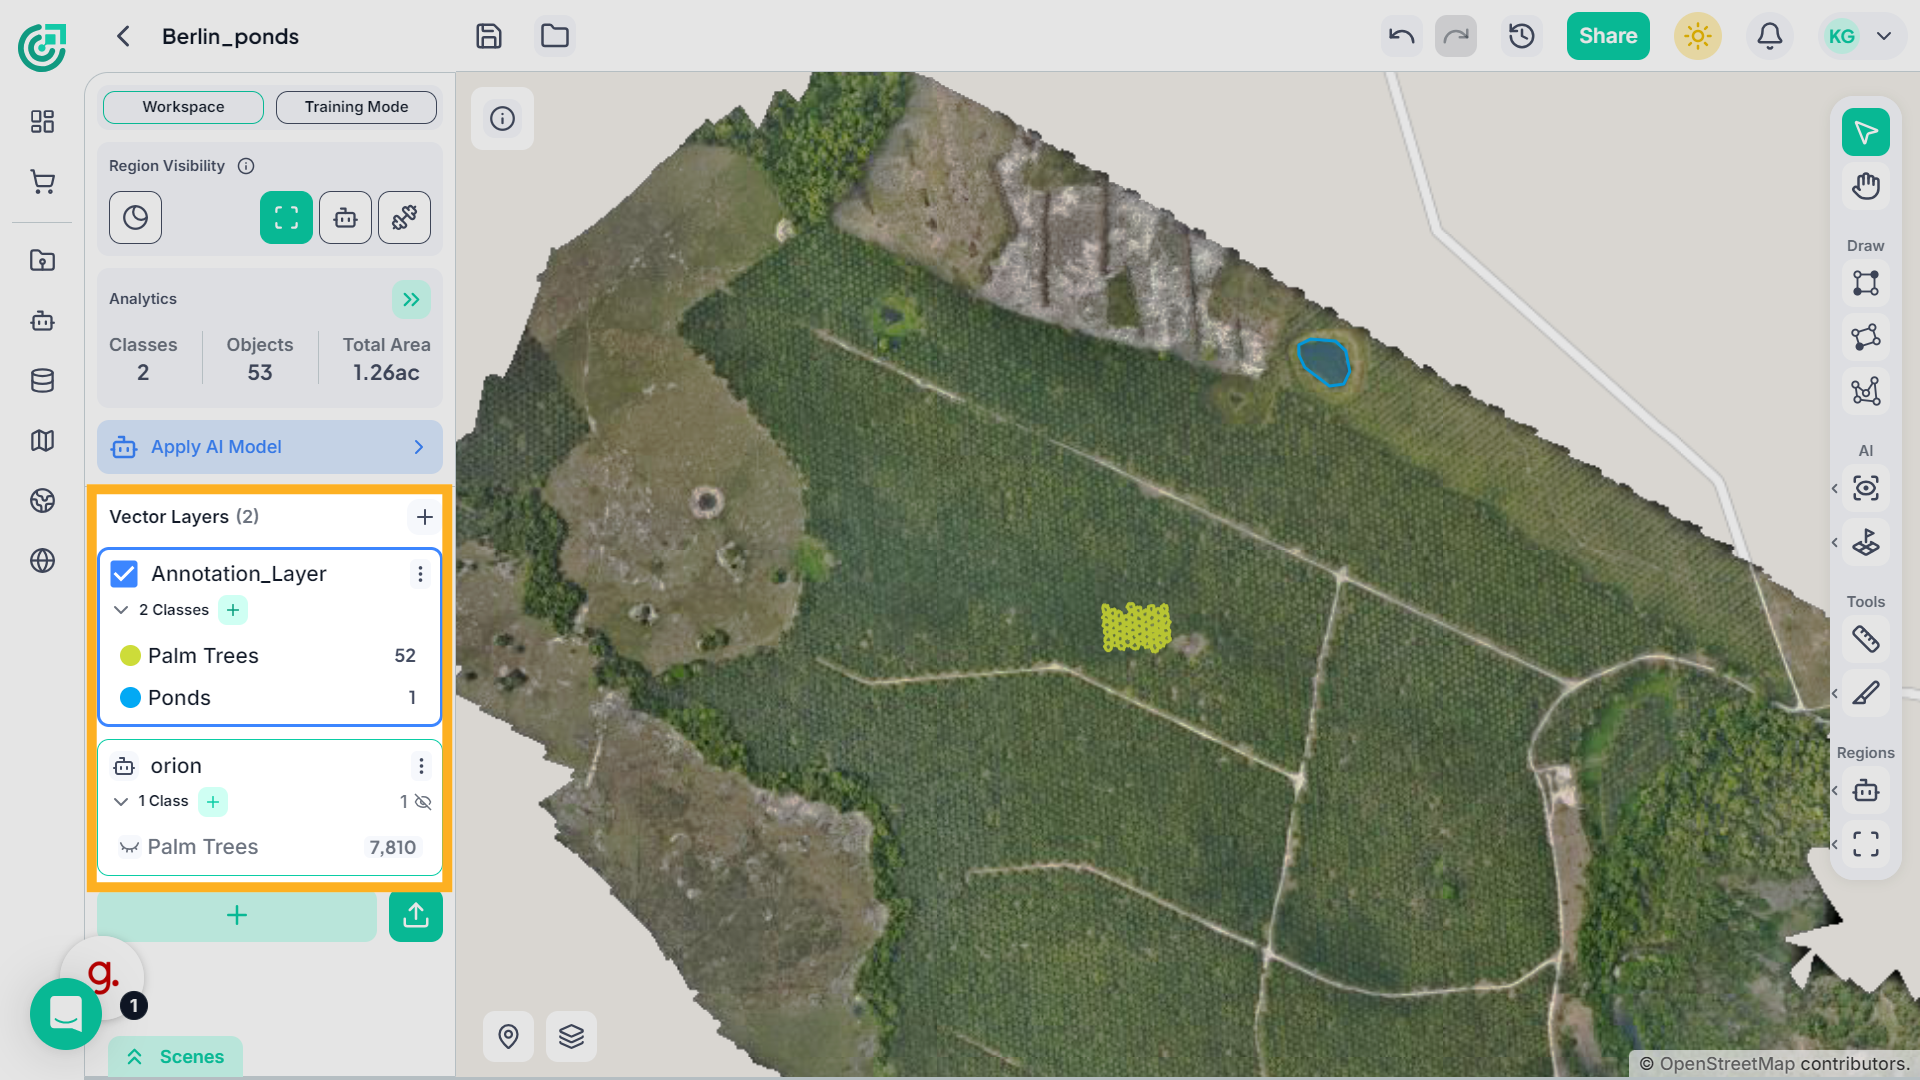
2. Select a Class
First select a class for the object you want to segment. For example, select the class Road from the vector layers panel. This ensures the segmented area is assigned to the correct annotation layer.
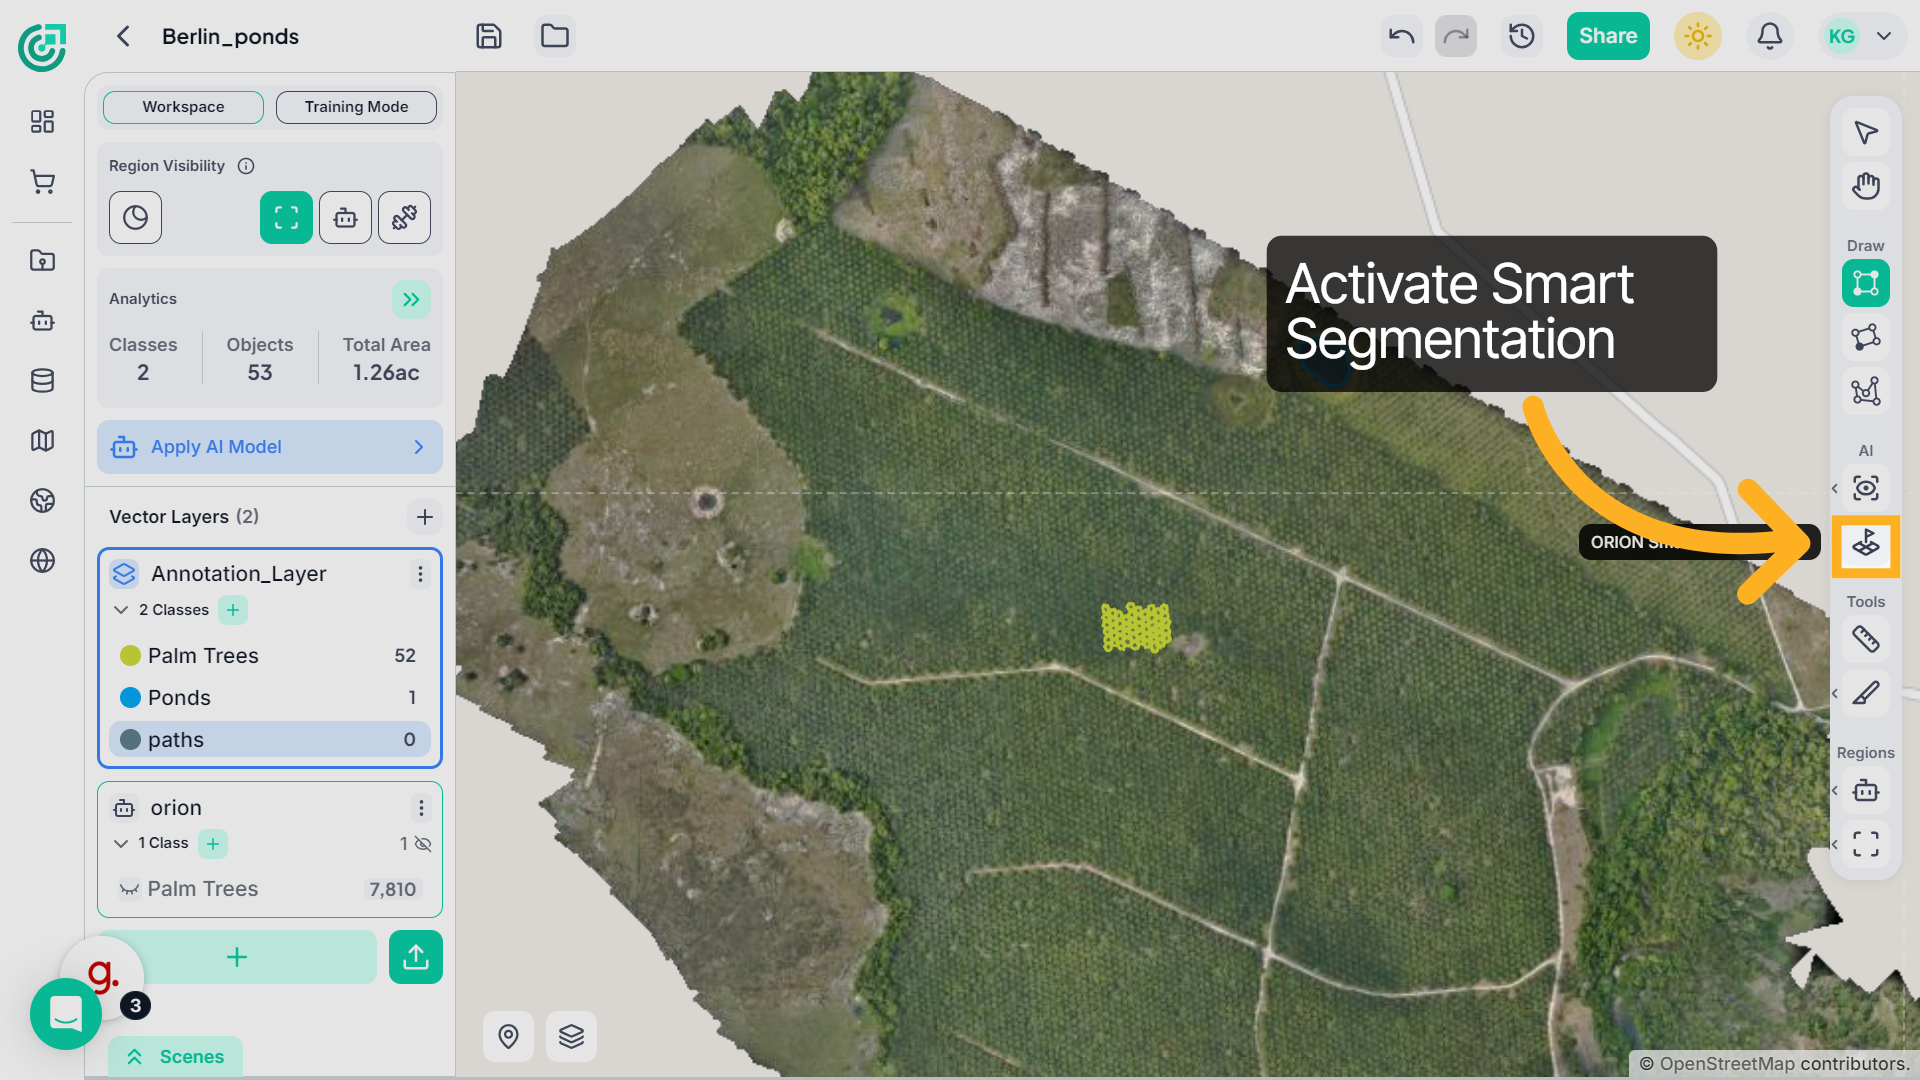
3. Activate Smart Segmentation
Now, activate the Smart Segmentation tool. This tool allows you to guide the system by marking areas that represent the object of interest.
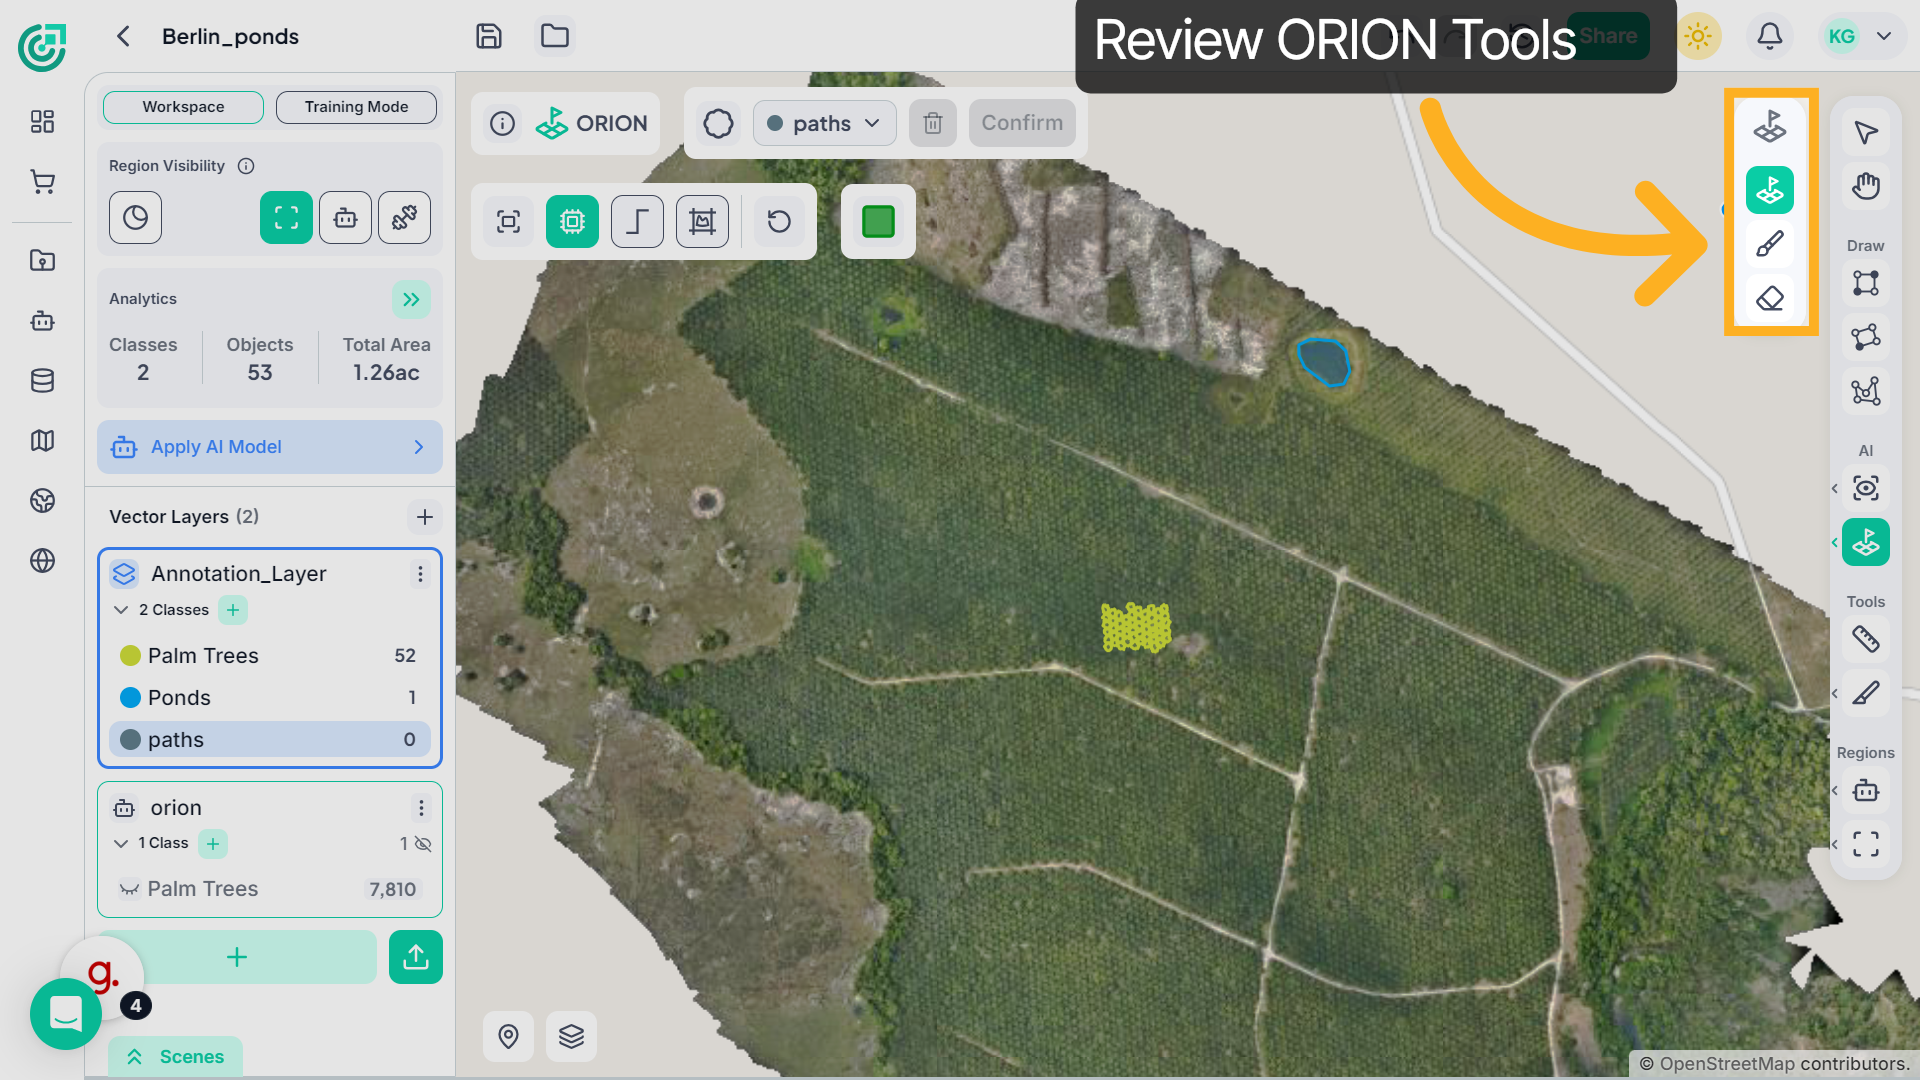
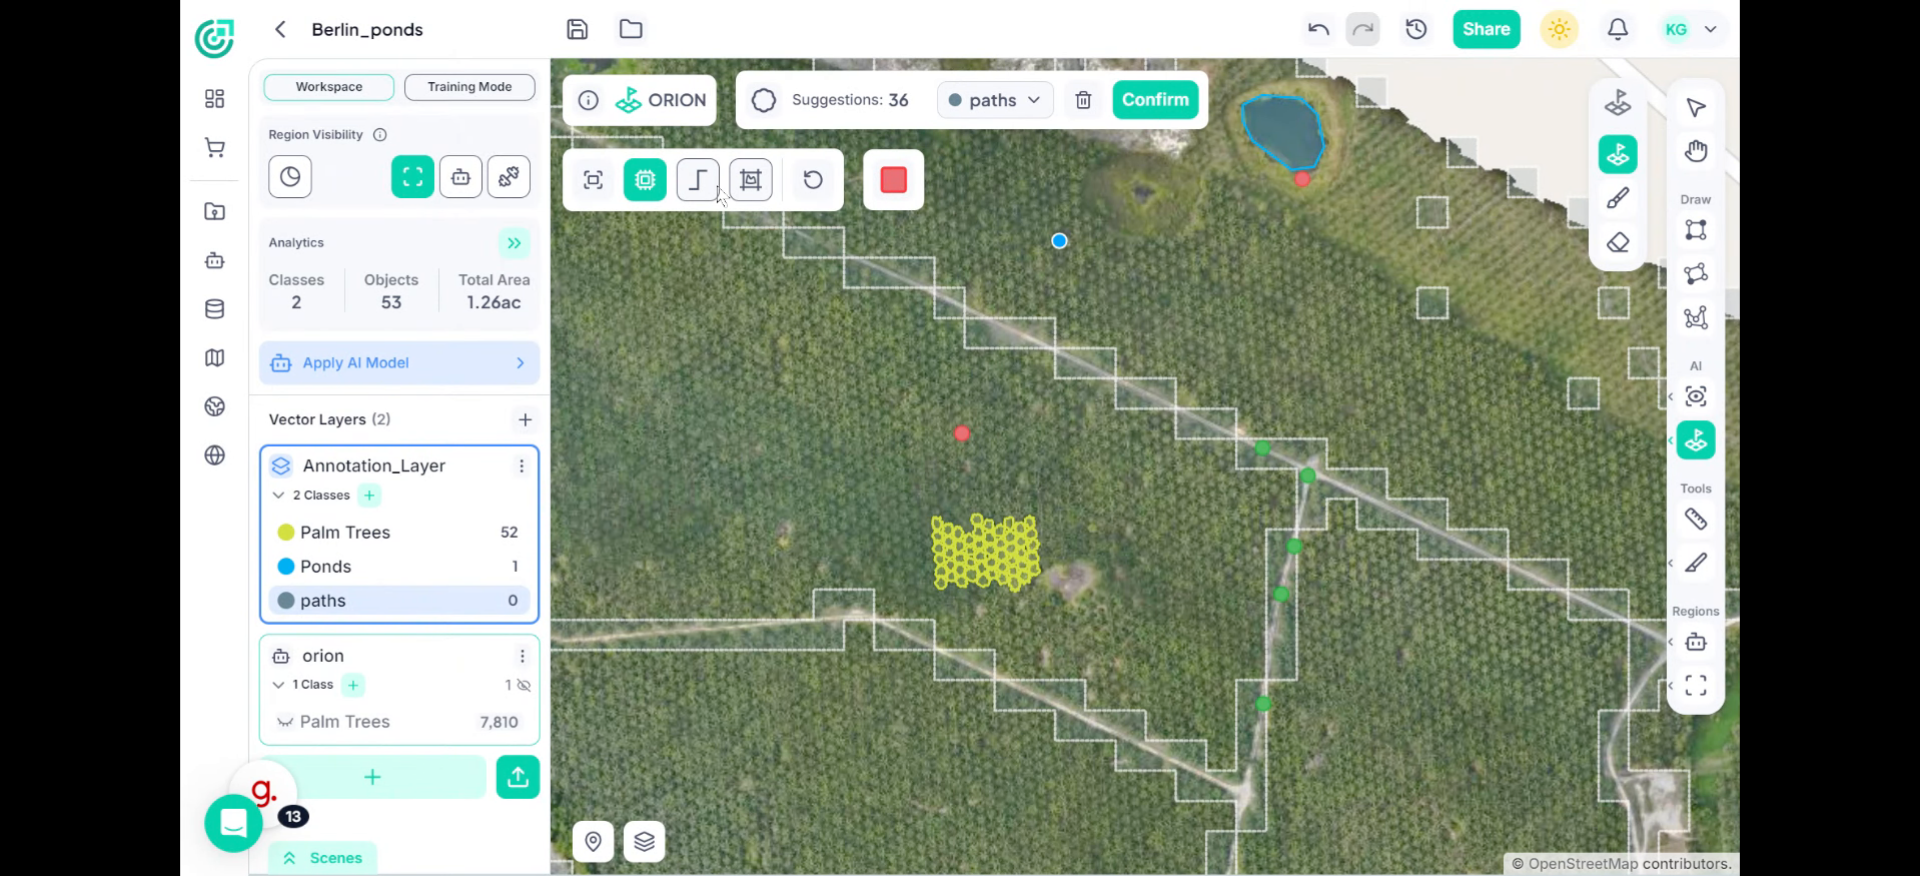
4. Review ORION Tools
Before adding samples, look at the tools on the right panel. Here you’ll find the Smart Segmentation tool, the Smart Brush for refining areas, and the Eraser for removing unwanted regions.
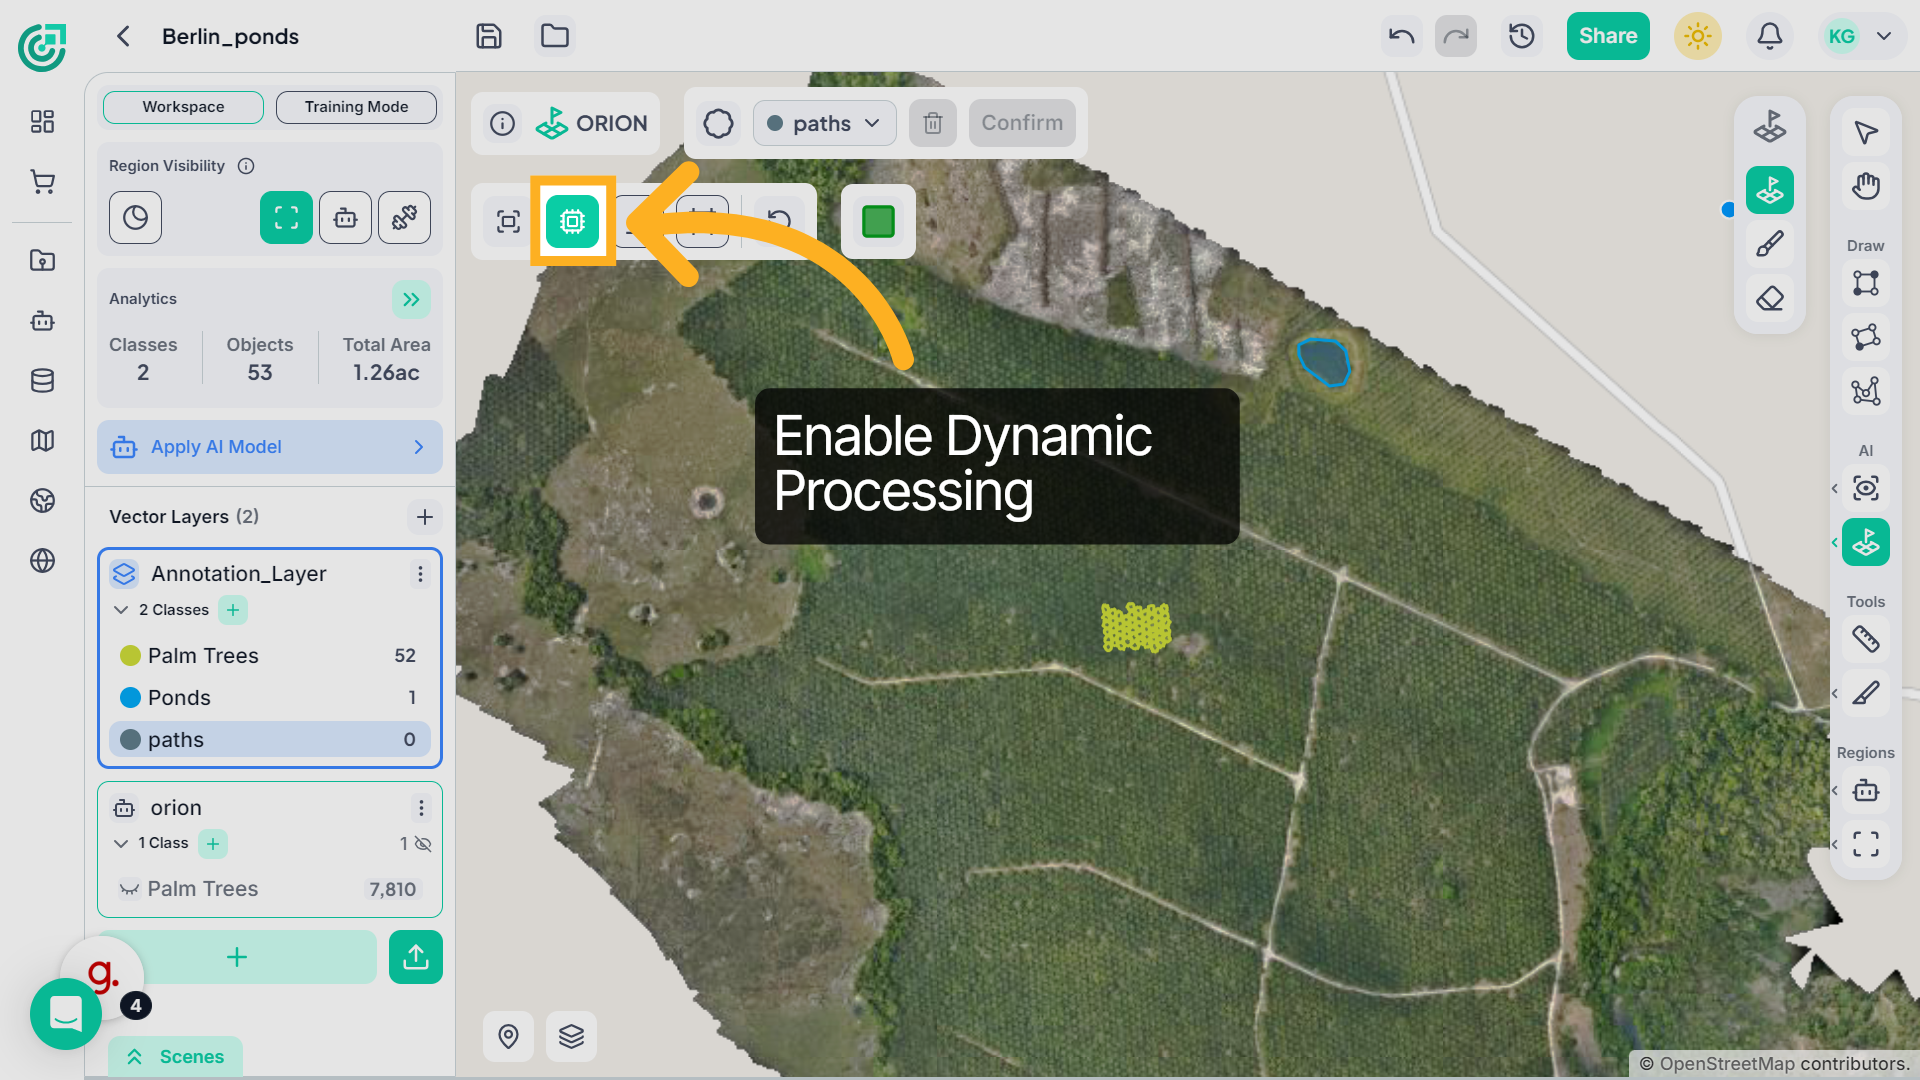
5. Dynamic Processing
Before adding samples, make sure Dynamic Processing is enabled.This allows ORION to update the segmentation in real time as you provide positive and negative inputs.
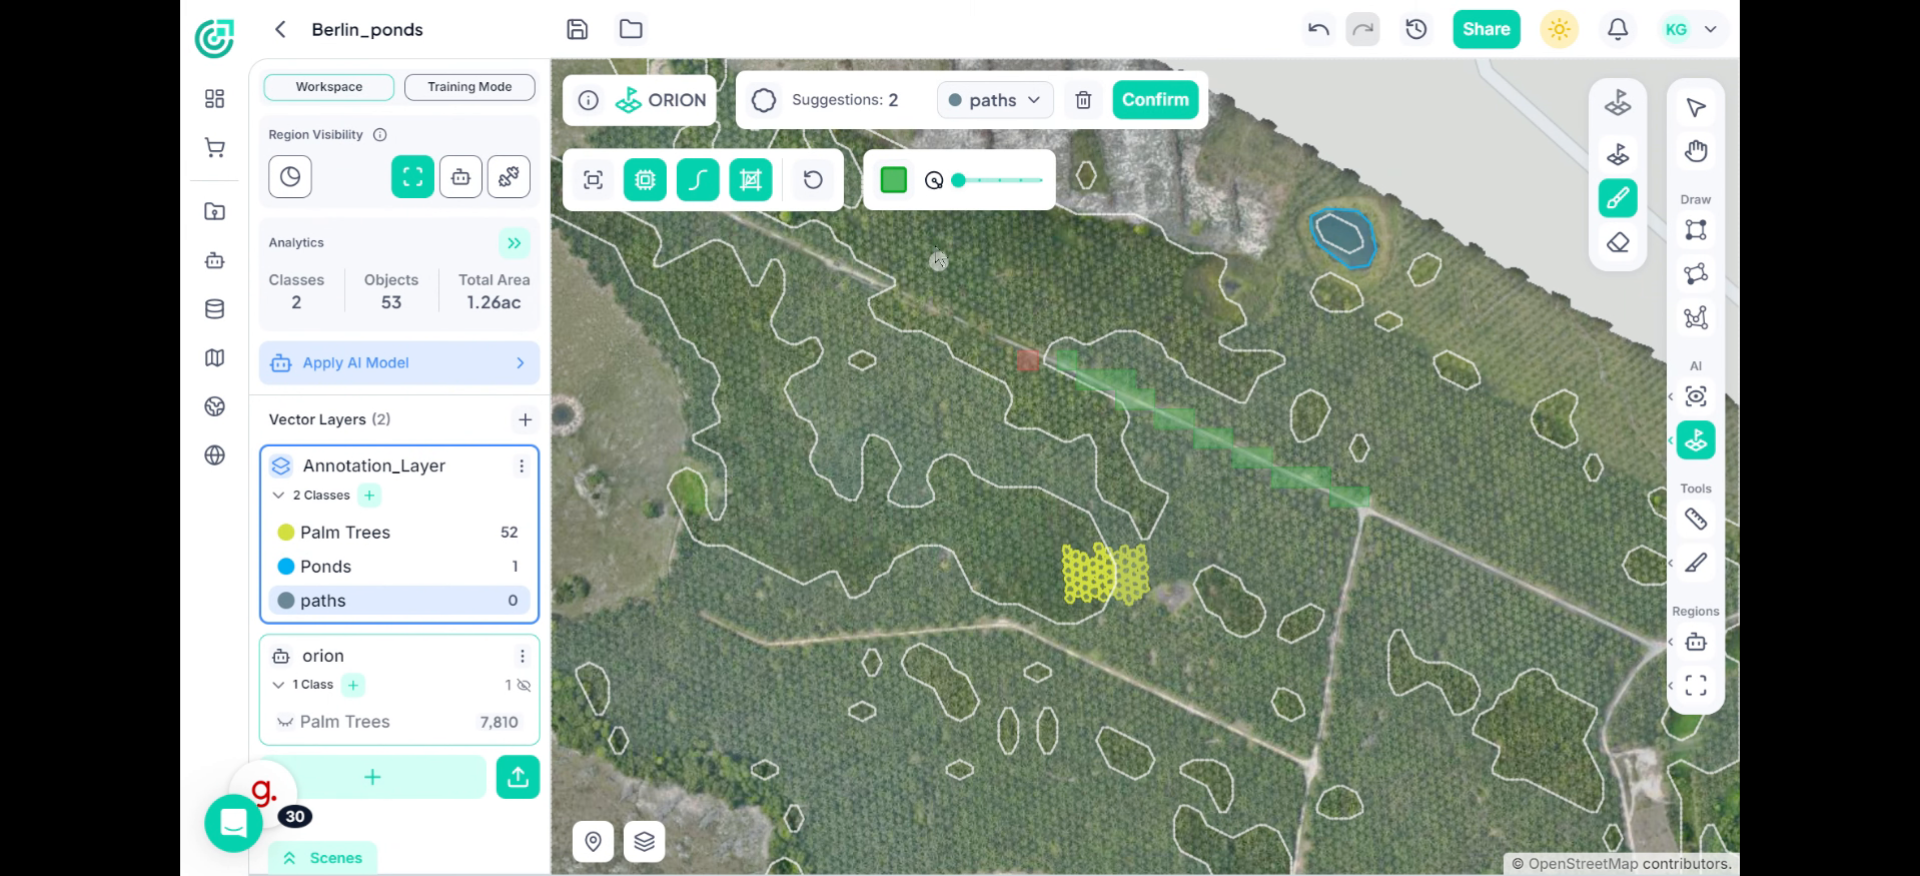
6. Add Positive Samples
Start by clicking directly on the road to add positive samples. Each positive click tells ORION what the road looks like. You’ll notice the system begins analyzing and highlighting similar regions within the current screen.
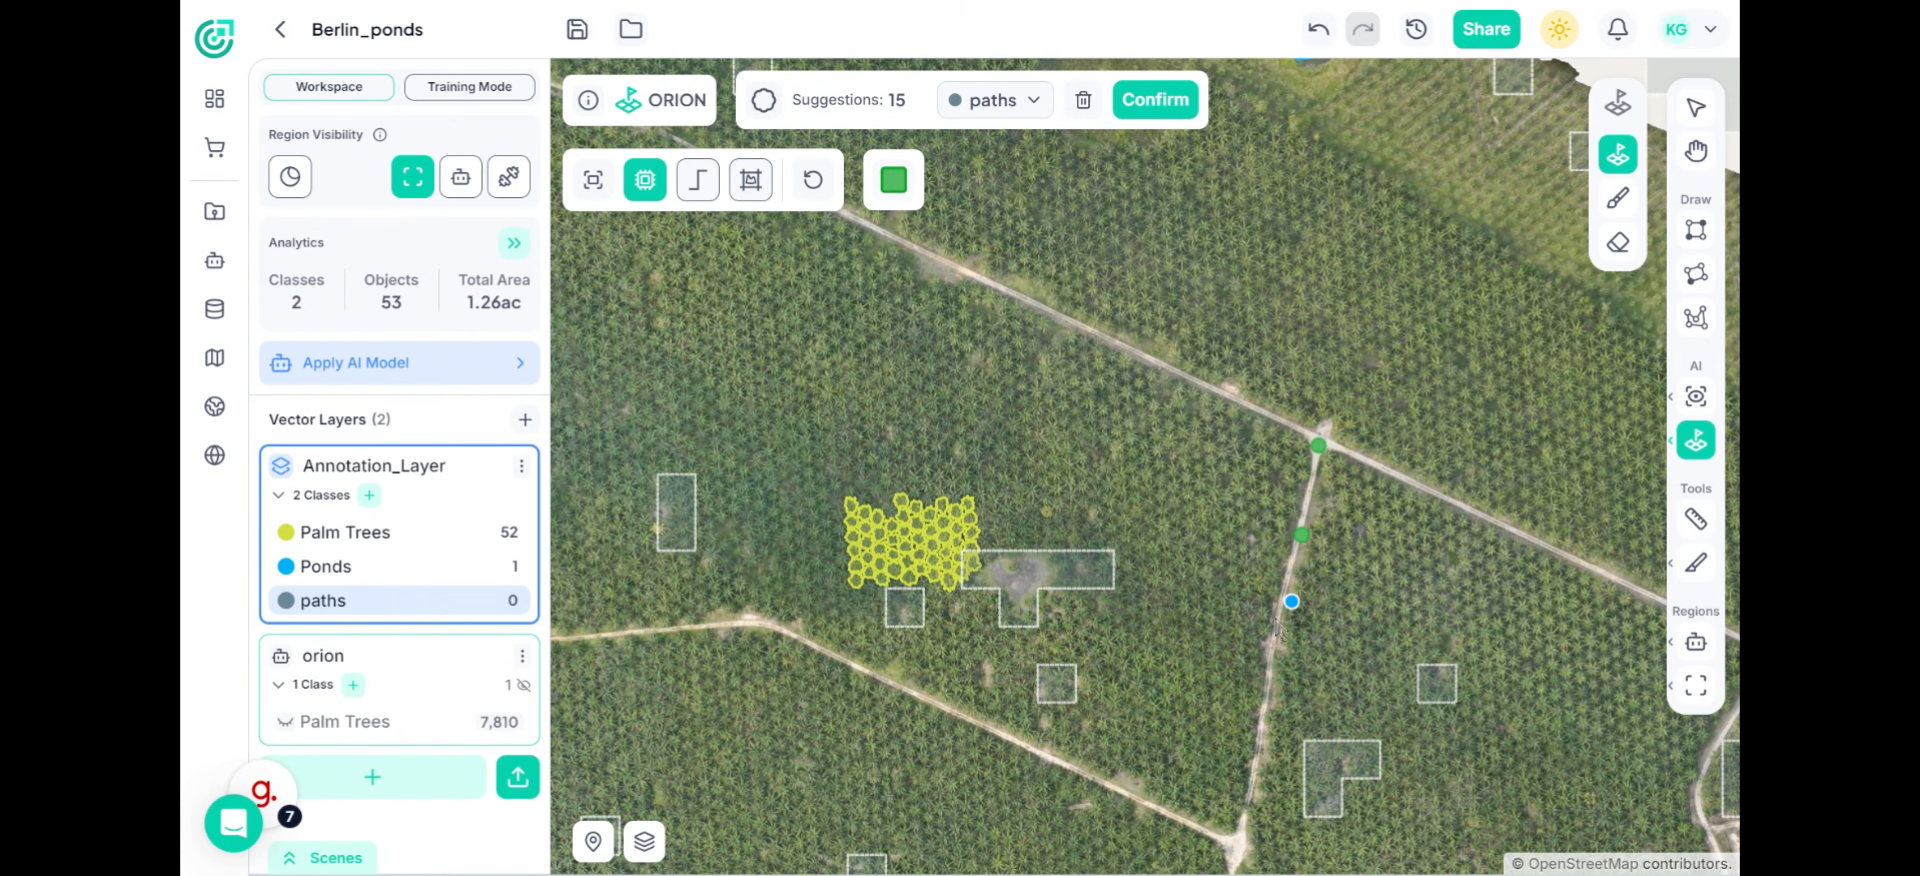
7. Negative Samples
If unwanted areas are included, switch to negative sampling.
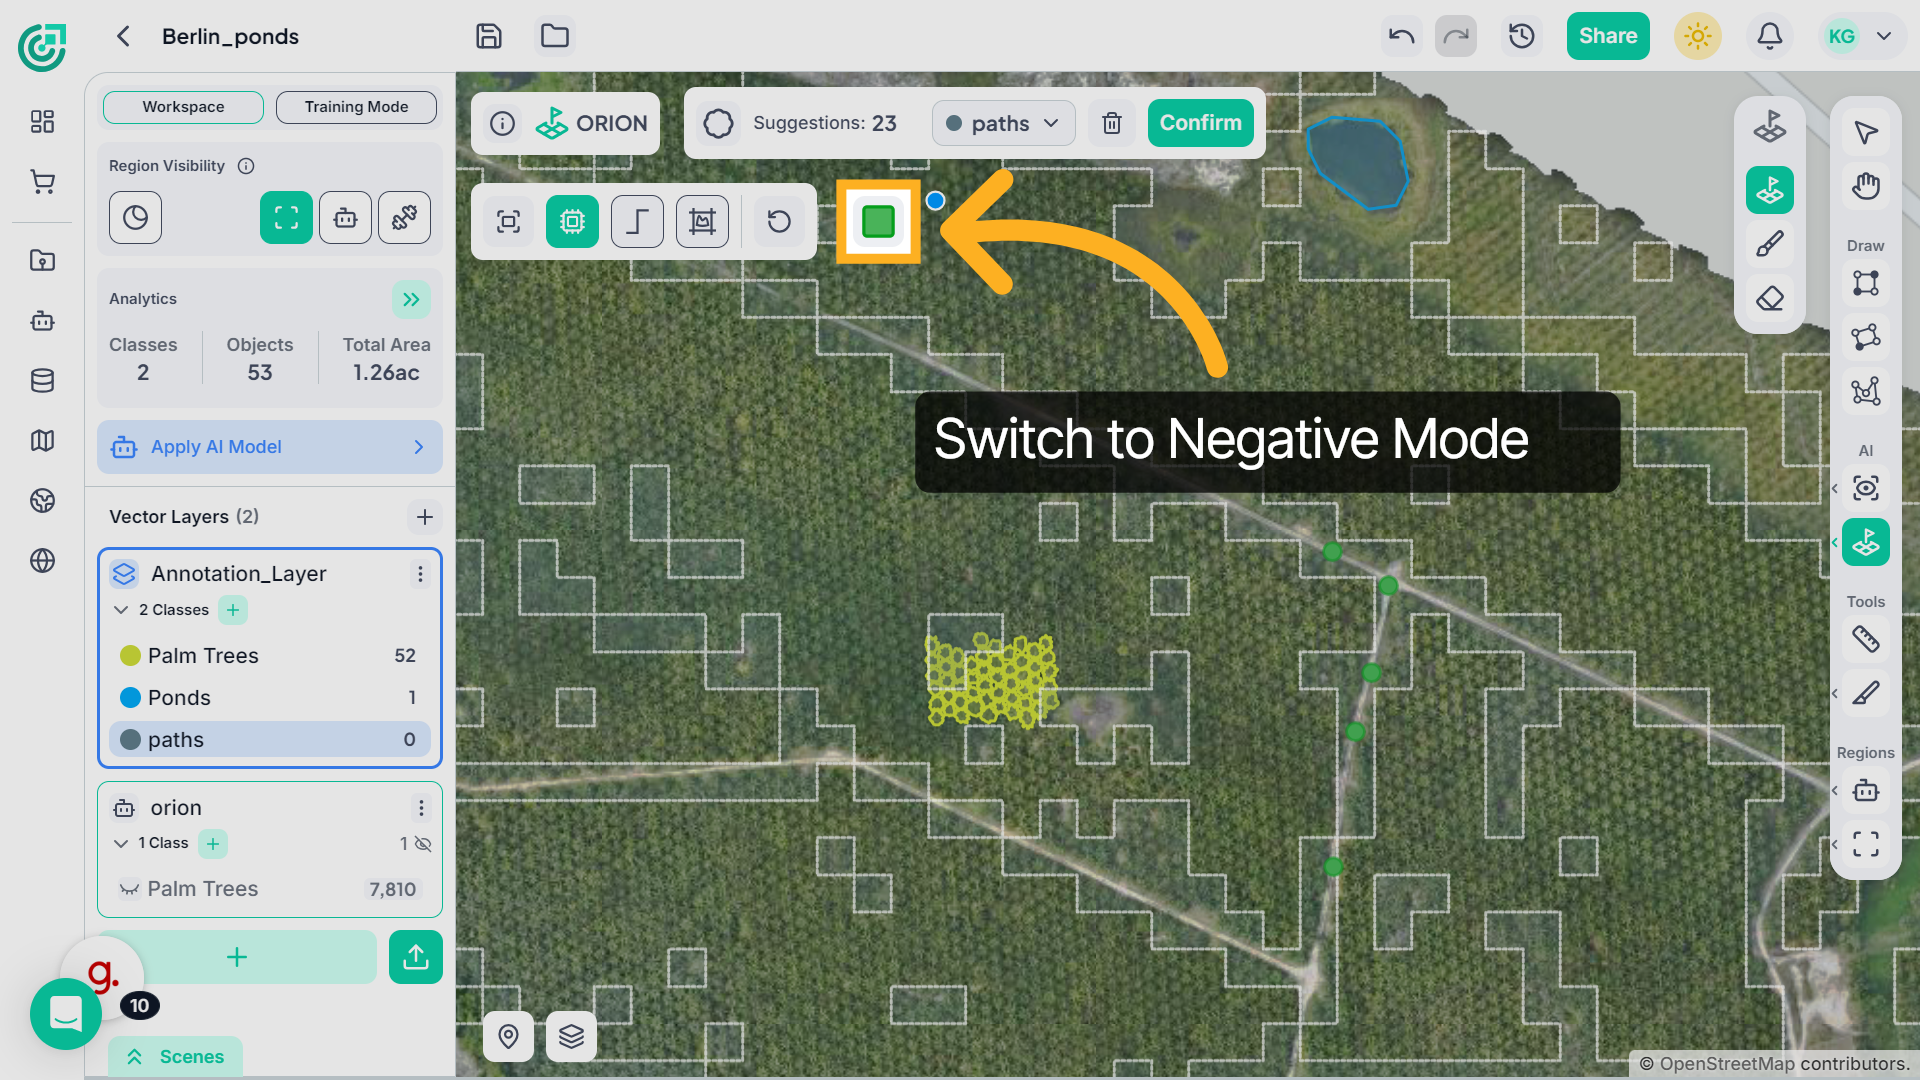
8. Add Negative Samples
Click on surrounding areas such as grass or buildings to indicate what should not be included. ORION refines the segmentation in real time based on this feedback.
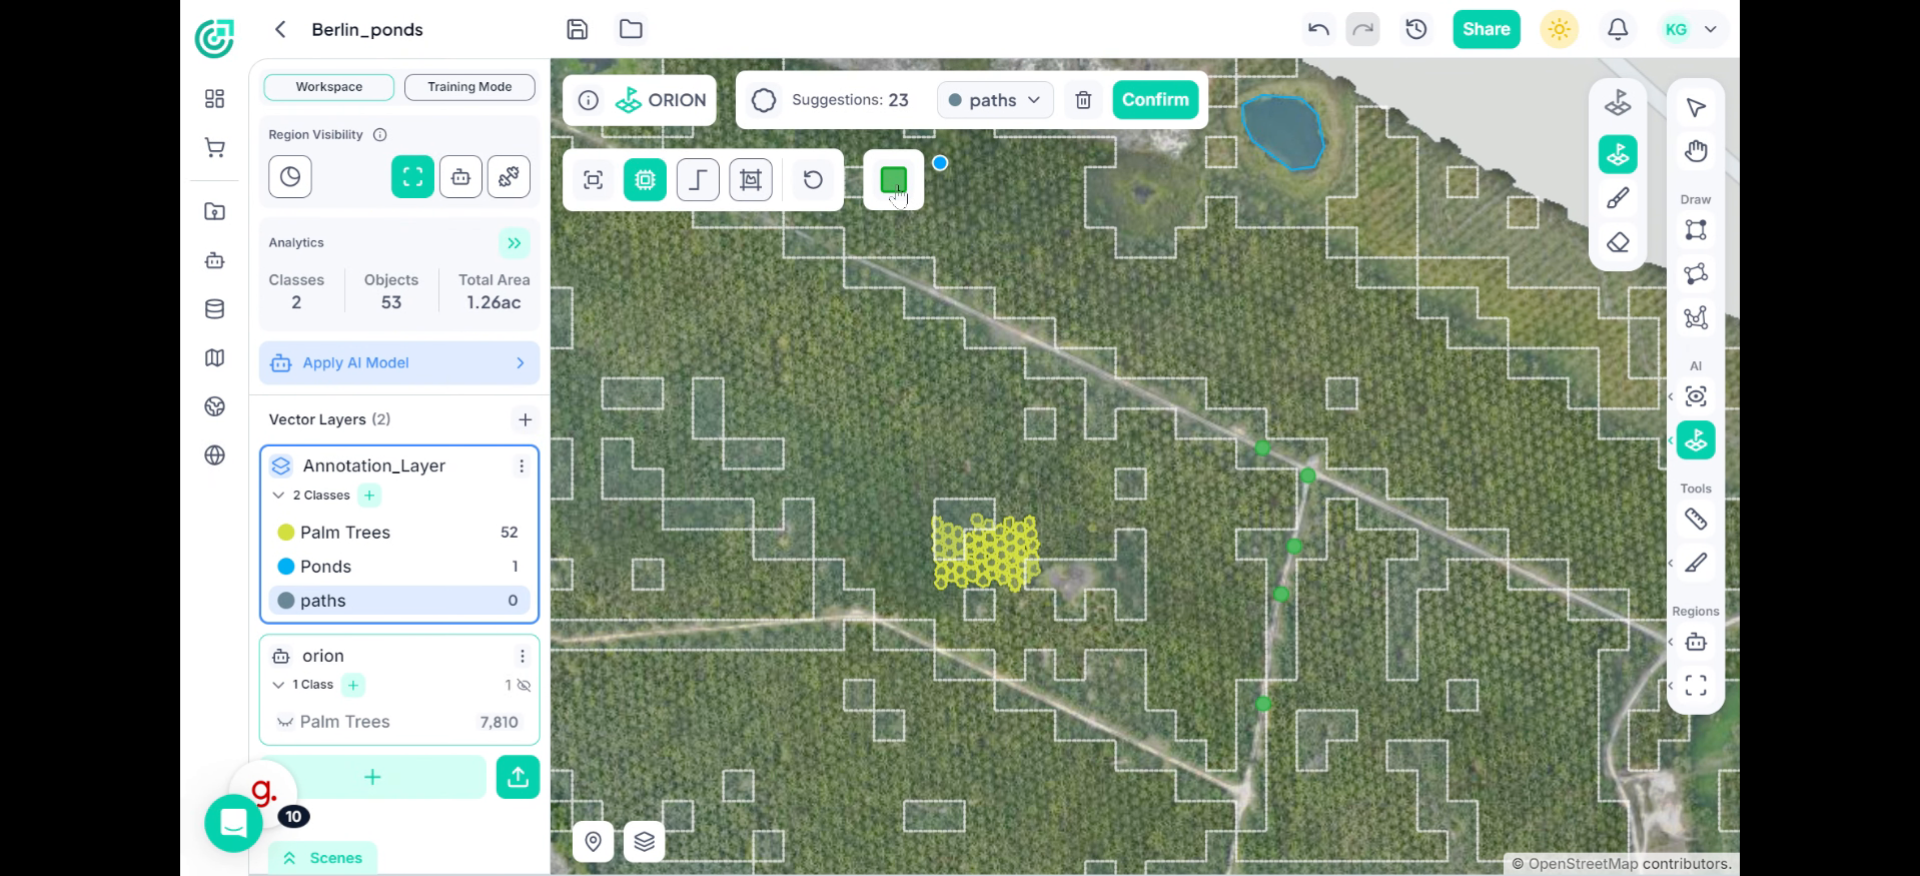
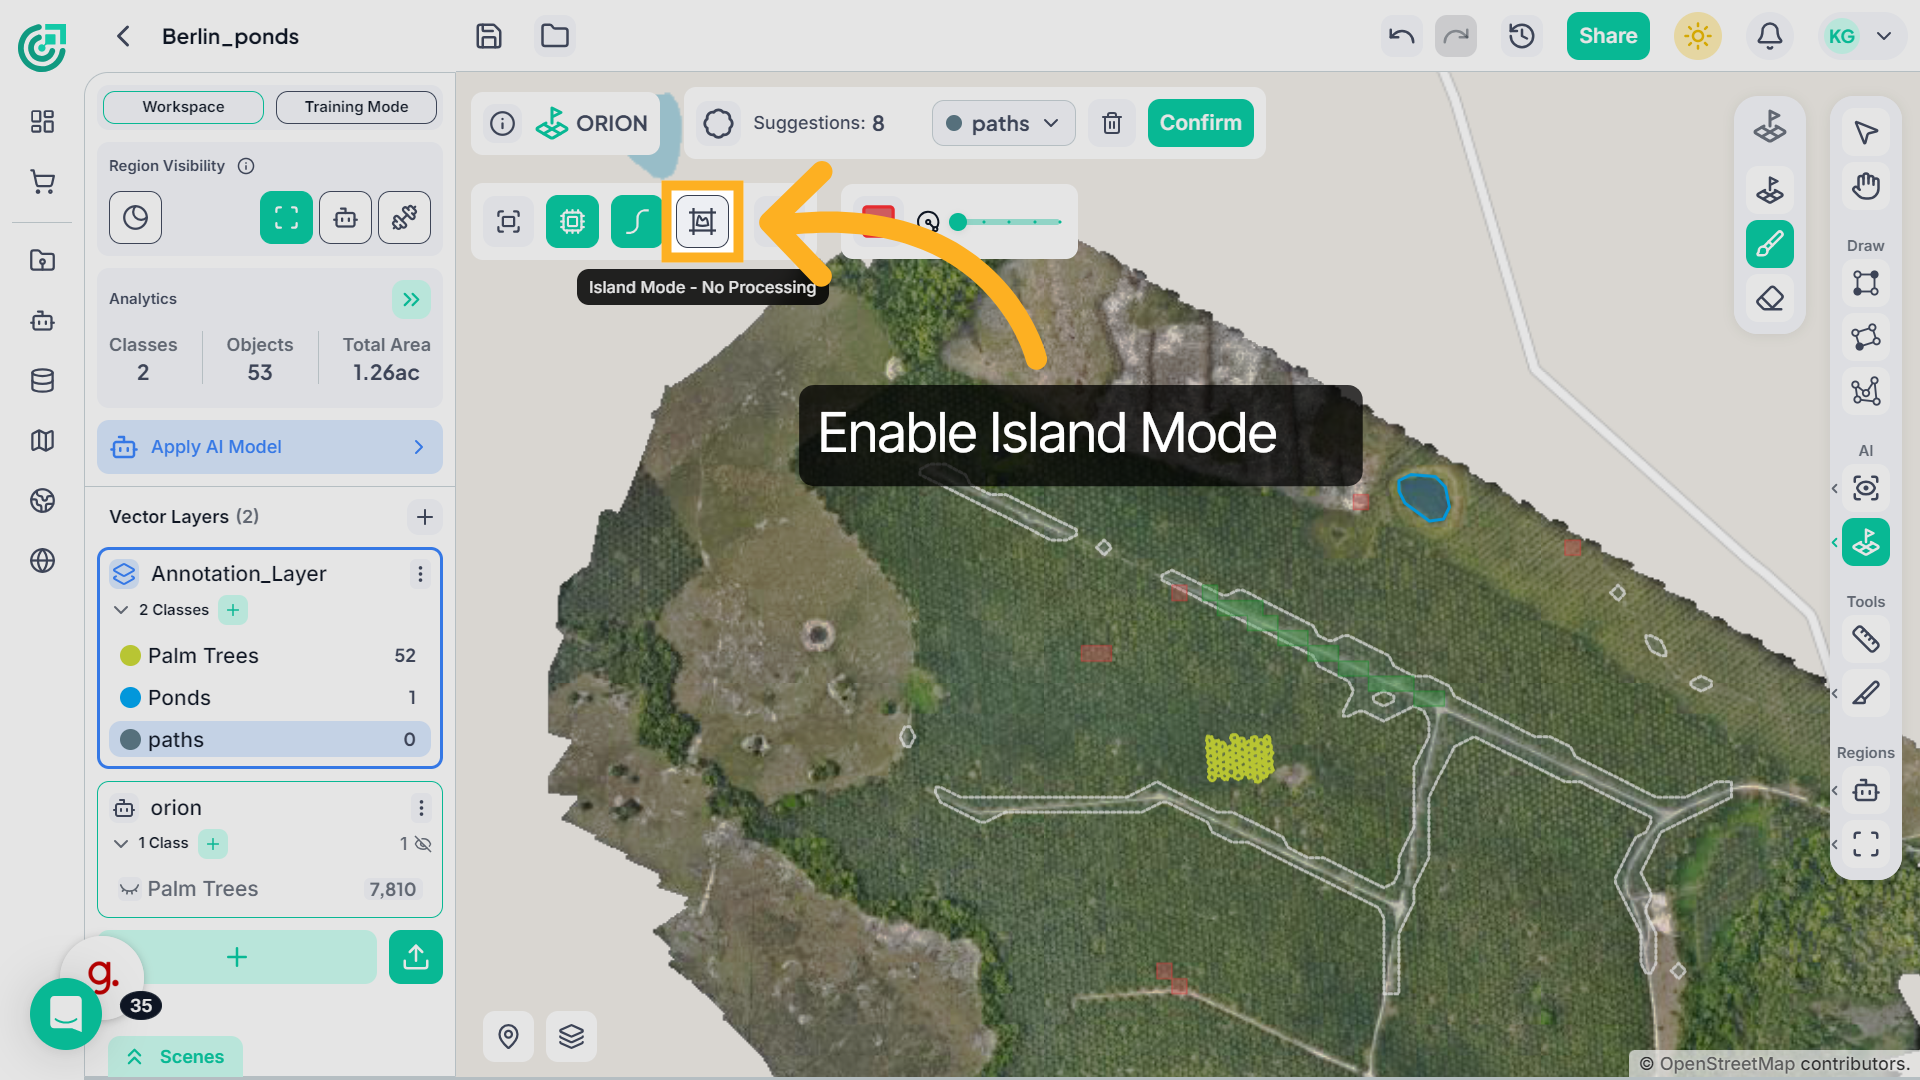
9. Island Mode – Remove Islands
If small isolated patches appear inside or outside the selected area, enable Island Mode .
10. Remove Islands
This automatically removes unwanted fragments and produces a cleaner, more accurate segmentation result.
11. Smoothing
If you notice rough or patchy boundaries, enable Smoothing to create cleaner and more continuous edges.
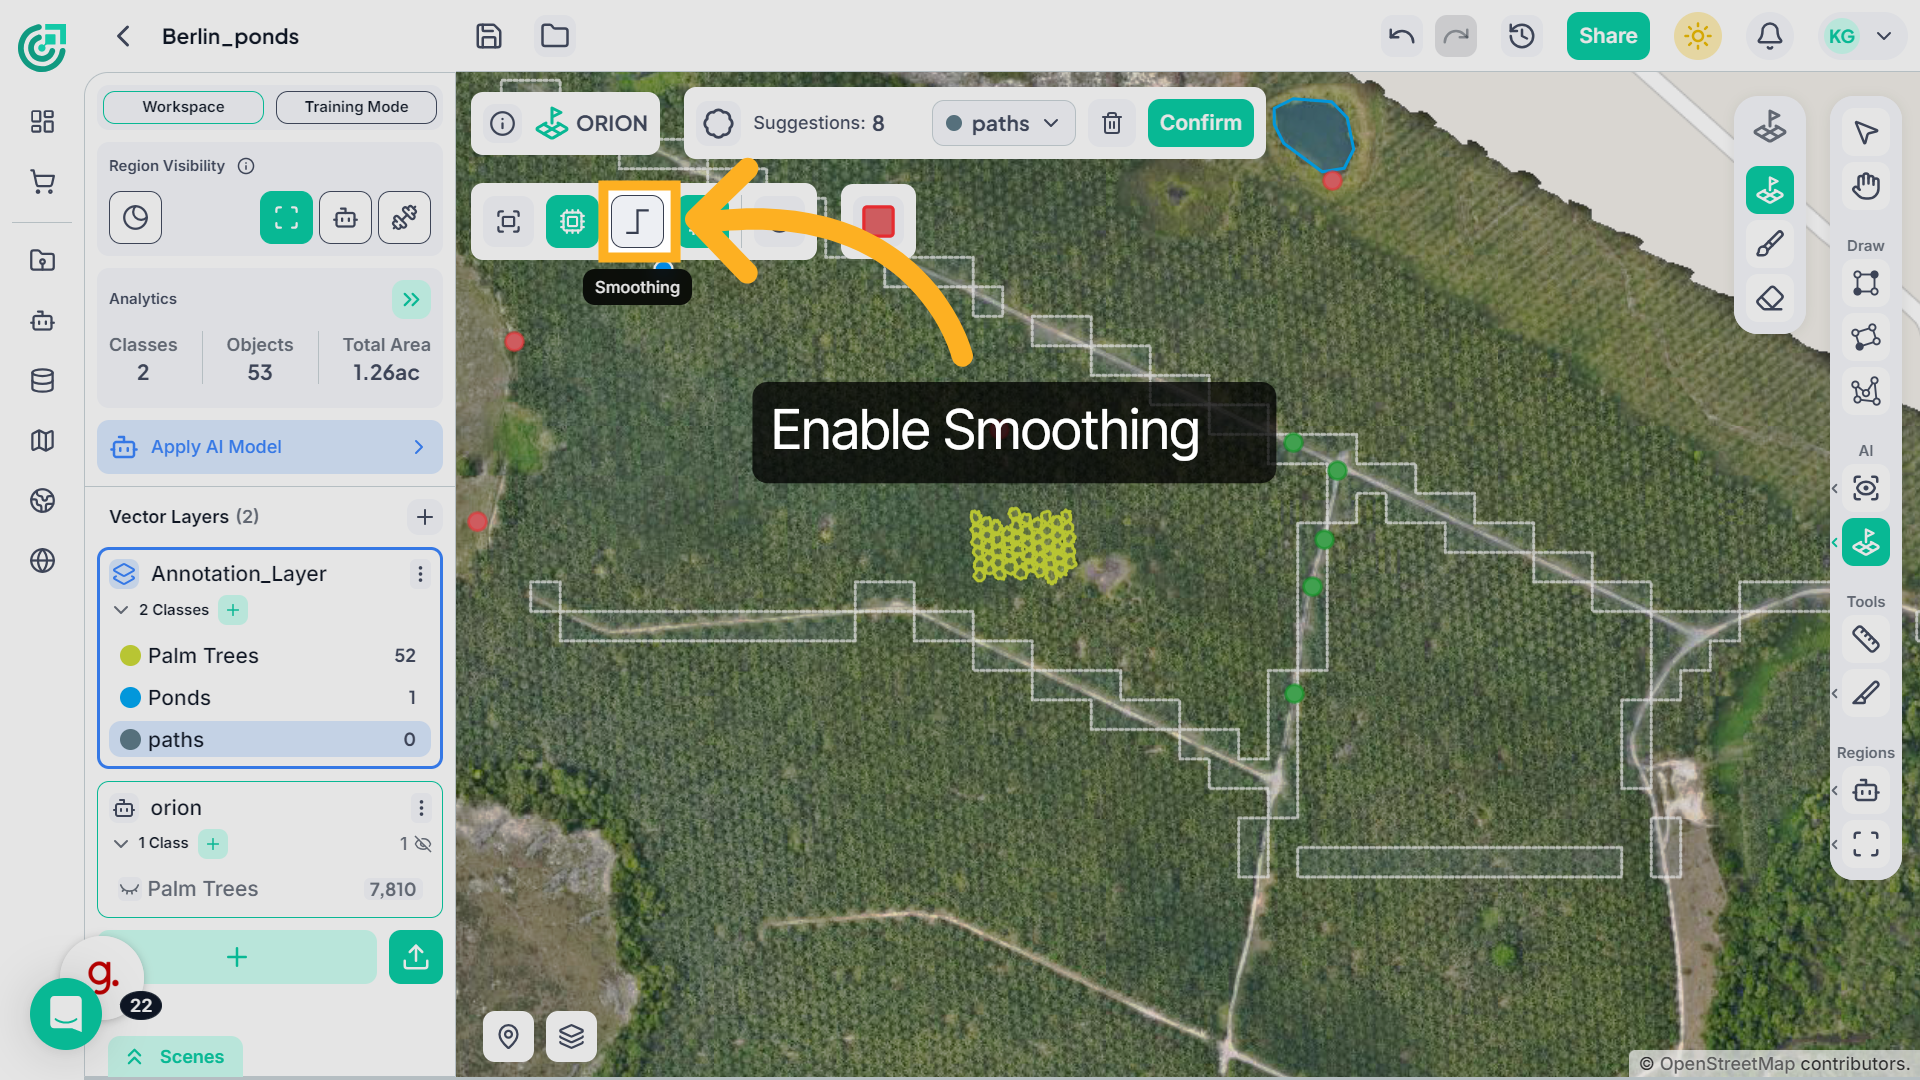
12. Smoothing Enables
Smoothing reduces rough or patchy edges and creates cleaner, more continuous boundaries, improving the overall quality of the segmented region before confirming.
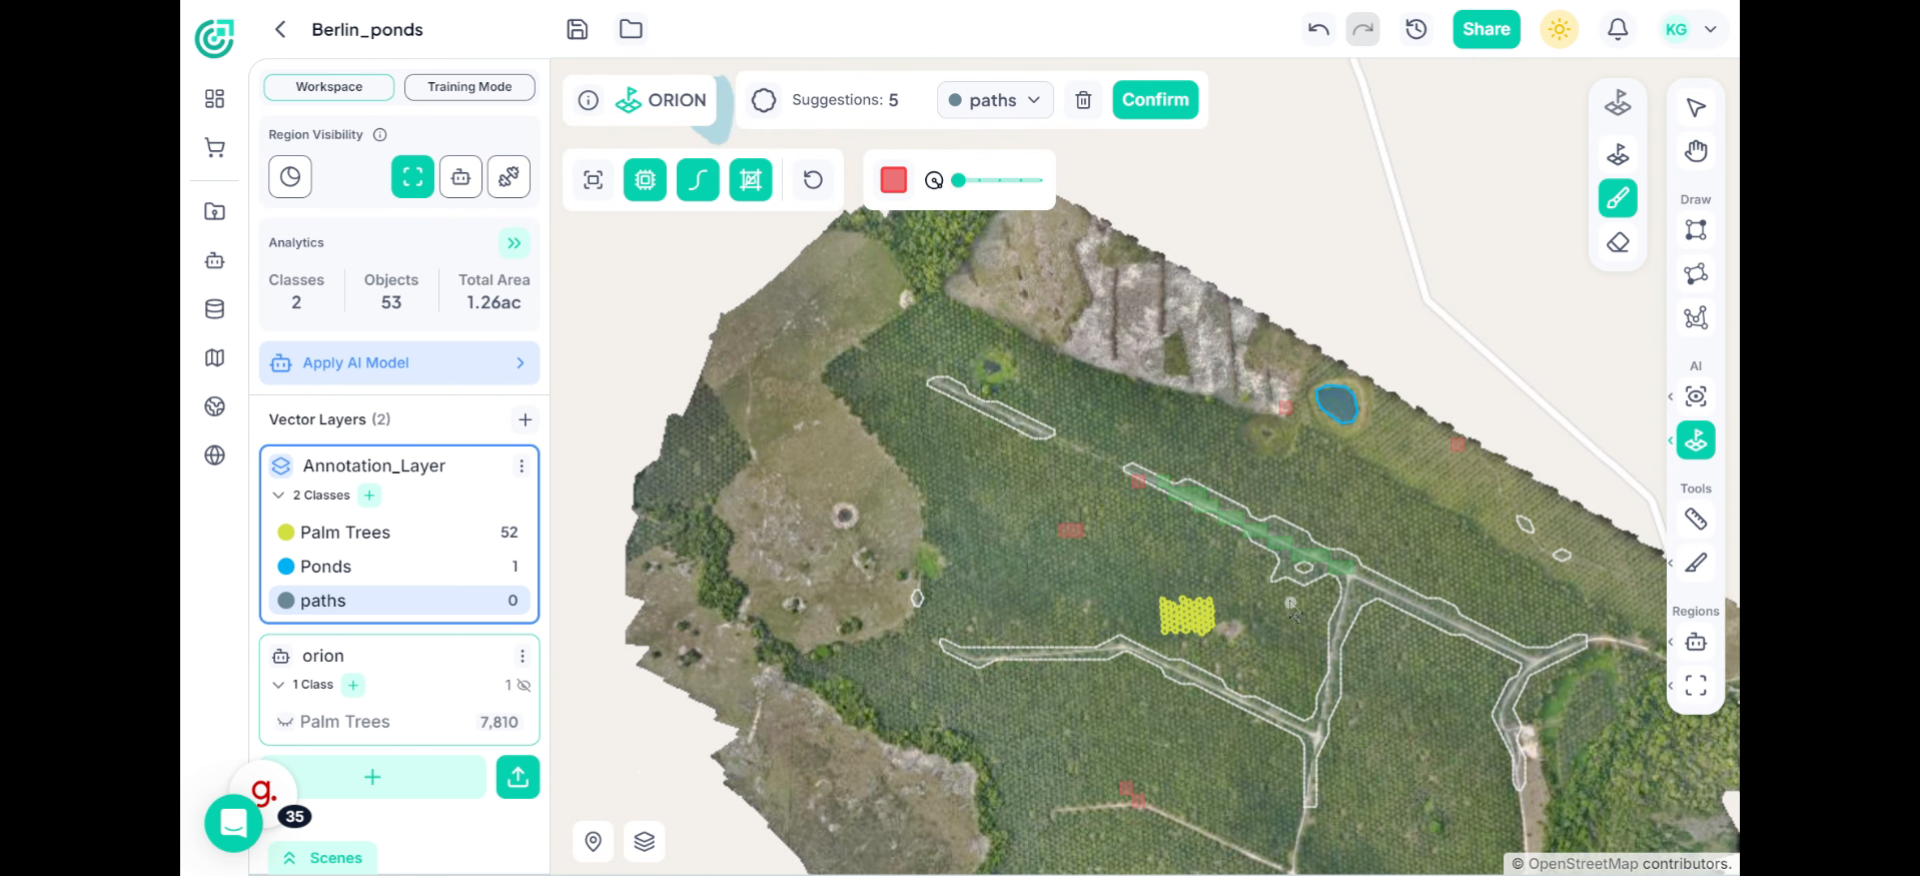
13. Review Segmentation Result
At this point, you can see the segmented region highlighted across the visible area. Remember, Smart Segmentation operates within the current screen view.
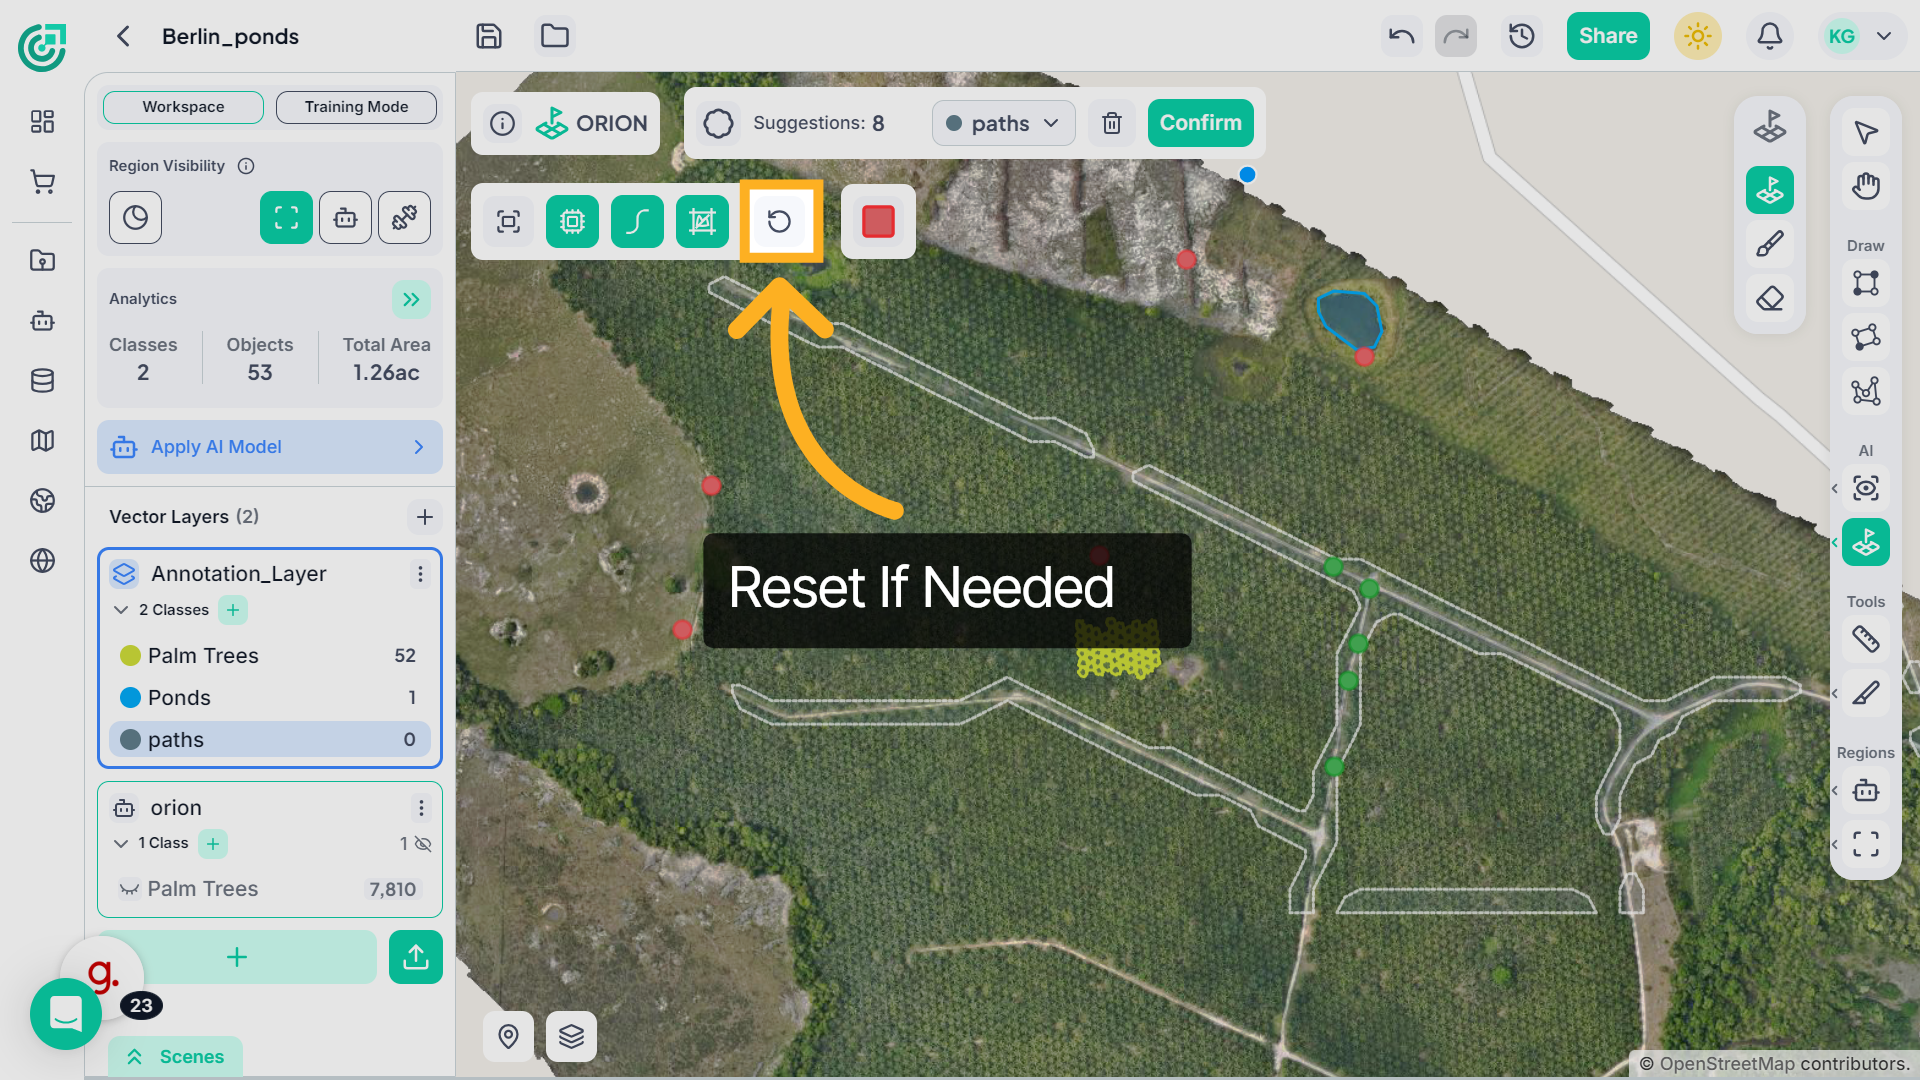
14. Reset
After reviewing the segmentation result, if you’re not satisfied with the output, you can click Reset.
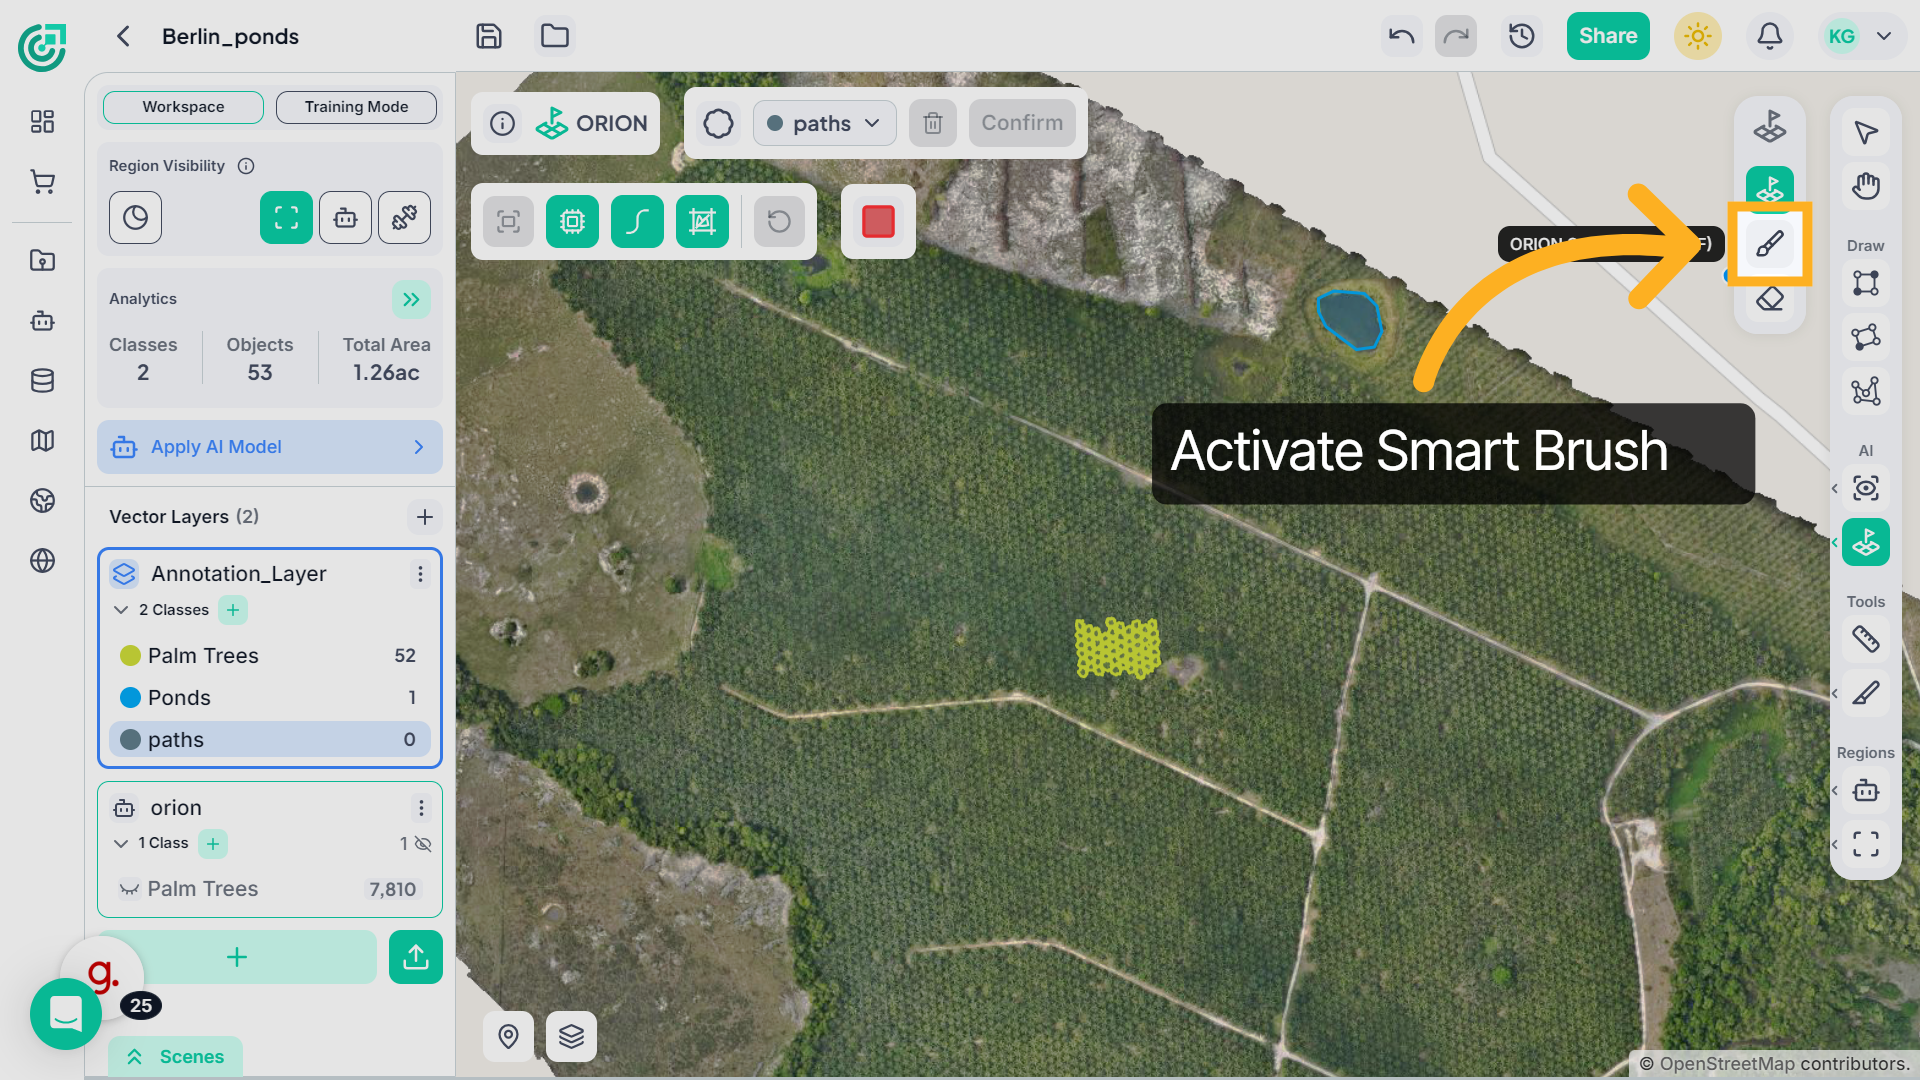
15. Use Smart Brush
If you prefer not to add sample points, you can use the Smart Brush tool to define and refine the segmented region directly.
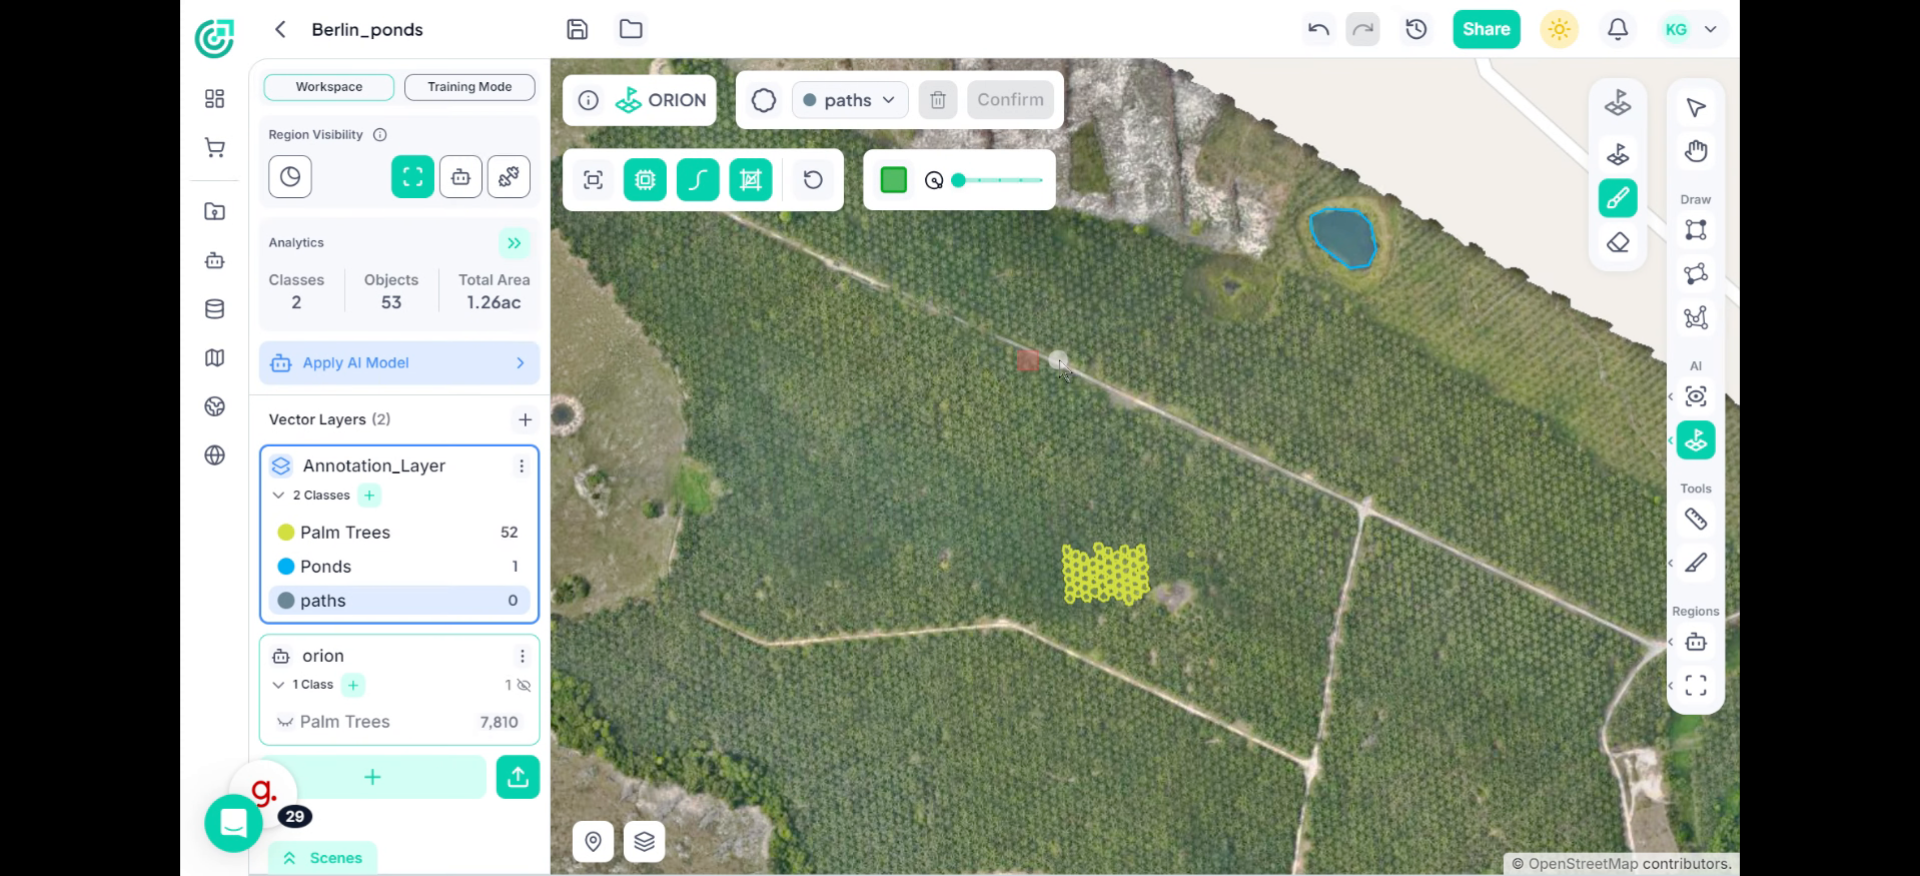
16. Using the Smart Brush
Instead of adding points, simply click and drag the brush over the area, just like painting.Move the brush across regions that belong to the selected class. ORION intelligently adjusts and expands the segmented area as you brush over it.
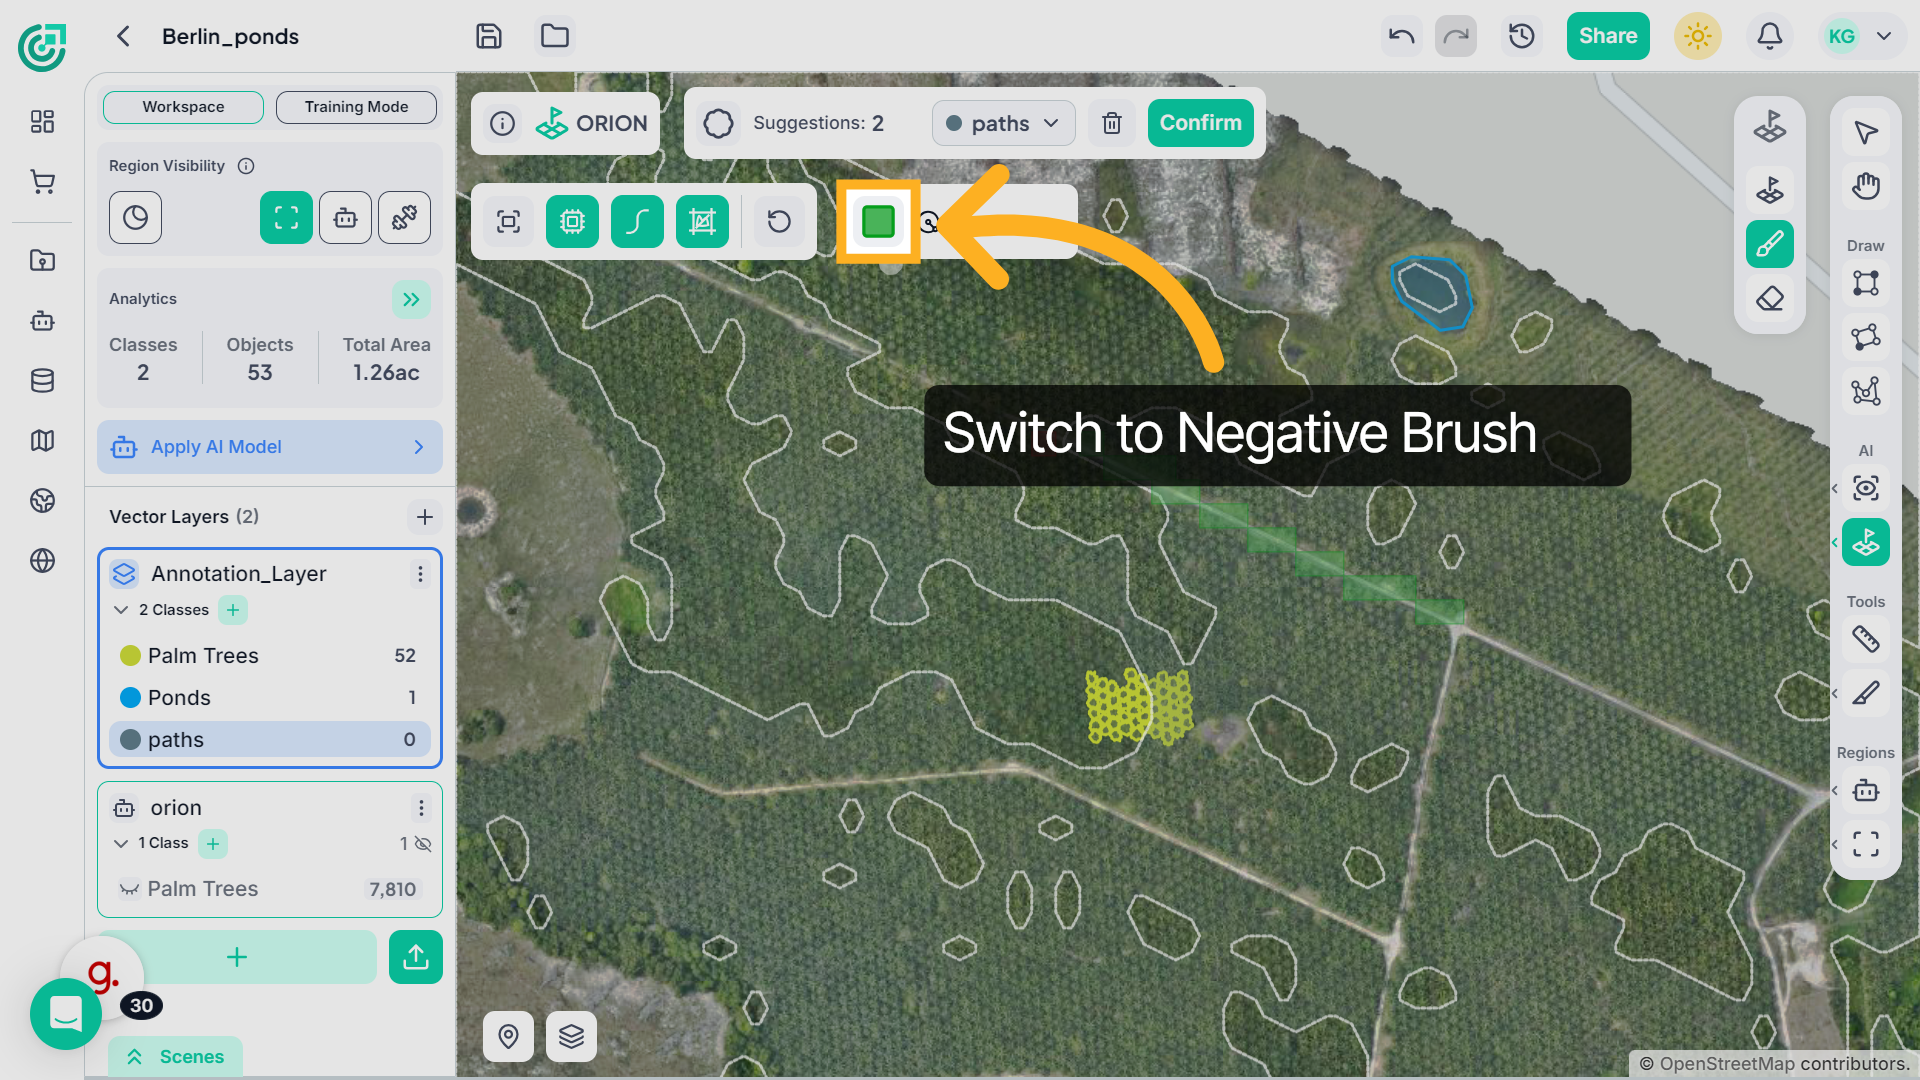
17. Negative Brush Mode
If unwanted areas are included, switch to negative mode.
18. Use Negative Brush Mode
Click and drag the brush over regions that should be removed. ORION subtracts those areas from the segmentation.
19. Island Mode – Remove Islands
If you notice small isolated fragments inside or outside the selected area, enable Island Mode.
20. Remove Small Isolated Patches
This automatically removes unwanted patches and improves the overall accuracy of the segmentation.
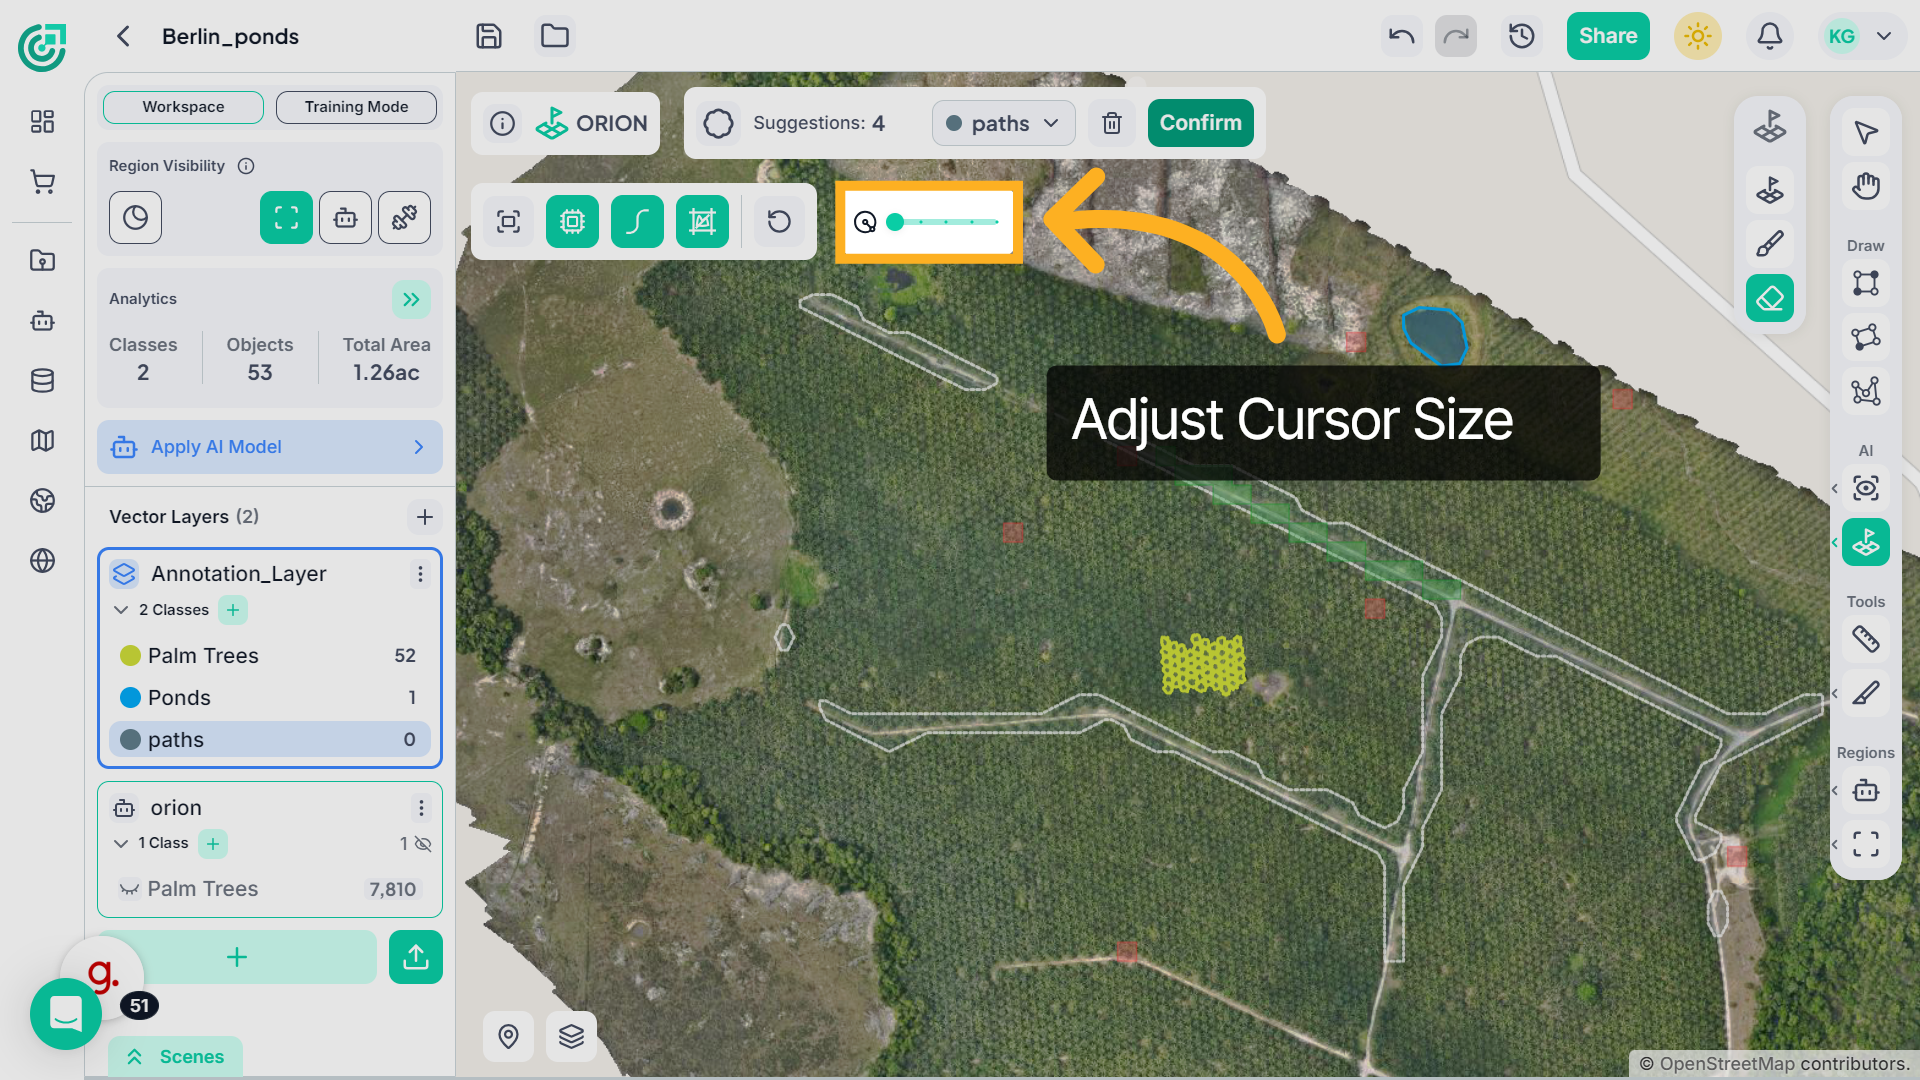
21. Adjust Cursor Size
If you need more control, adjust the cursor size using the slider, move it to the right to increase the size for larger areas, or to the left to reduce it for precise refinements.
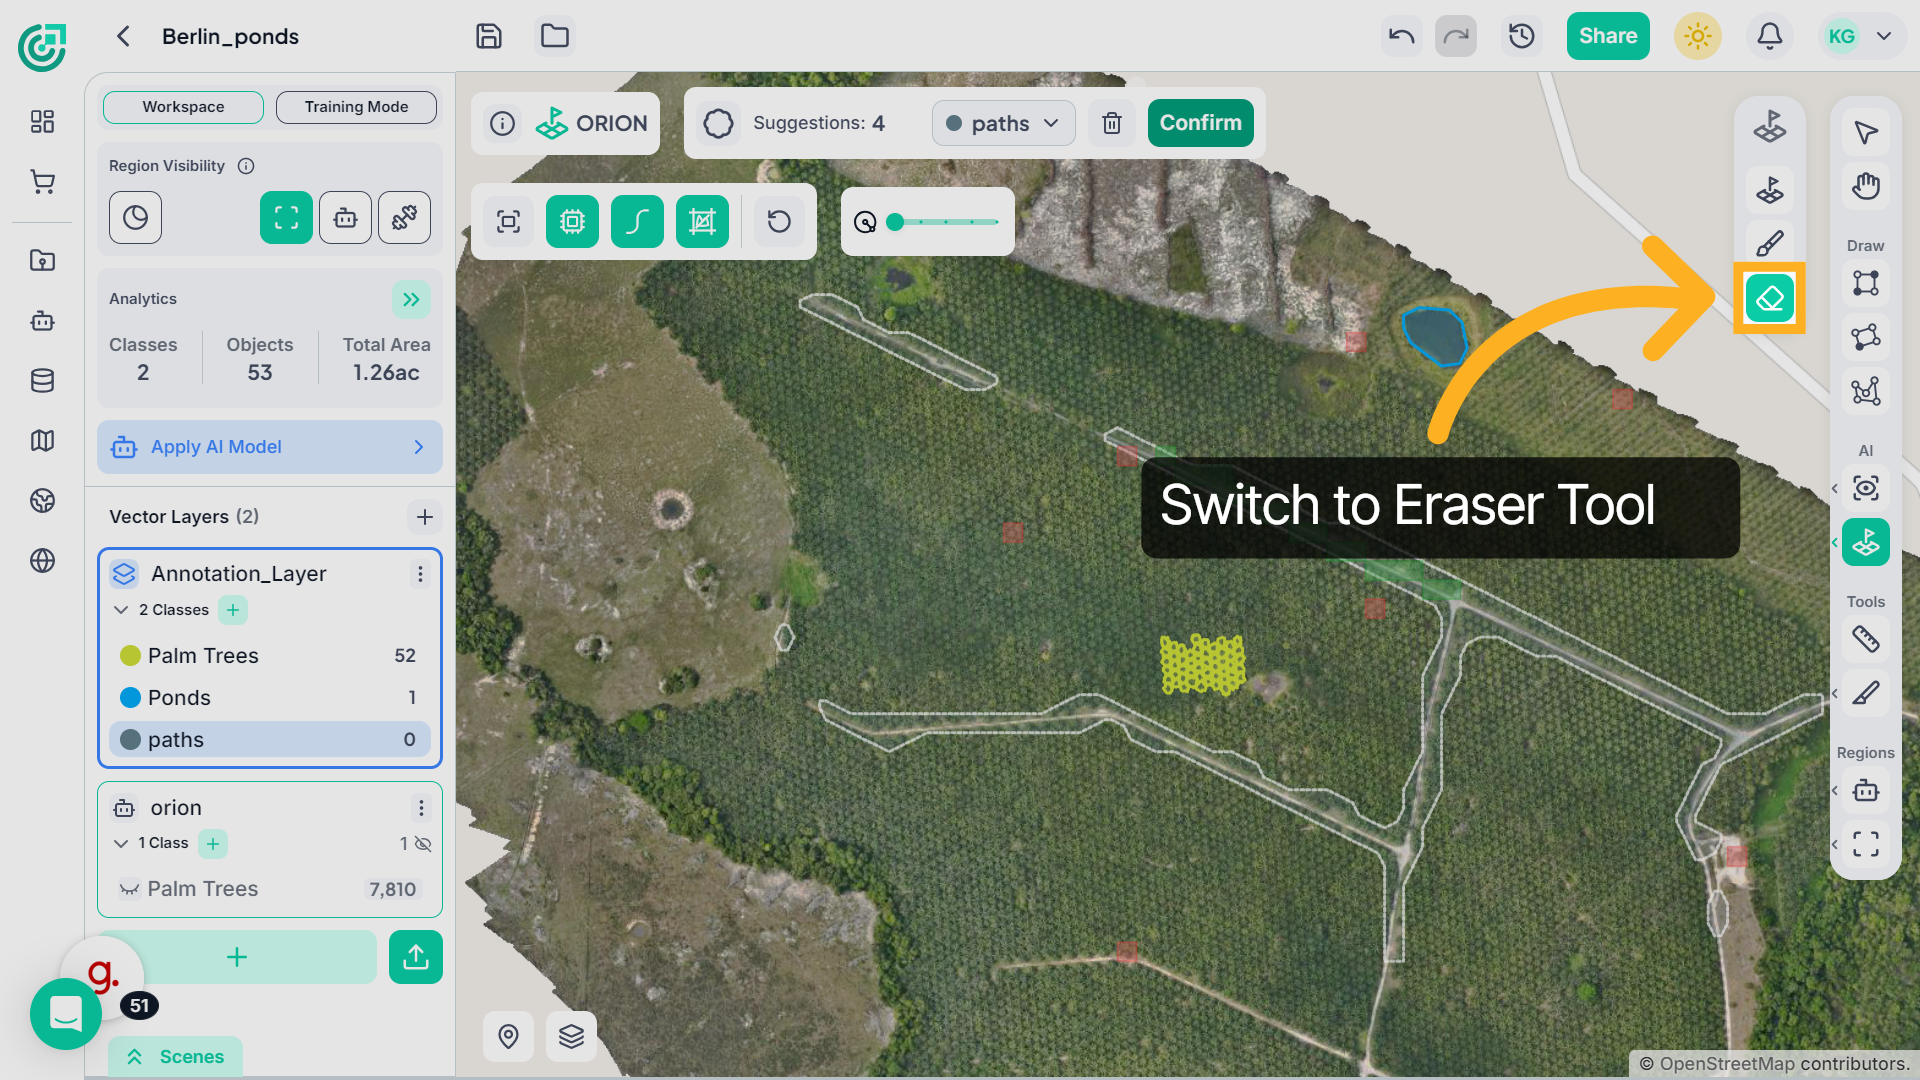
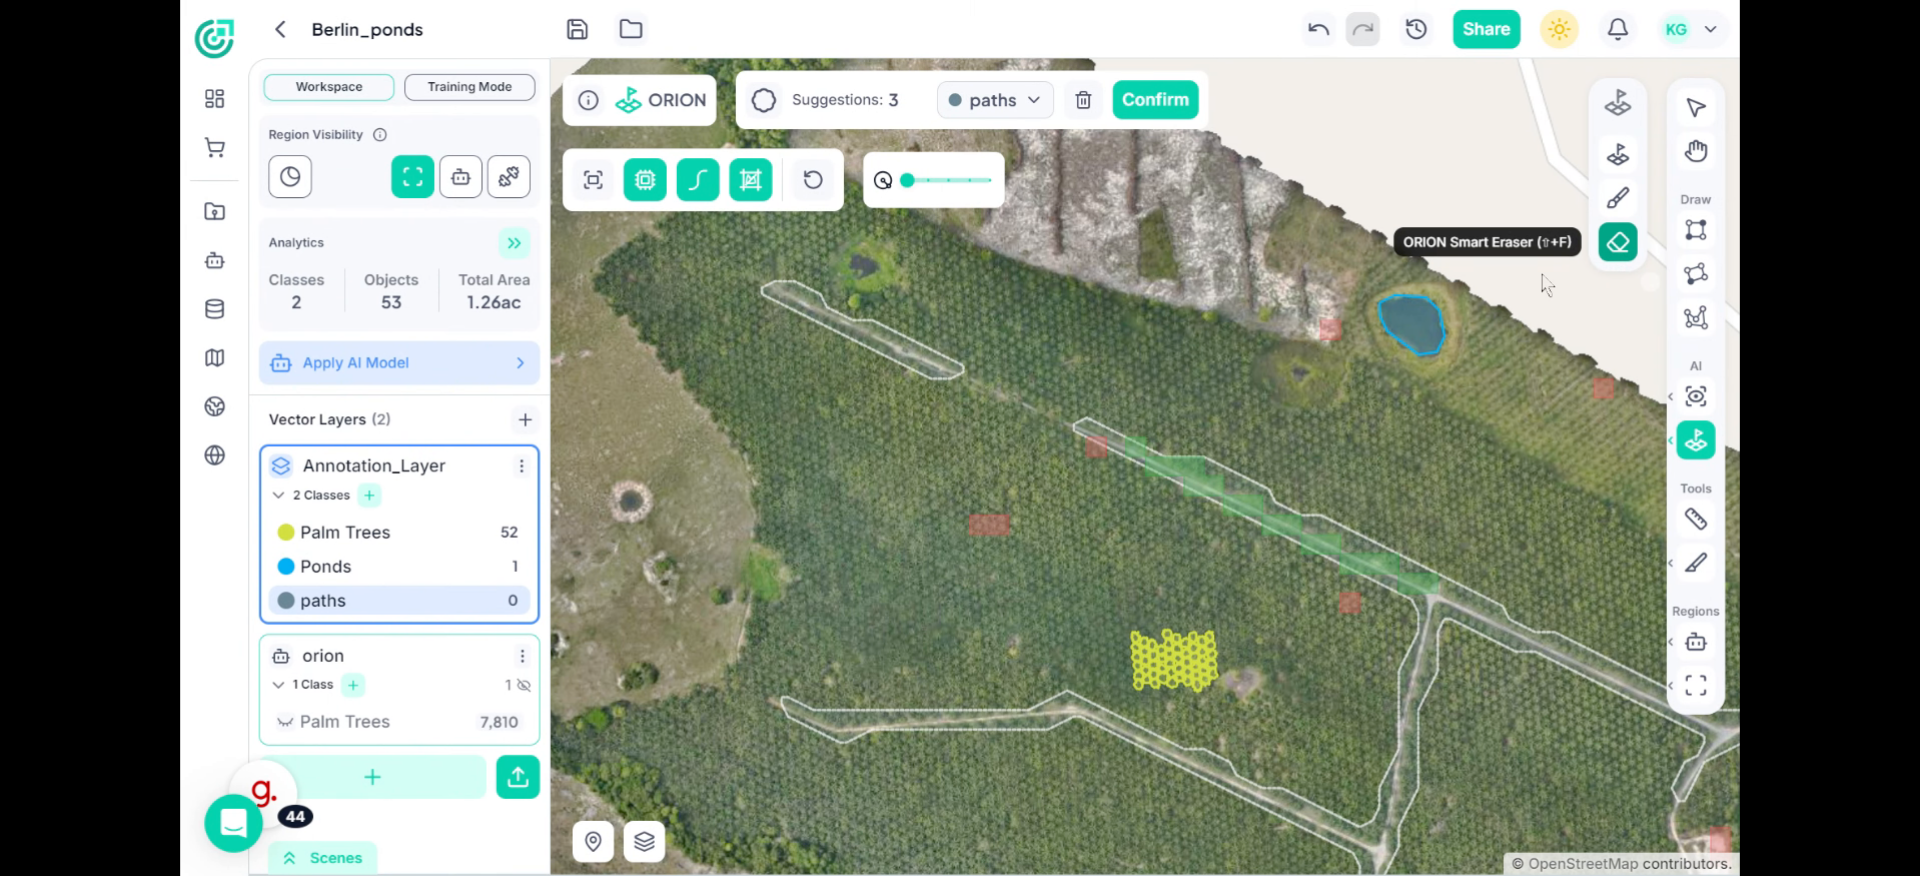
22. Use Eraser Tool
If you need to manually remove specific parts of the segmented region, select the Eraser tool from the right panel.
23. Remove Small Isolated Patches
Once activated, click and drag over the areas you want to erase. The Eraser removes those portions directly from the segmented region, giving you precise manual control over corrections.
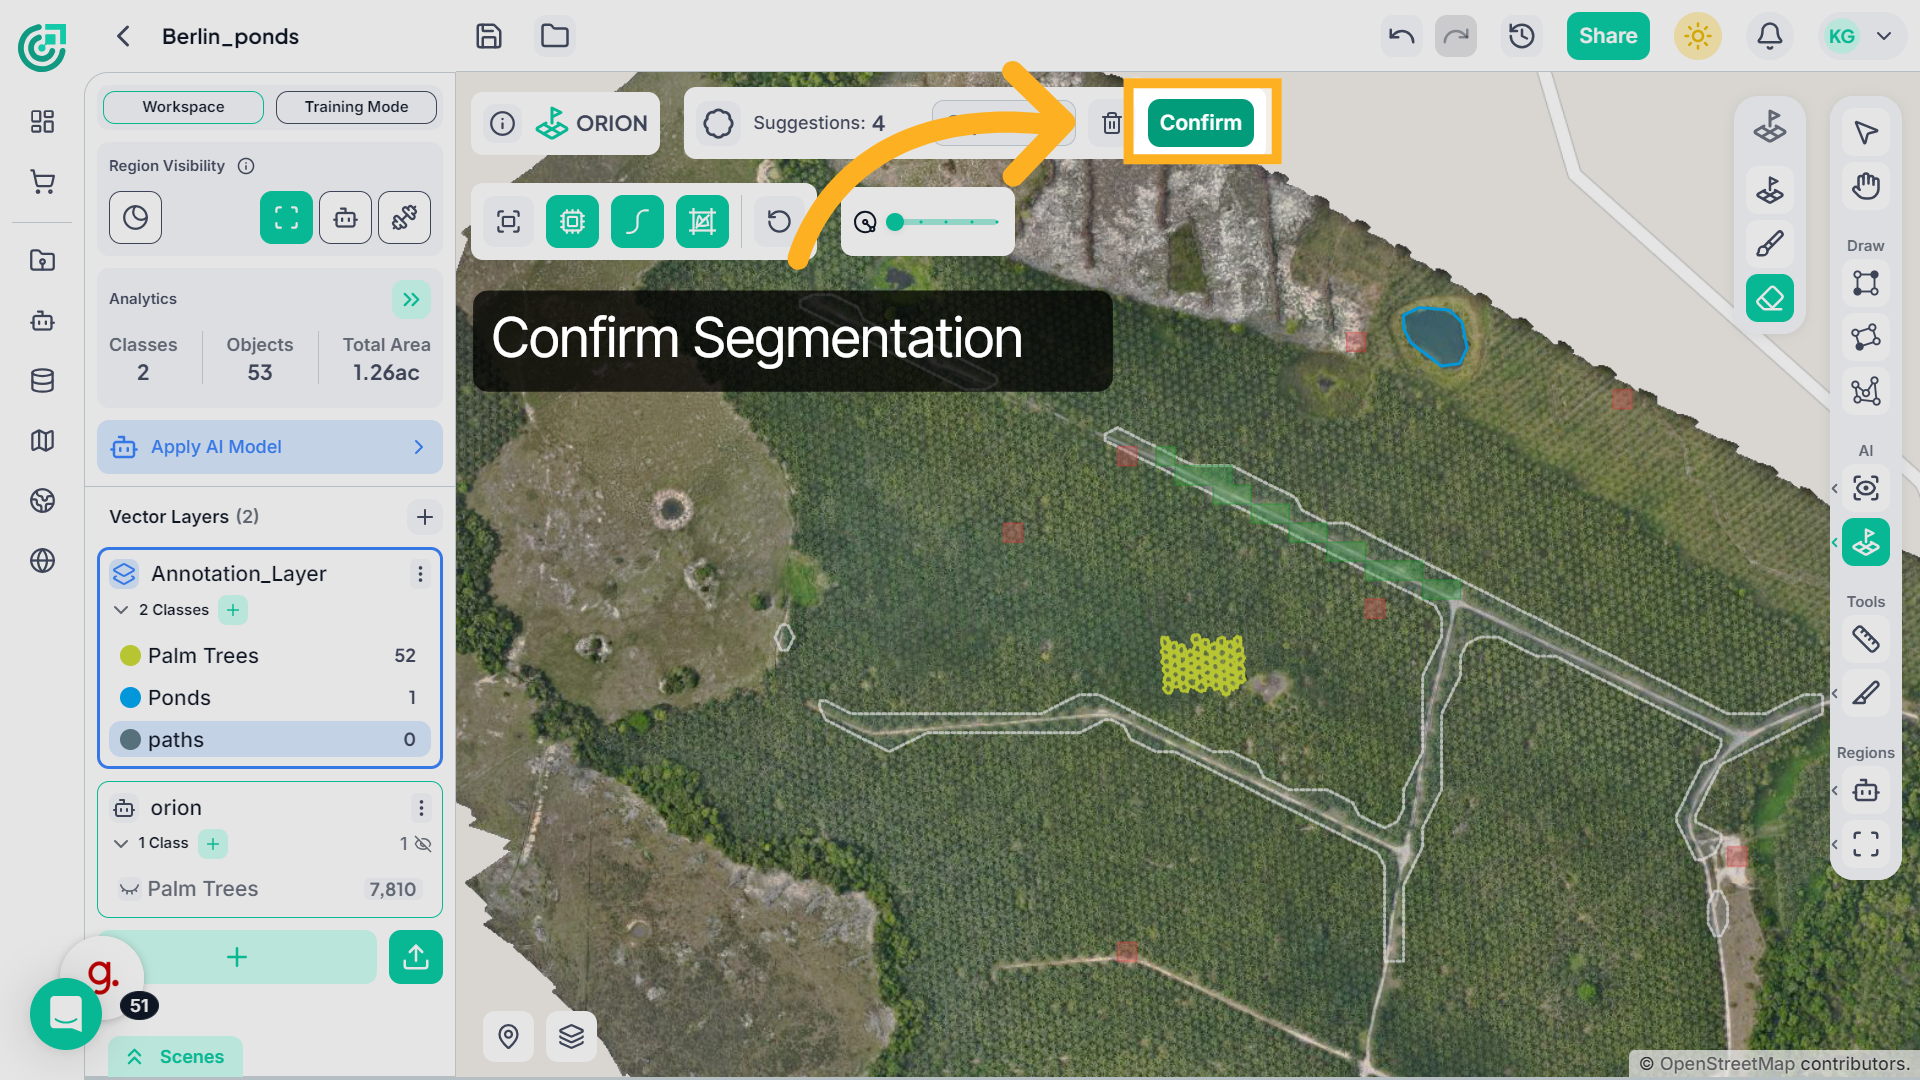
24. Confirm Segmentation
Once you are satisfied with the final result, click Confirm.
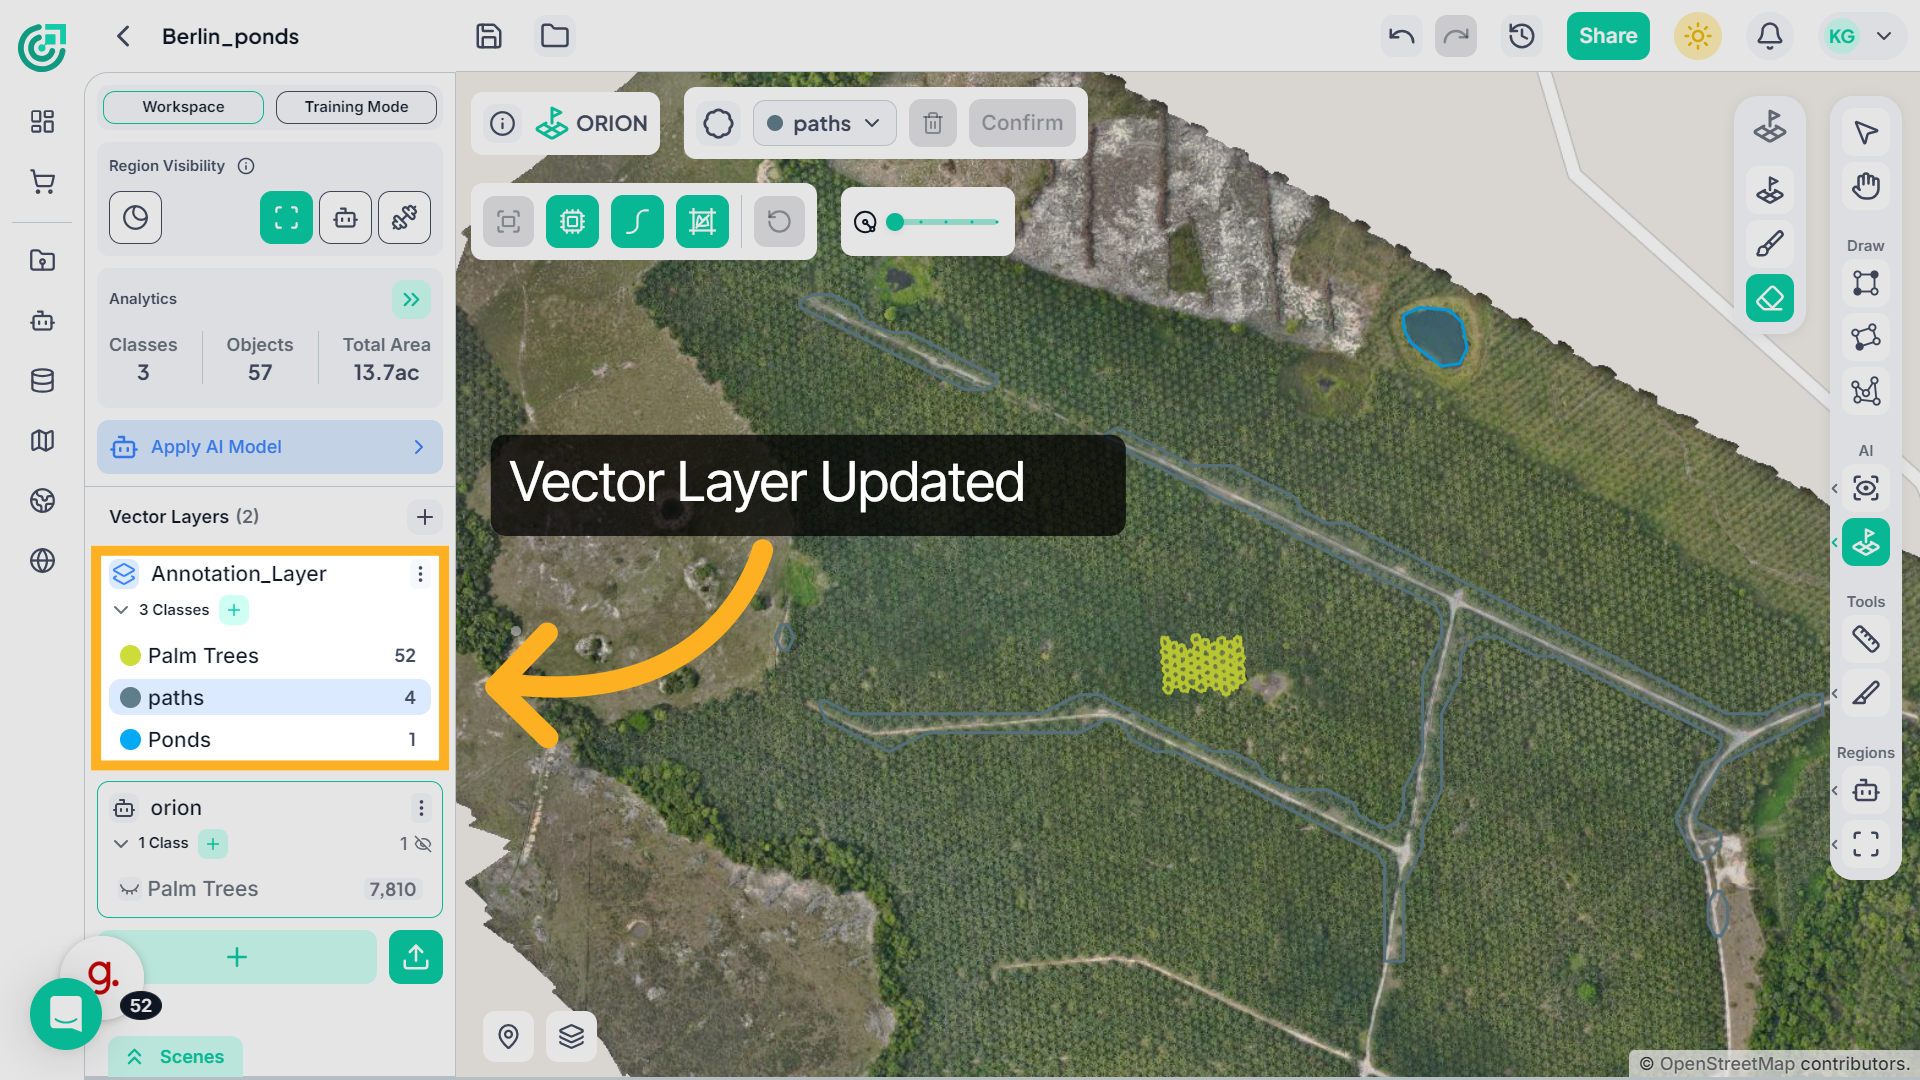
25. Vector layer update
The segmented region is saved to the selected vector layer and becomes part of your annotation dataset.
You have now successfully completed segmentation using ORION Smart Segmentation. By combining positive guidance, negative refinement, Smart Brush adjustments, and processing controls, you can efficiently generate clean and accurate segmentation results.