Share Maps Efficiently Using FlyPix AI Workspace
FlyPix allows you to share maps directly from your workspace, making it easy to collaborate and publish geospatial insights. In this walkthrough, you'll learn how to share a map, publish it to the community, and manage your shared maps.
Go to app.flypix.ai
1. Introduction
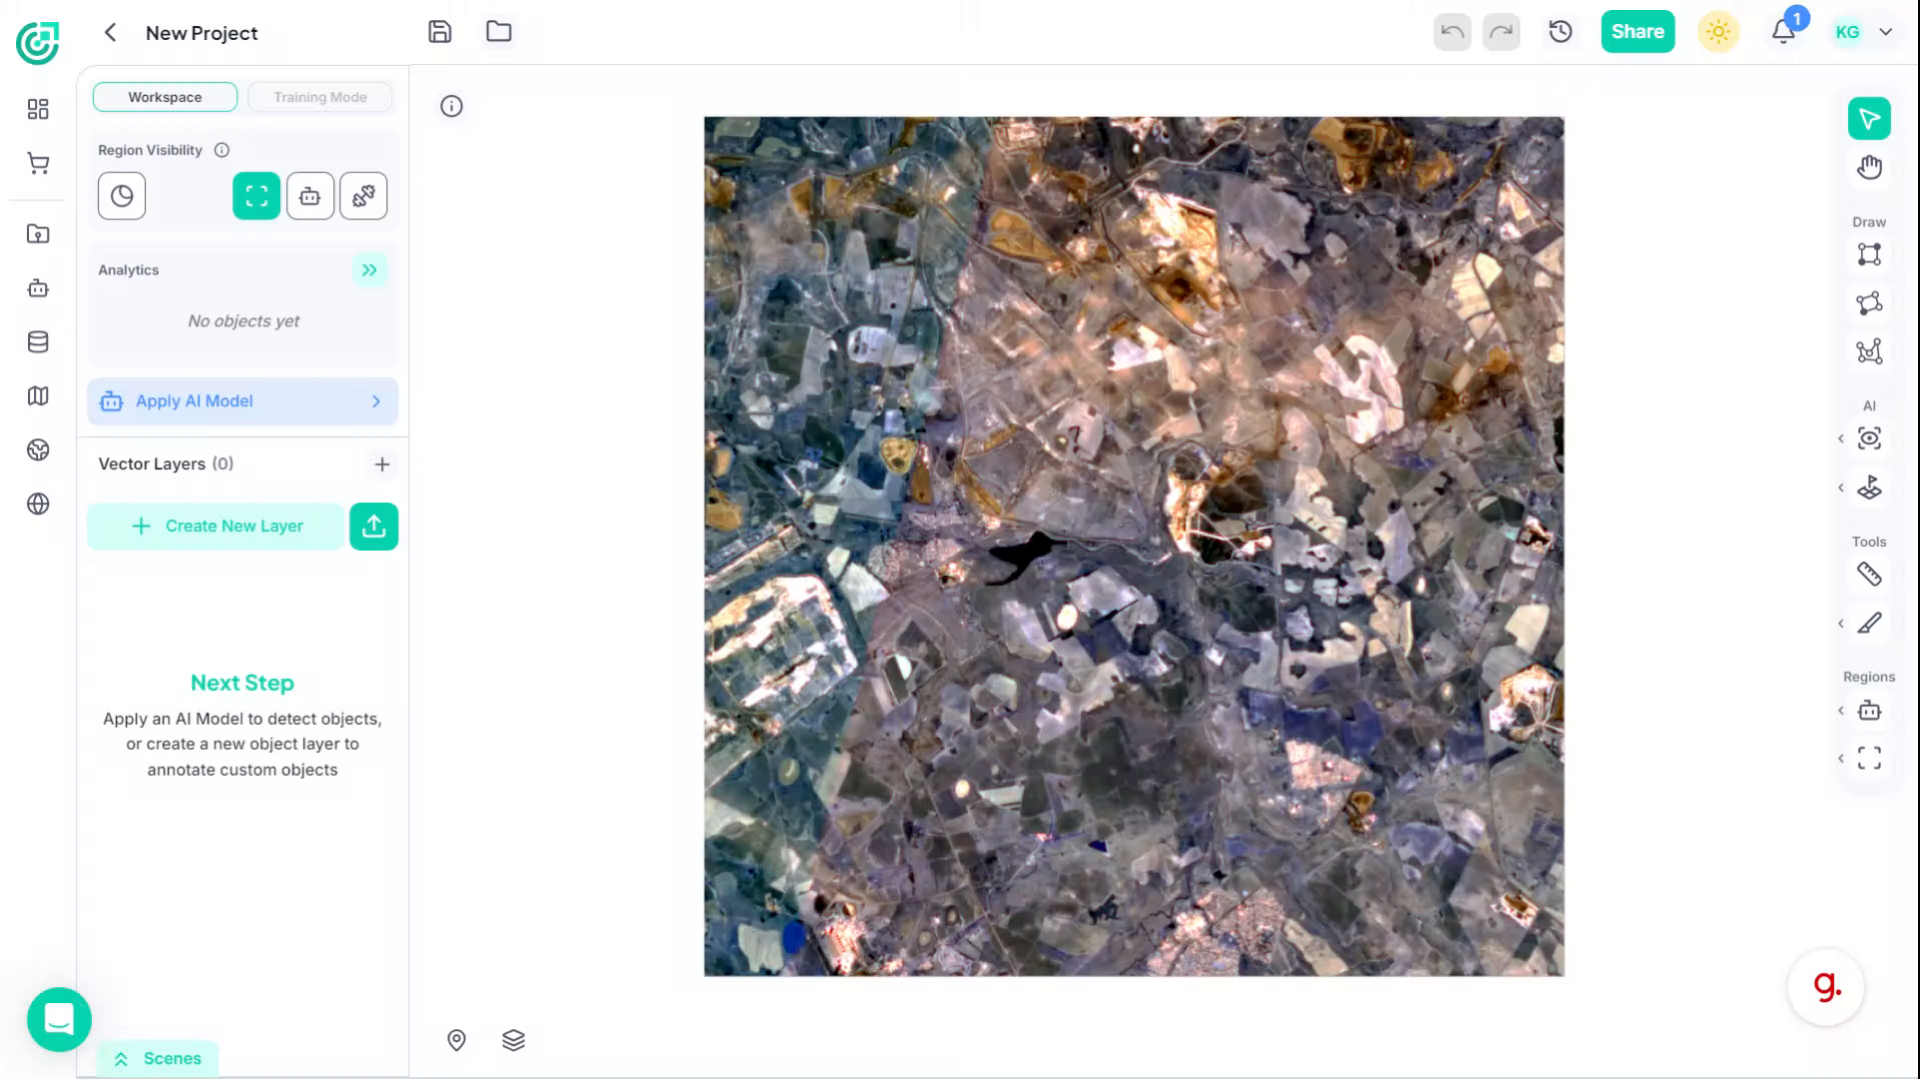
In this demo, you’ll learn how to publish and manage high-resolution satellite imagery so it can be shared and used for collaborative analysis.
2. Open Sharing Options
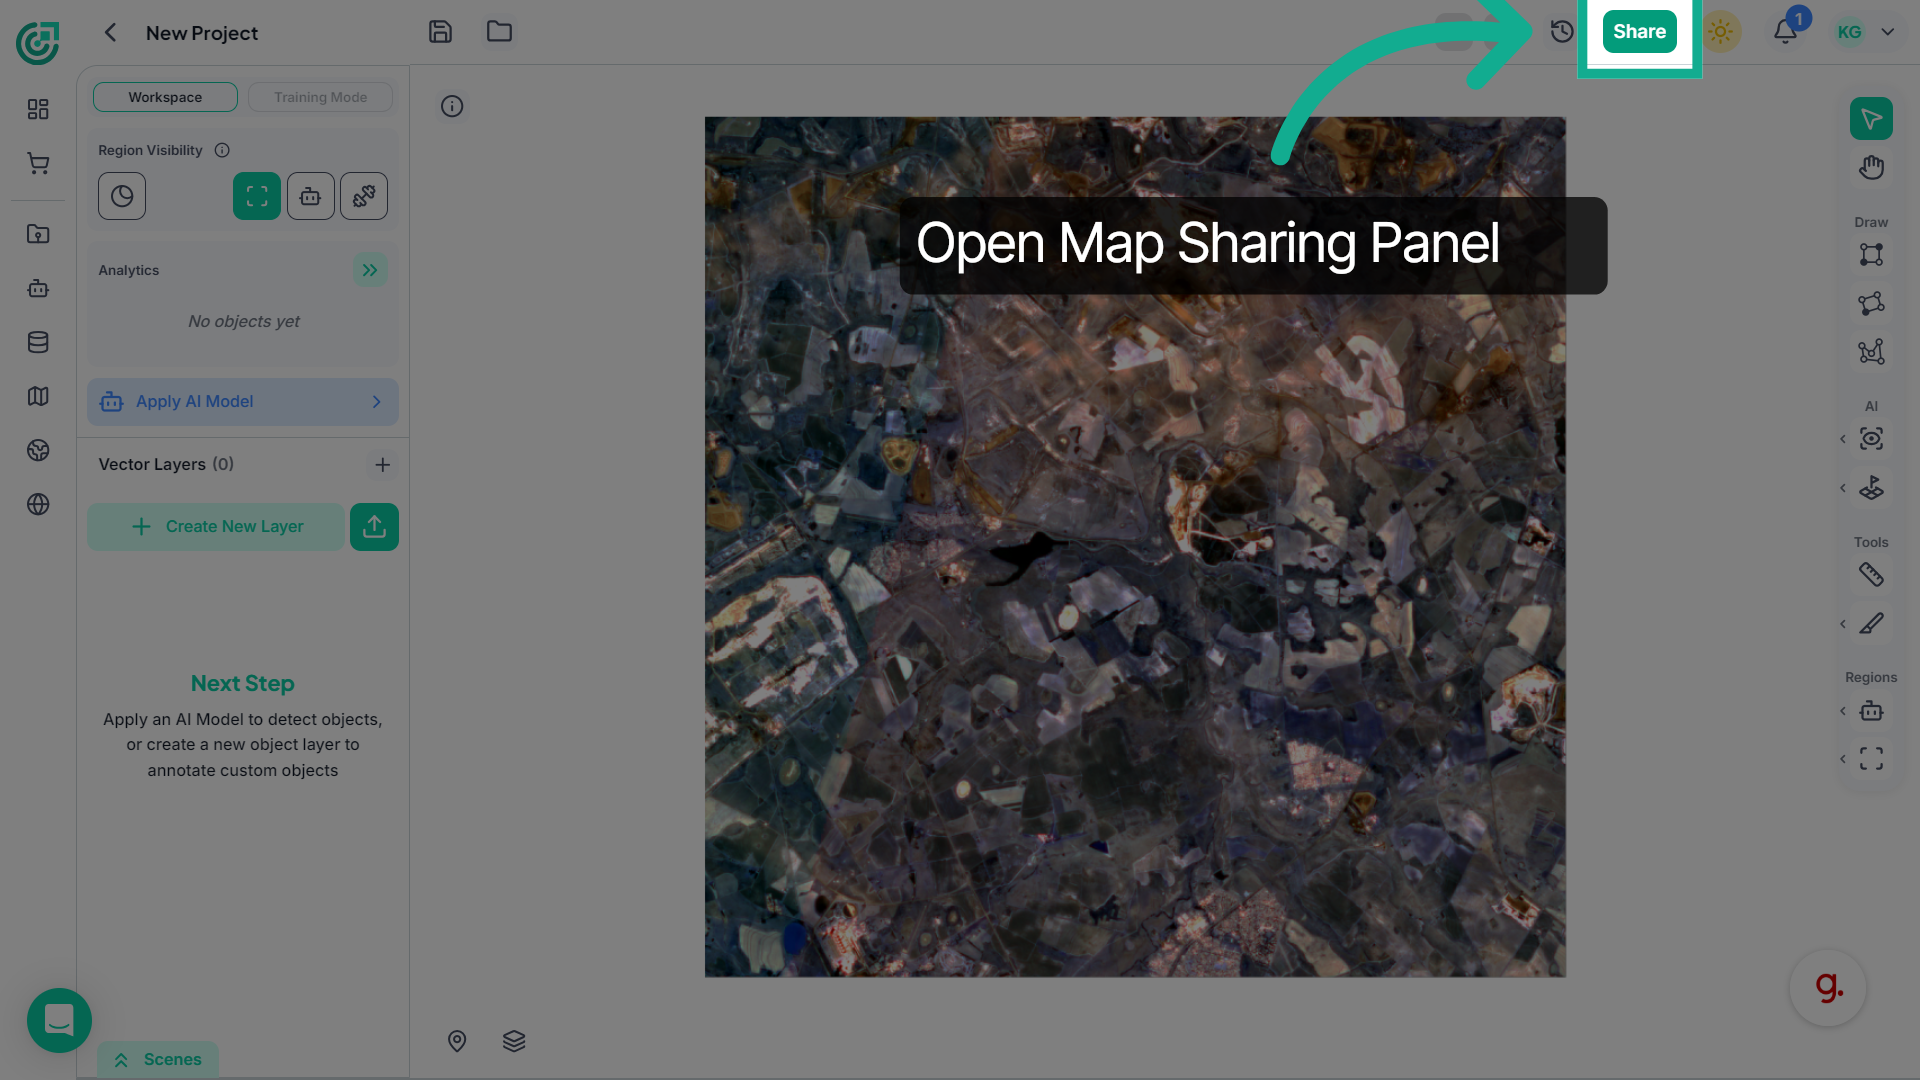
Start by clicking the Share button in the top toolbar. This opens the map sharing panel.
3. Select Map Name Field
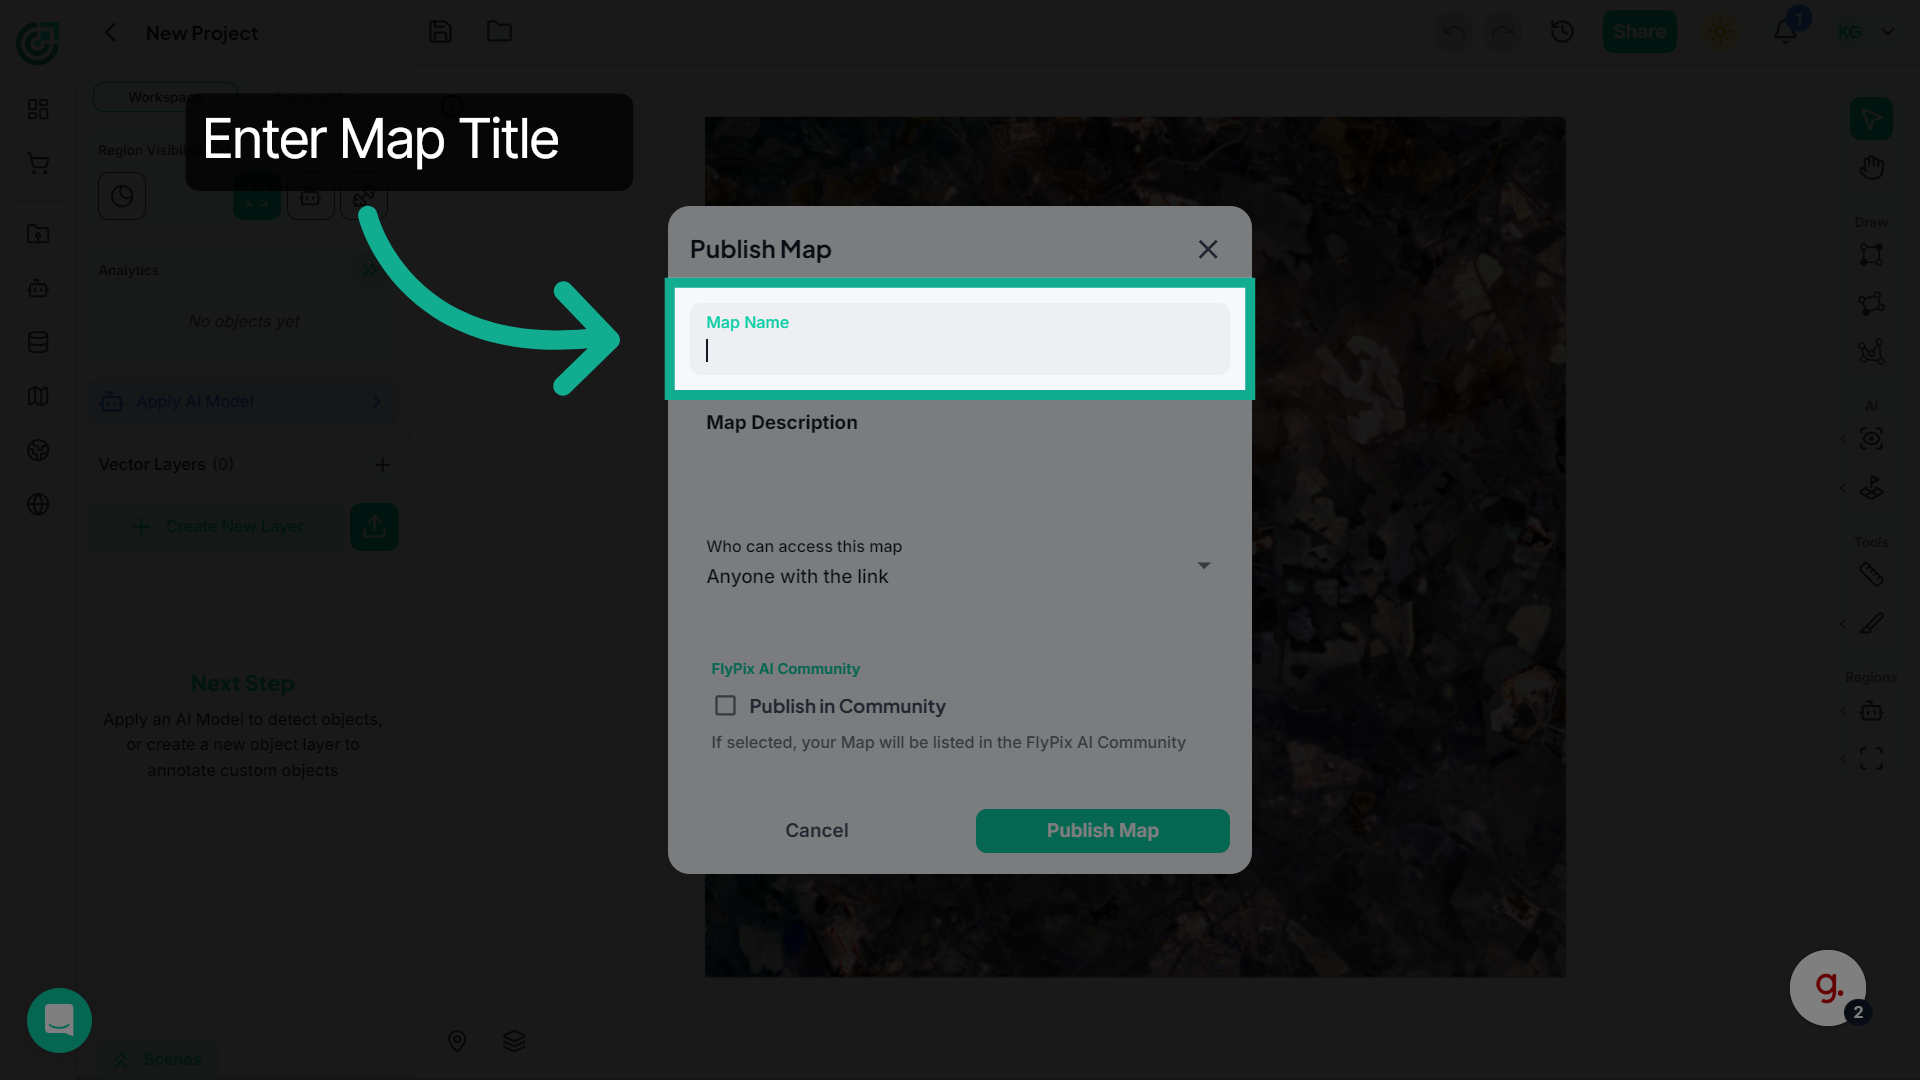
In the Map Name field, enter a clear and descriptive title for your map so others can easily recognize it.
4. Access Map Description
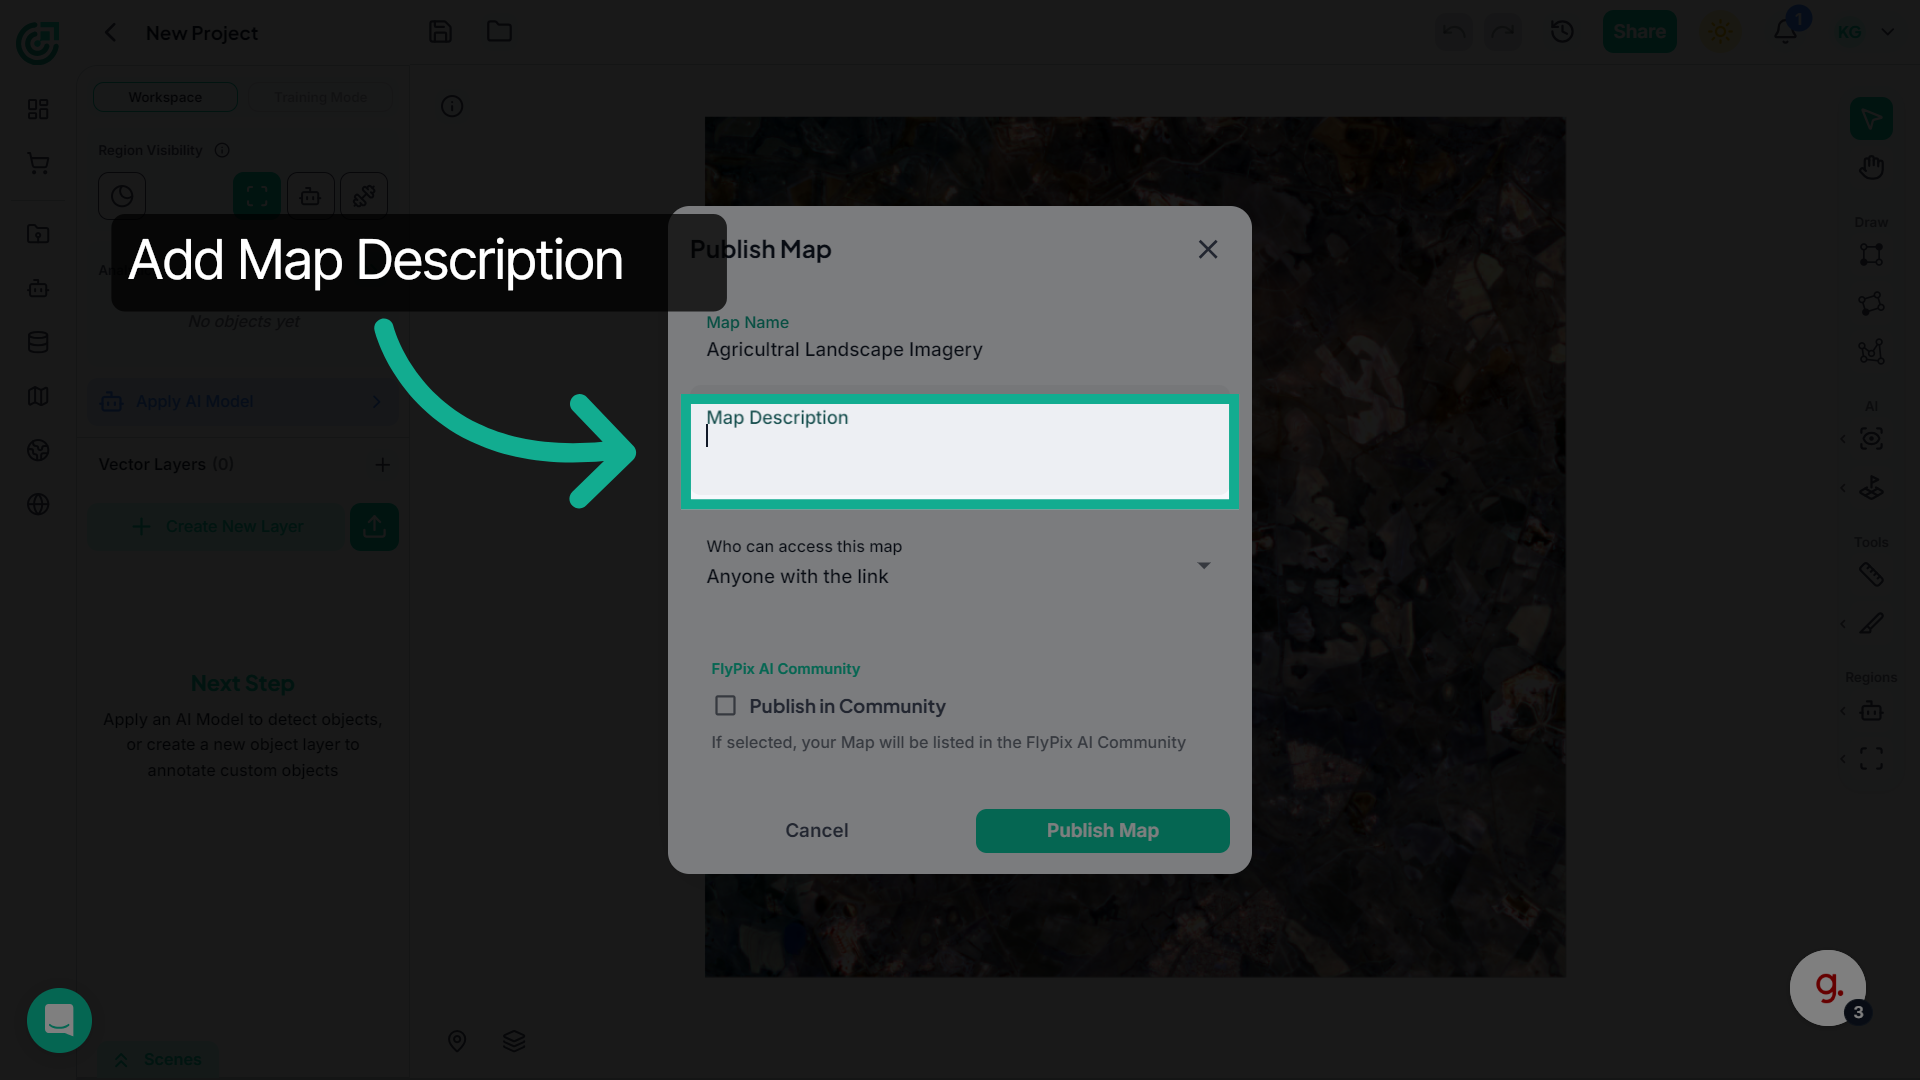
Next, provide a description that explains what the map contains and what the imagery represents.
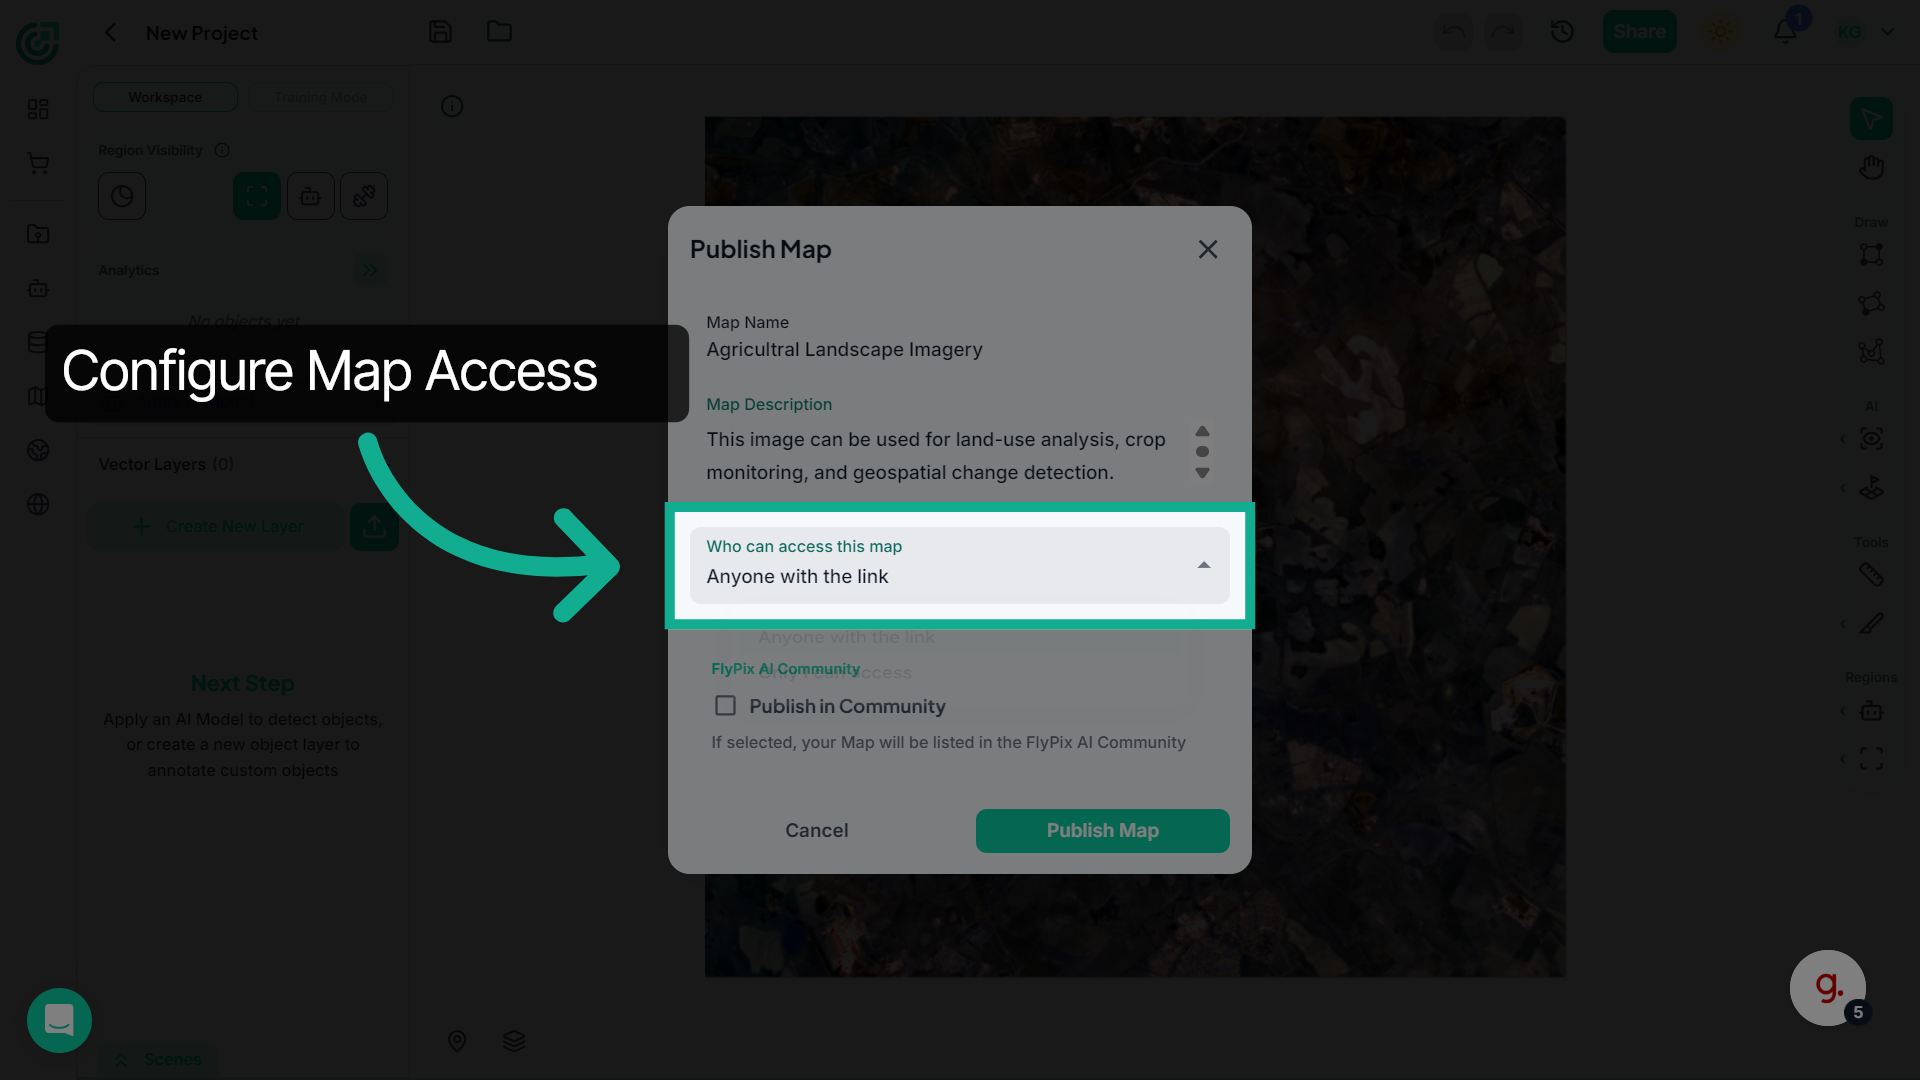
5. Configure Access Permissions
Under Who can access this map, choose how others will be able to access the map.
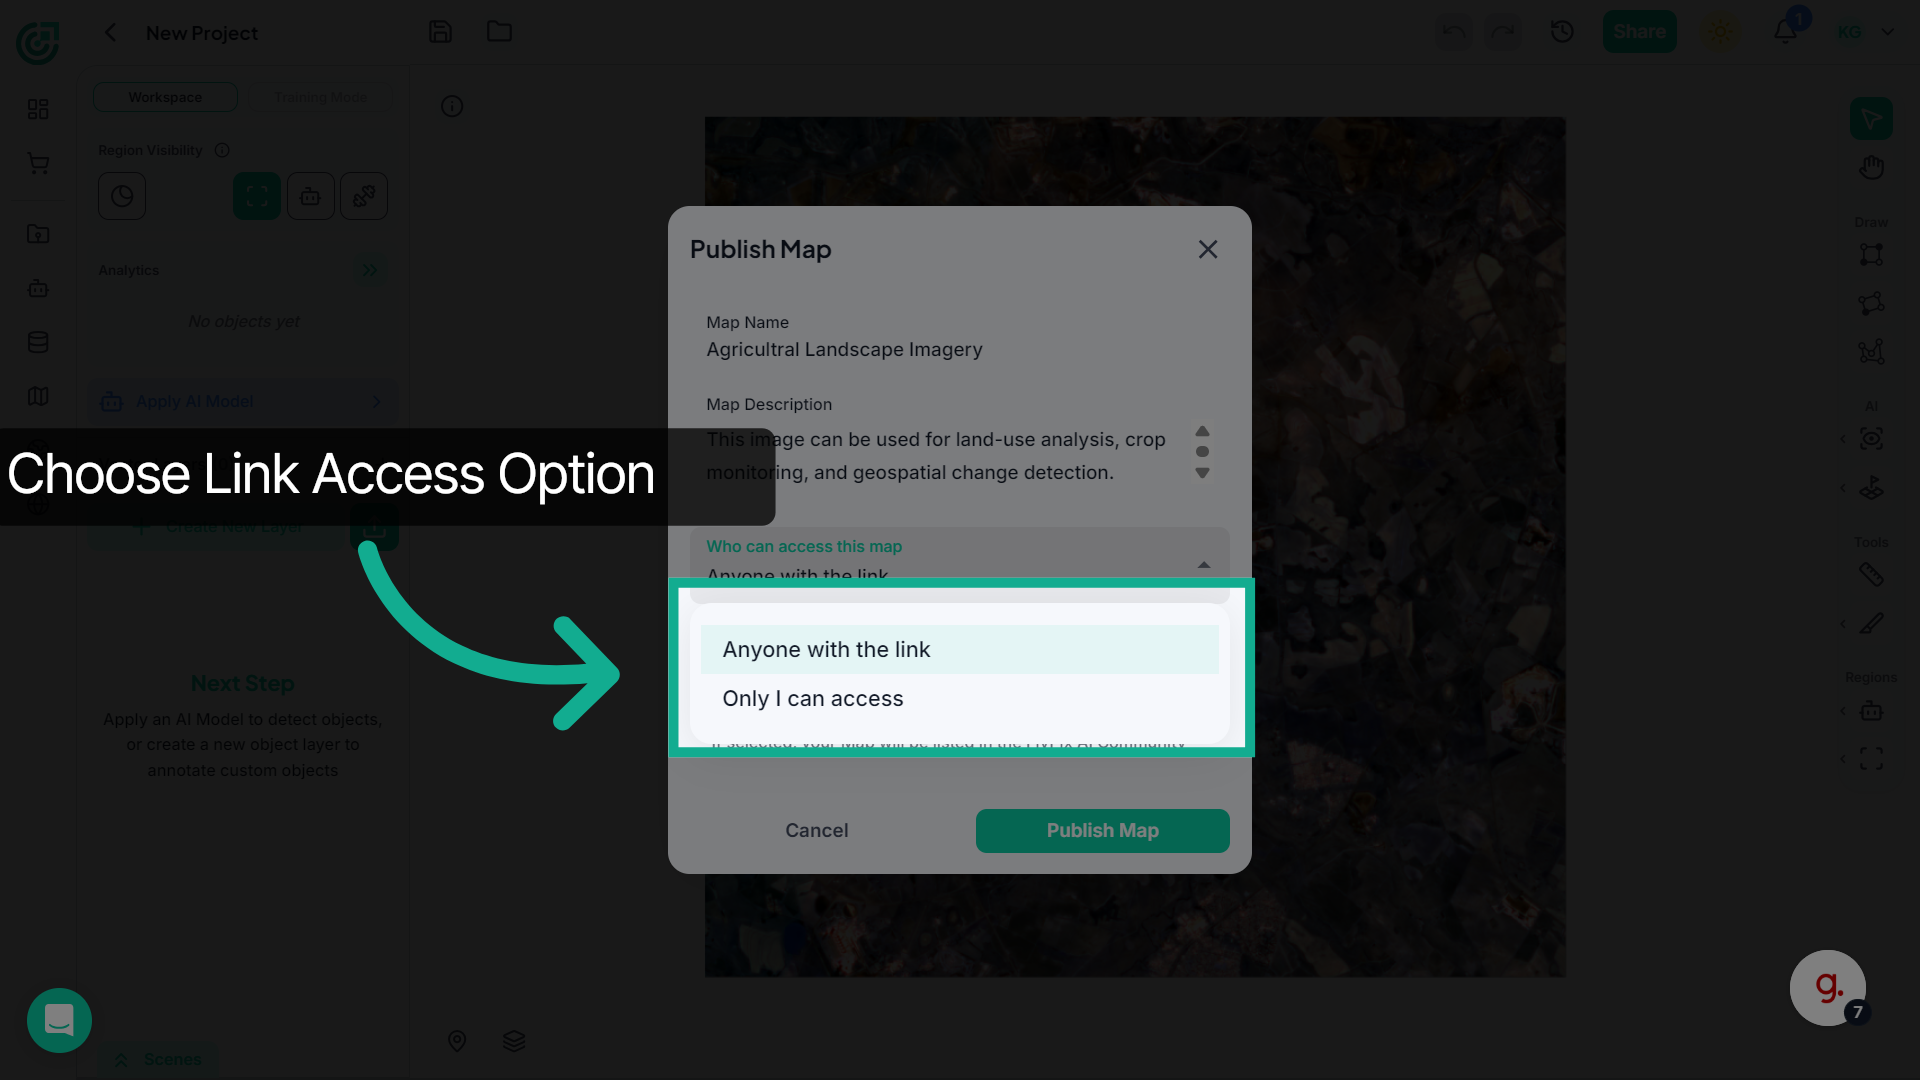
6. Allow Link Access
If you want others to view the map using a link, select Anyone with the link.If you prefer to keep the map private, choose Only I can access.
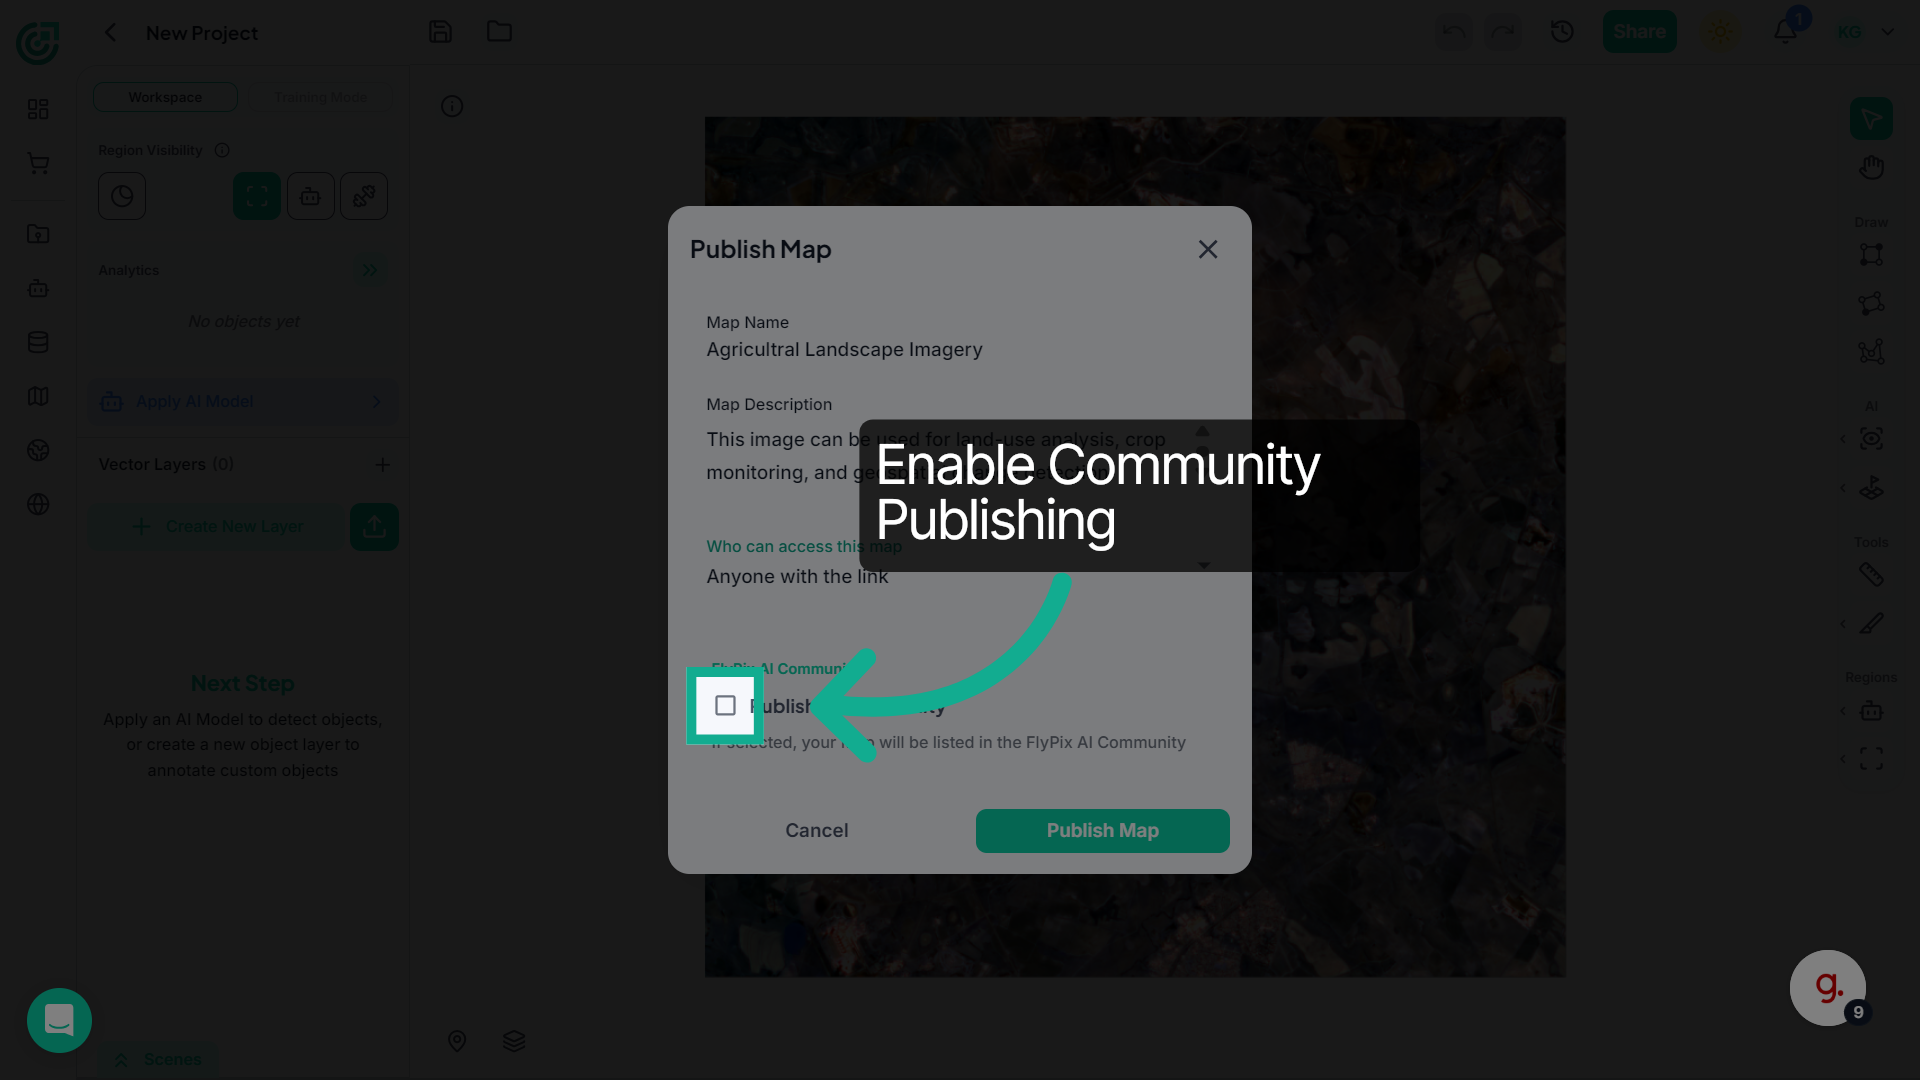
7. Enable Sharing Option
Enable Publish in Community if you want the map to appear in the community section where other users can discover it.
8. Publish Your Map
Once everything is configured, click Publish Map to publish the map with your selected sharing settings.

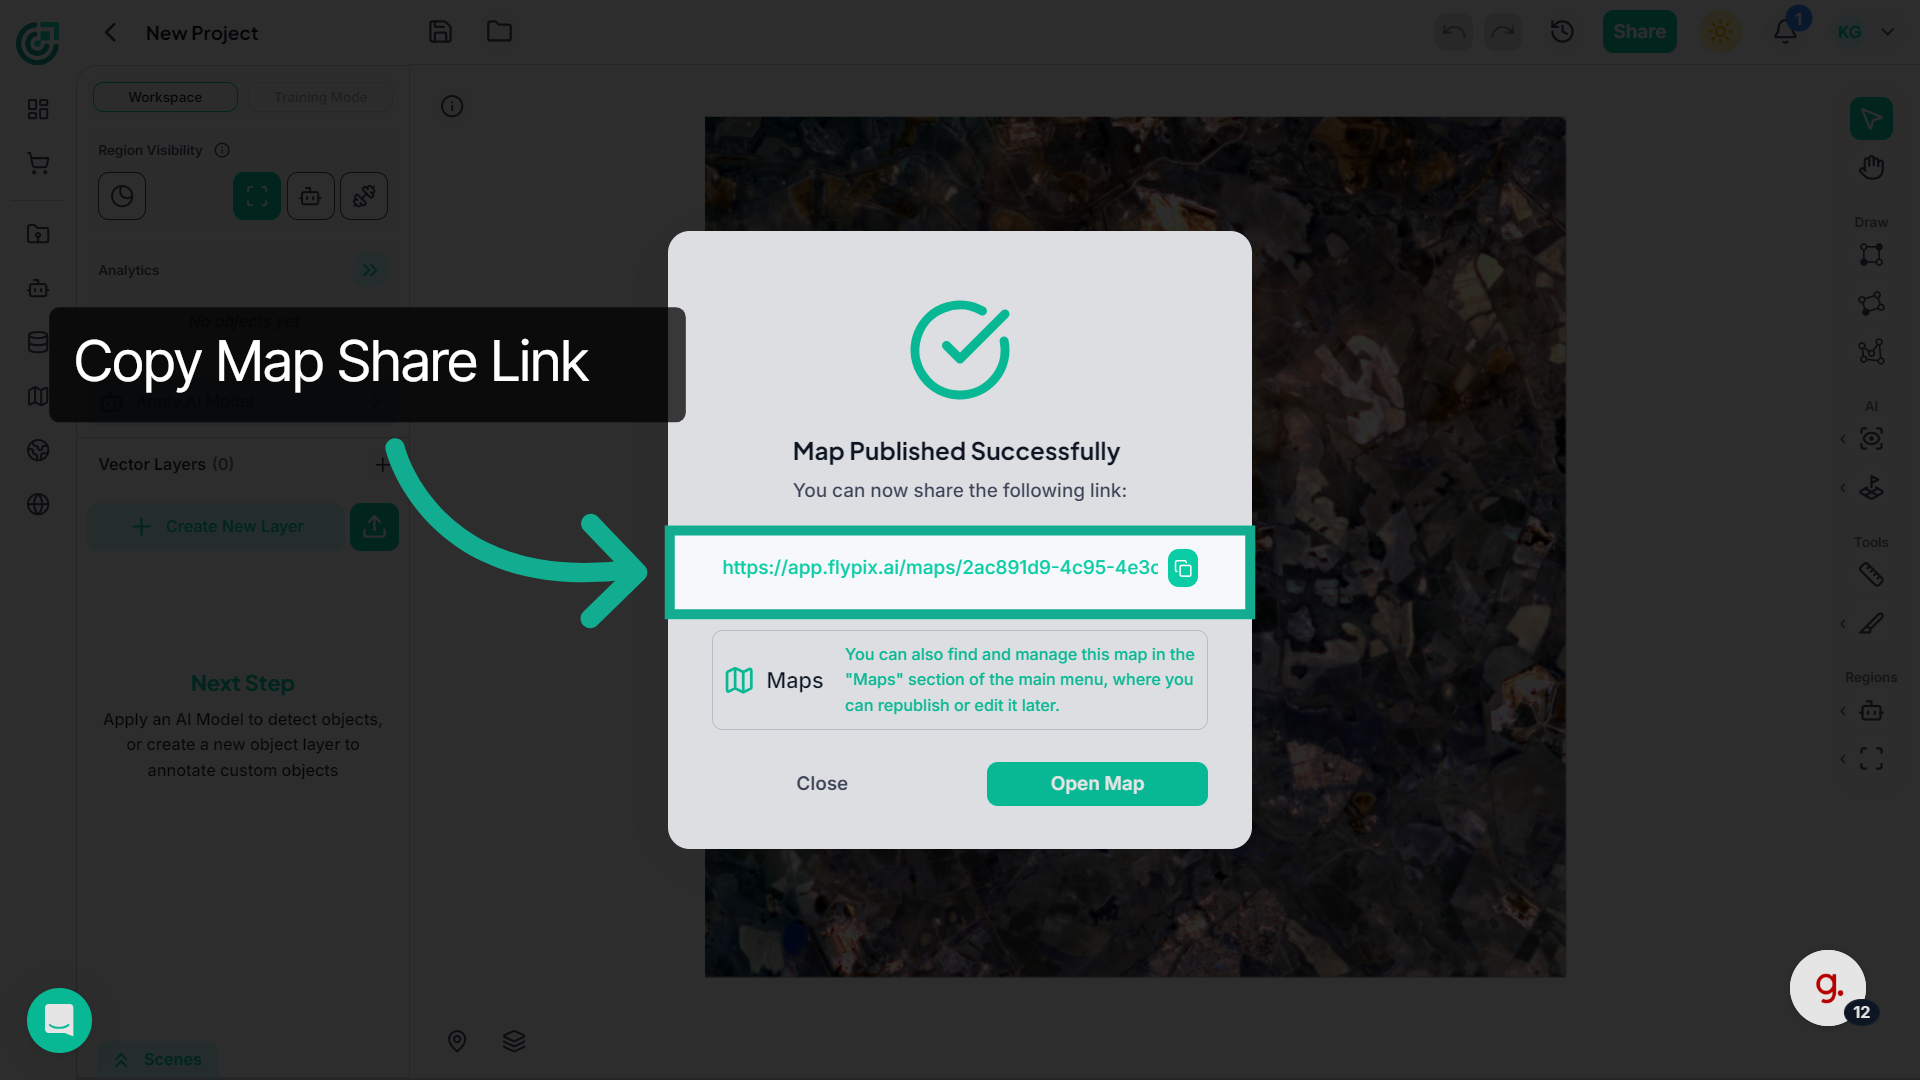
9. Confirm Map Publication
A confirmation message appears indicating that your map has been successfully published.
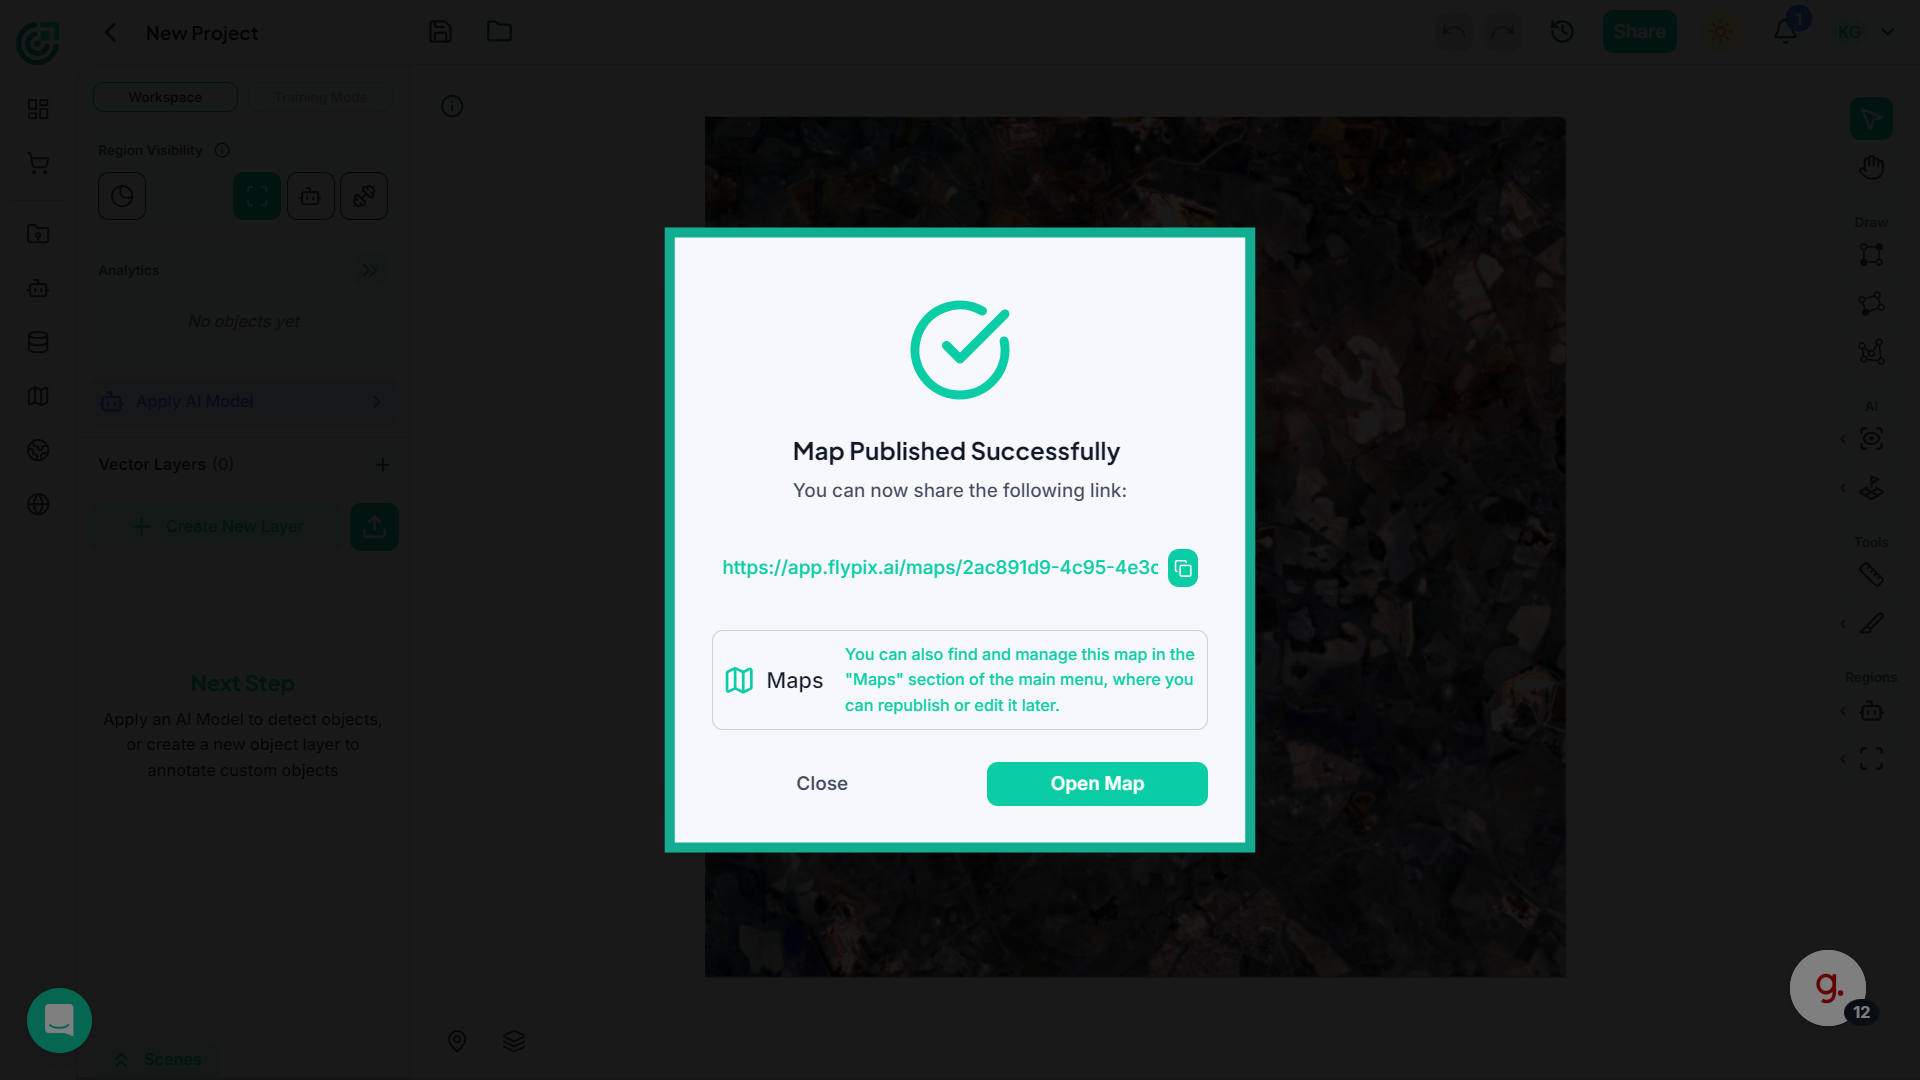
10. Copy Map Share Link
Use the provided map link to share the published map with others.
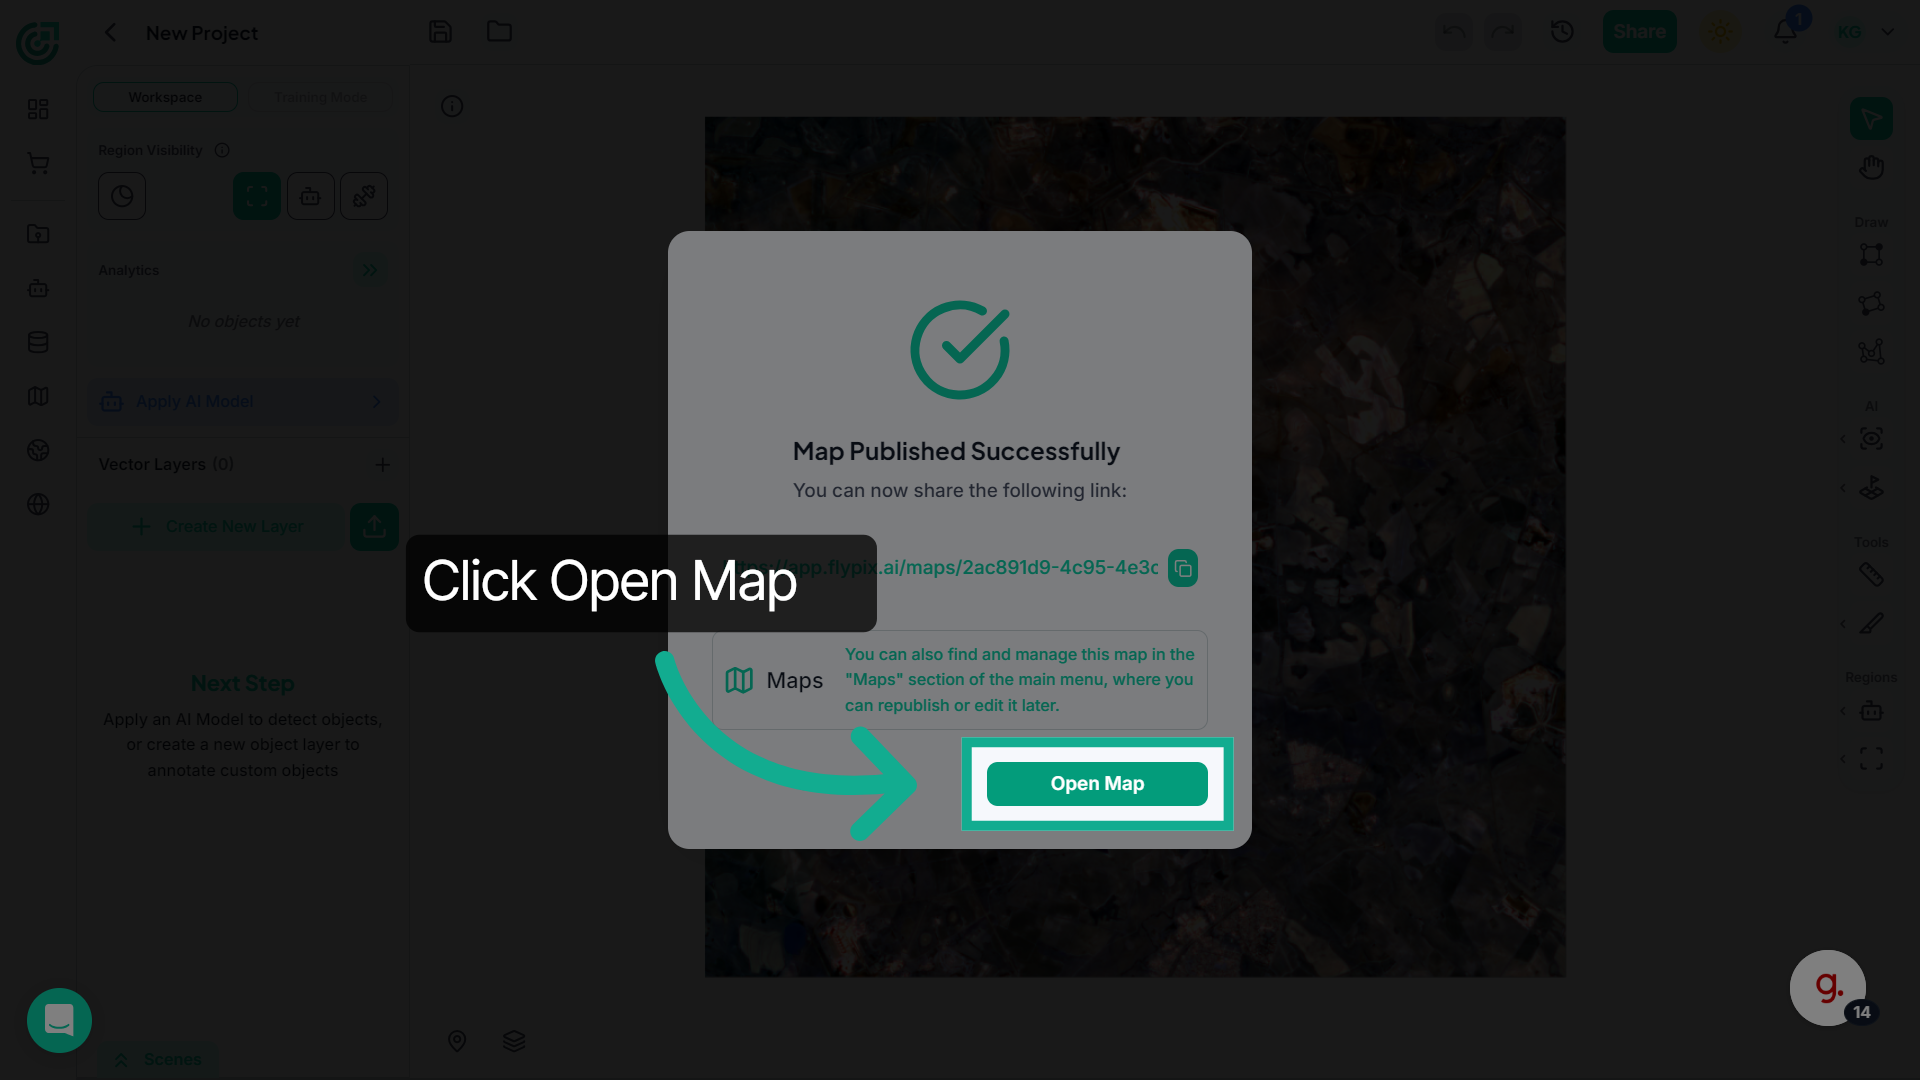
11. Open Published Map
You can click Open Map to view the published map immediately.
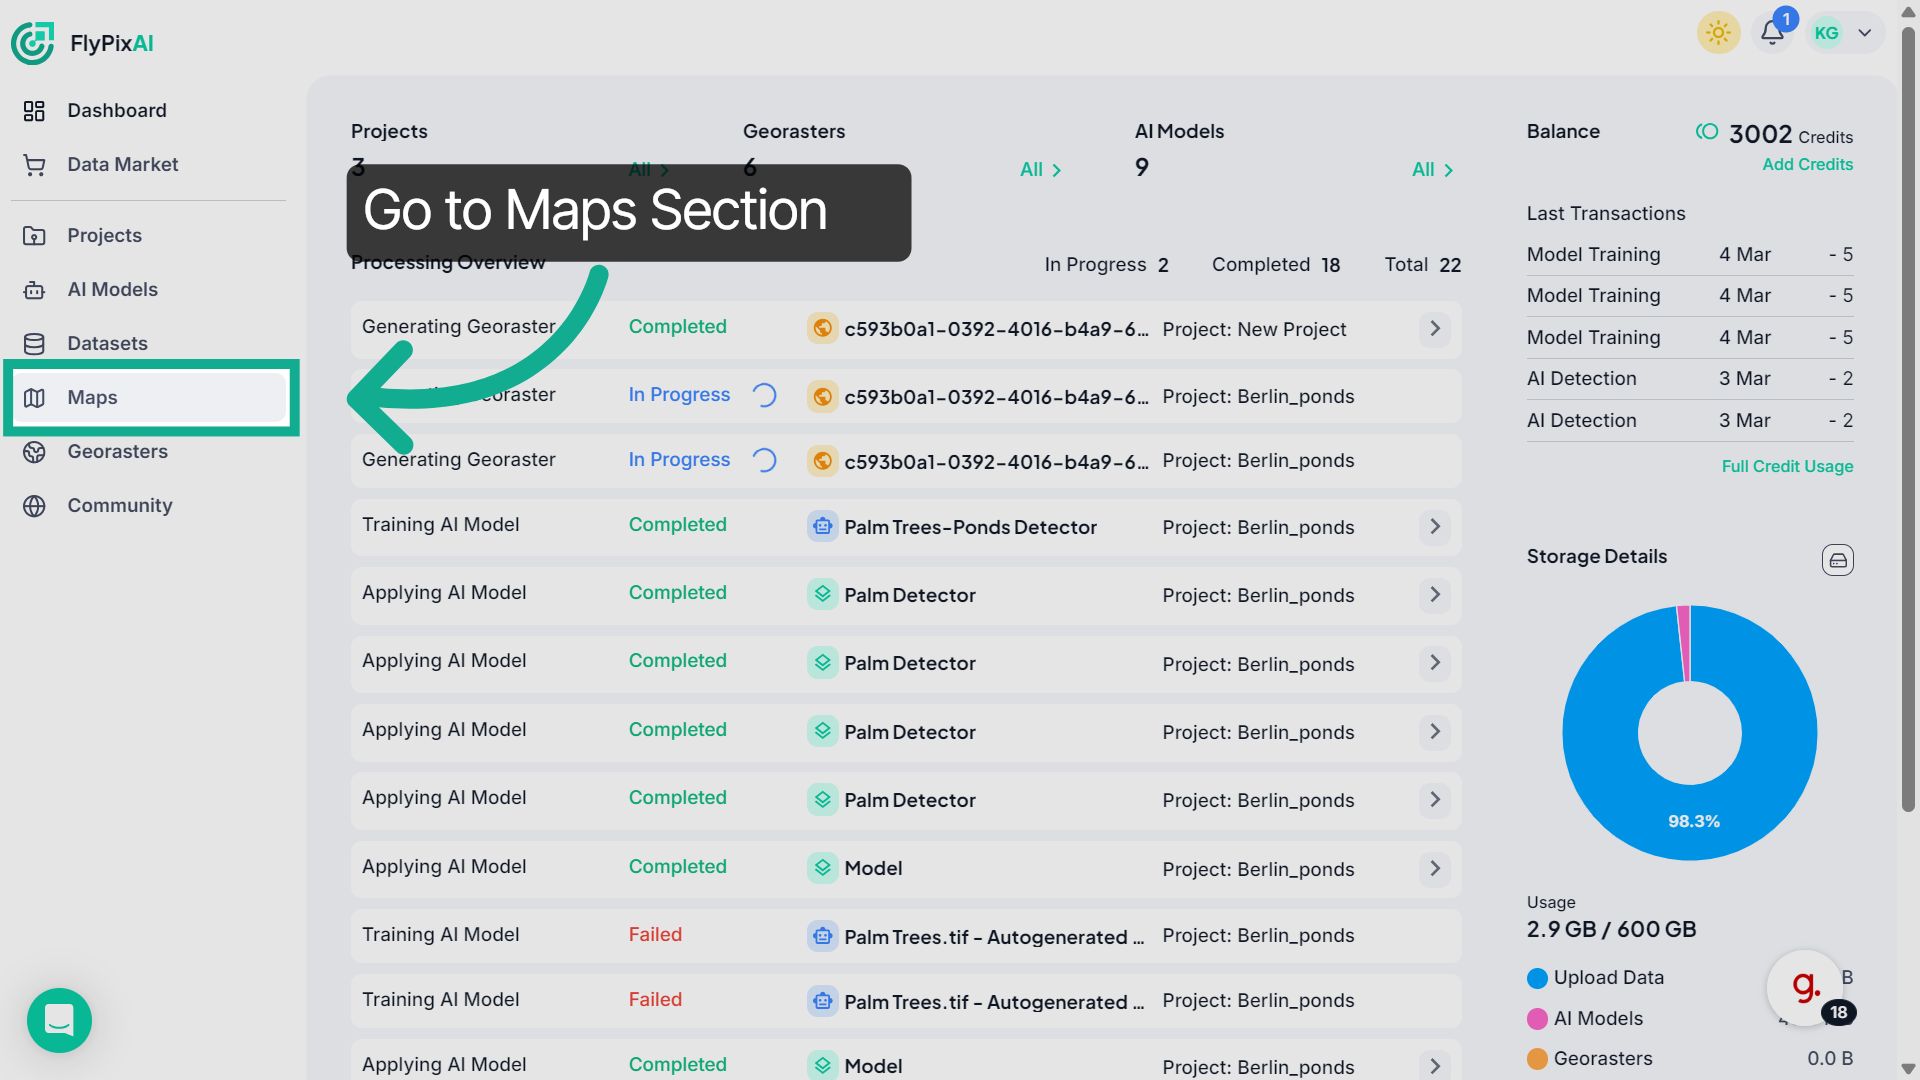
12. Manage Map in Maps
You can also manage your published maps later from the Maps section in the main menu.
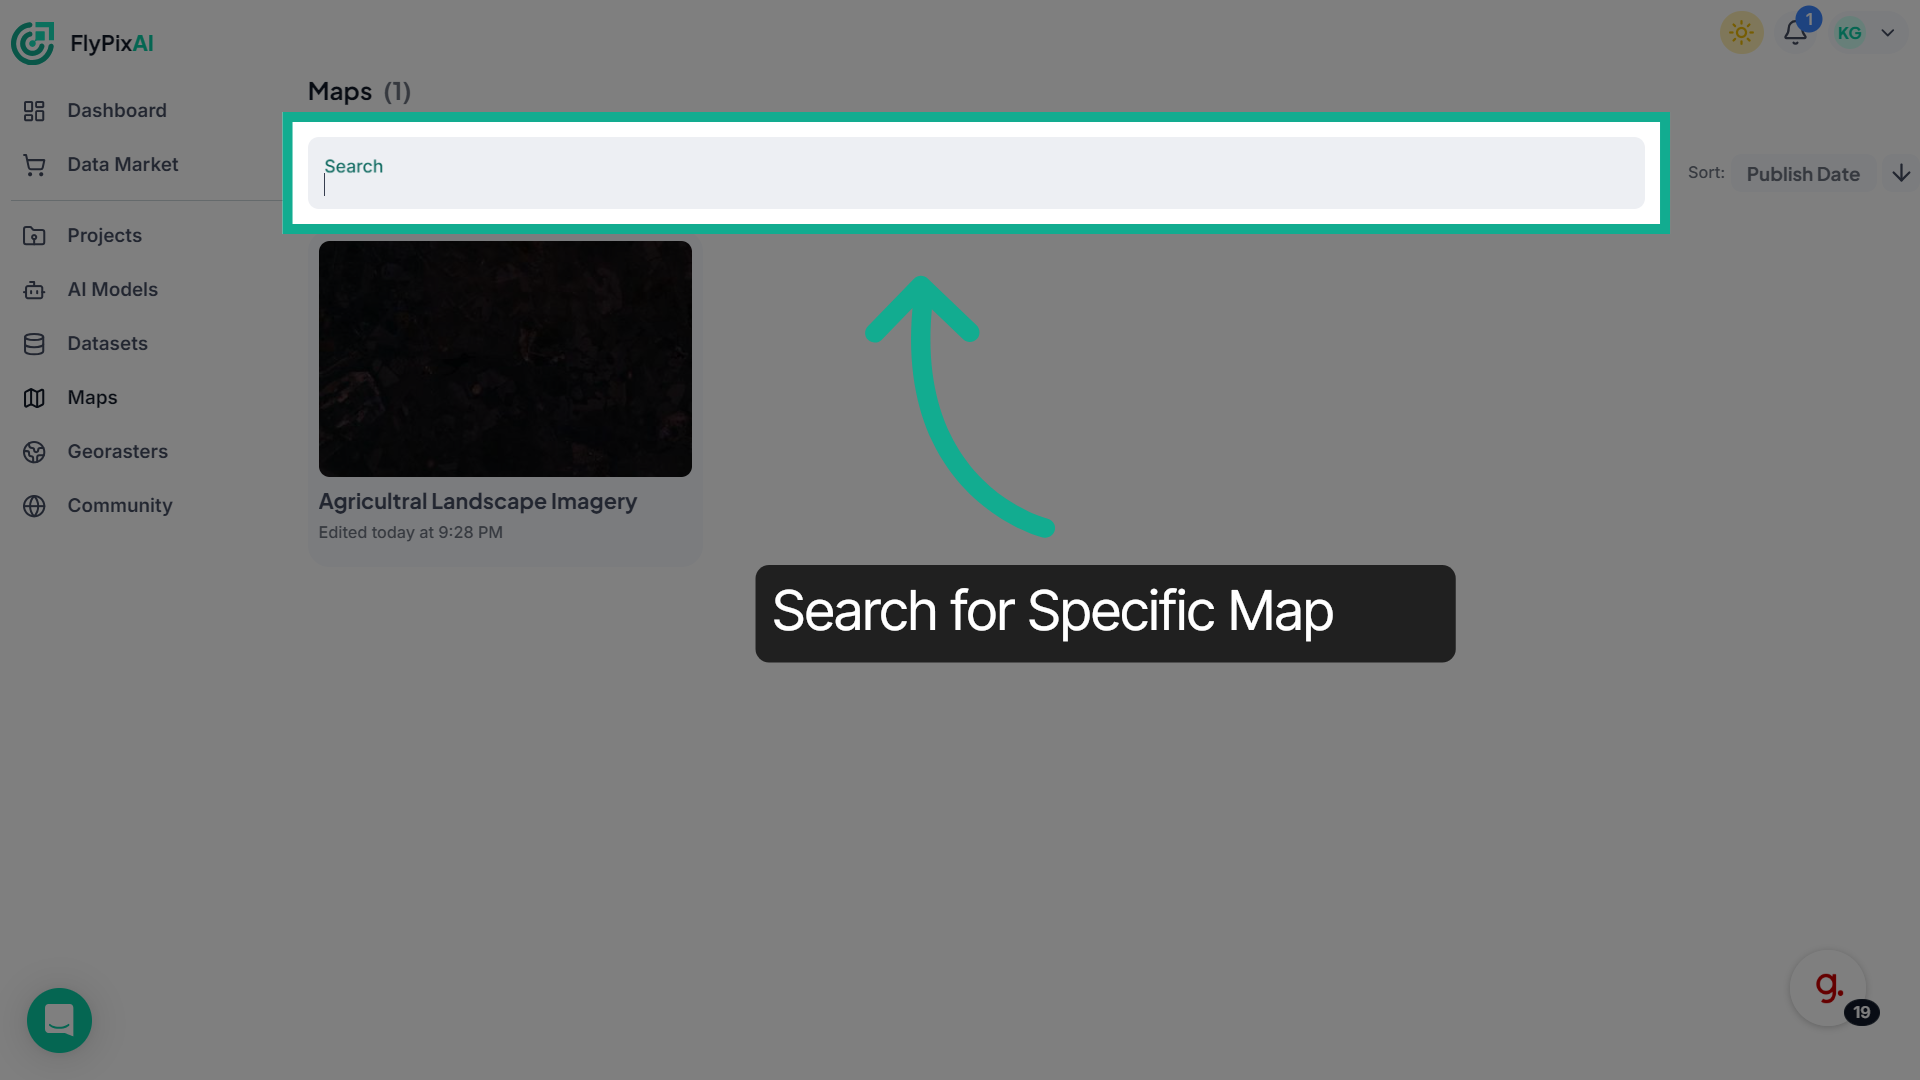
13. Search for Maps
Use the Search bar to quickly locate a specific map in your workspace.
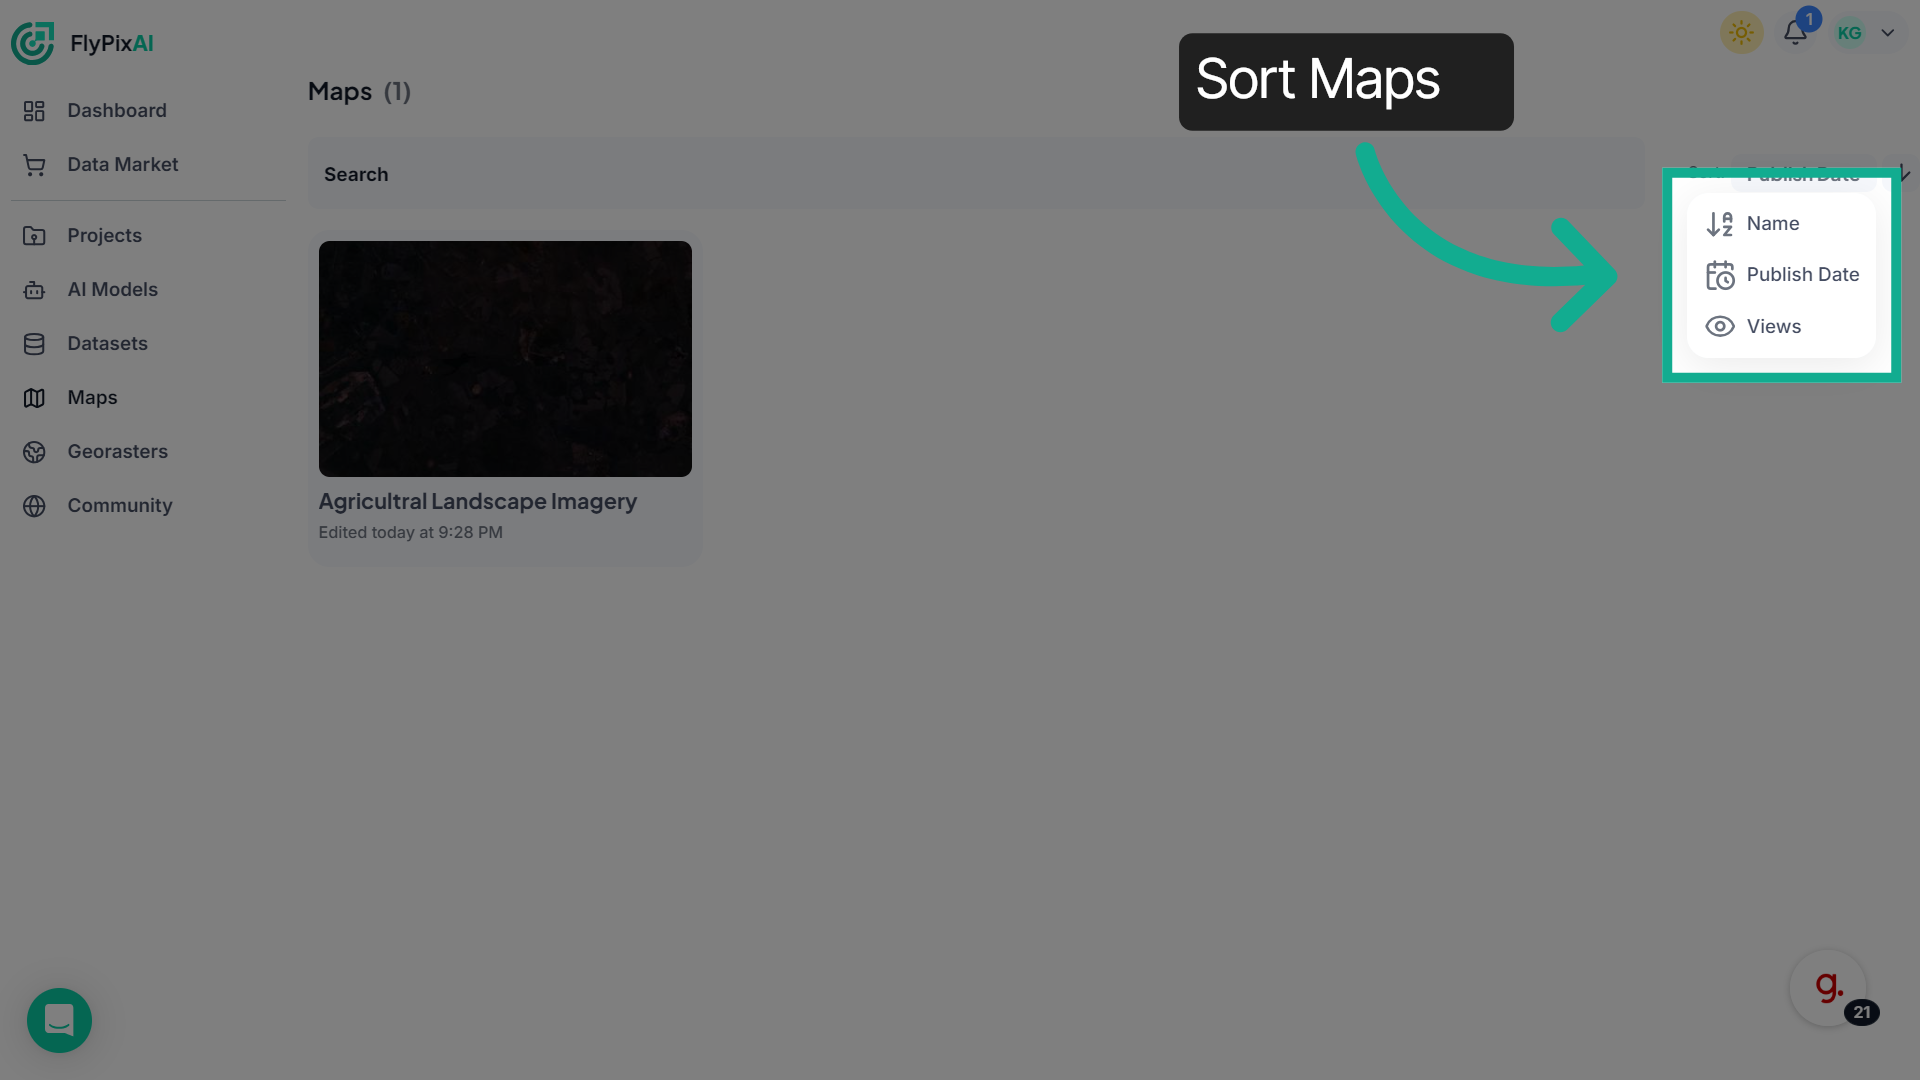
14. View Map Details
Use the Sort option to organize maps by Name, Publish Date and Views.
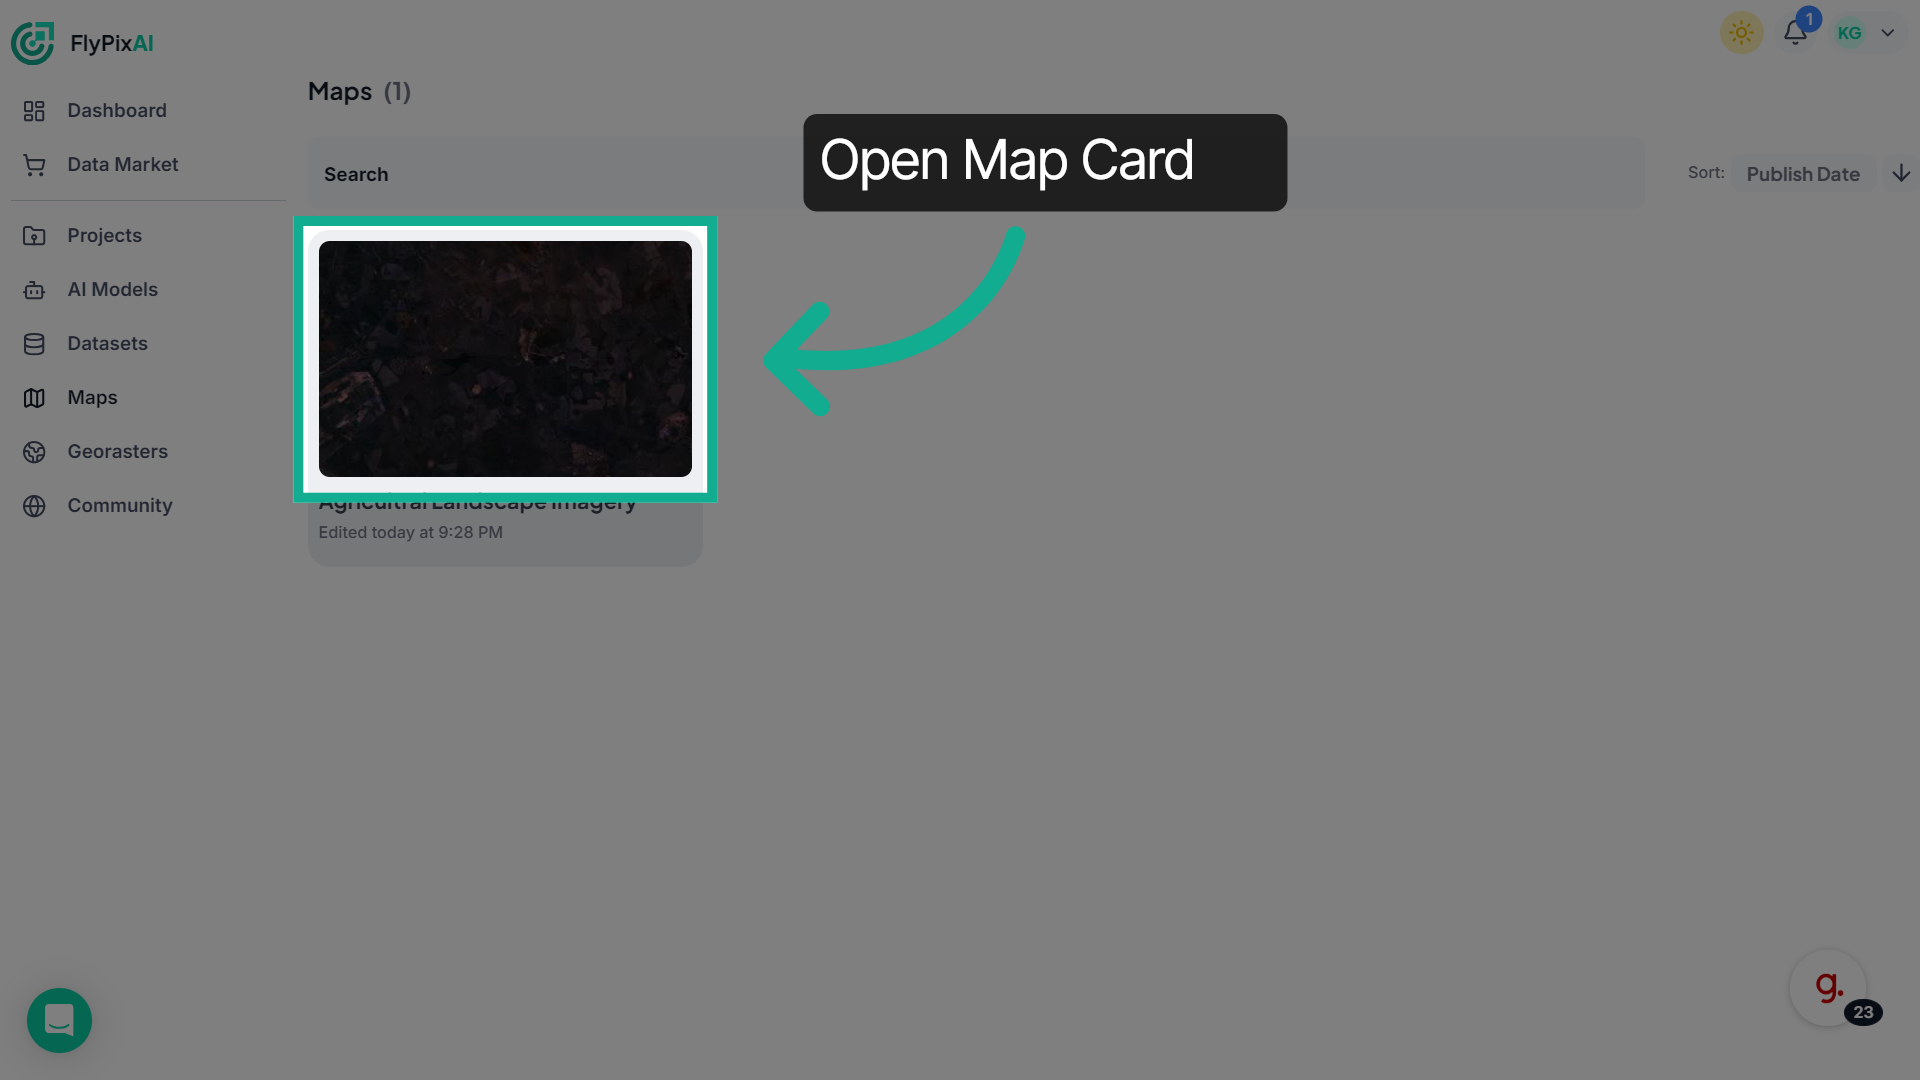
15. Access More Options
Click on a map card to open and view its contents.
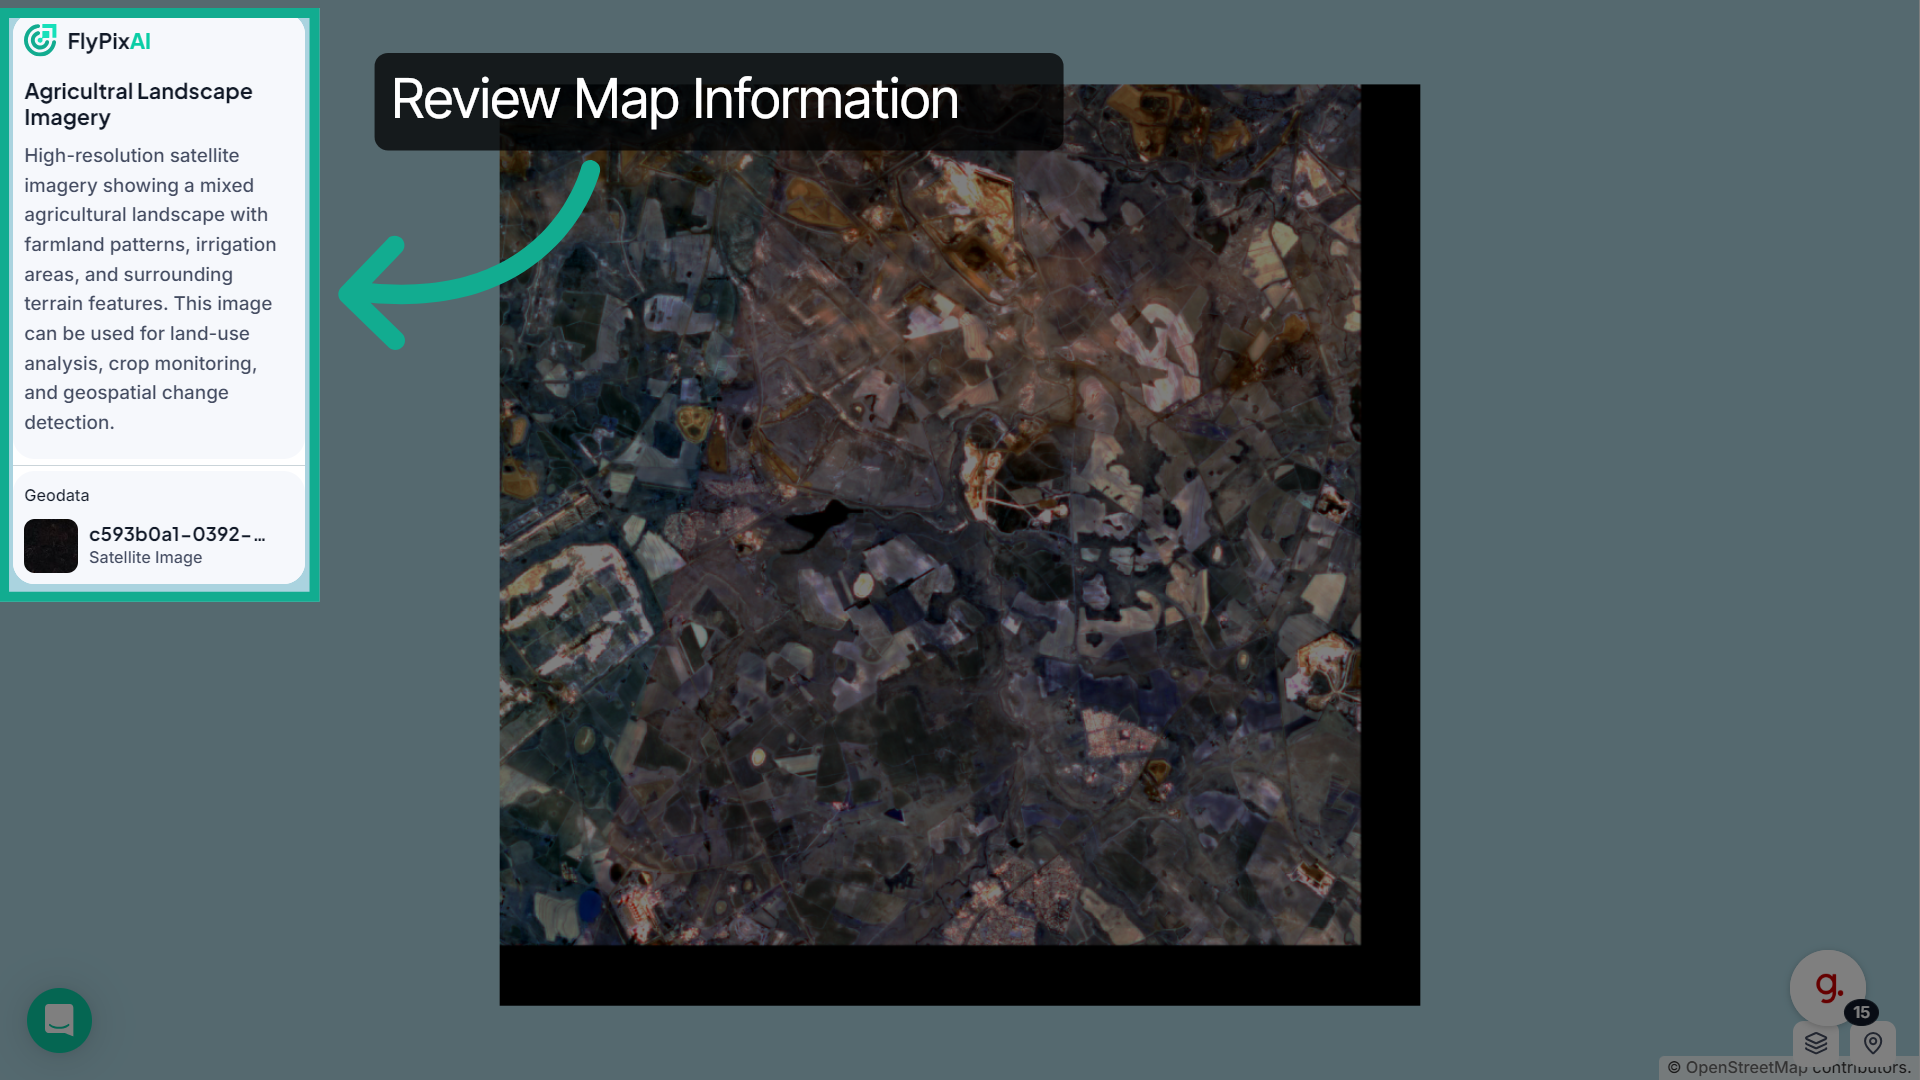
16. Review Map Description
The side panel displays the map title, description, and geodata, providing context about the imagery.
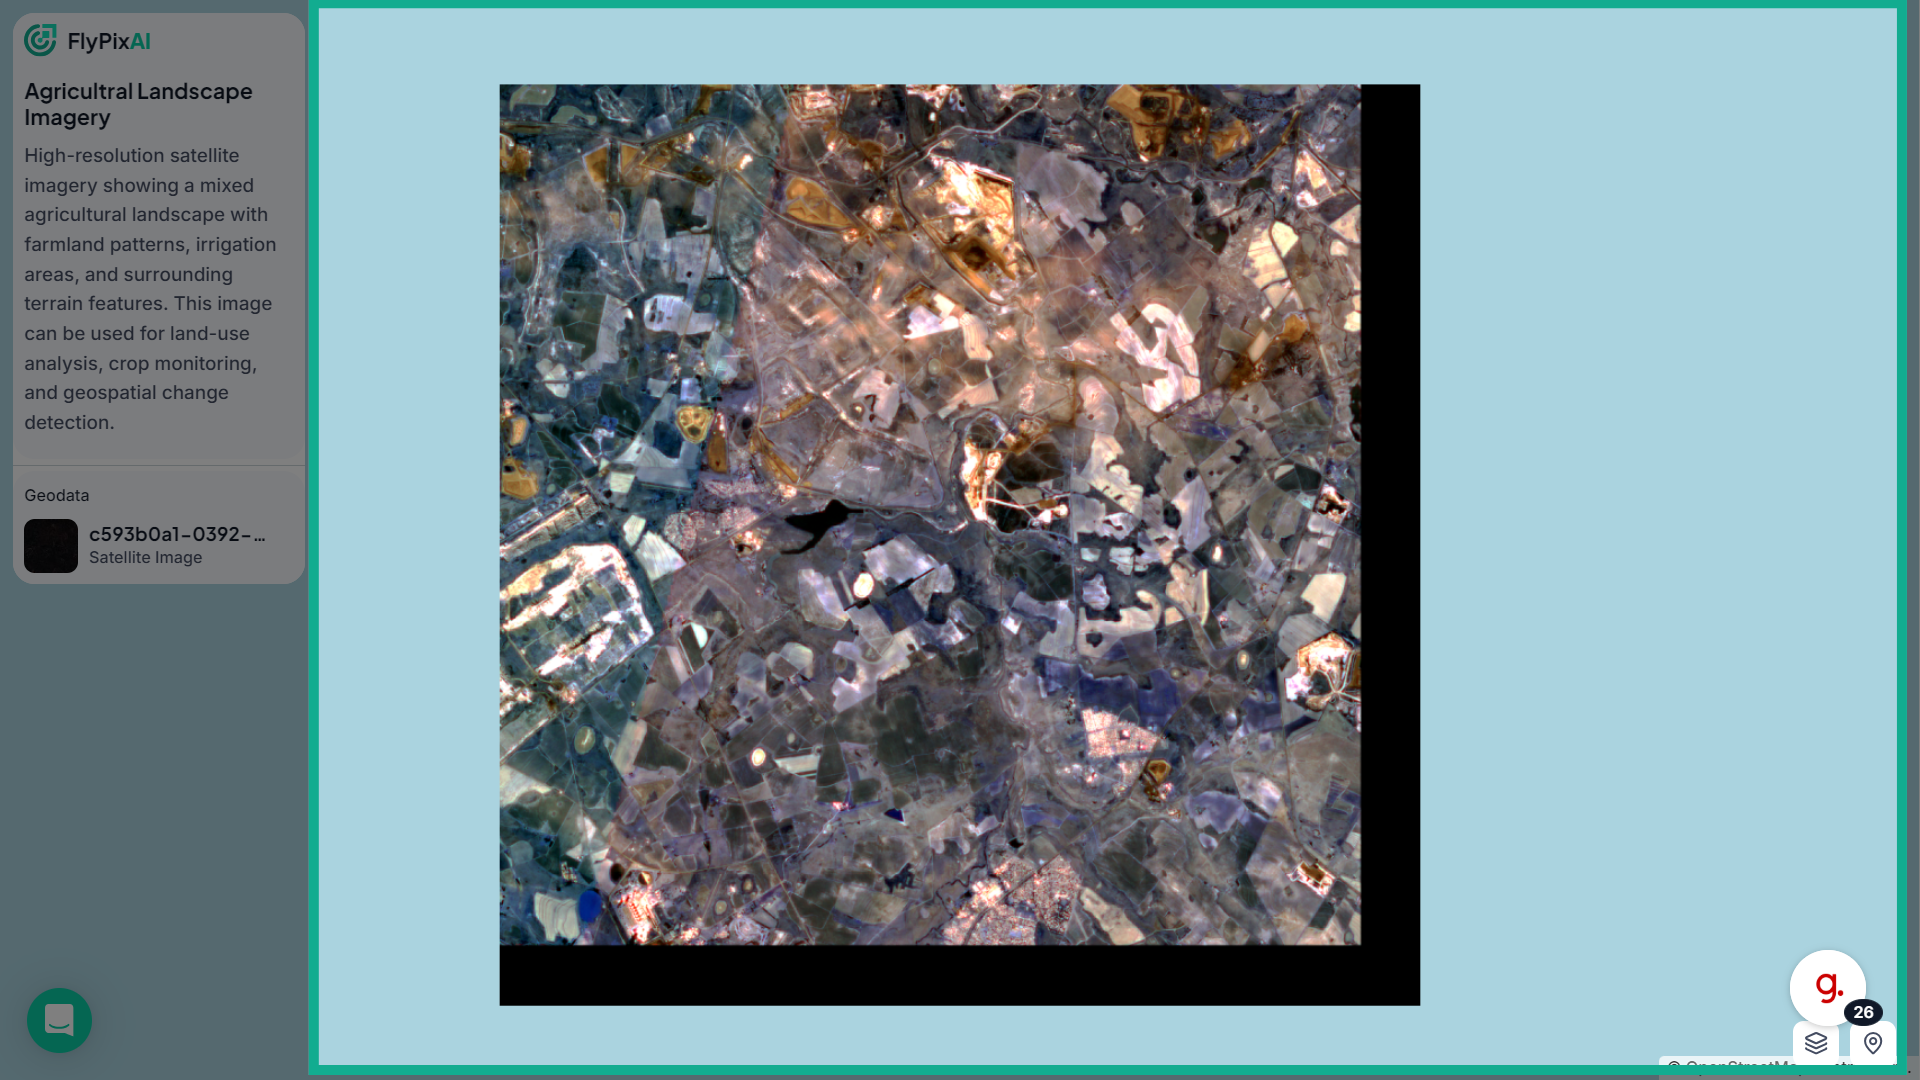
17. Finalize Map Interaction
The main canvas displays the map visualization, allowing you to explore the satellite imagery.
You’ve now seen how to share maps, publish them to the community, and manage them from the workspace. Start sharing your own maps to collaborate and explore geospatial insights with others.