Explore Community Maps Features In FlyPix AI Dashboard
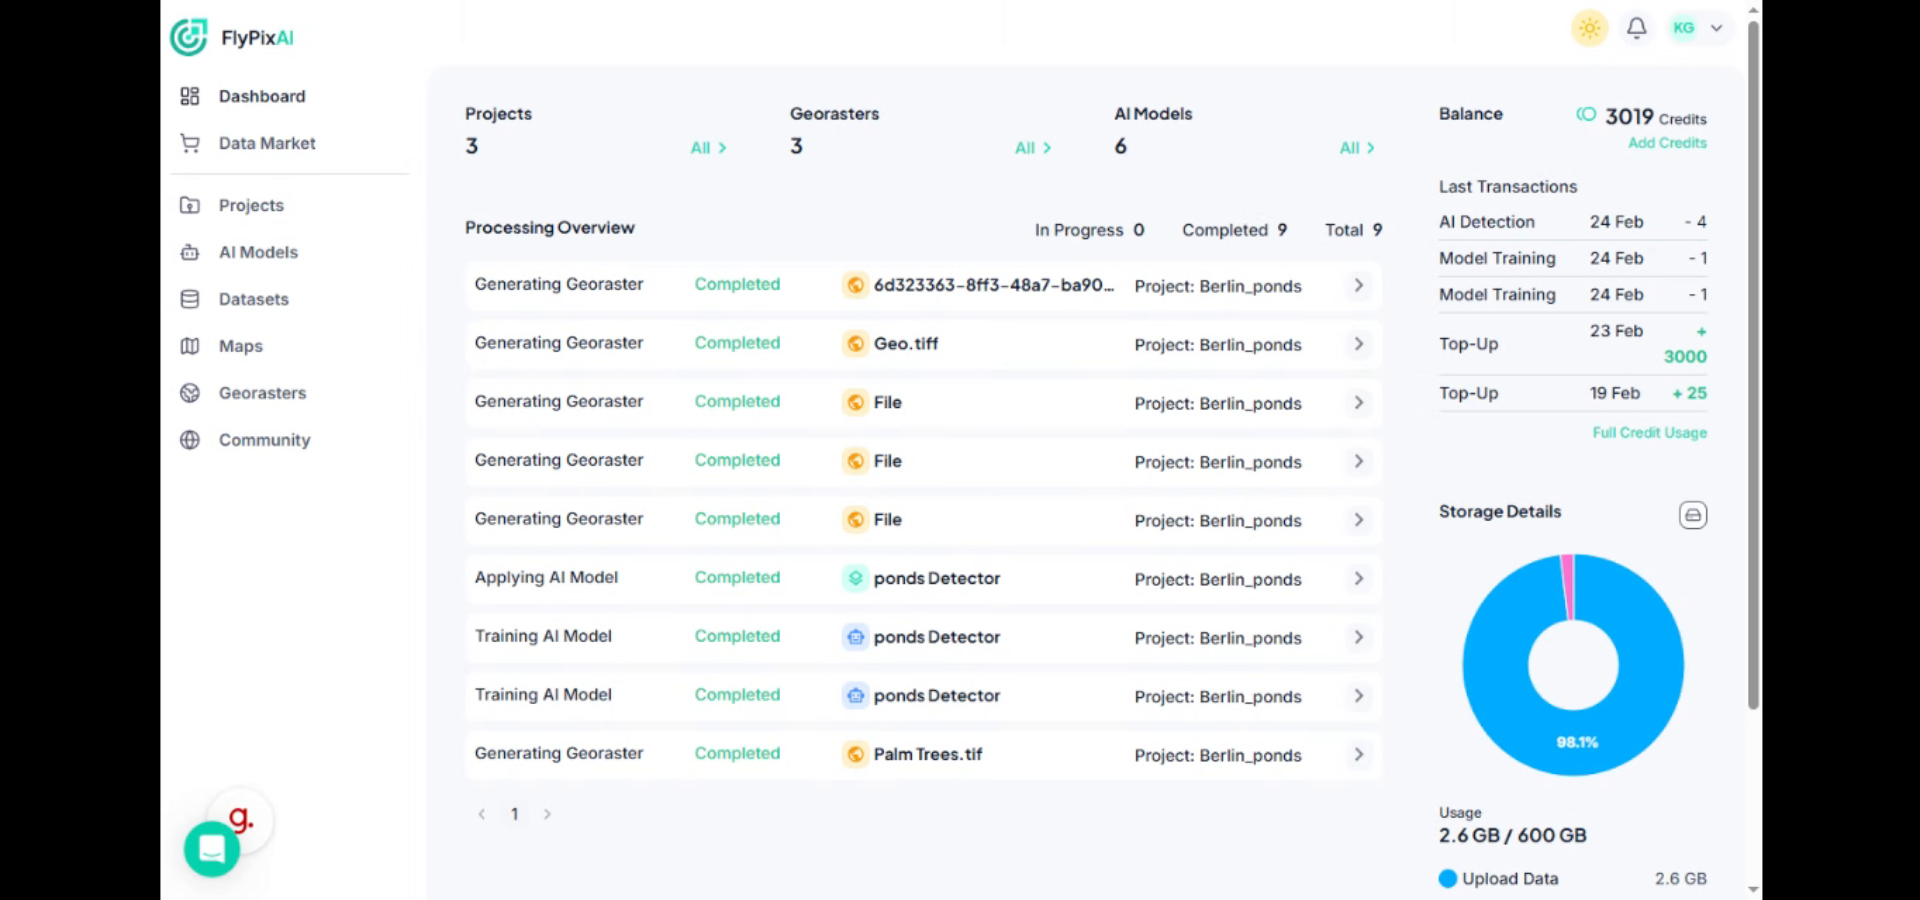
This demo provides an overview of the Community Maps feature and shows how to explore map analytics and detected objects.
Go to app.flypix.ai
1. Introduction
In this walkthrough, you’ll learn how to open a Community Map, review analytics, and interact with detected objects on the map.
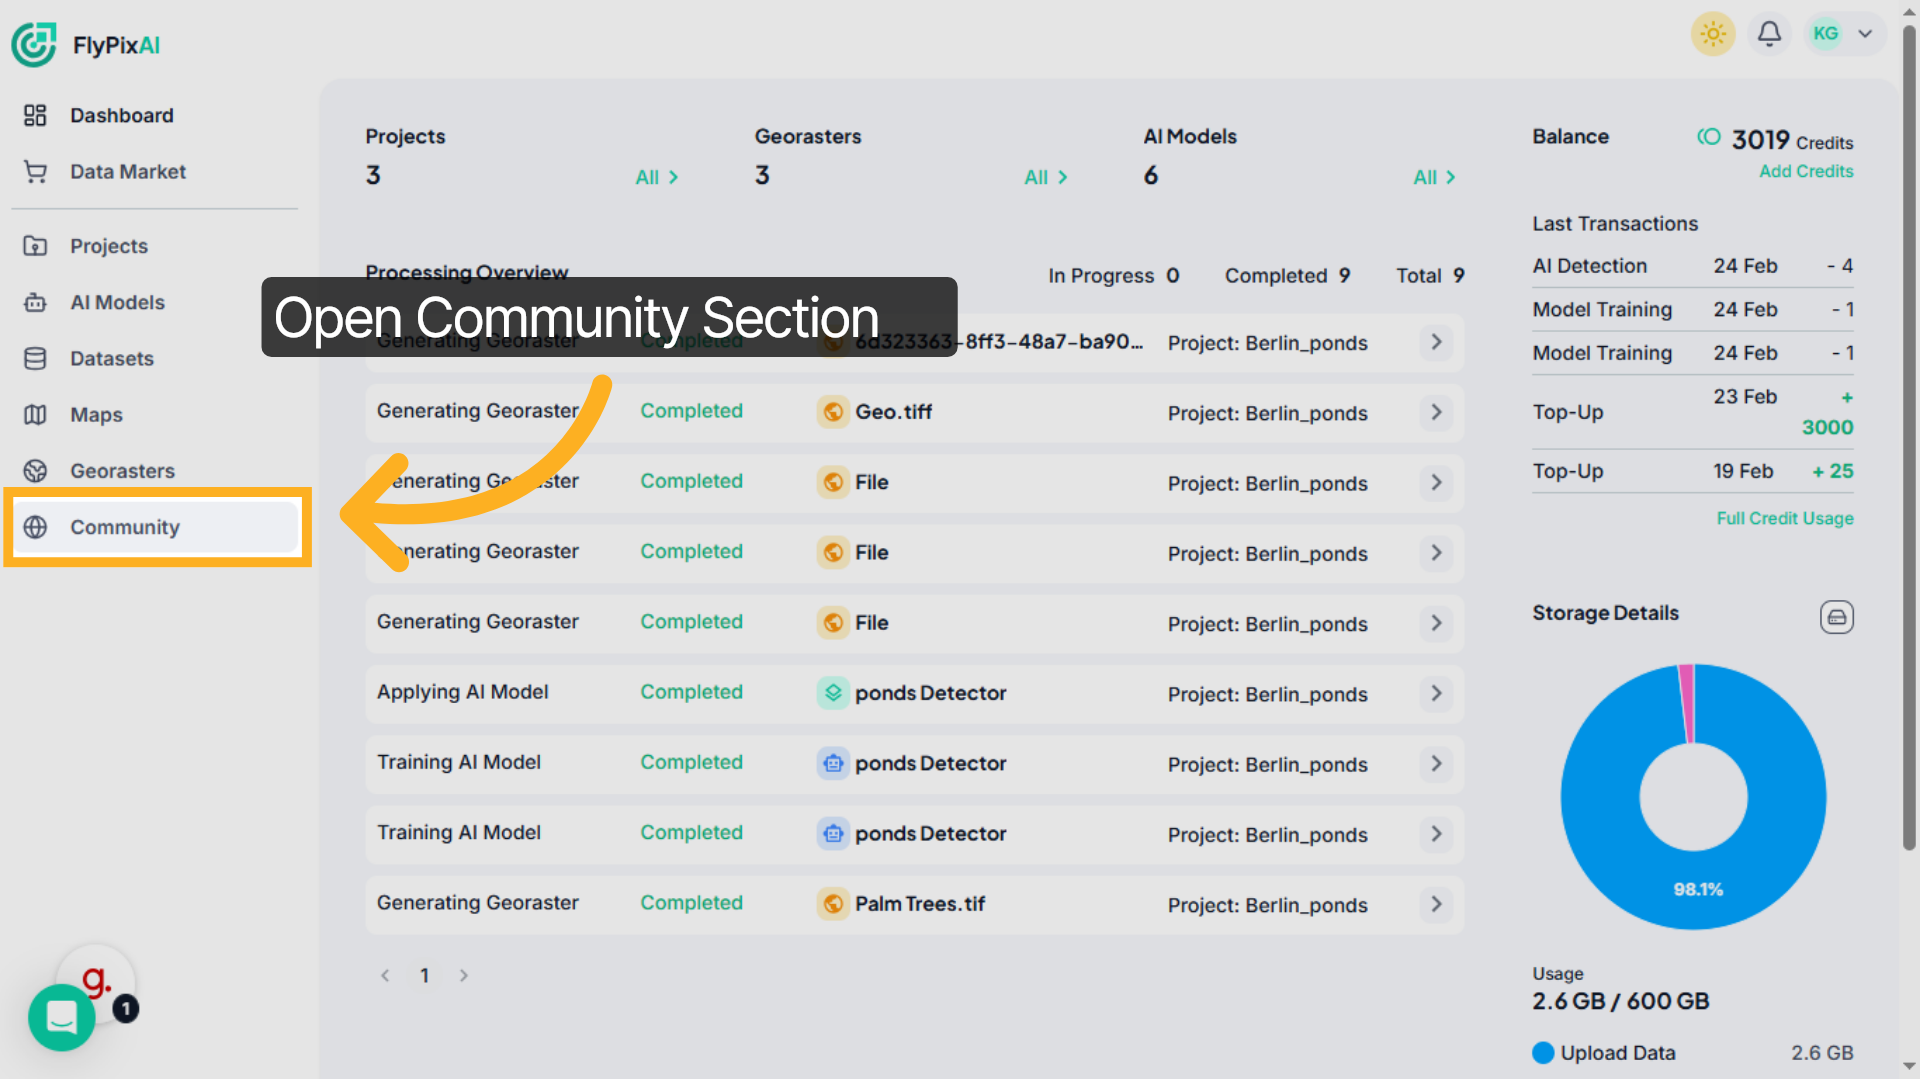
2. Open Community Section
From the left navigation panel, click Community to access maps shared by the FlyPix AI community.
3. Browse Community Maps
Inside the Community section, scroll through the available maps. Each card displays a preview image, map title, and contributor details to help you identify relevant projects.
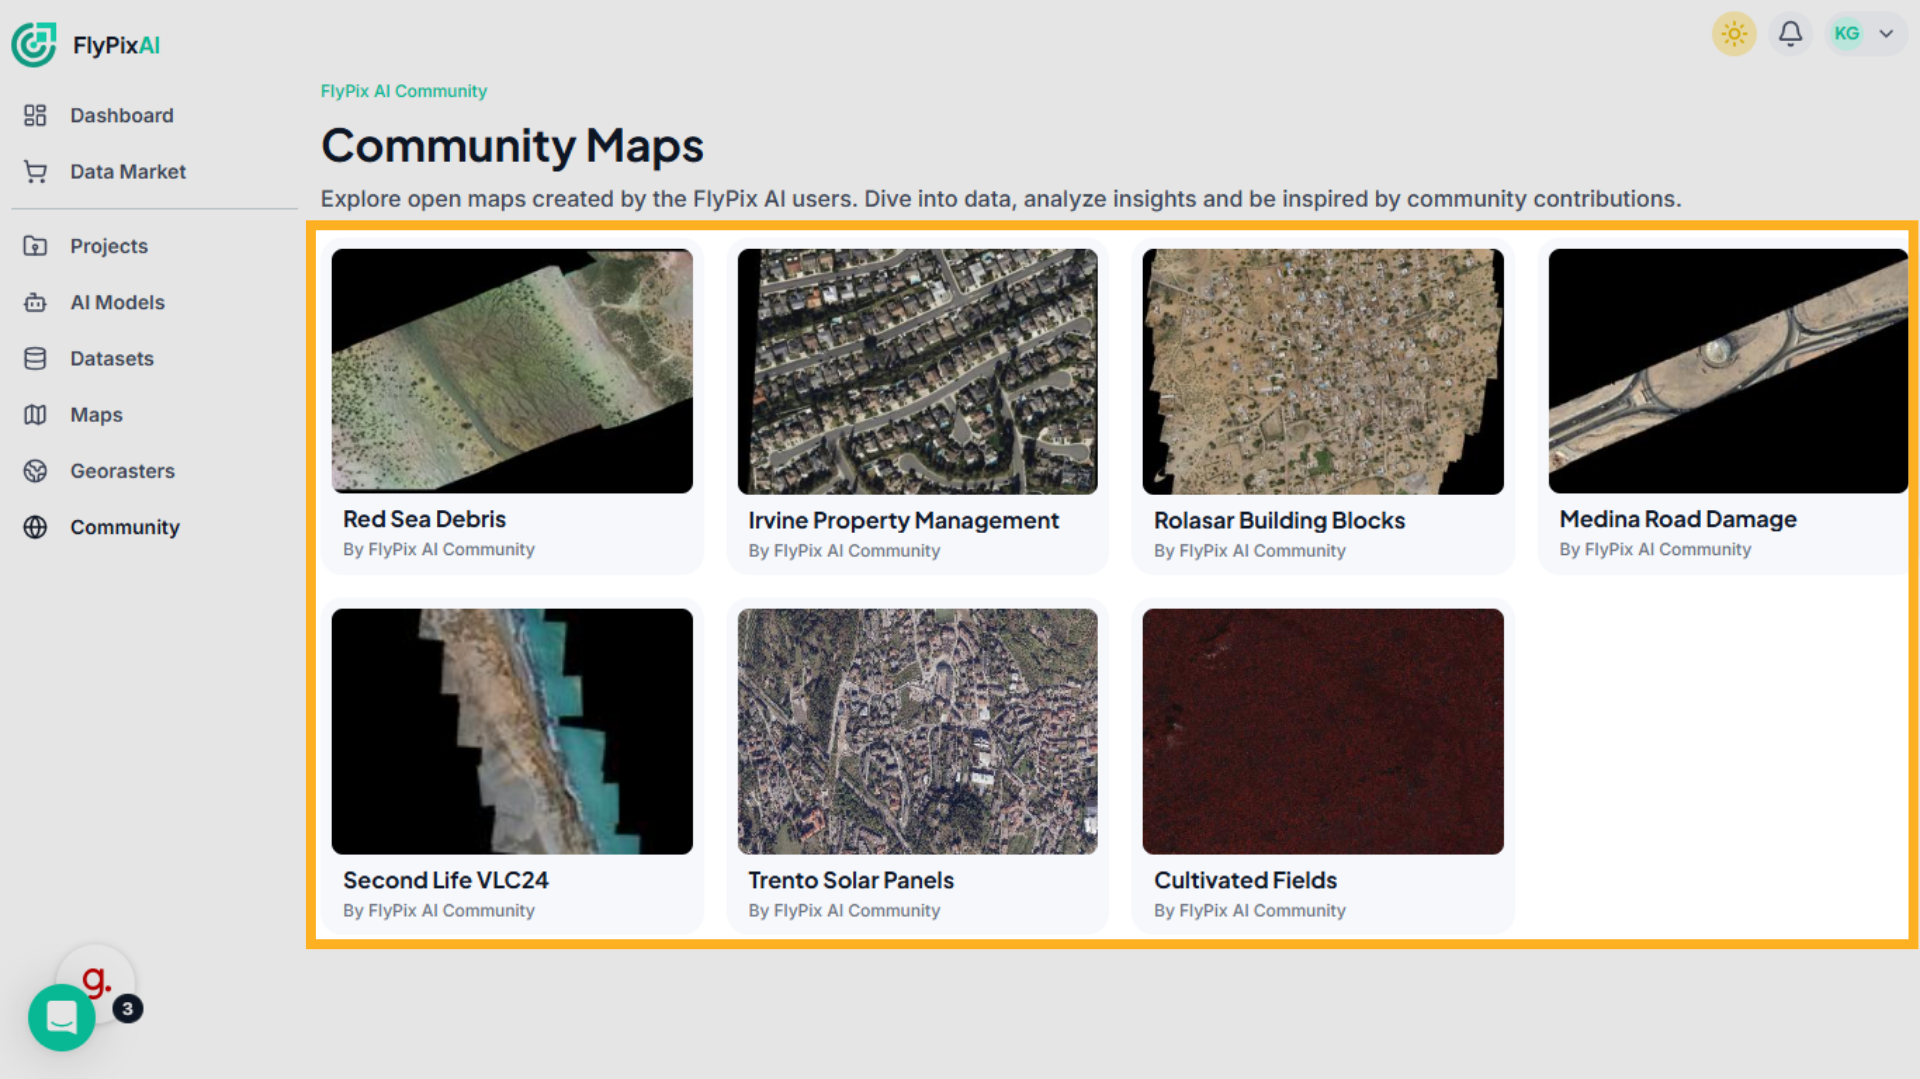
4. Select the Community Map
Click on a map, for example, Red Sea Debris, to open its interactive view and analytics.

5. View Detected Objects on Map
The map displays all detected objects directly on the imagery as highlighted markers or bounding boxes.
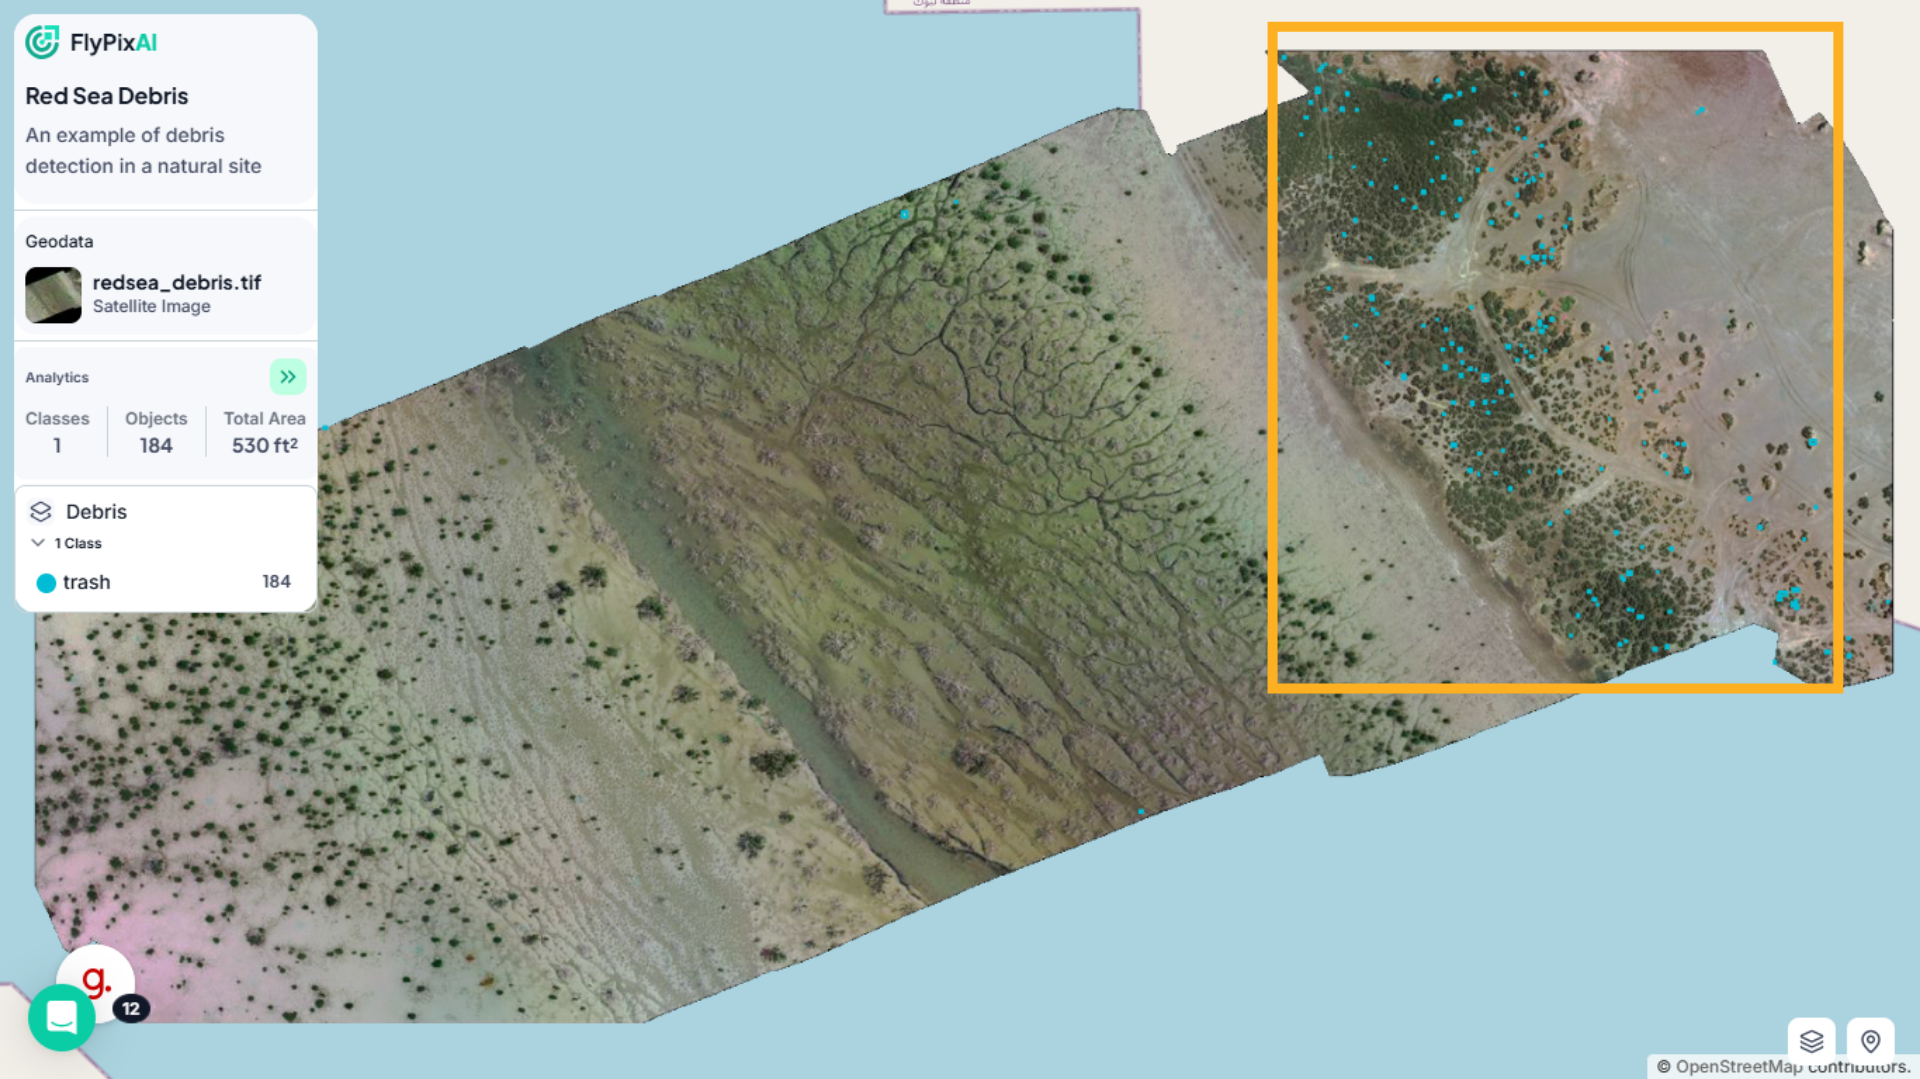
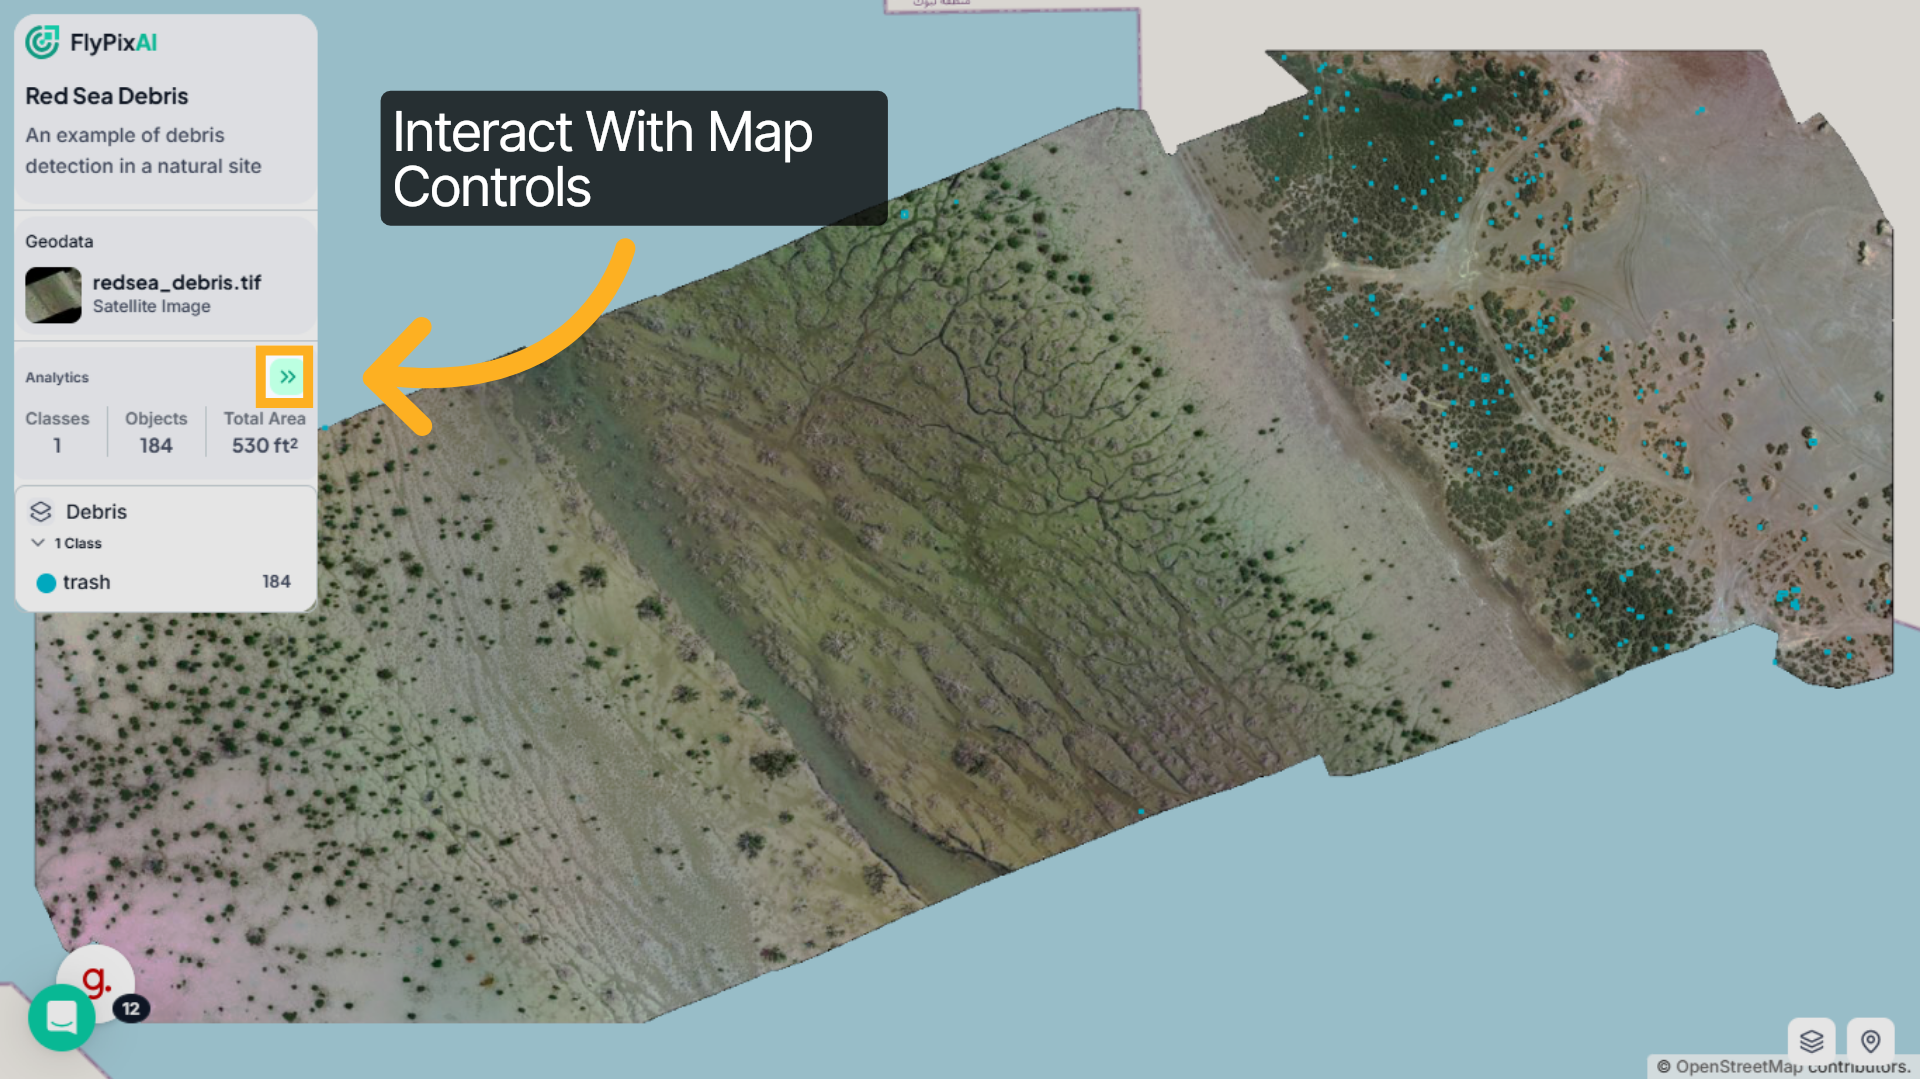
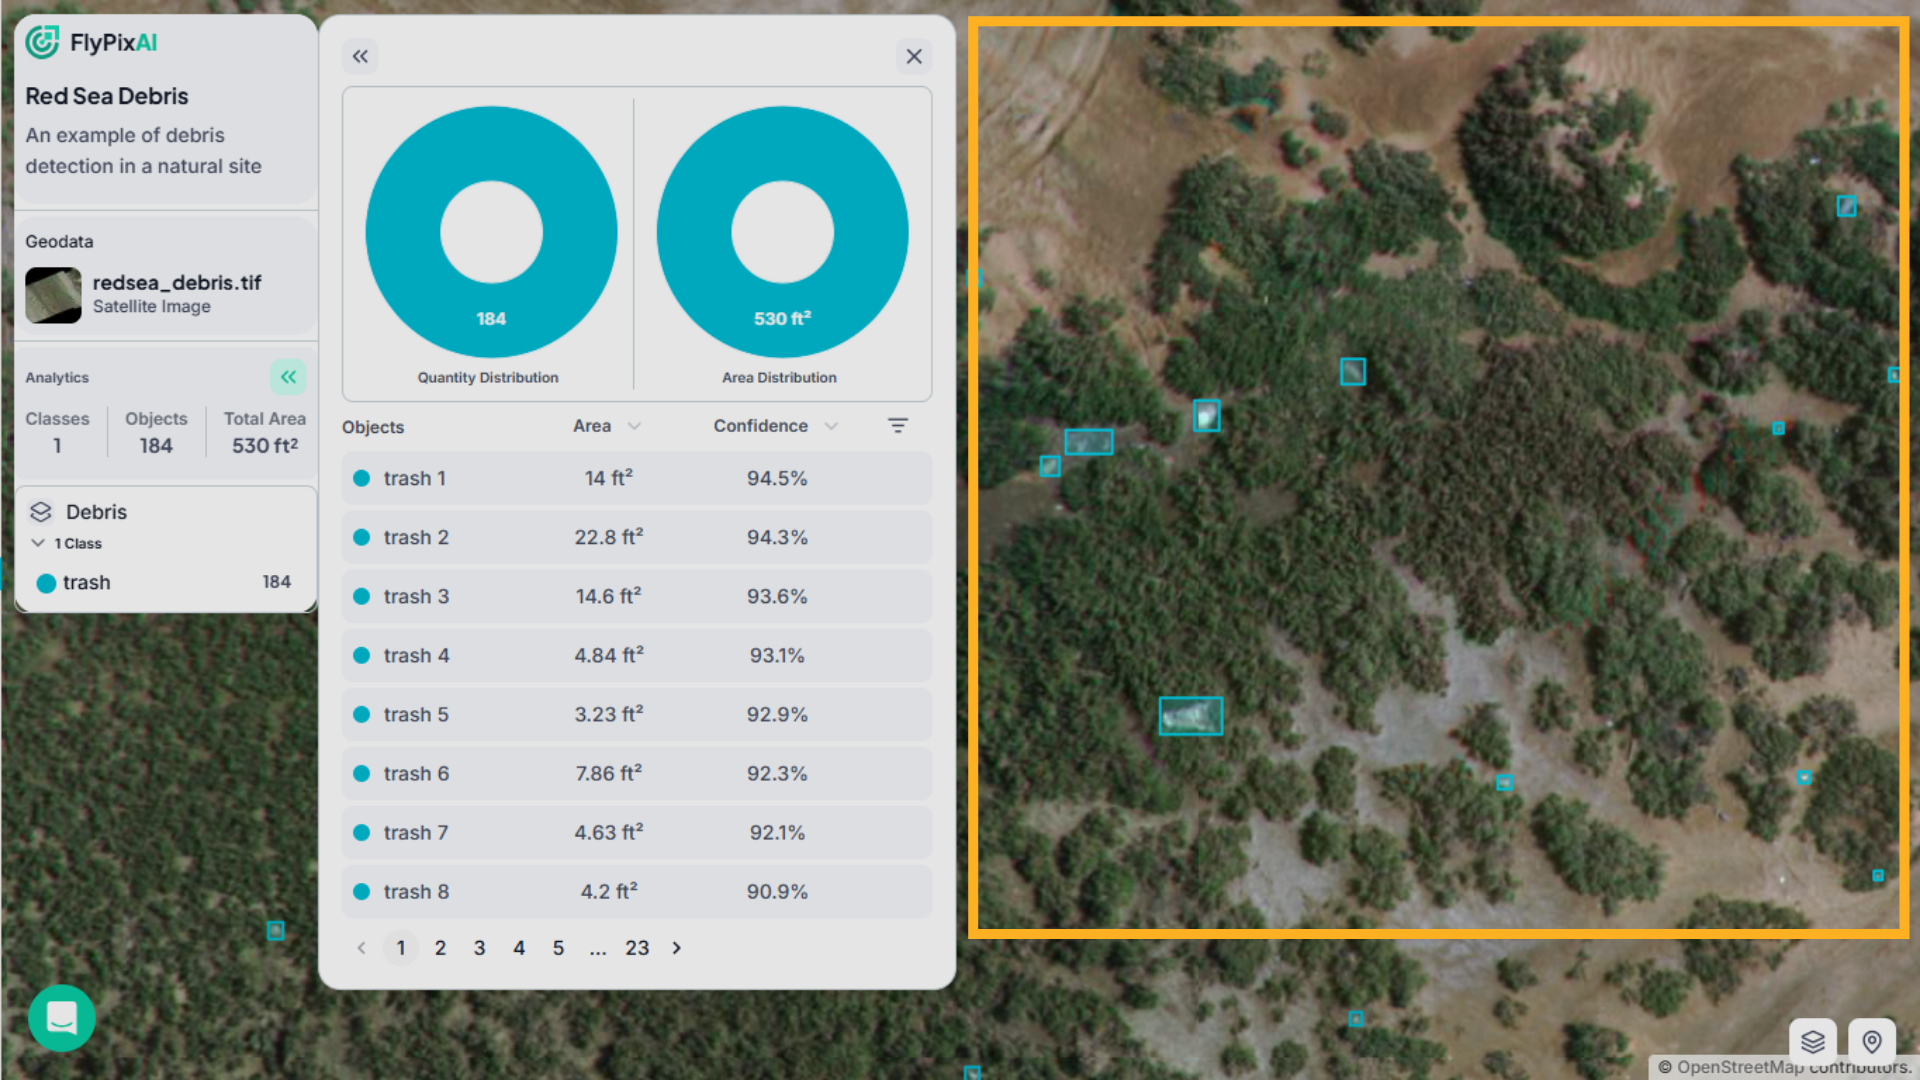
6. Review Map Overview Panel
On the left panel, you’ll see the map description, associated geodata file, number of classes, total detected objects, and total detected area. This gives you a quick summary of the dataset.

7. Interact With Map Controls
Click the arrow icon in the Analytics section to expand detailed insights. This opens a panel with visual summaries and object-level data.
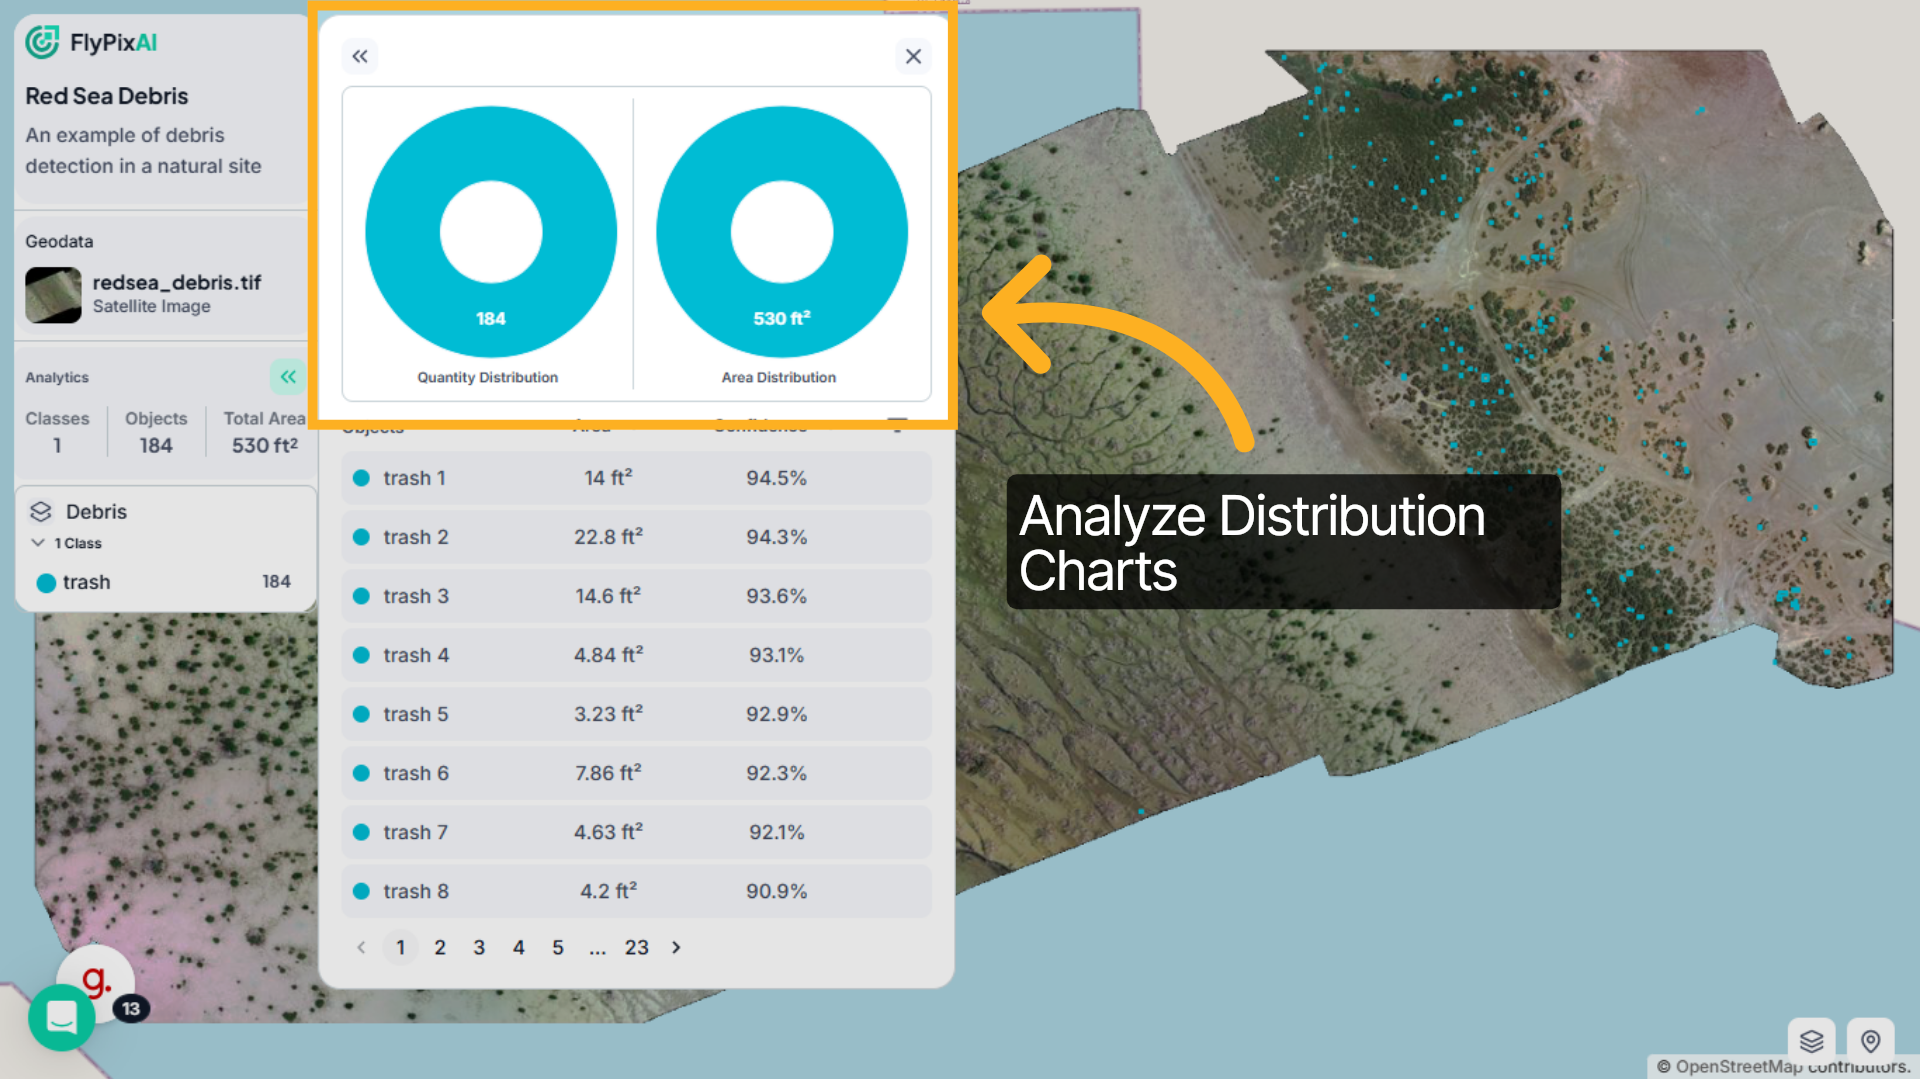
8. Analyze Distribution Charts
At the top, you’ll see distribution charts showing: Total object count and Total detected area.These visualizations help you quickly understand the dataset scale.
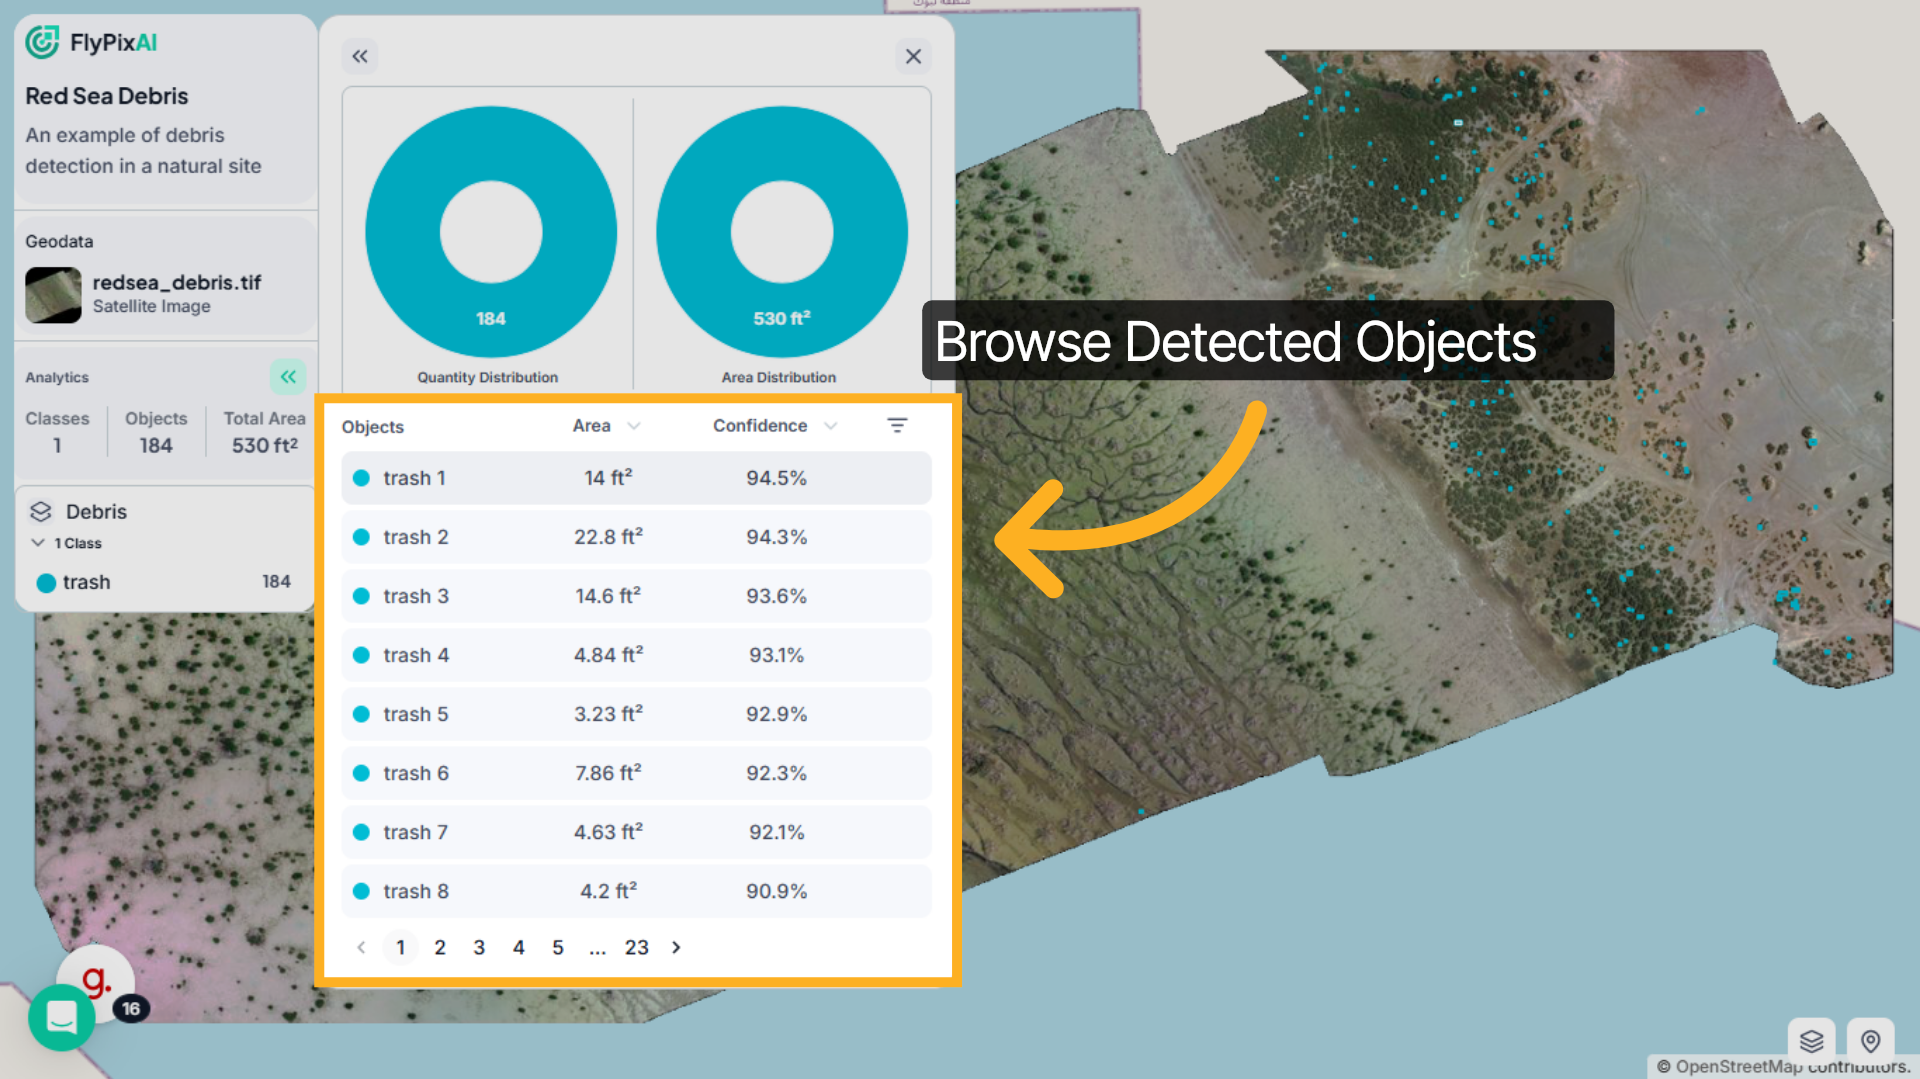
9. Browse Detected Objects
Below the charts, you’ll see a detailed list of all detected objects. Each entry shows the object name, its detected area, and the confidence score. You can scroll through the list or move between pages to review every detection included in the dataset.
10. Select an Object
Click on any object from the list, for example, trash 1. The map will automatically zoom to that specific detection, highlighting its exact location.
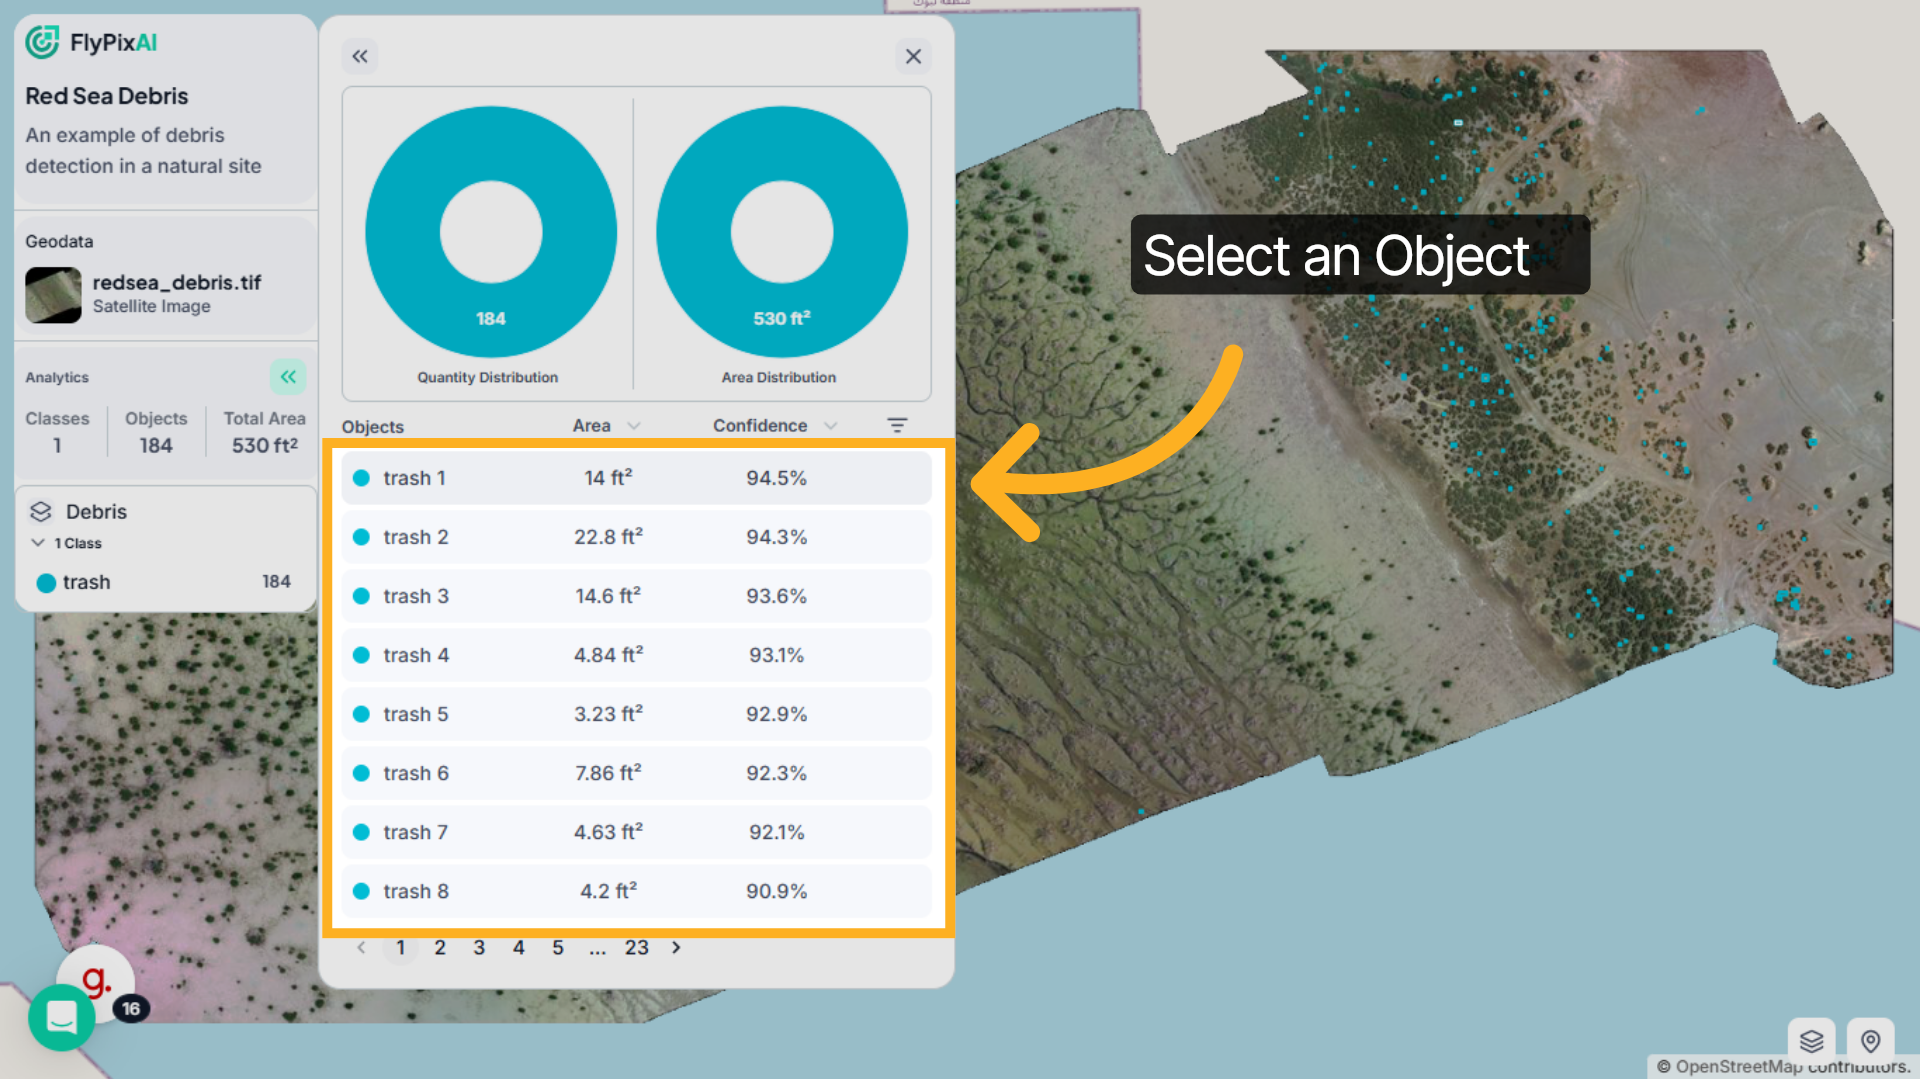
11. Explore Map Layers and Controls
When selected, you can review the object’s area measurement and confidence score to better understand detection accuracy.
That’s how you can explore and interact with Community Maps inside FlyPix AI. By reviewing analytics, inspecting detected objects, and navigating the map, you can gain meaningful insights from community-generated geospatial projects.