Create Your First Project in FlyPix AI
In this tutorial, you will learn how to: Create a new project, Define classes, Organize folders,Structure your workspace properly
Go to app.flypix.ai
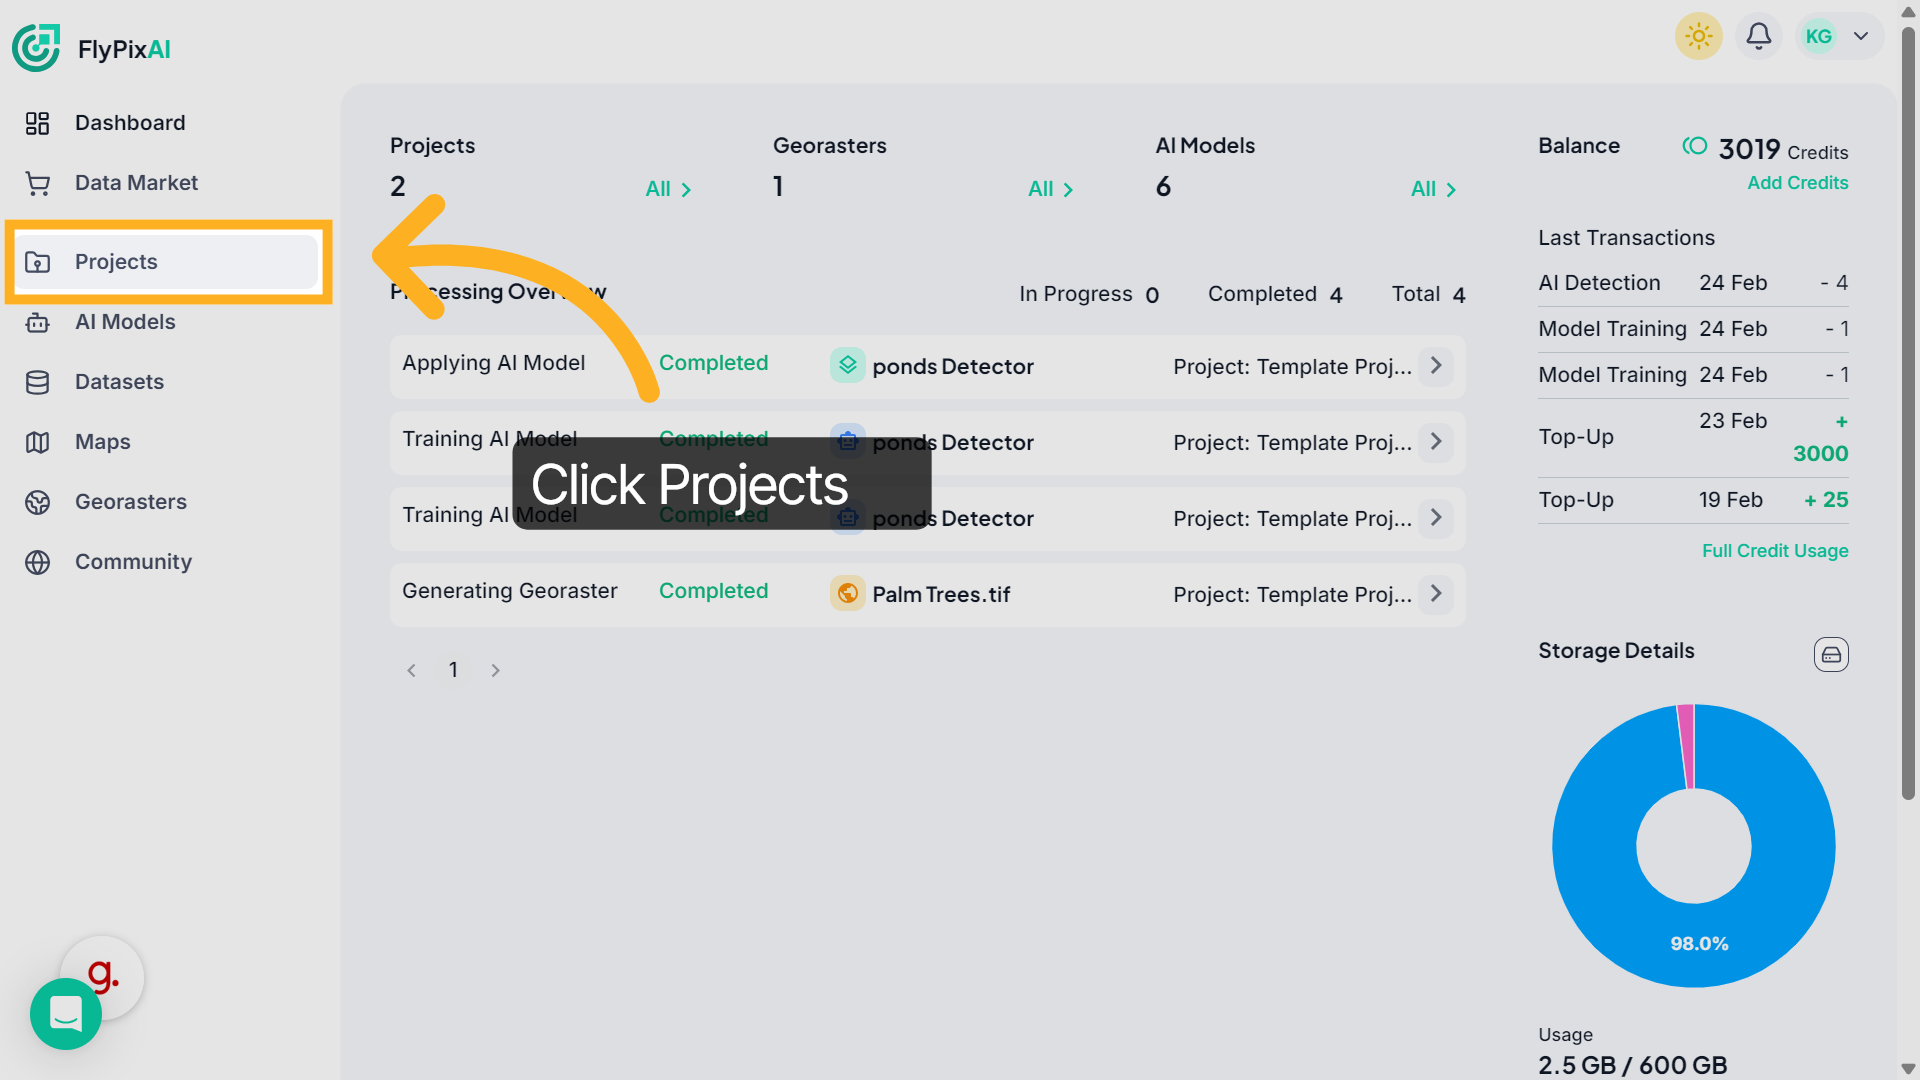
1. Access Projects Section
From the left sidebar, click Projects.
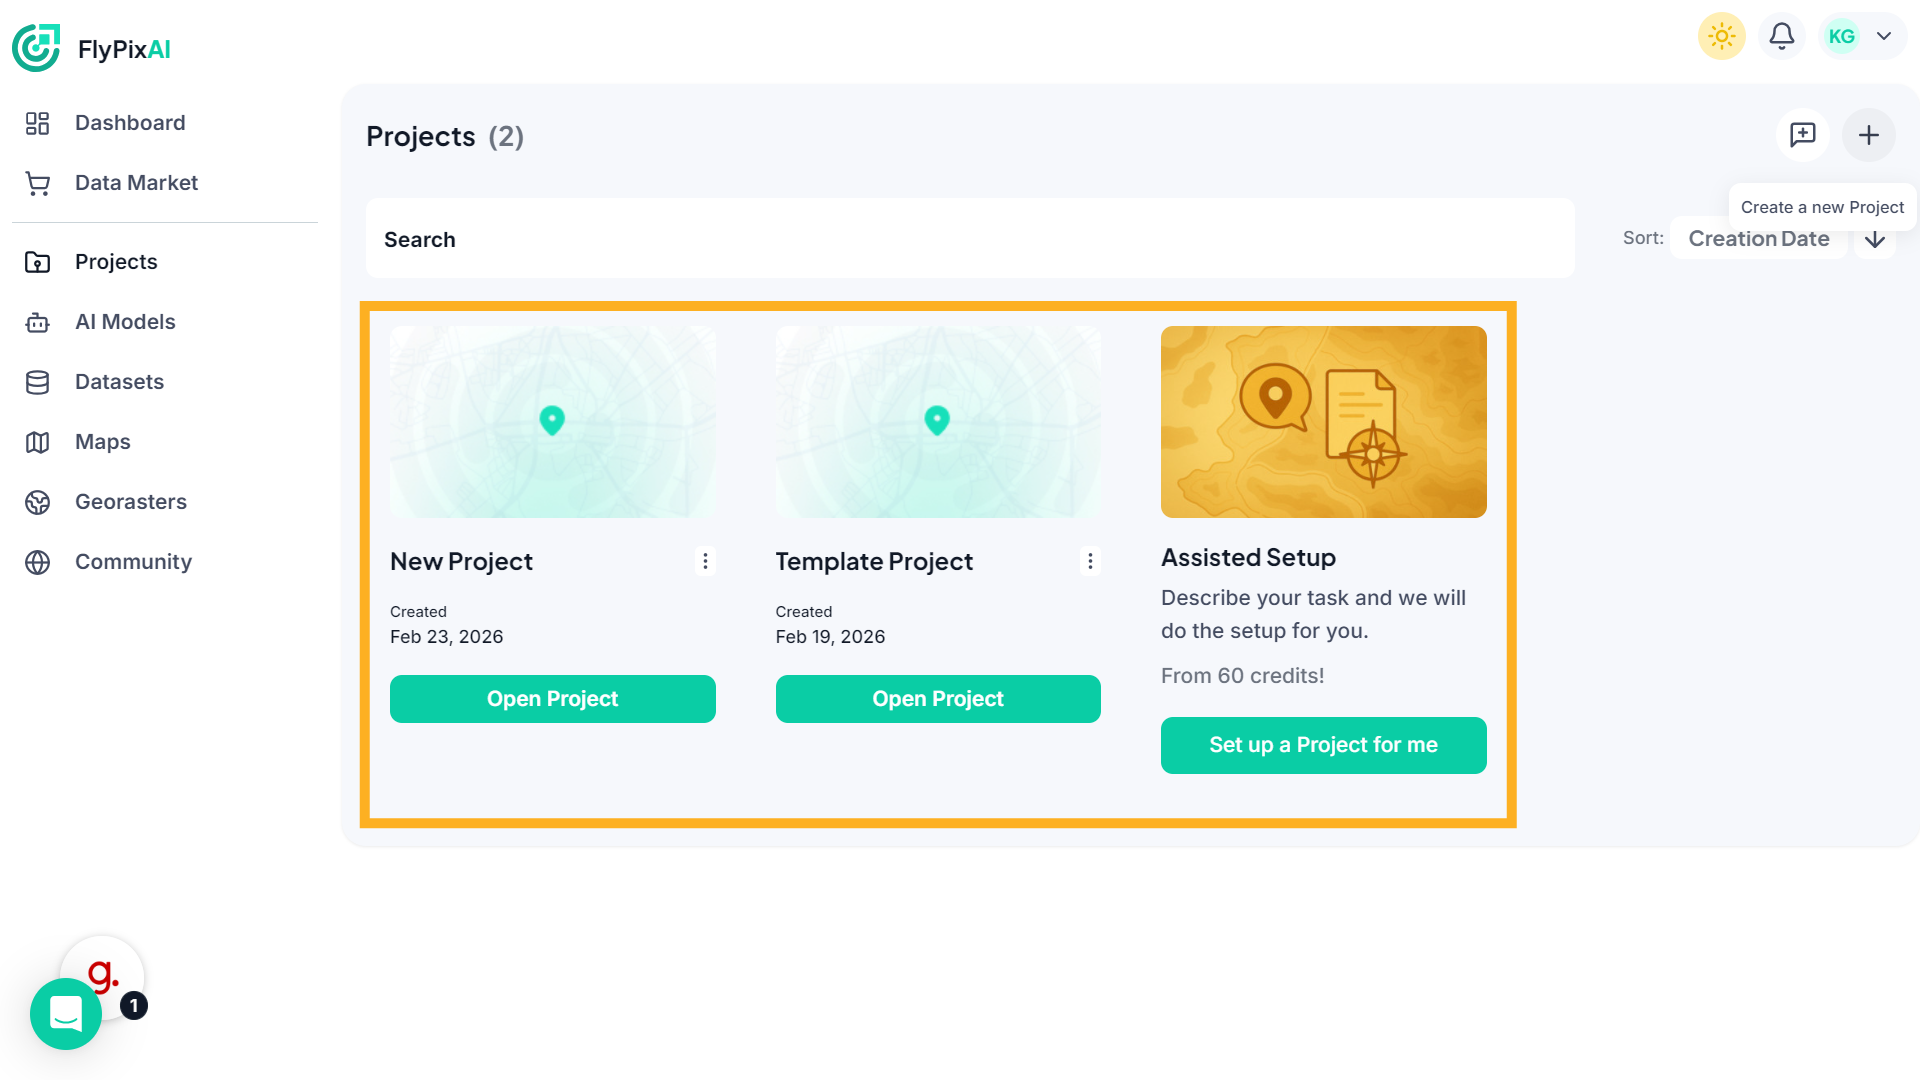
2. View Projects Page
This opens the Projects page where you can view existing projects or create a new one.
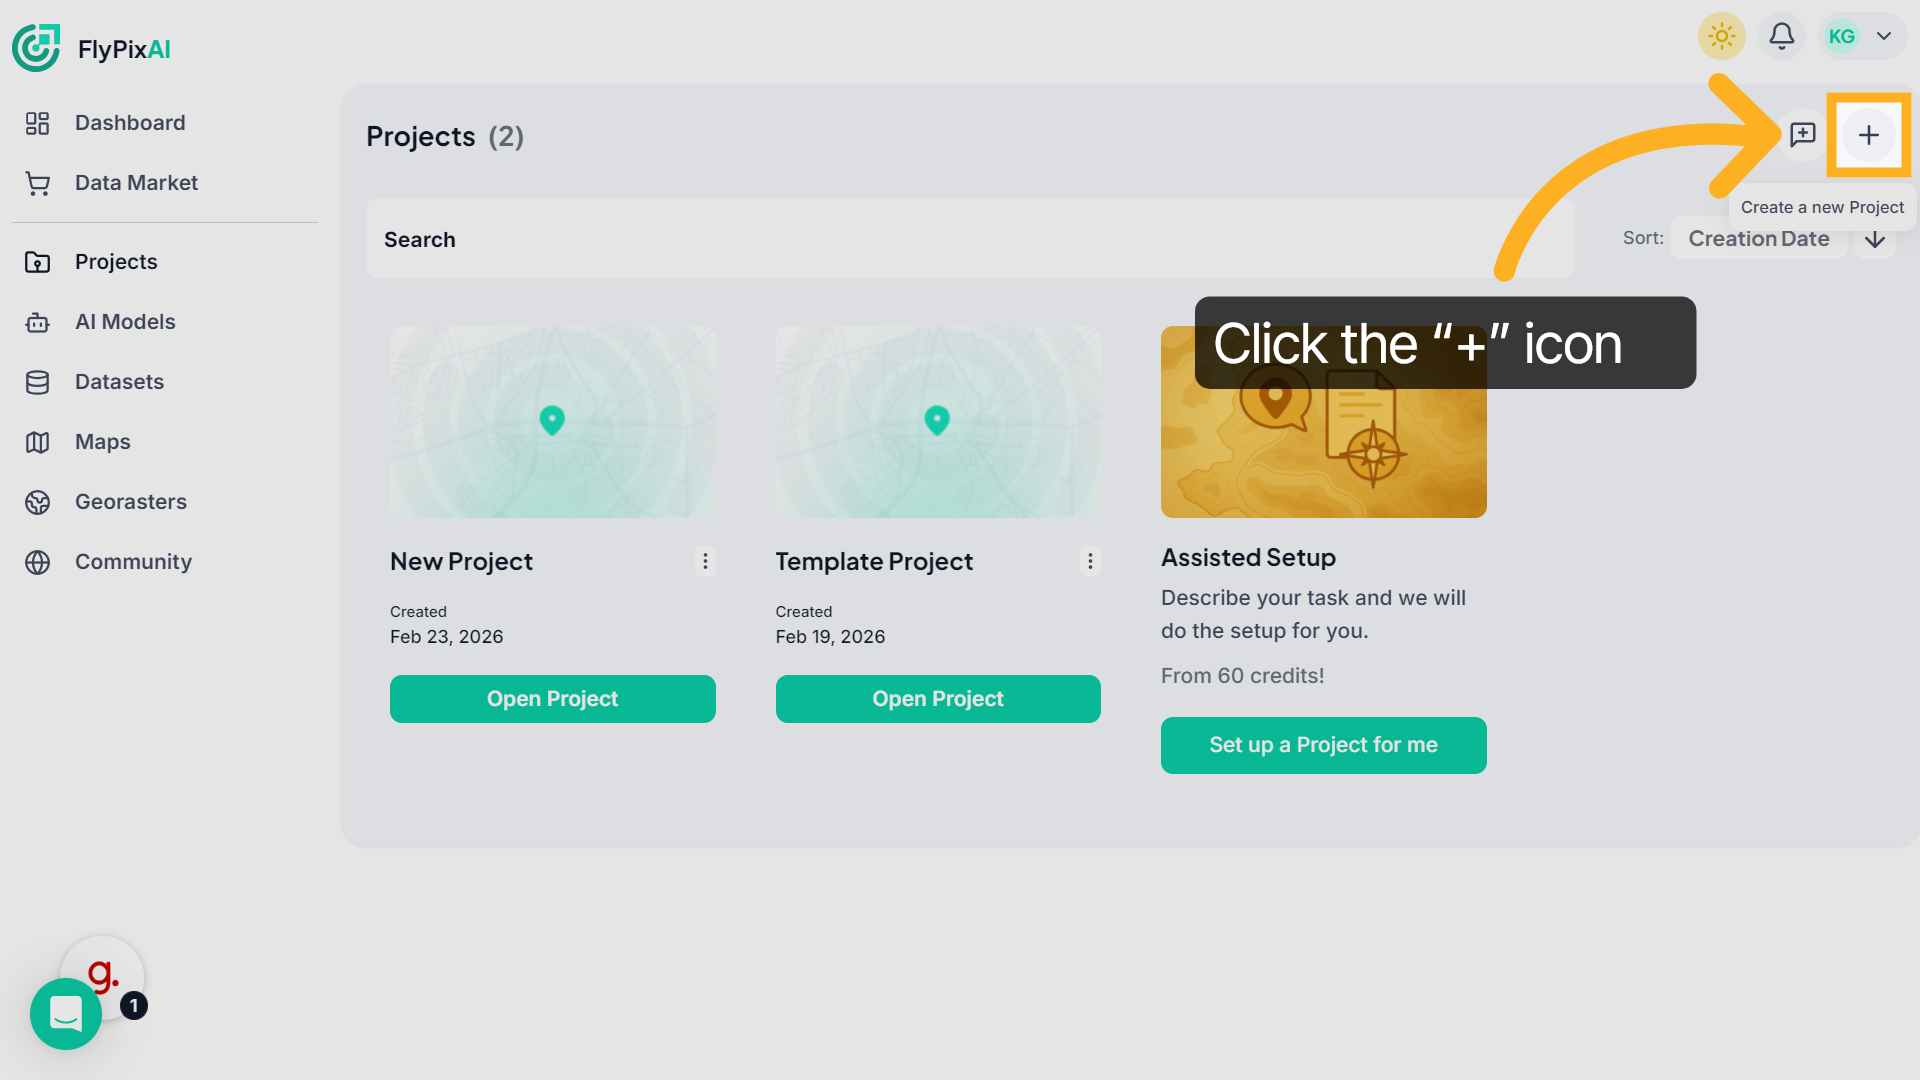
3. Create a New Project
Click the “+” icon in the top-right corner. A new project workspace opens automatically.
4. Name Your Project
Enter your project name, such as Berlin_ponds, to identify your project clearly.
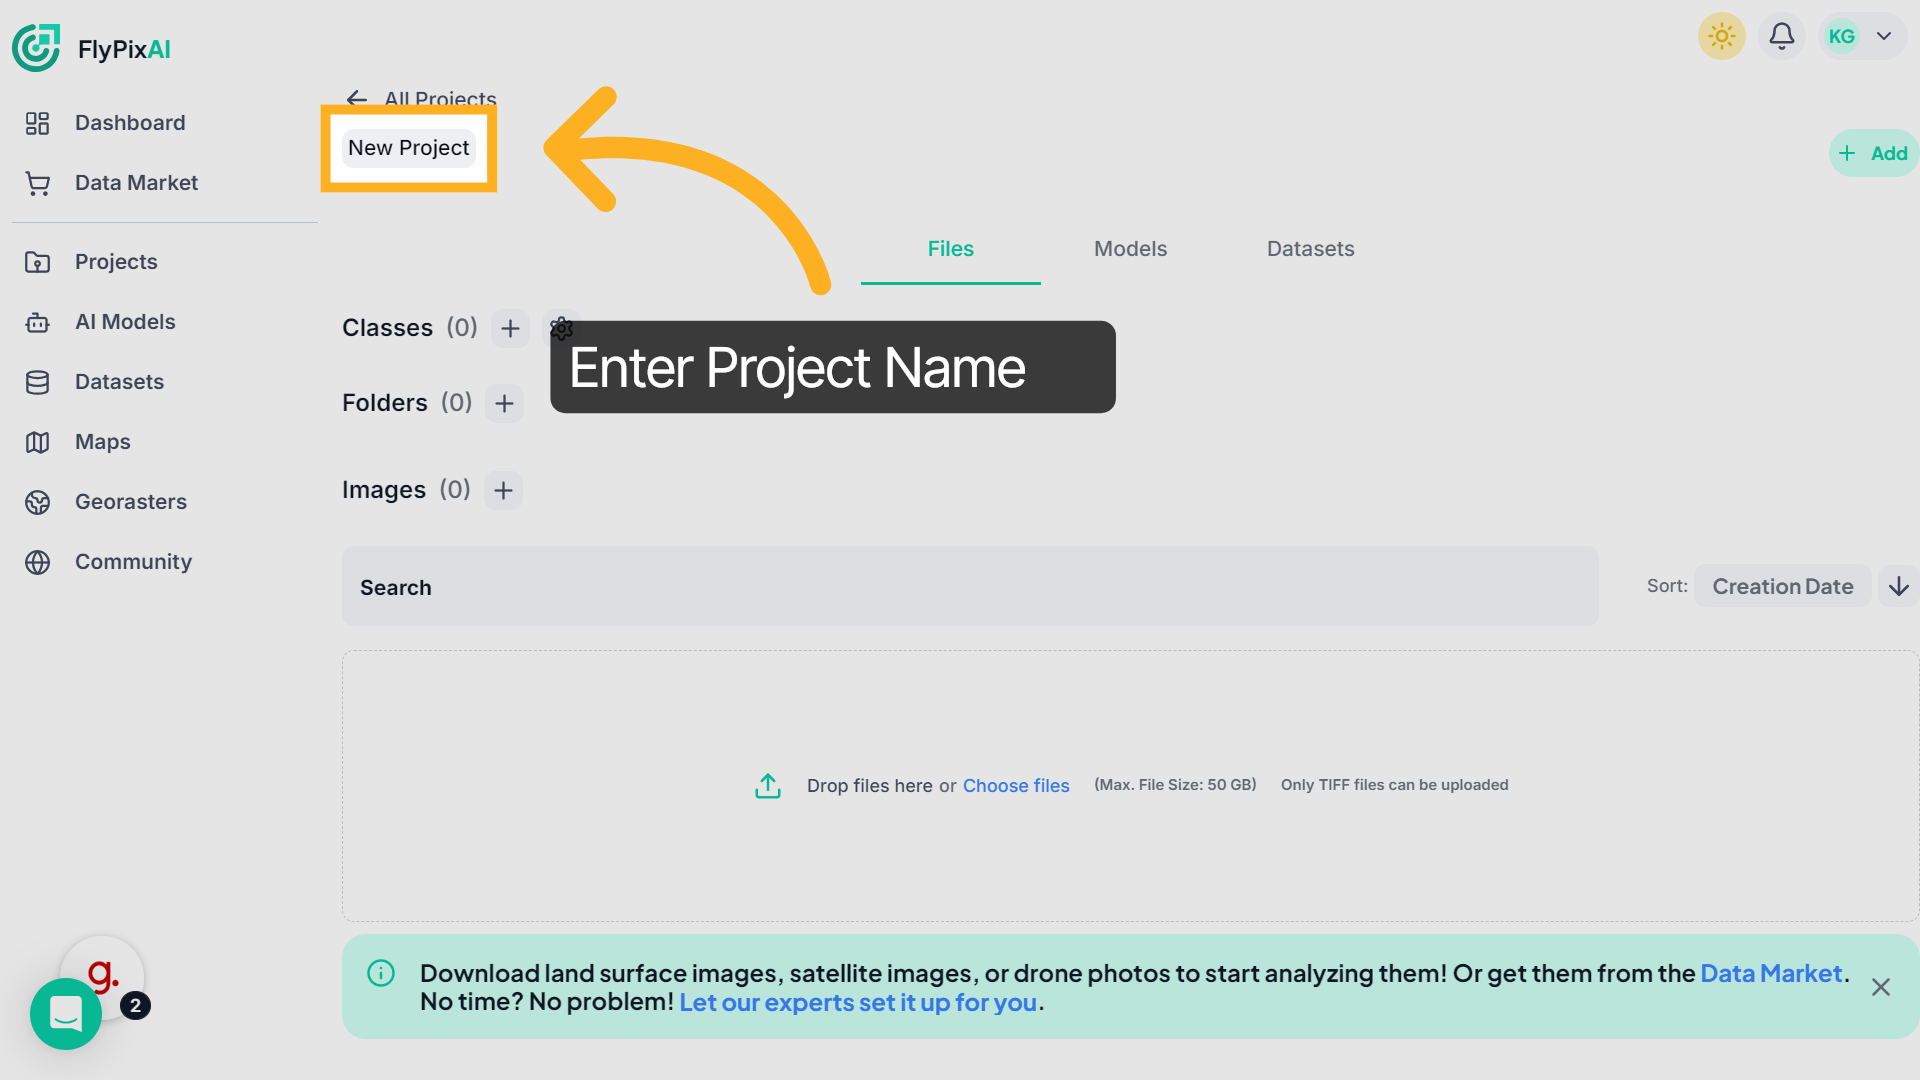
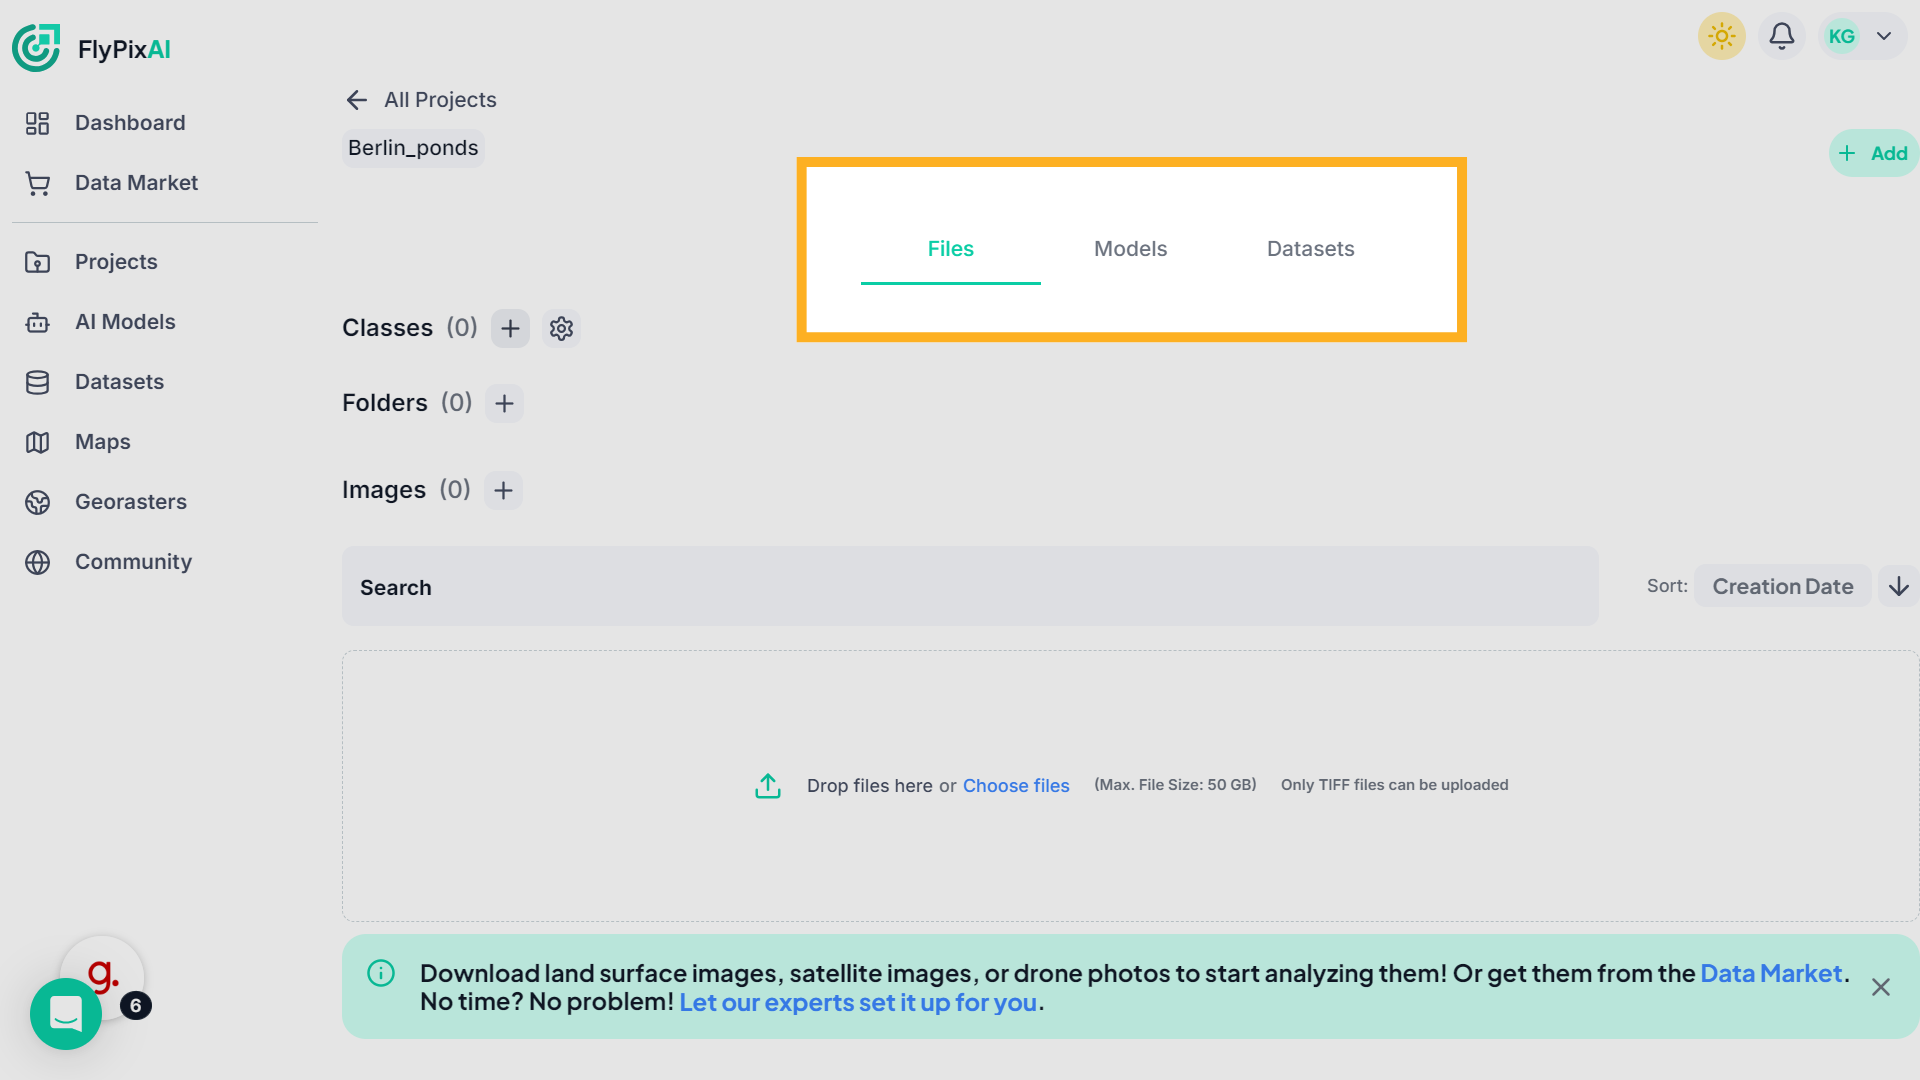
5. Project Setup
Inside your project, you’ll see three main tabs:Files, Models, Datasets. By default, you will land on the Files tab.
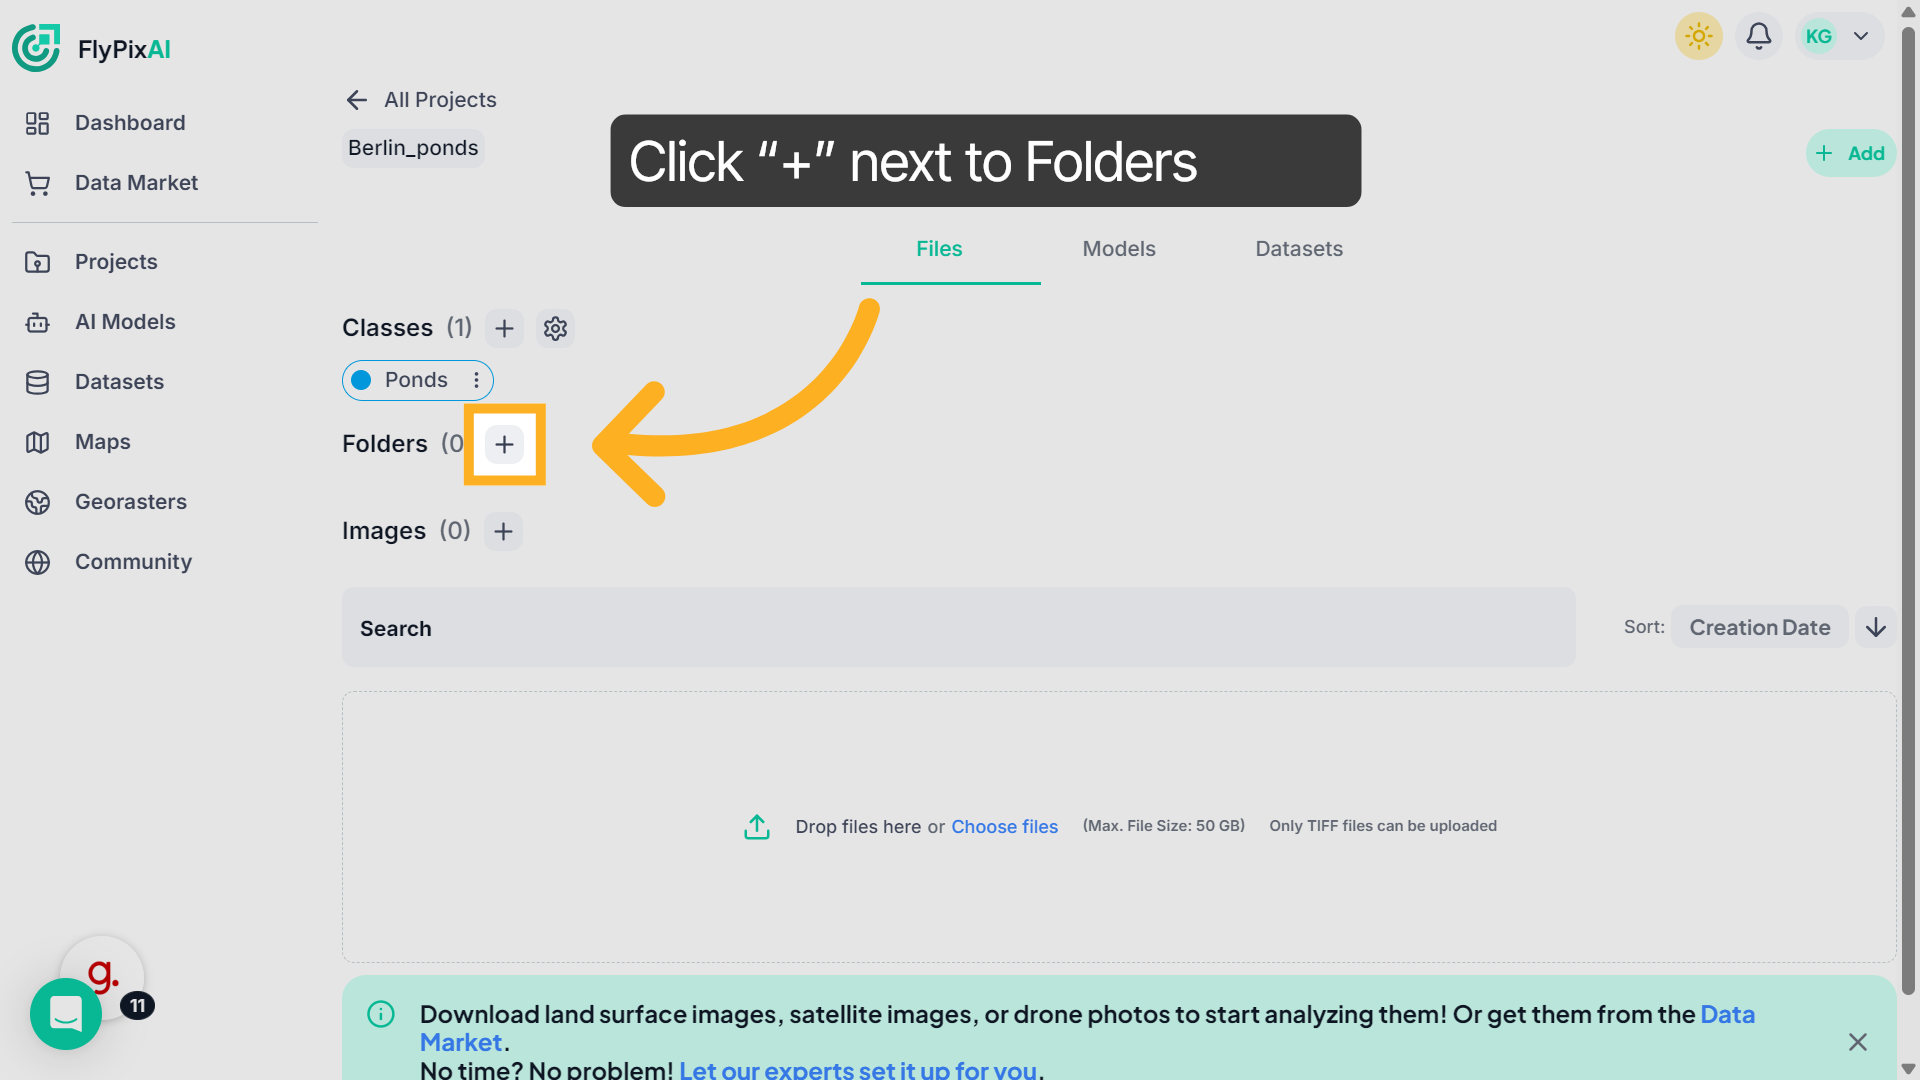
6. Add Folder (Optional)
If your project includes multiple datasets or locations, click the “+” icon next to Folders to create a folder for better organization.
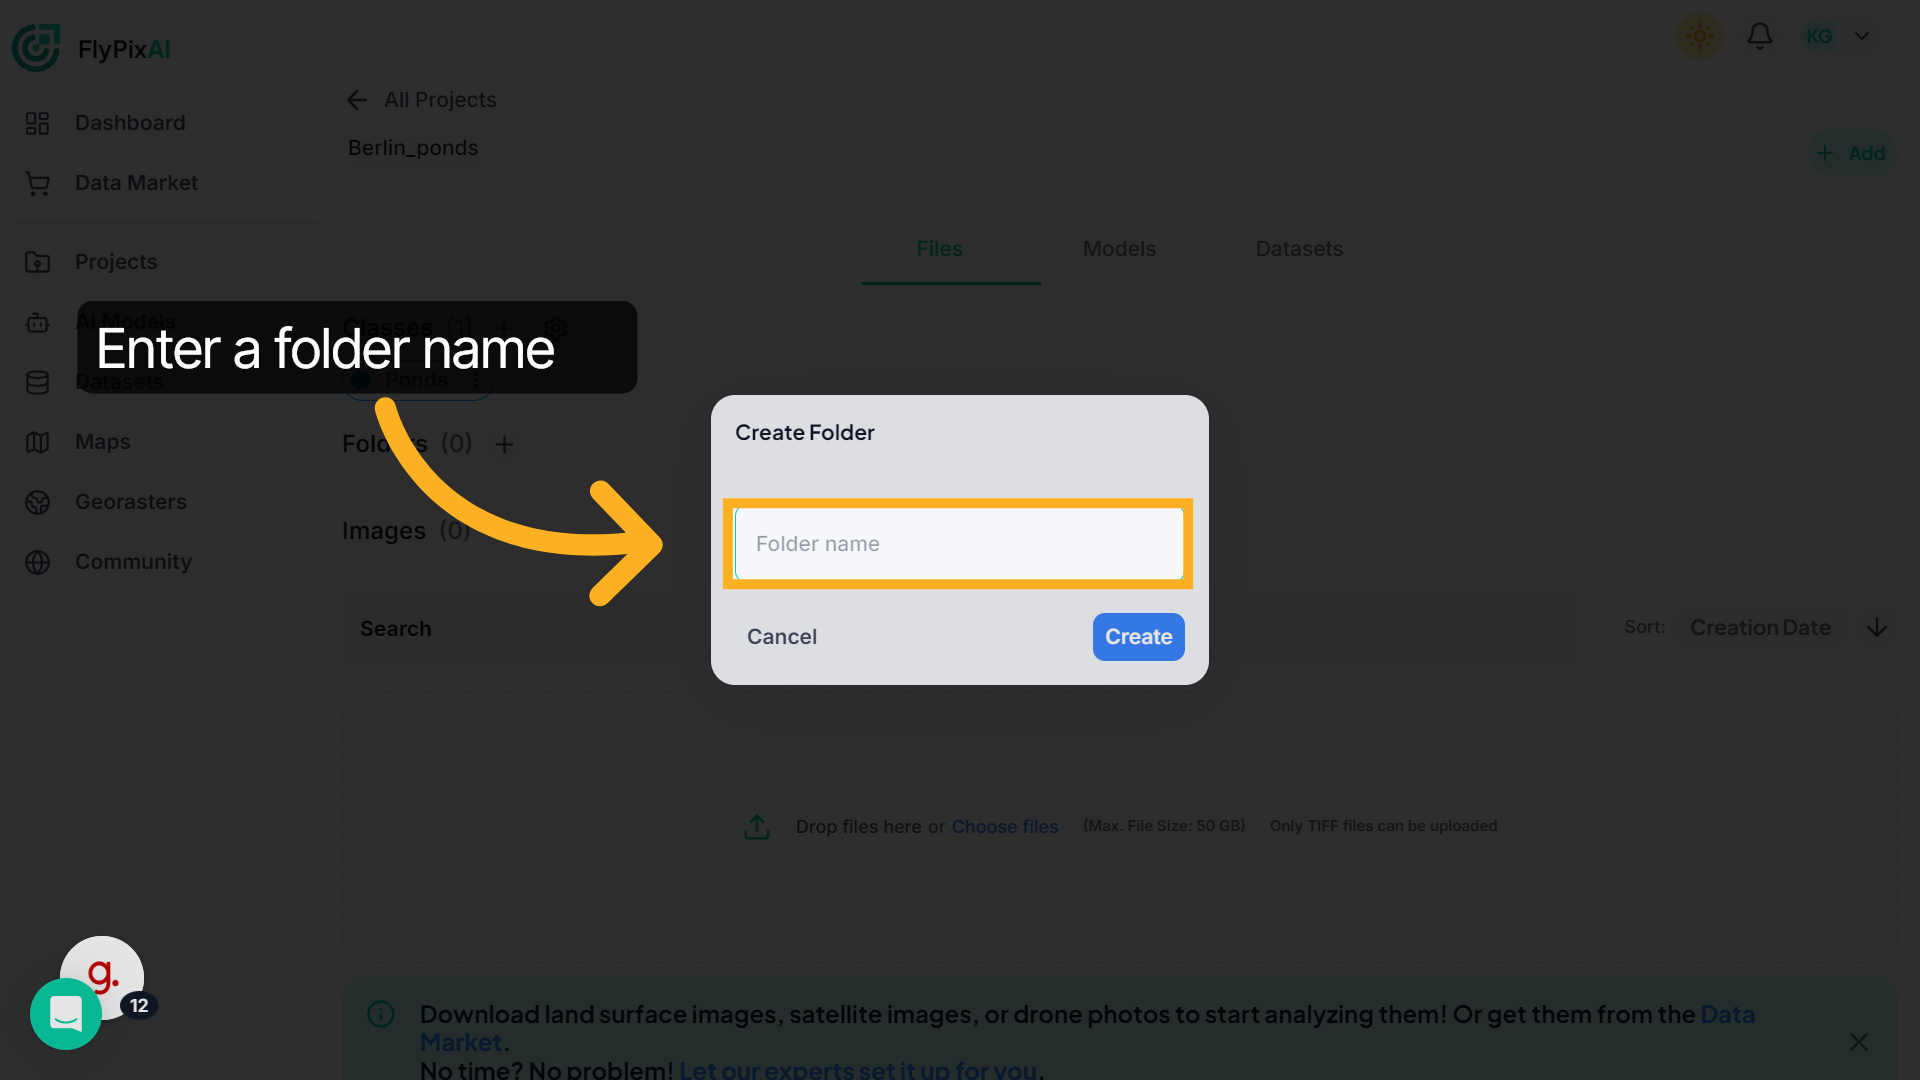
7. Enter Folder Name
Provide a descriptive name for the folder.
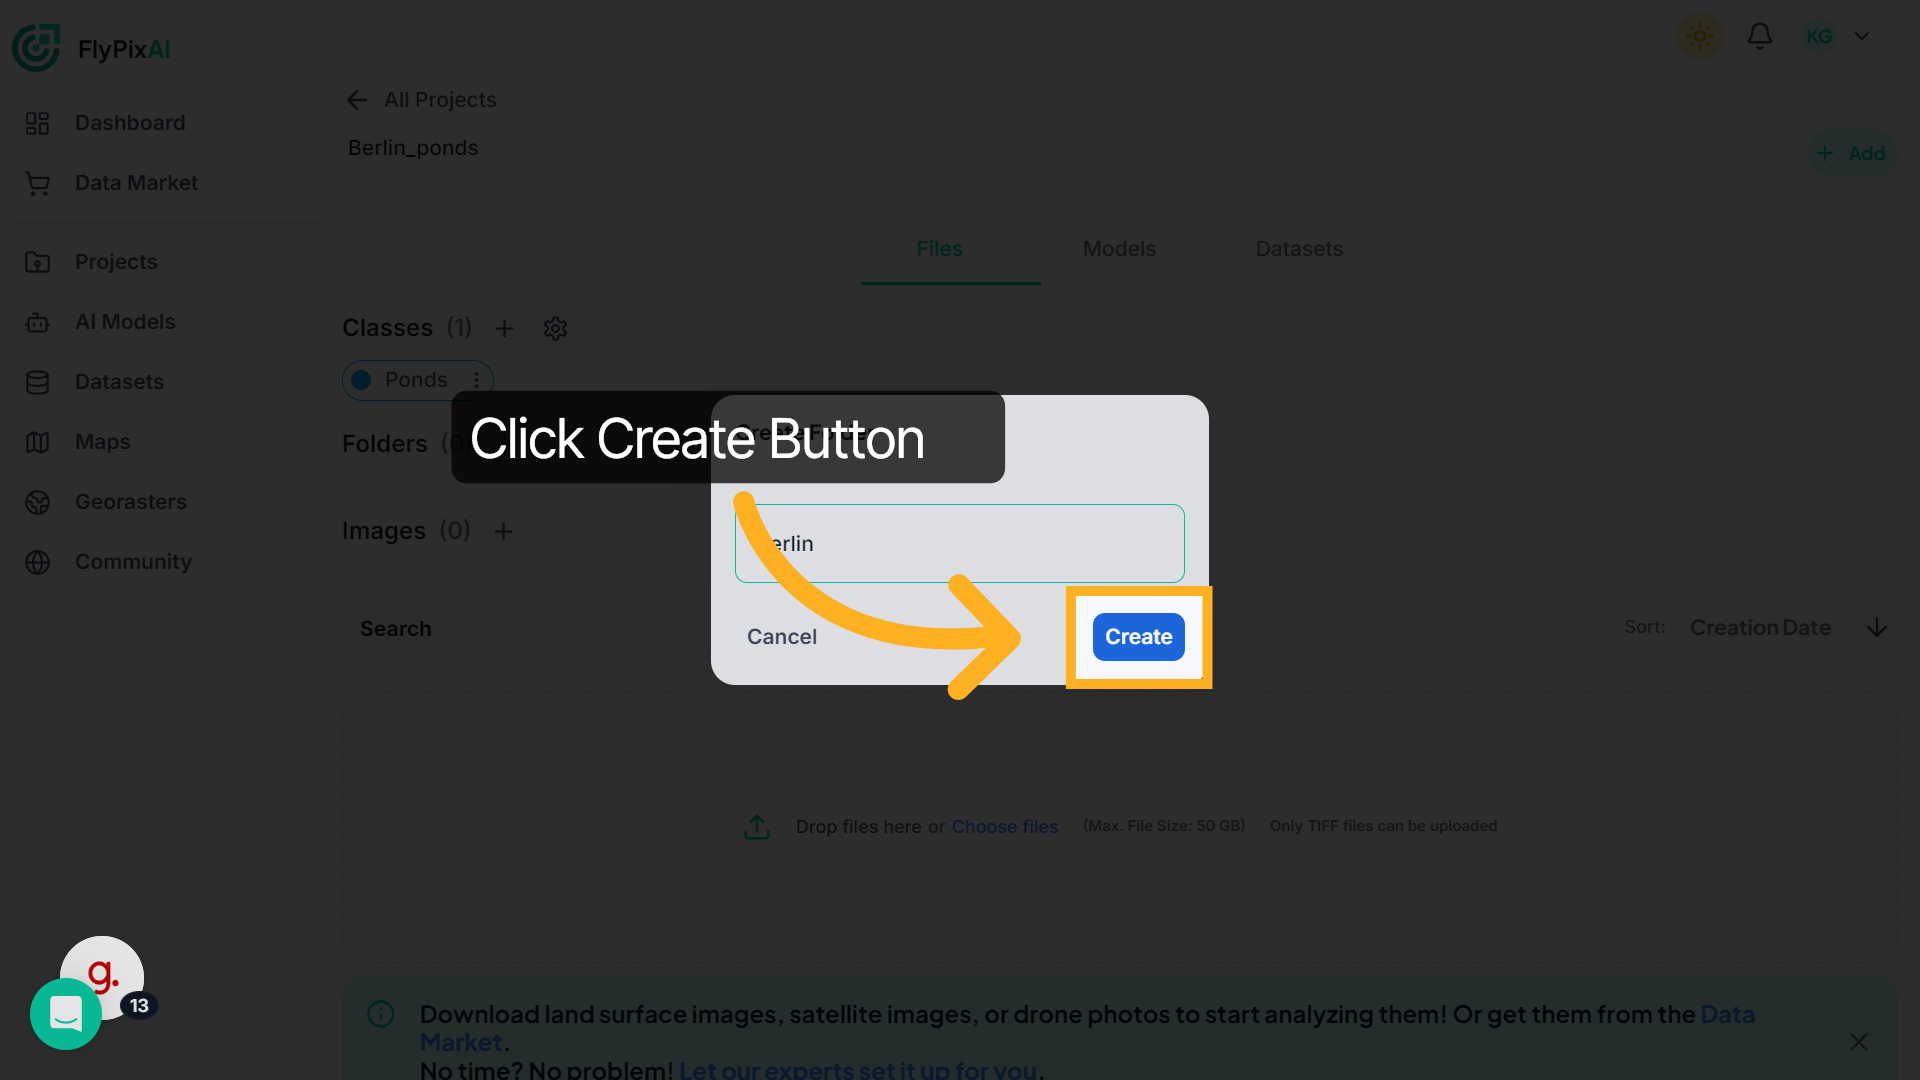
8. Create Folder
Click the Create button to add the folder to your project workspace. If you are working with a small or single dataset, creating folders is optional.
Your project workspace is now ready. In the next step, you can upload TIFF map files or geospatial imagery to begin preparing your dataset for analysis and model training.