Manage Profile Settings in FlyPix AI
This demo walks you through managing your profile, monitoring credits and storage, handling team members, and adjusting application preferences inside FlyPix AI.
Go to app.flypix.ai
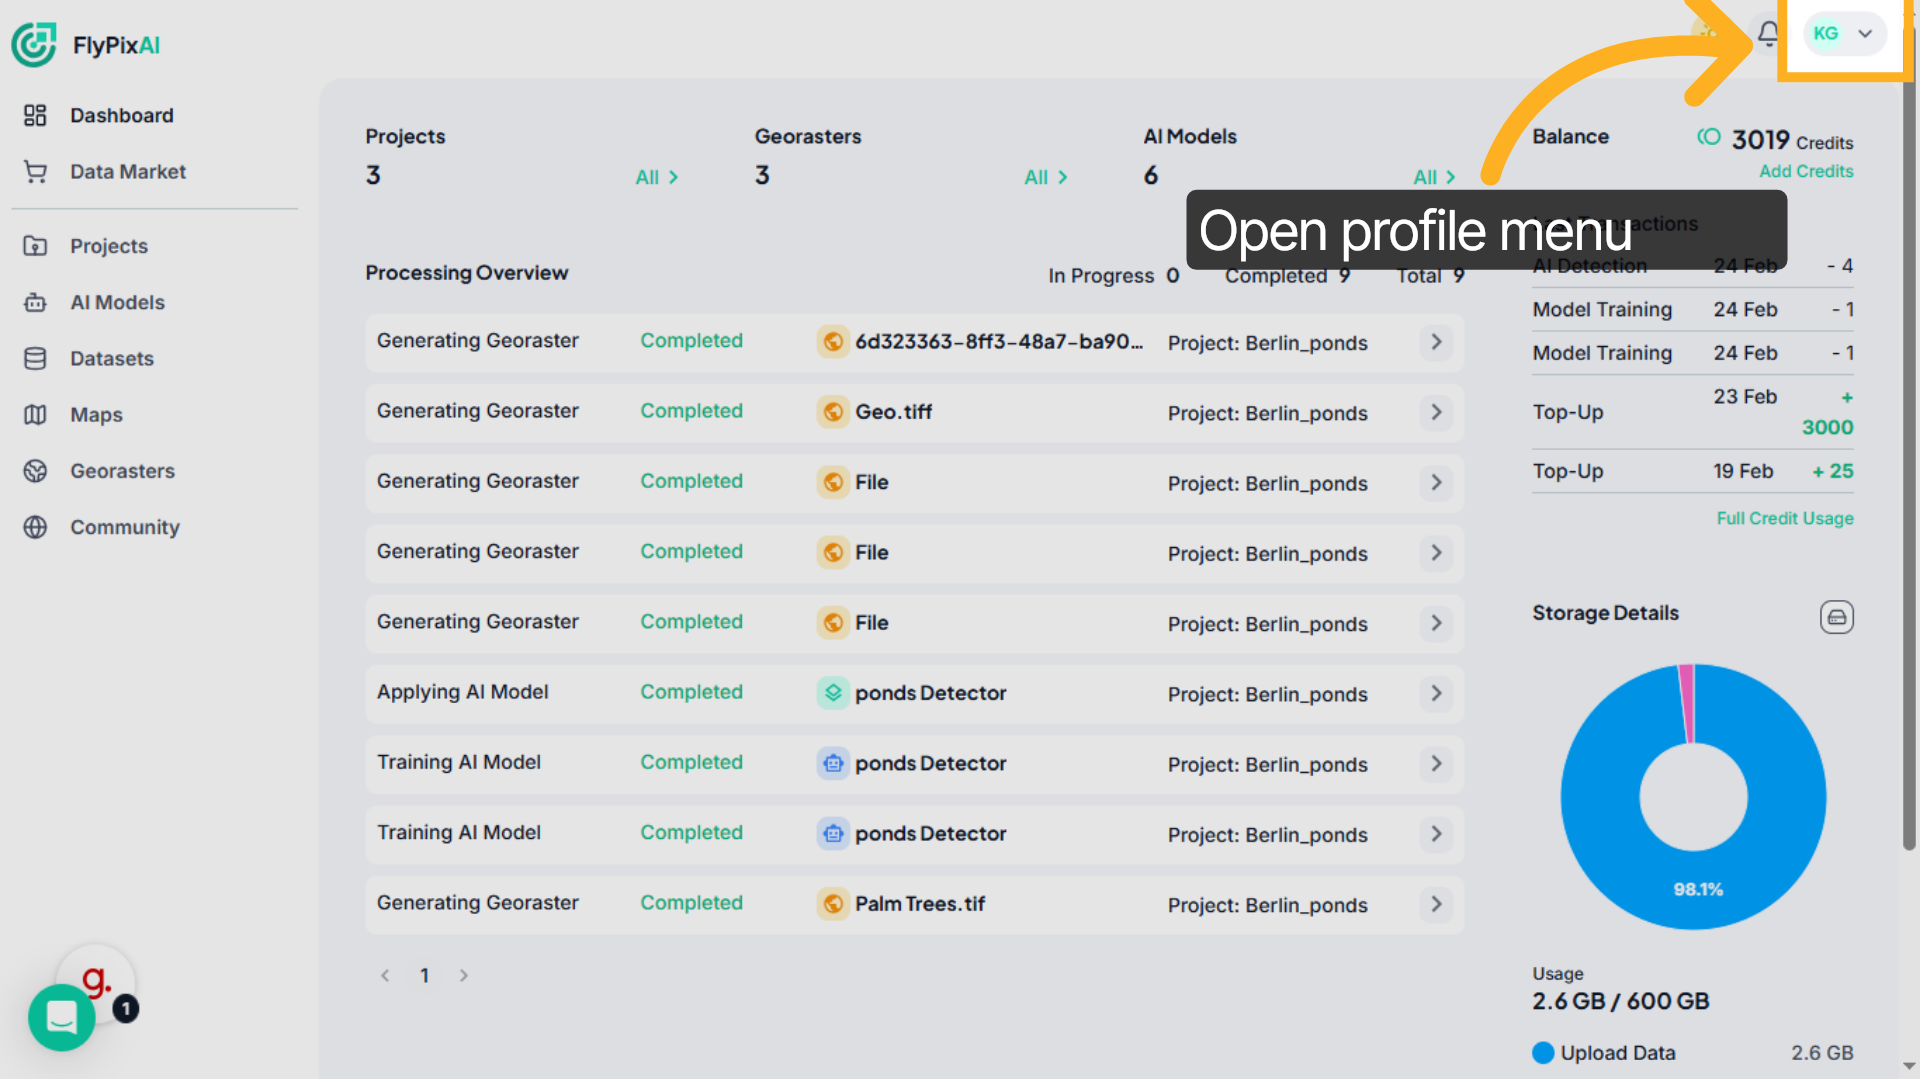
1. Go to Account Profile icon
Click your profile icon in the top-right corner to open your detailed user dashboard.
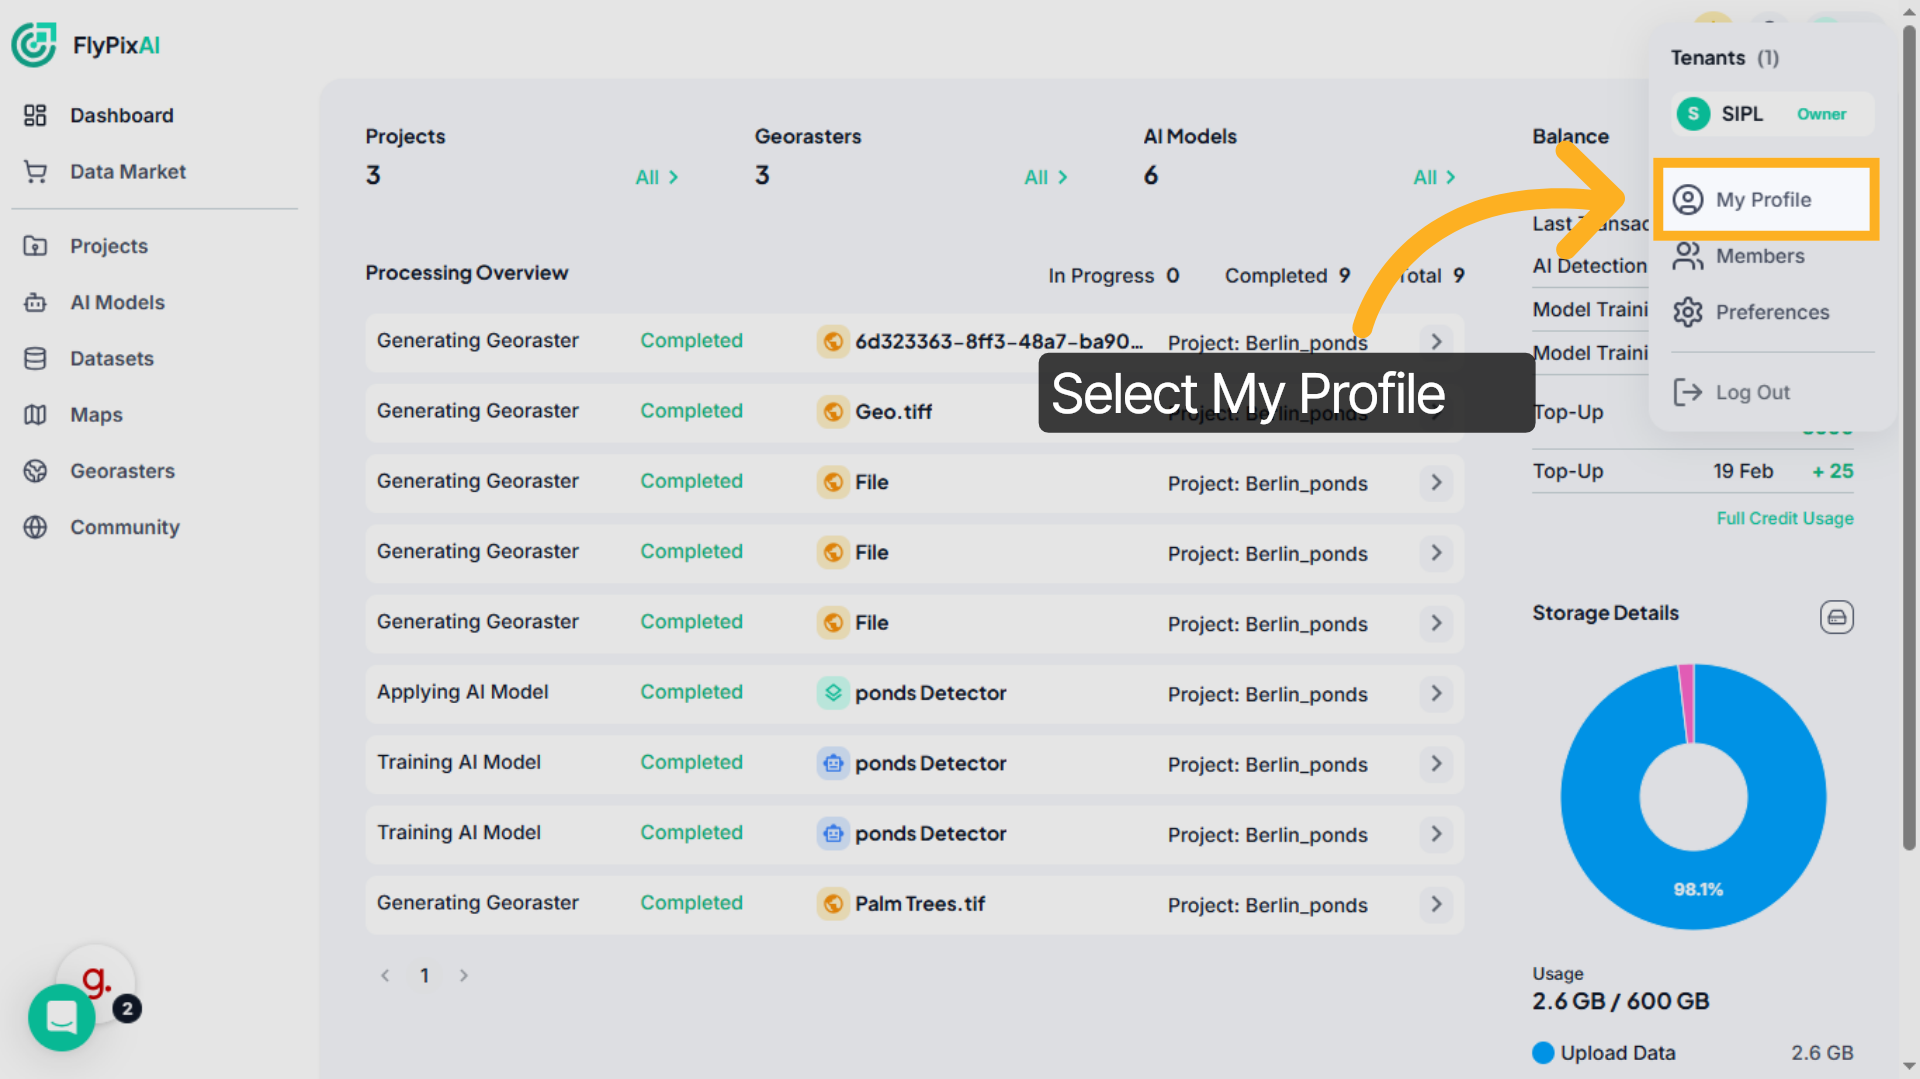
2. Select My Profile option
From the dropdown menu, select My Profile to access and manage your personal account settings.
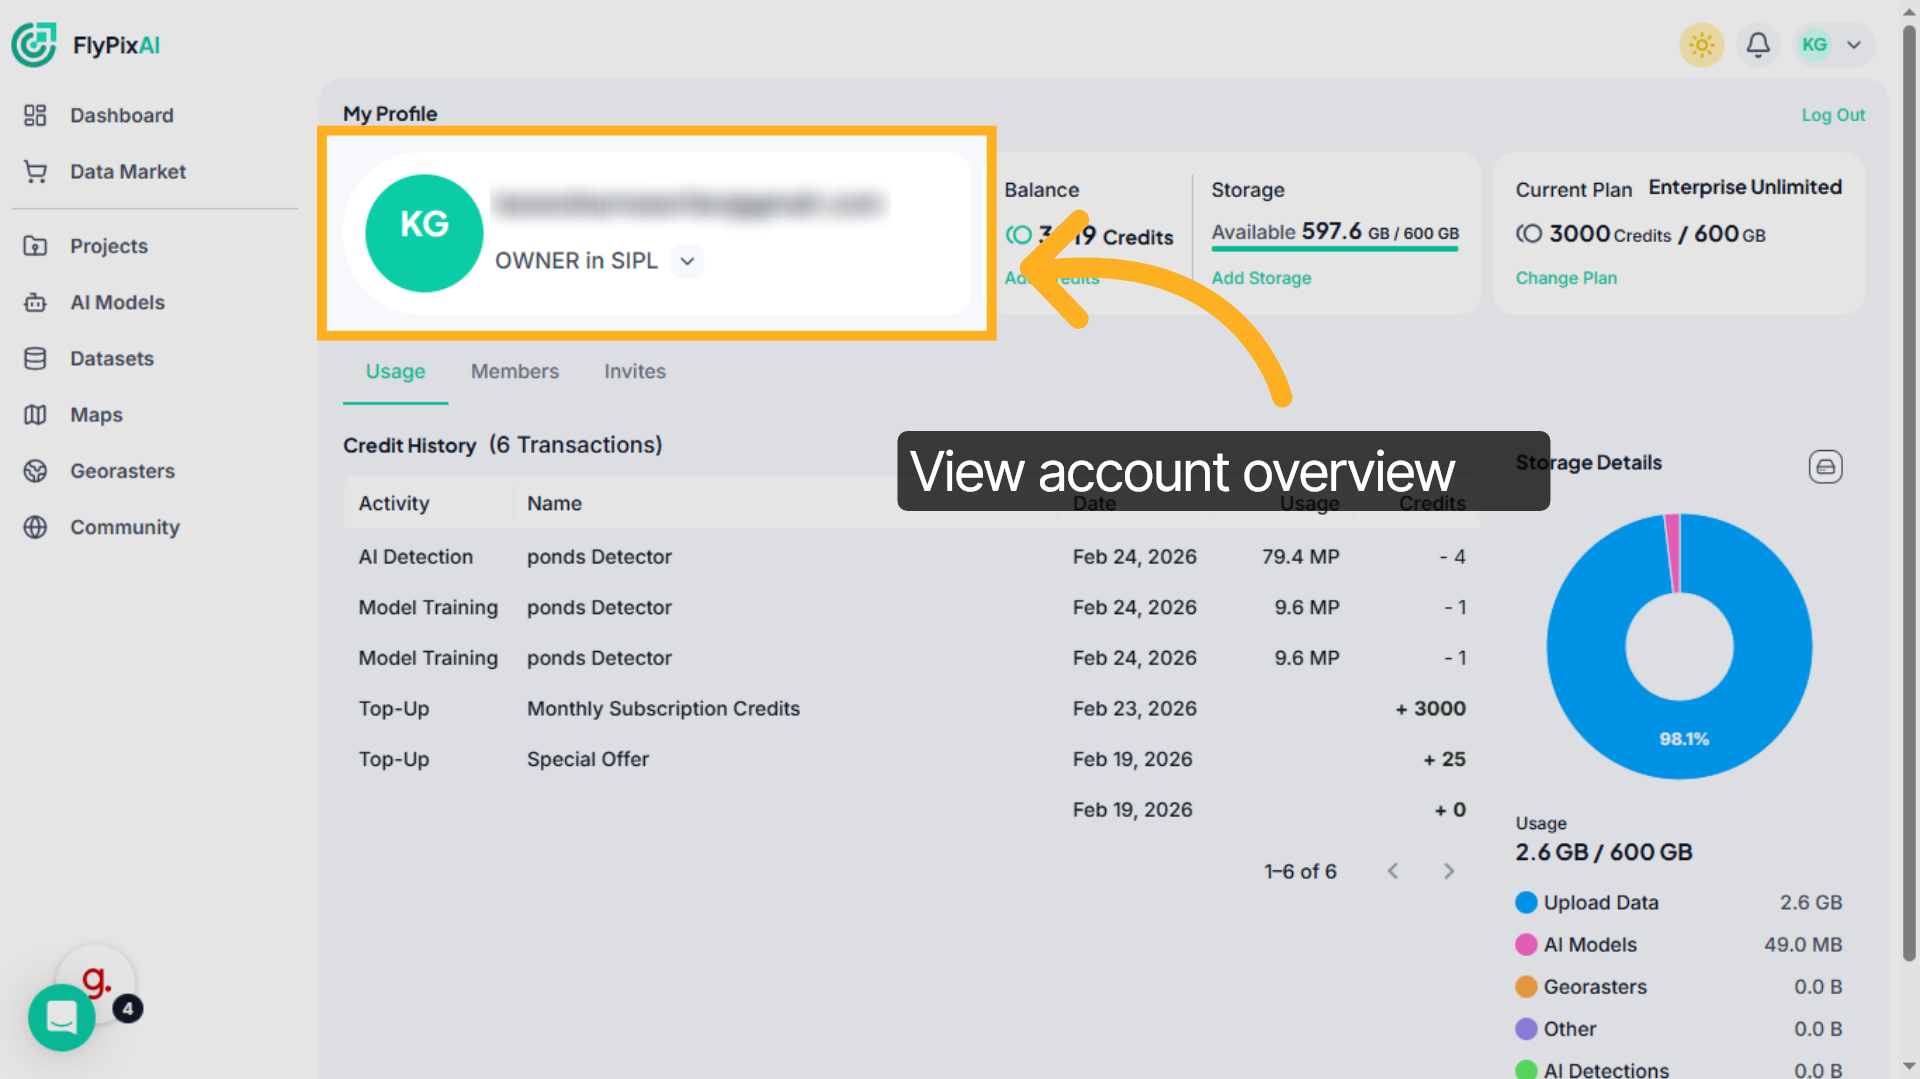
3. View Account Owner Details
At the top of the profile page, you can see your registered email address and your role within the organization, such as Owner.
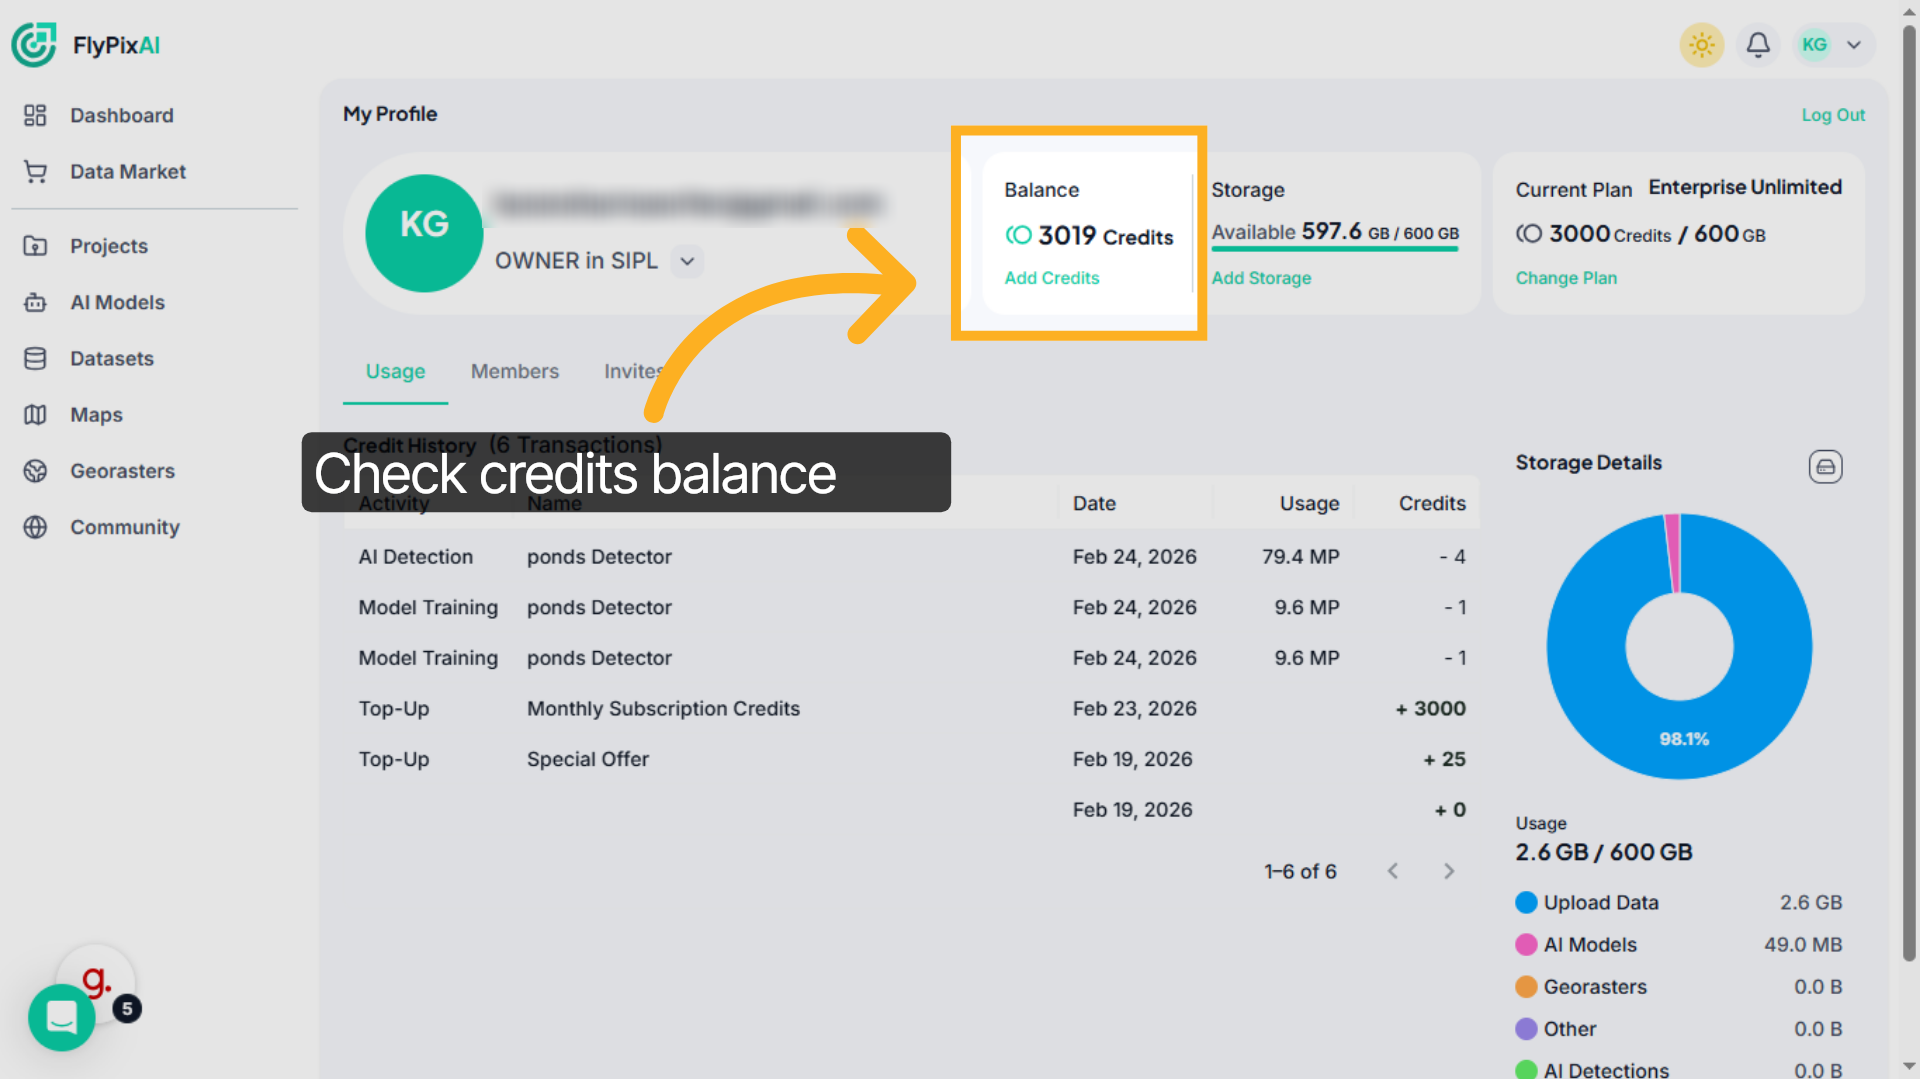
4. Review Credits Balance
In the Balance section, you’ll see your available credits displayed clearly. You can also click Add Credits if you need more.
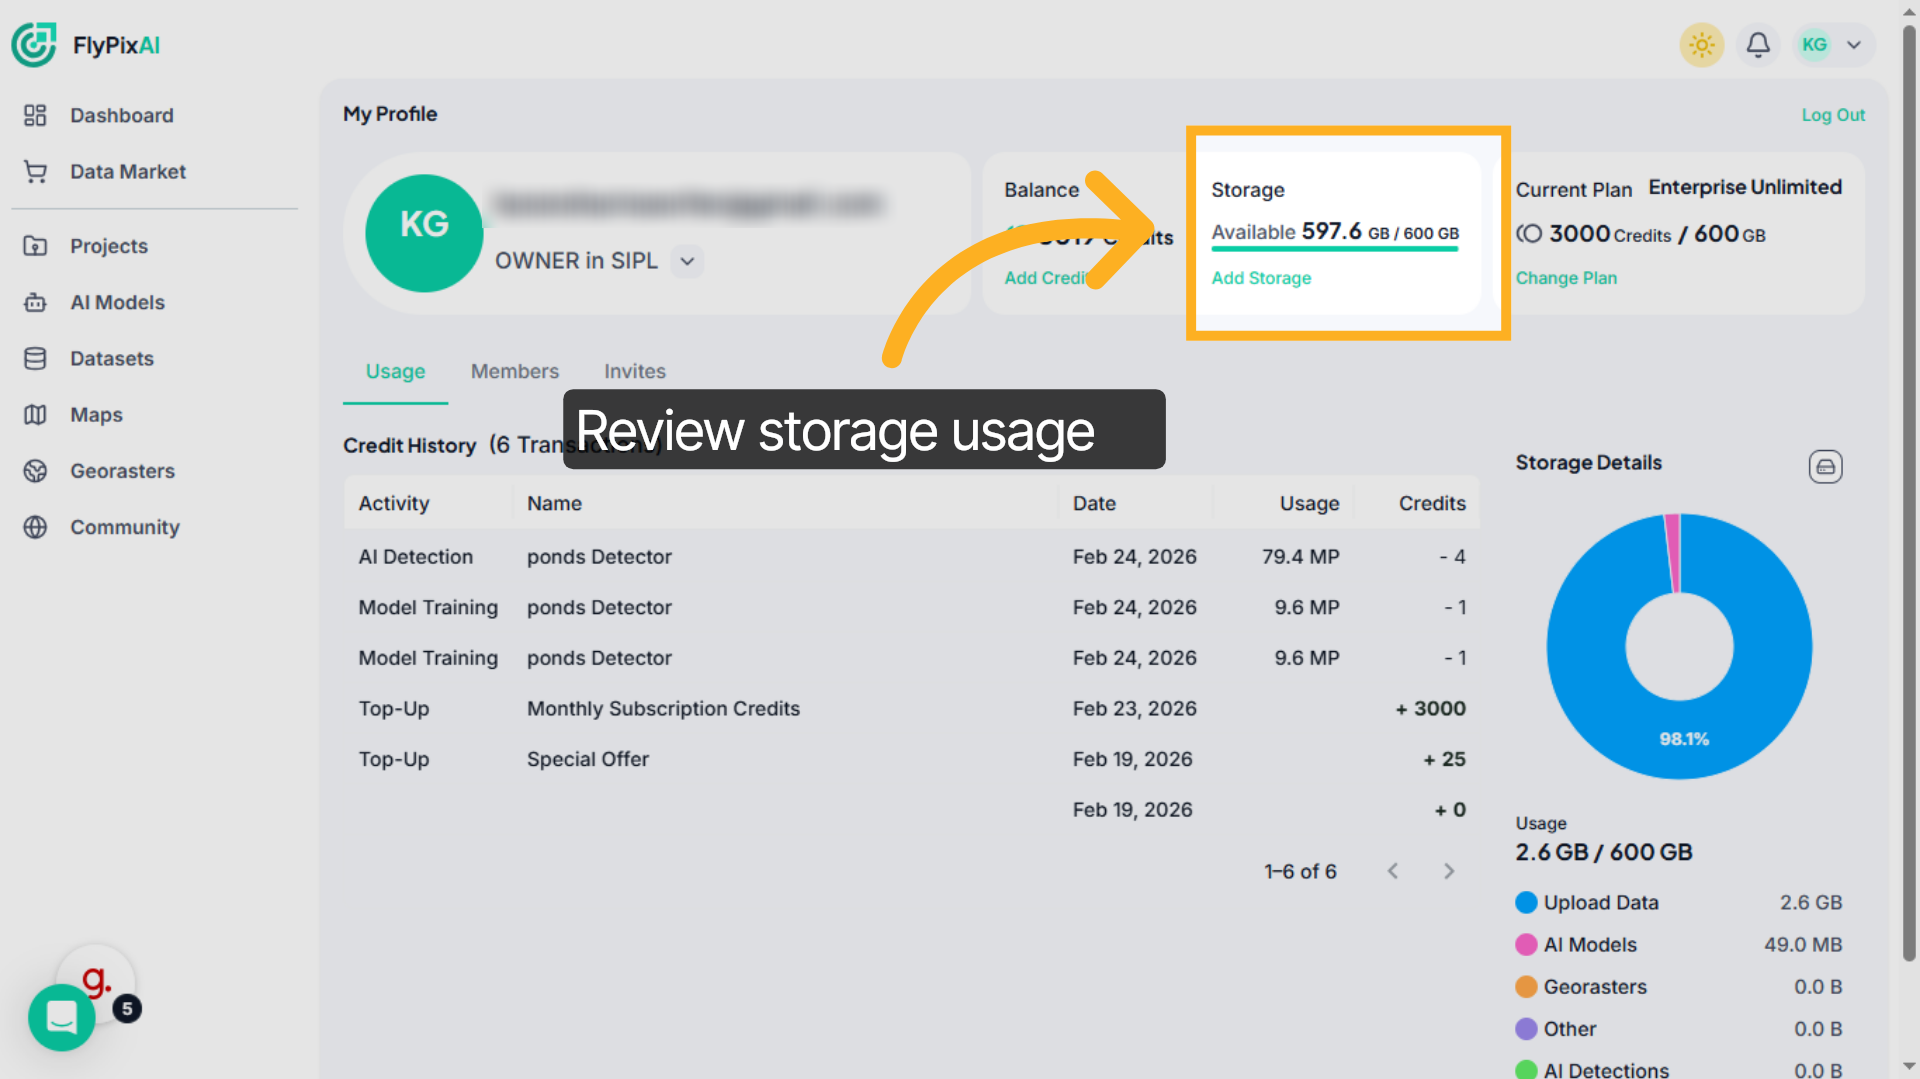
5. Check Storage Usage
Next to Balance, you’ll find the Storage panel showing how much storage is used and how much remains available.You can select Add Storage if additional capacity is required.
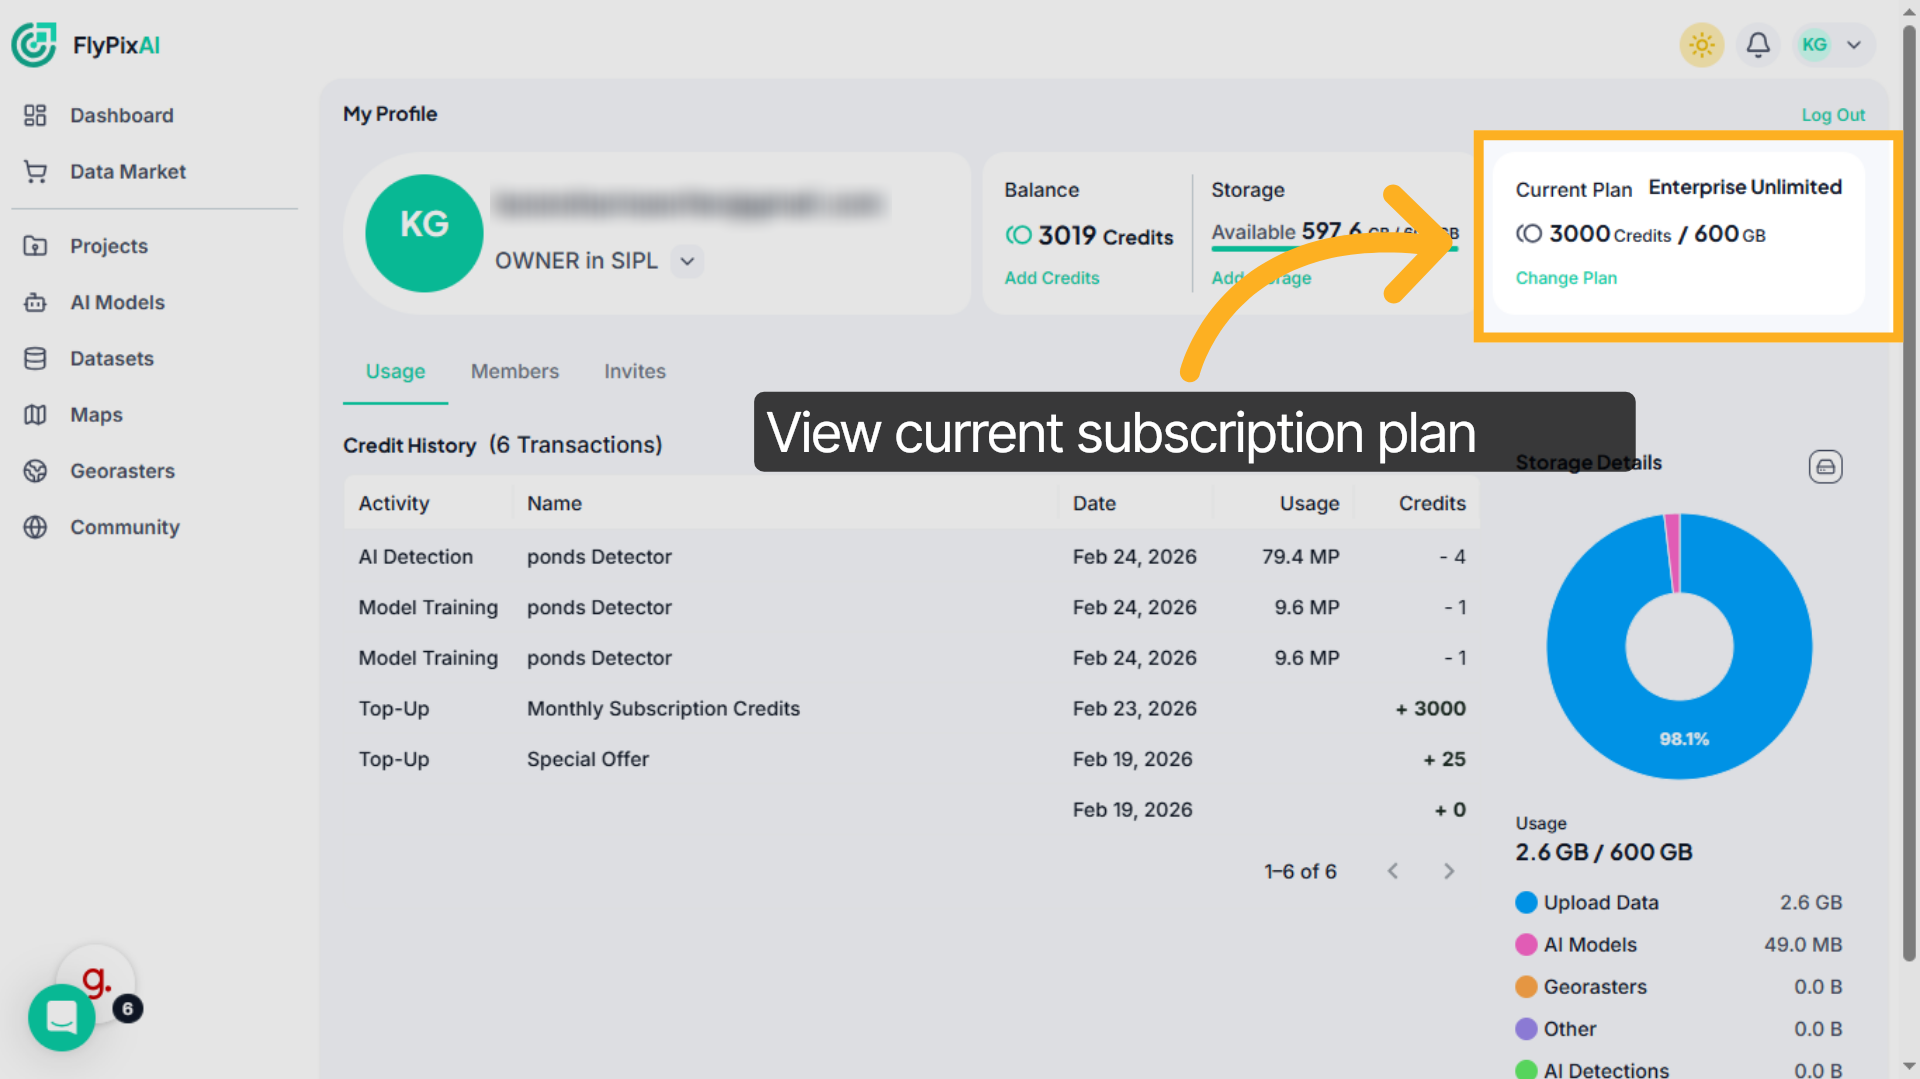
6. Check Current Subscription Plan
On the right side, the Current Plan section displays your subscription type, such as Enterprise Unlimited, along with included credits and storage limits.You can use Change Plan if needed.
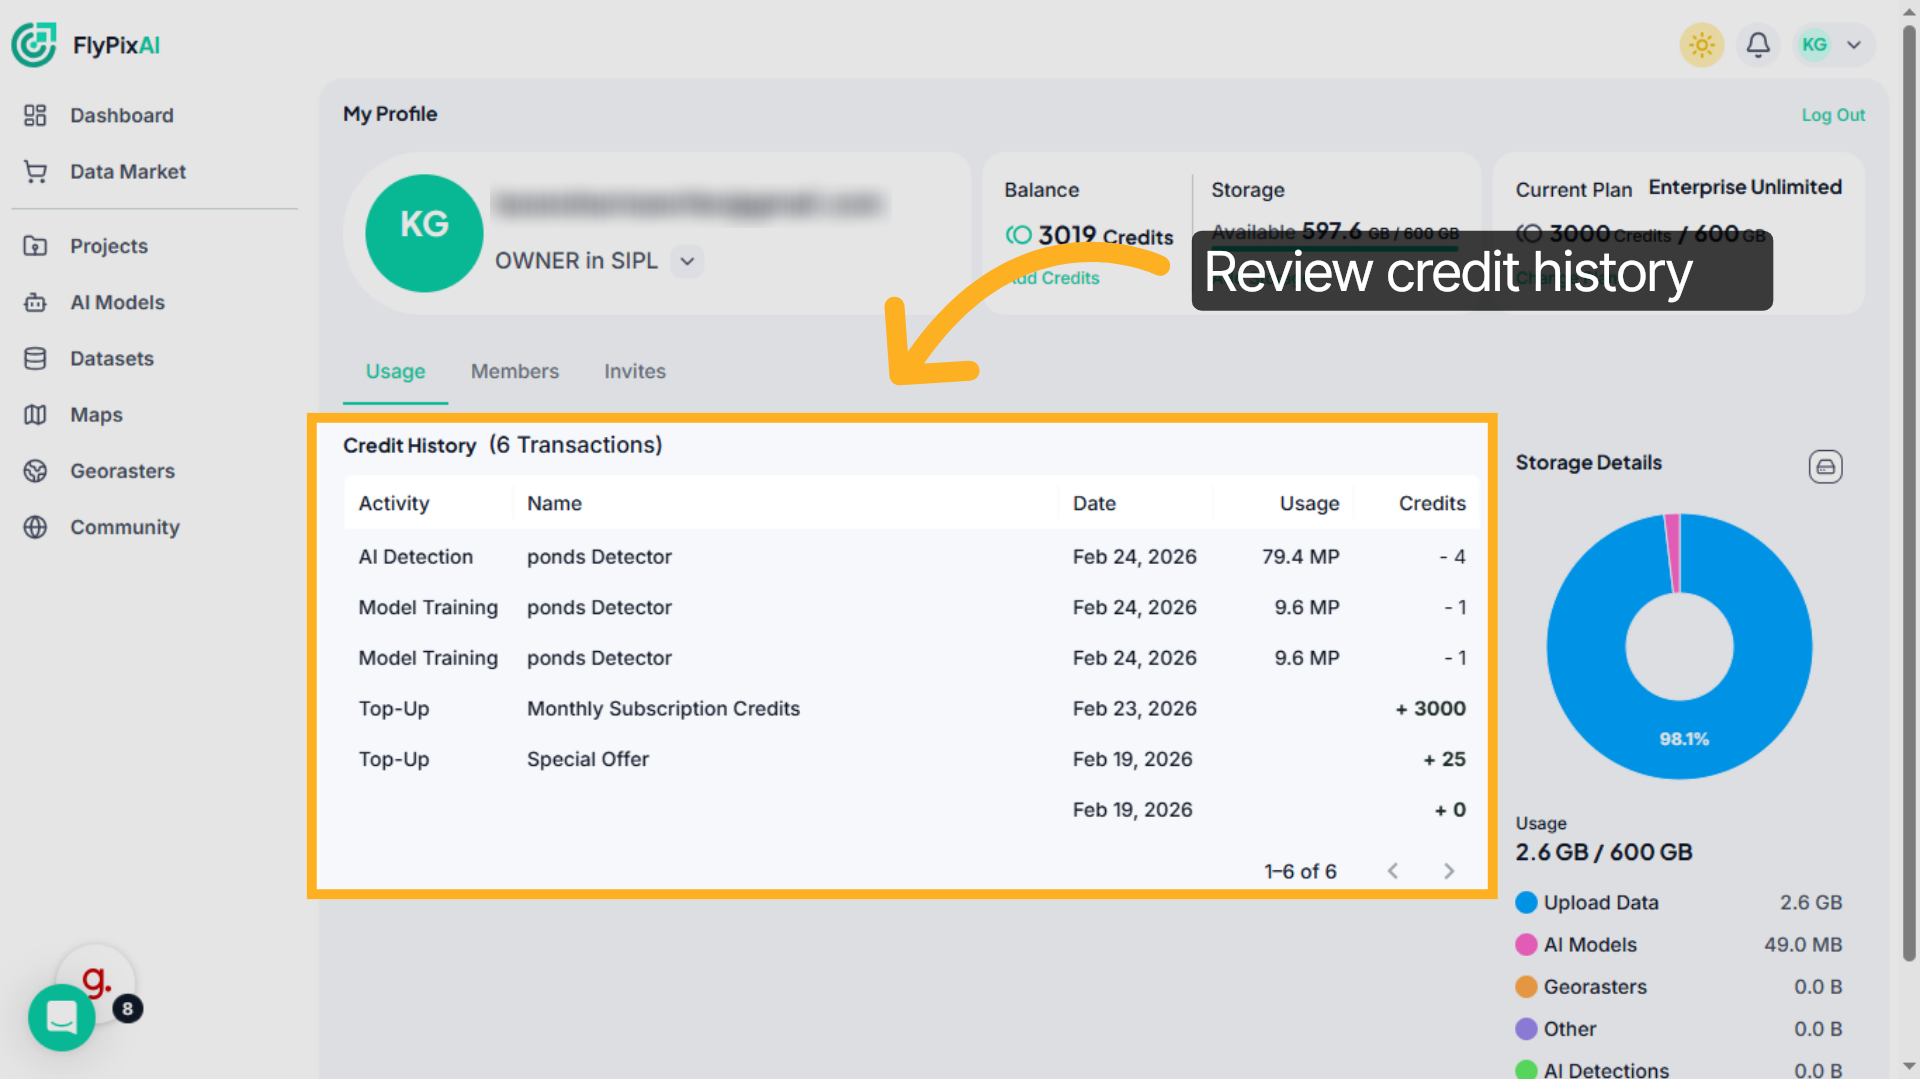
7. Access Credit Transaction History
Scroll down to the Credit History section. Here you can review recent activity, including AI detections, model training usage, and credit top-ups, along with dates and credit deductions.
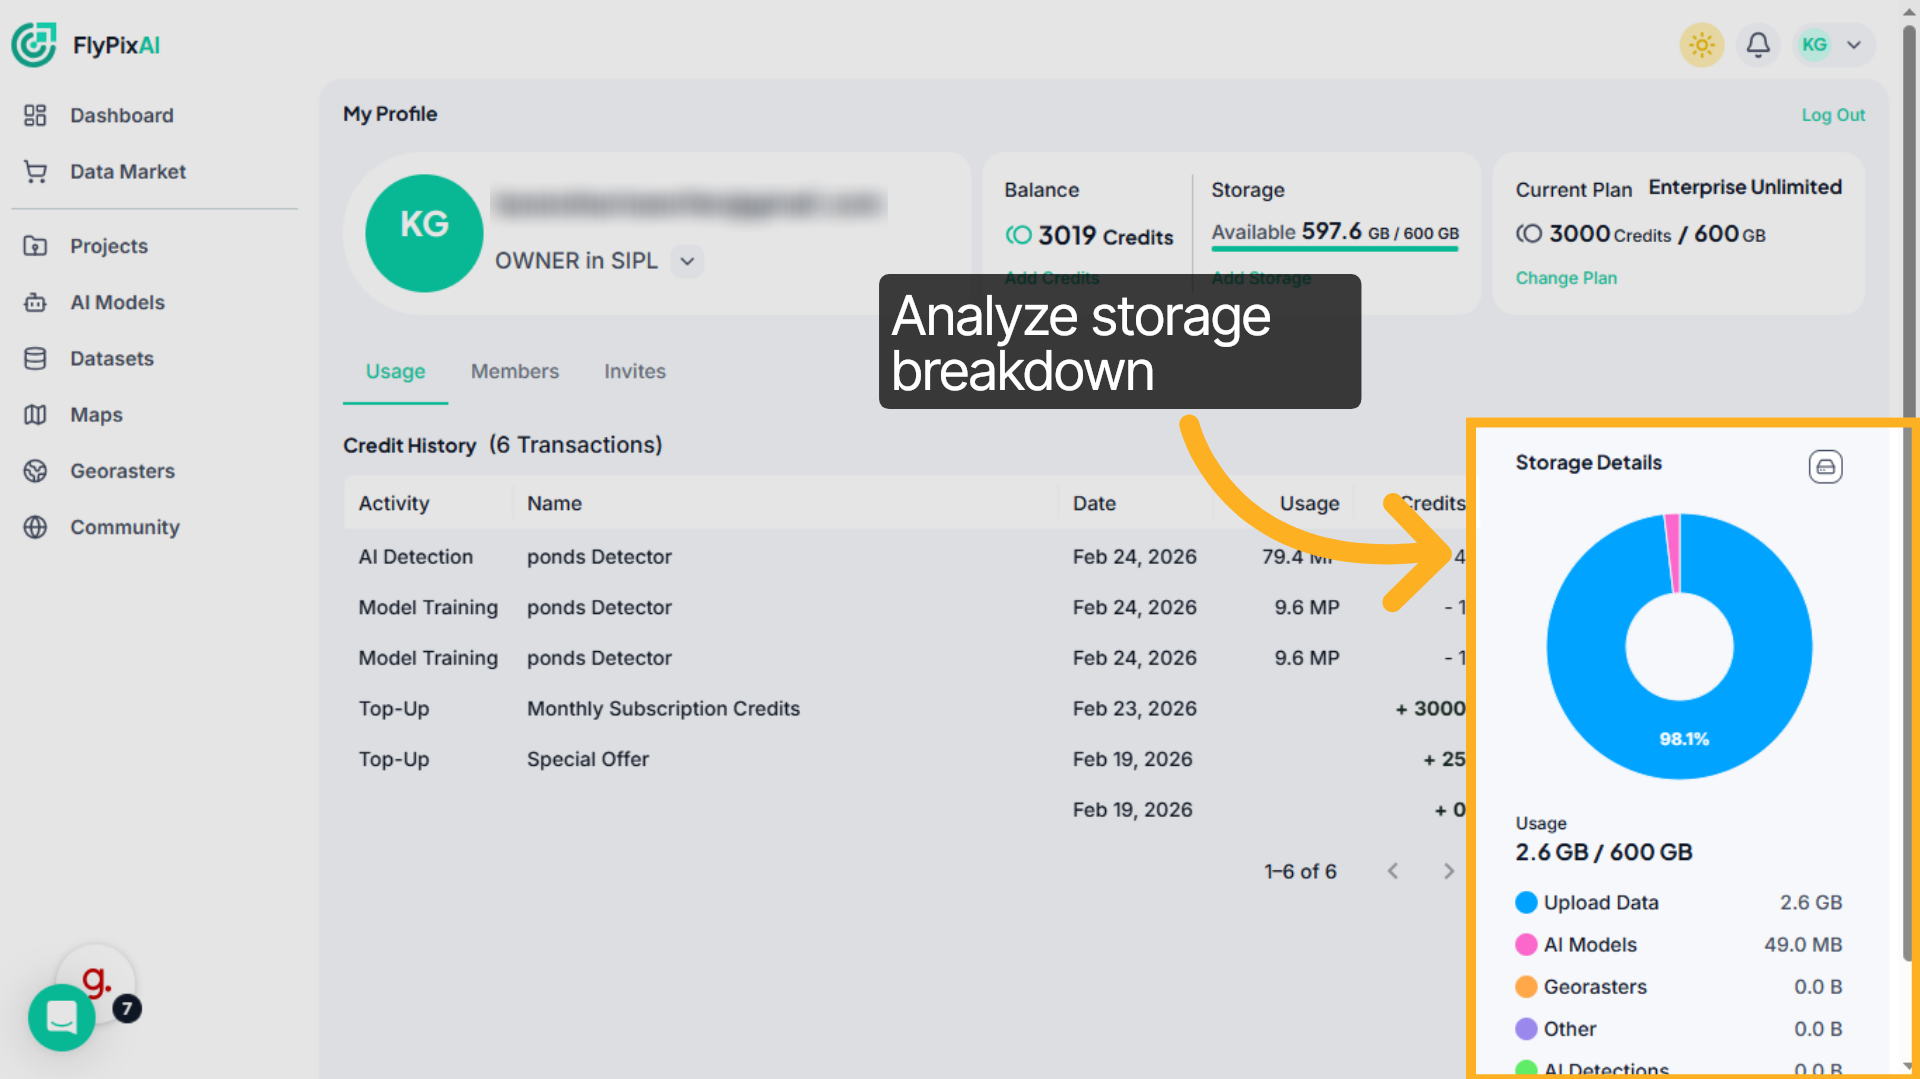
8. Inspect Storage Usage Details
On the right side, the Storage Details chart visually shows how your storage is distributedincluding Upload Data, AI Models, Georasters, and other categories.
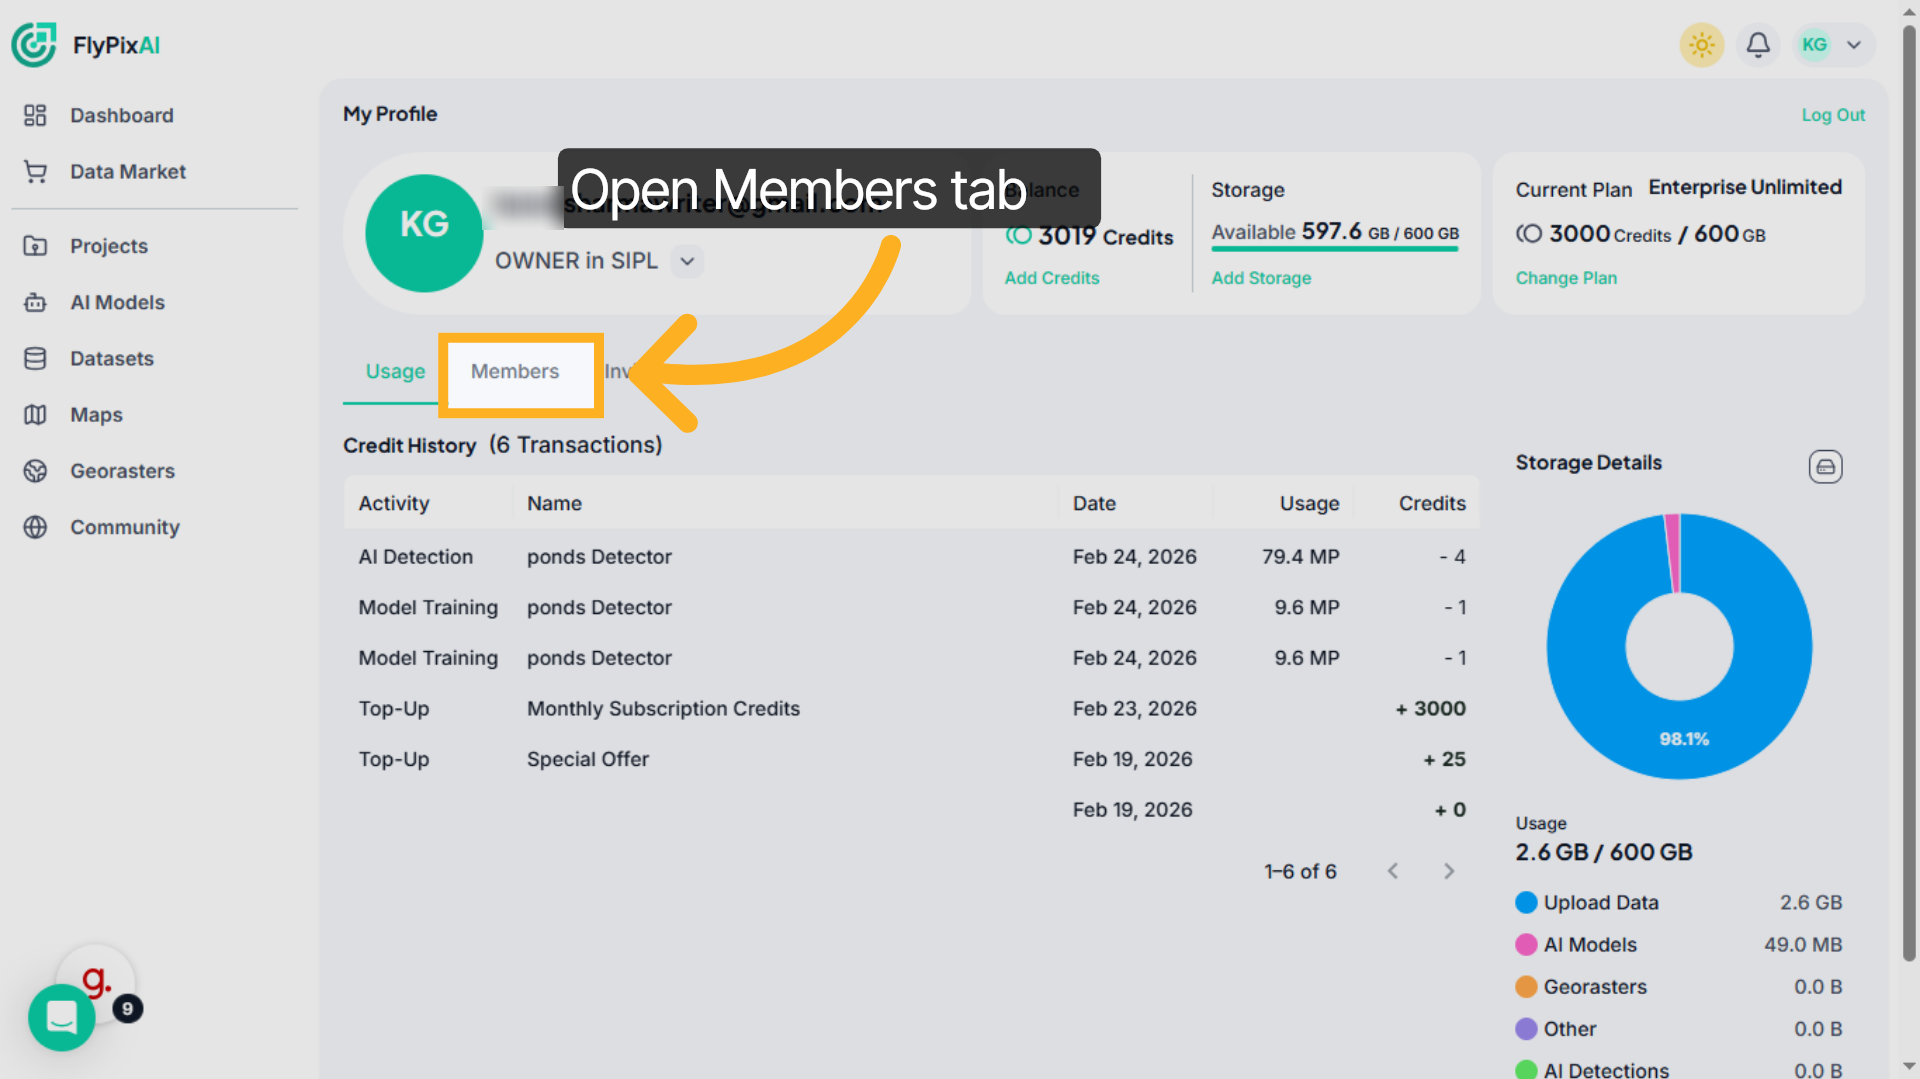
9. Open Members Management
Click the Members tab.
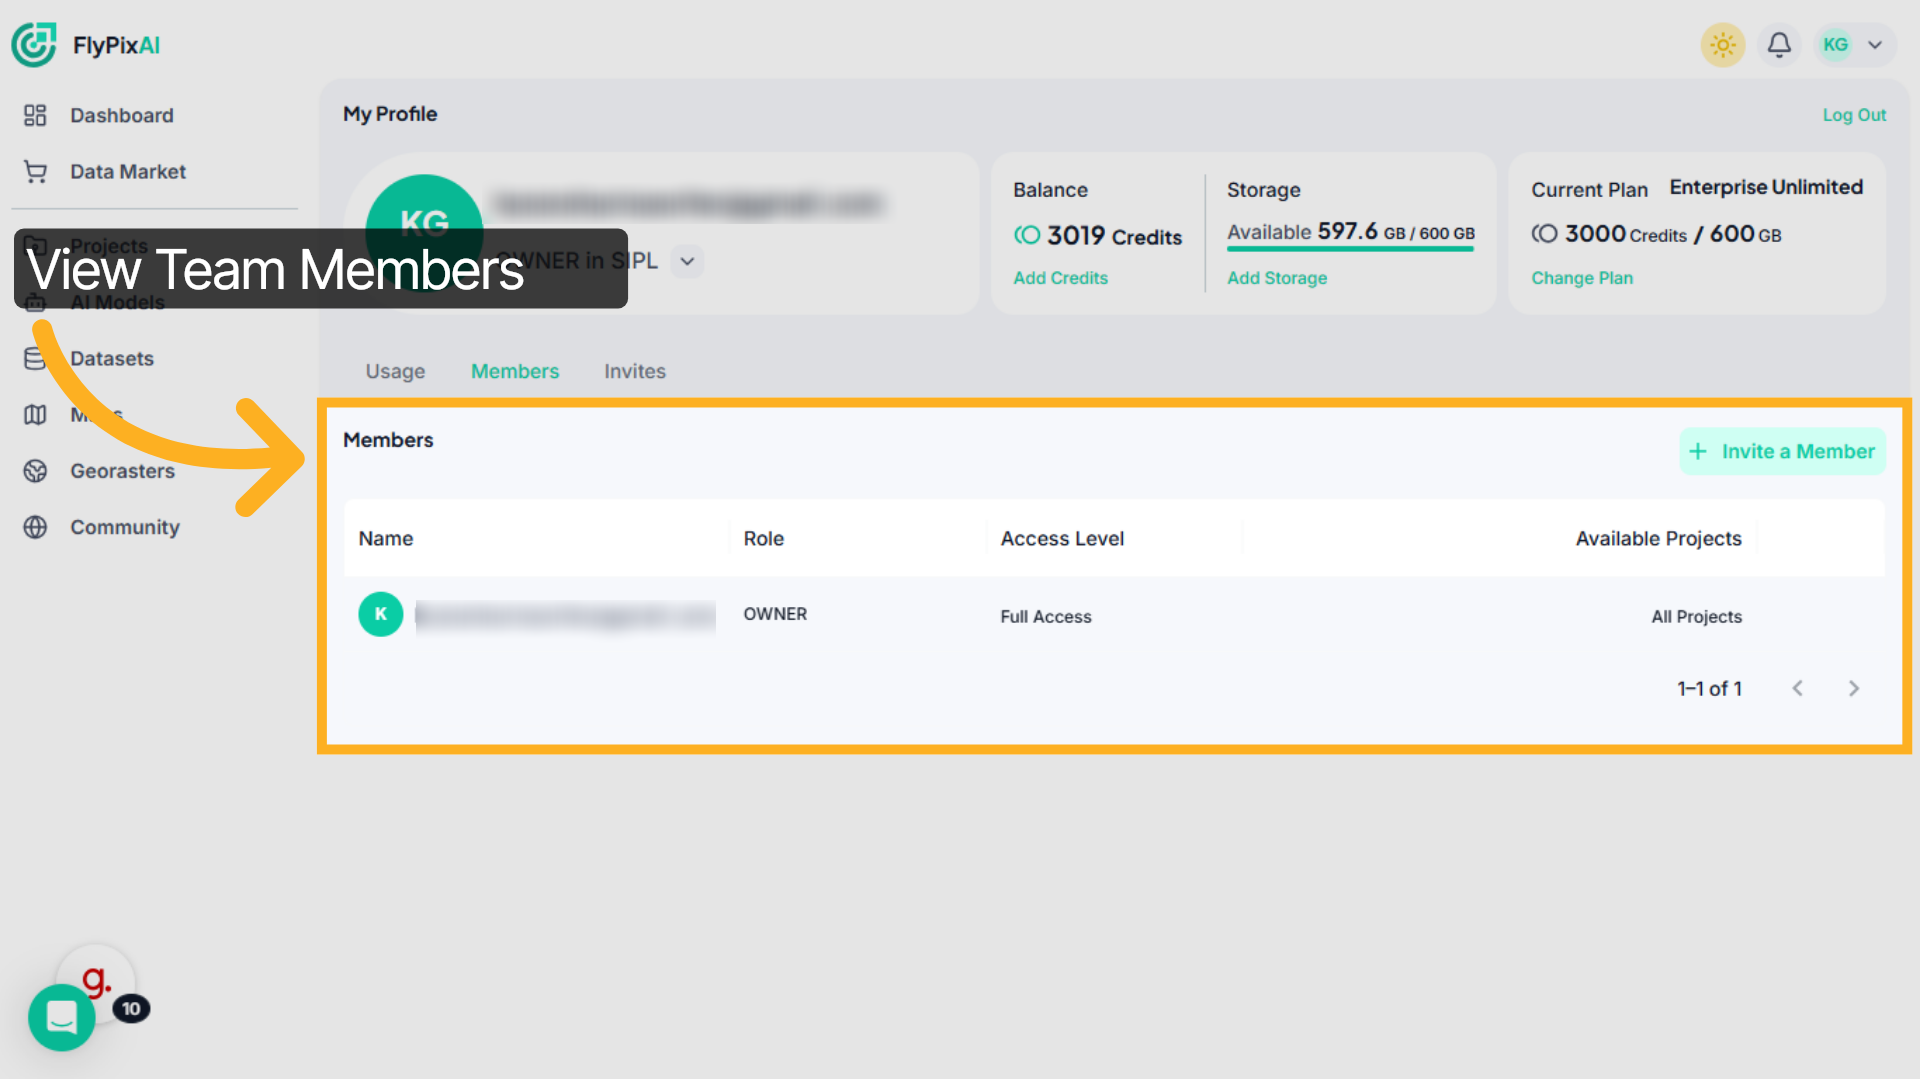
10. View Team Members
Here you can see all team members, their roles, access levels, and project availability.
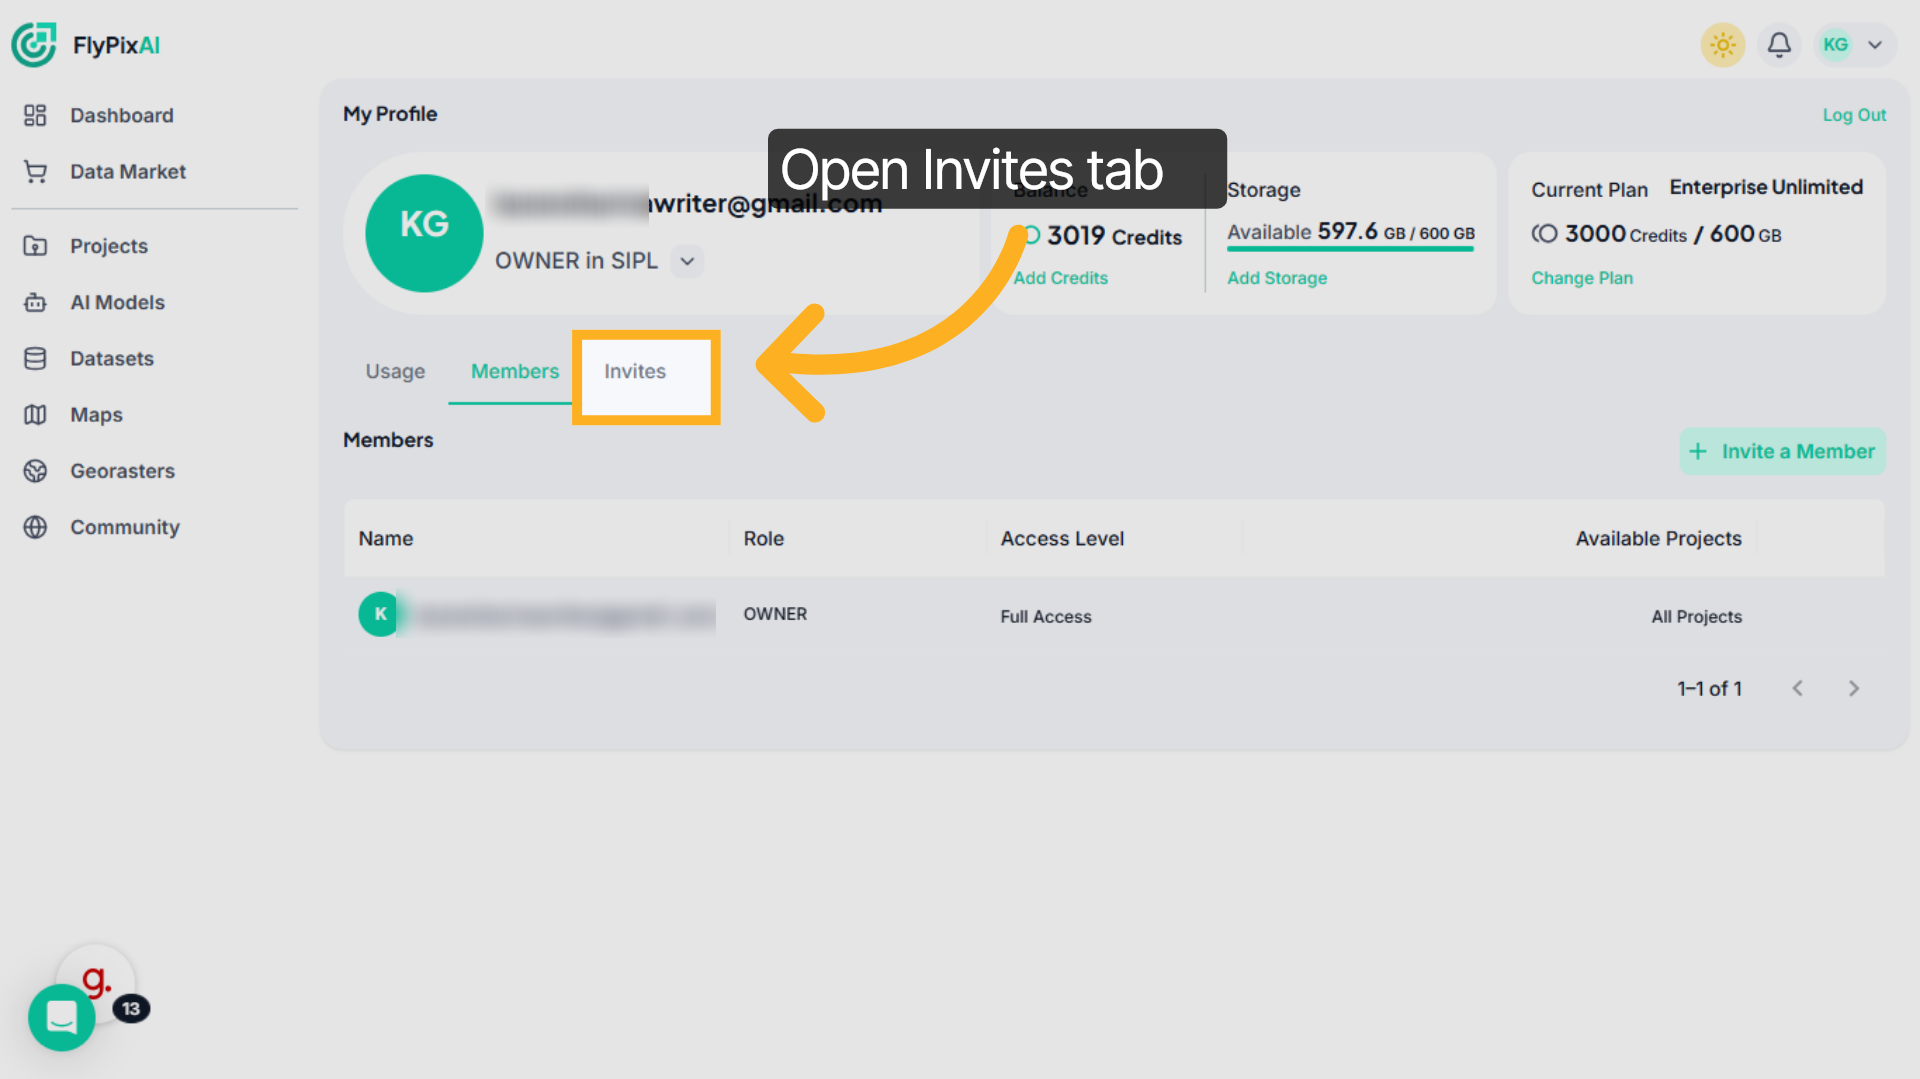
11. Open Invites Management
Switch to the Invites tab to monitor pending invitations and generated invite links.
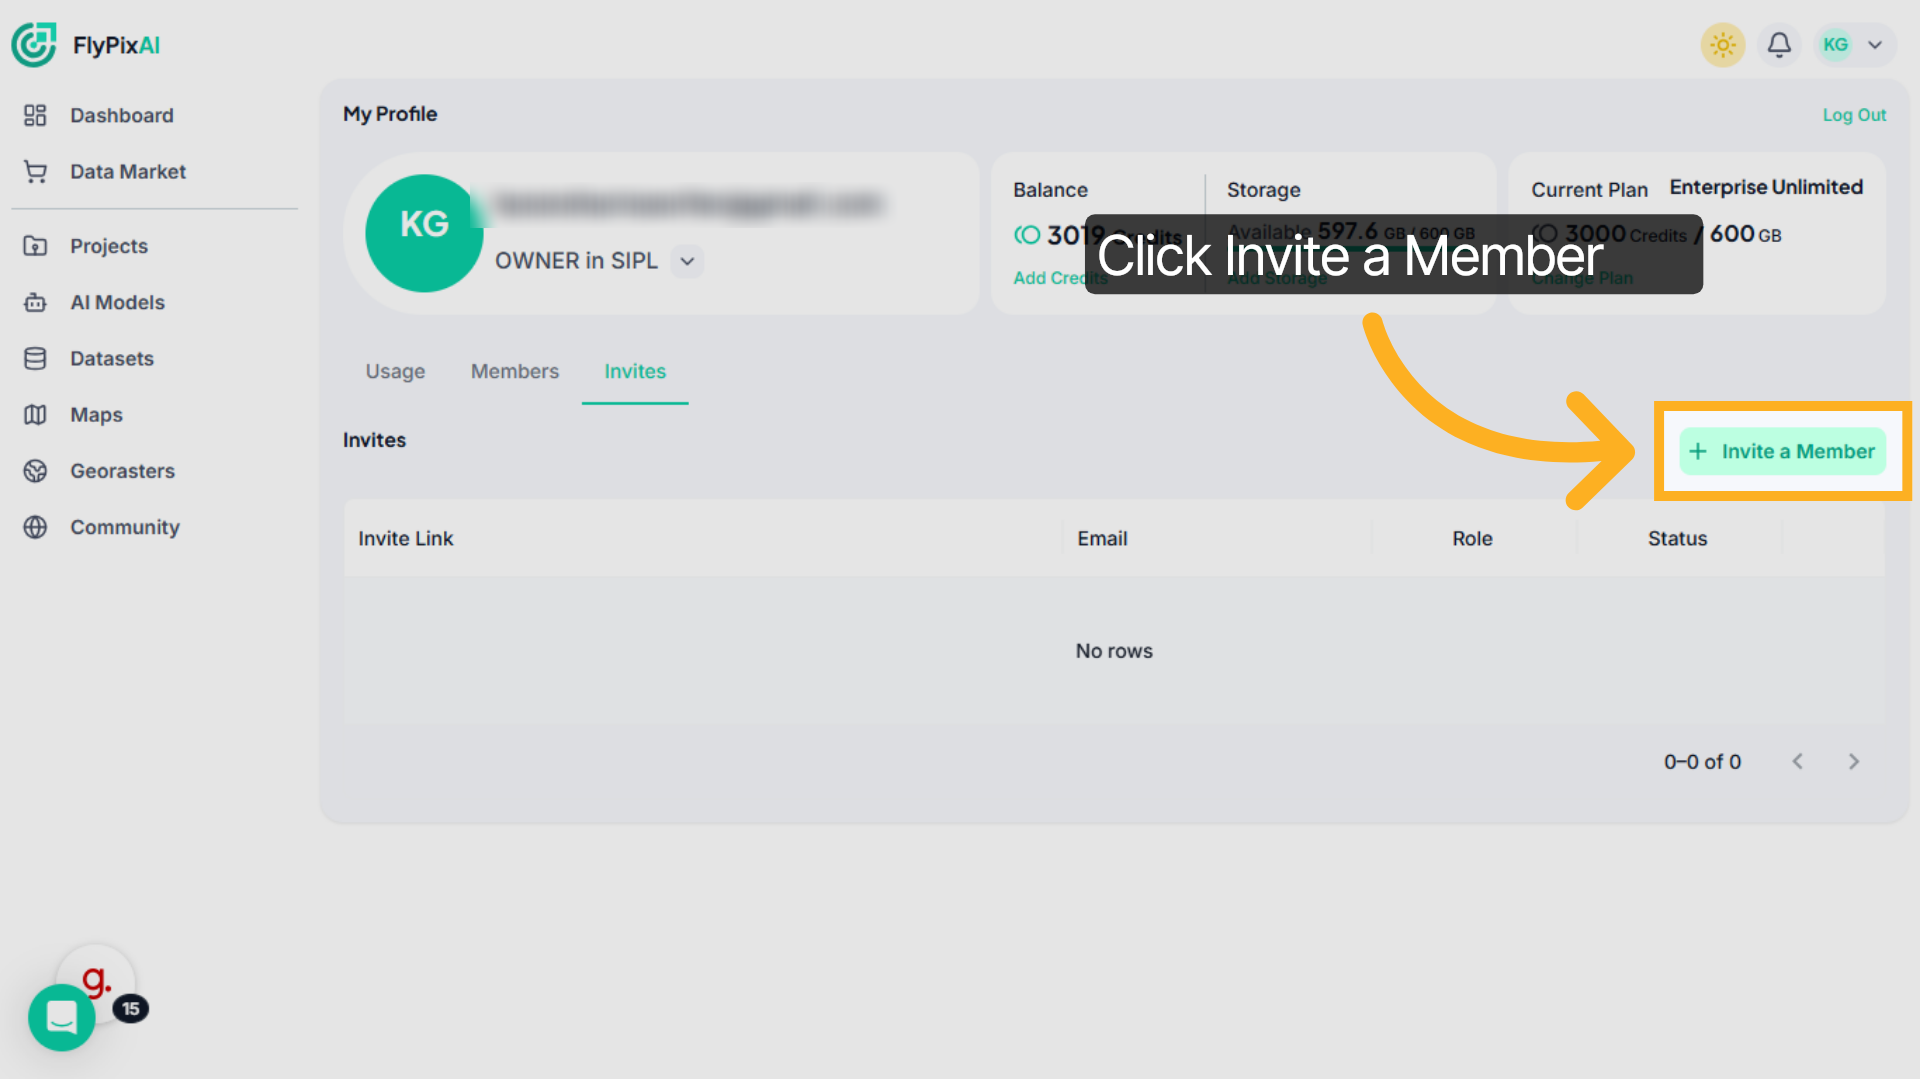
12. Initiate Member Invitation
To add someone new, click Invite a Member
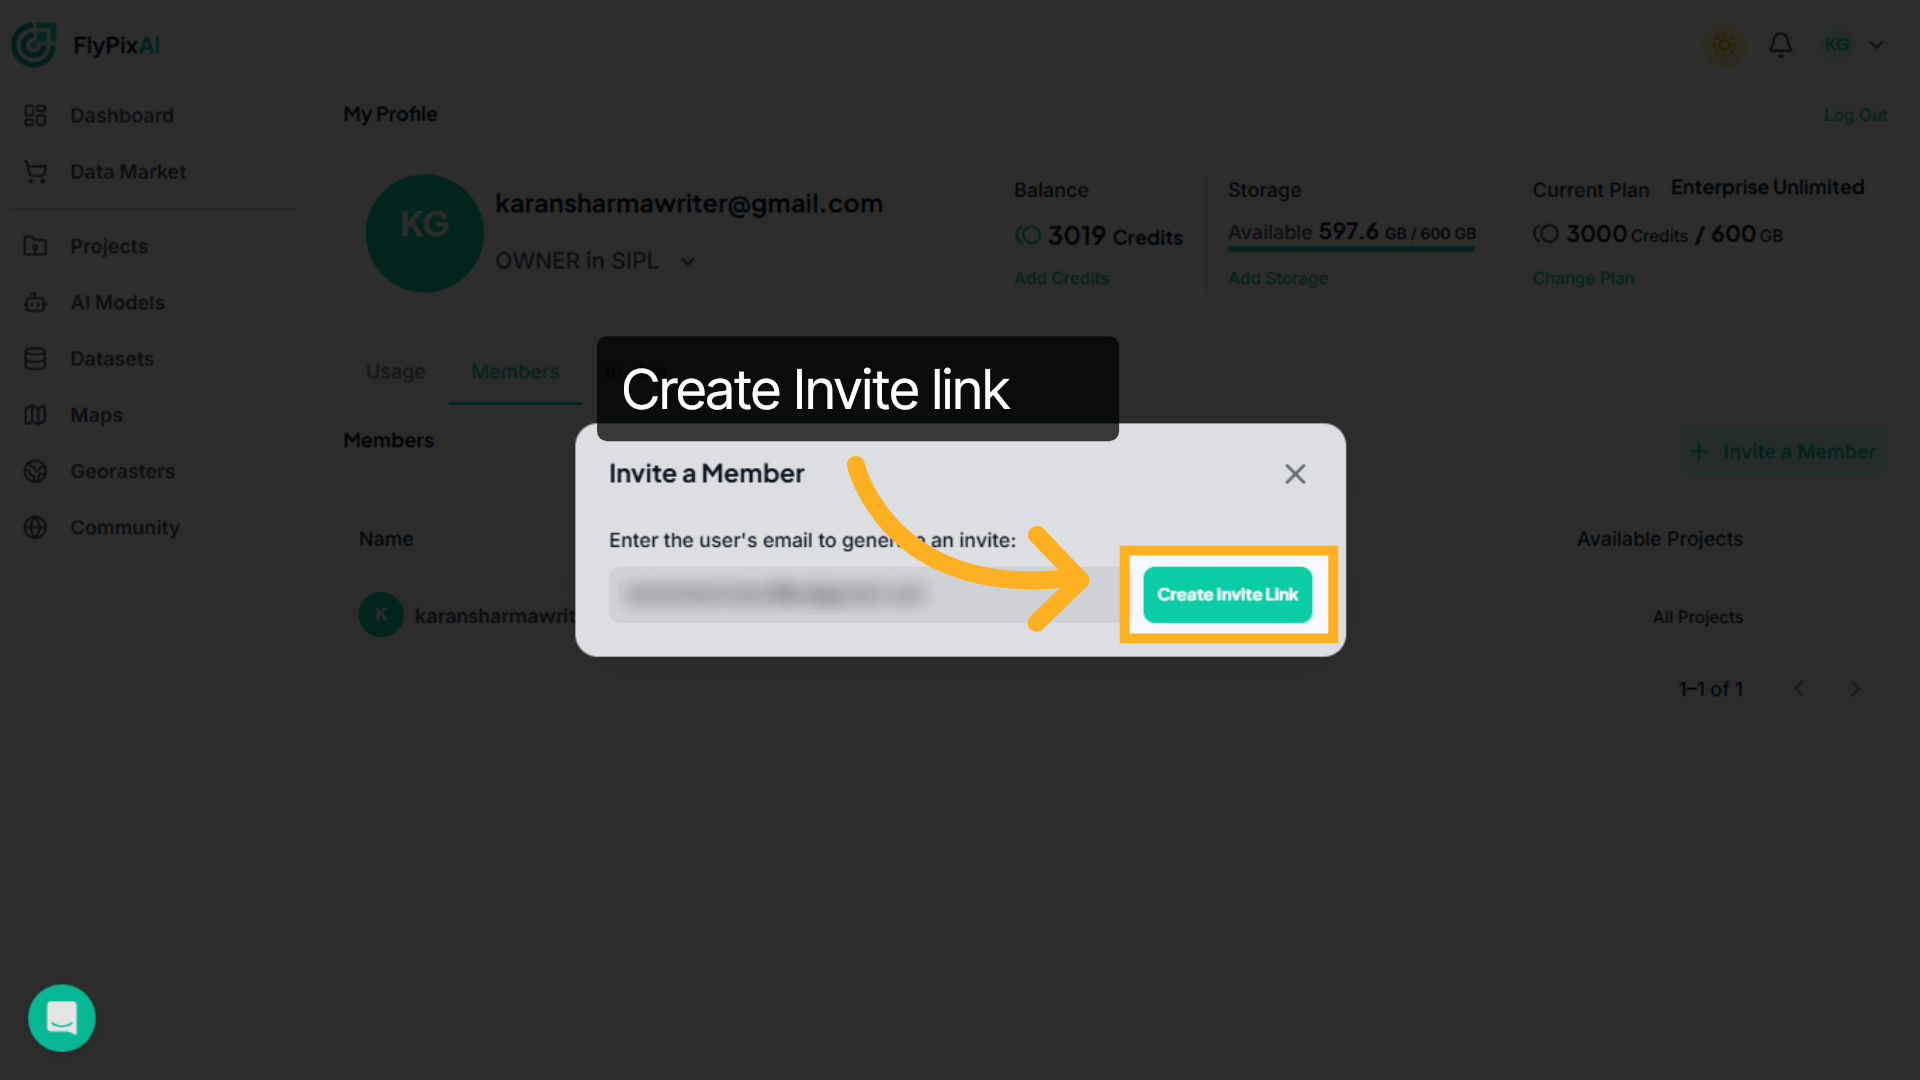
13. Create Invite Link
Enter the email address and then click on the "Create Invite Link" to send the invite link.
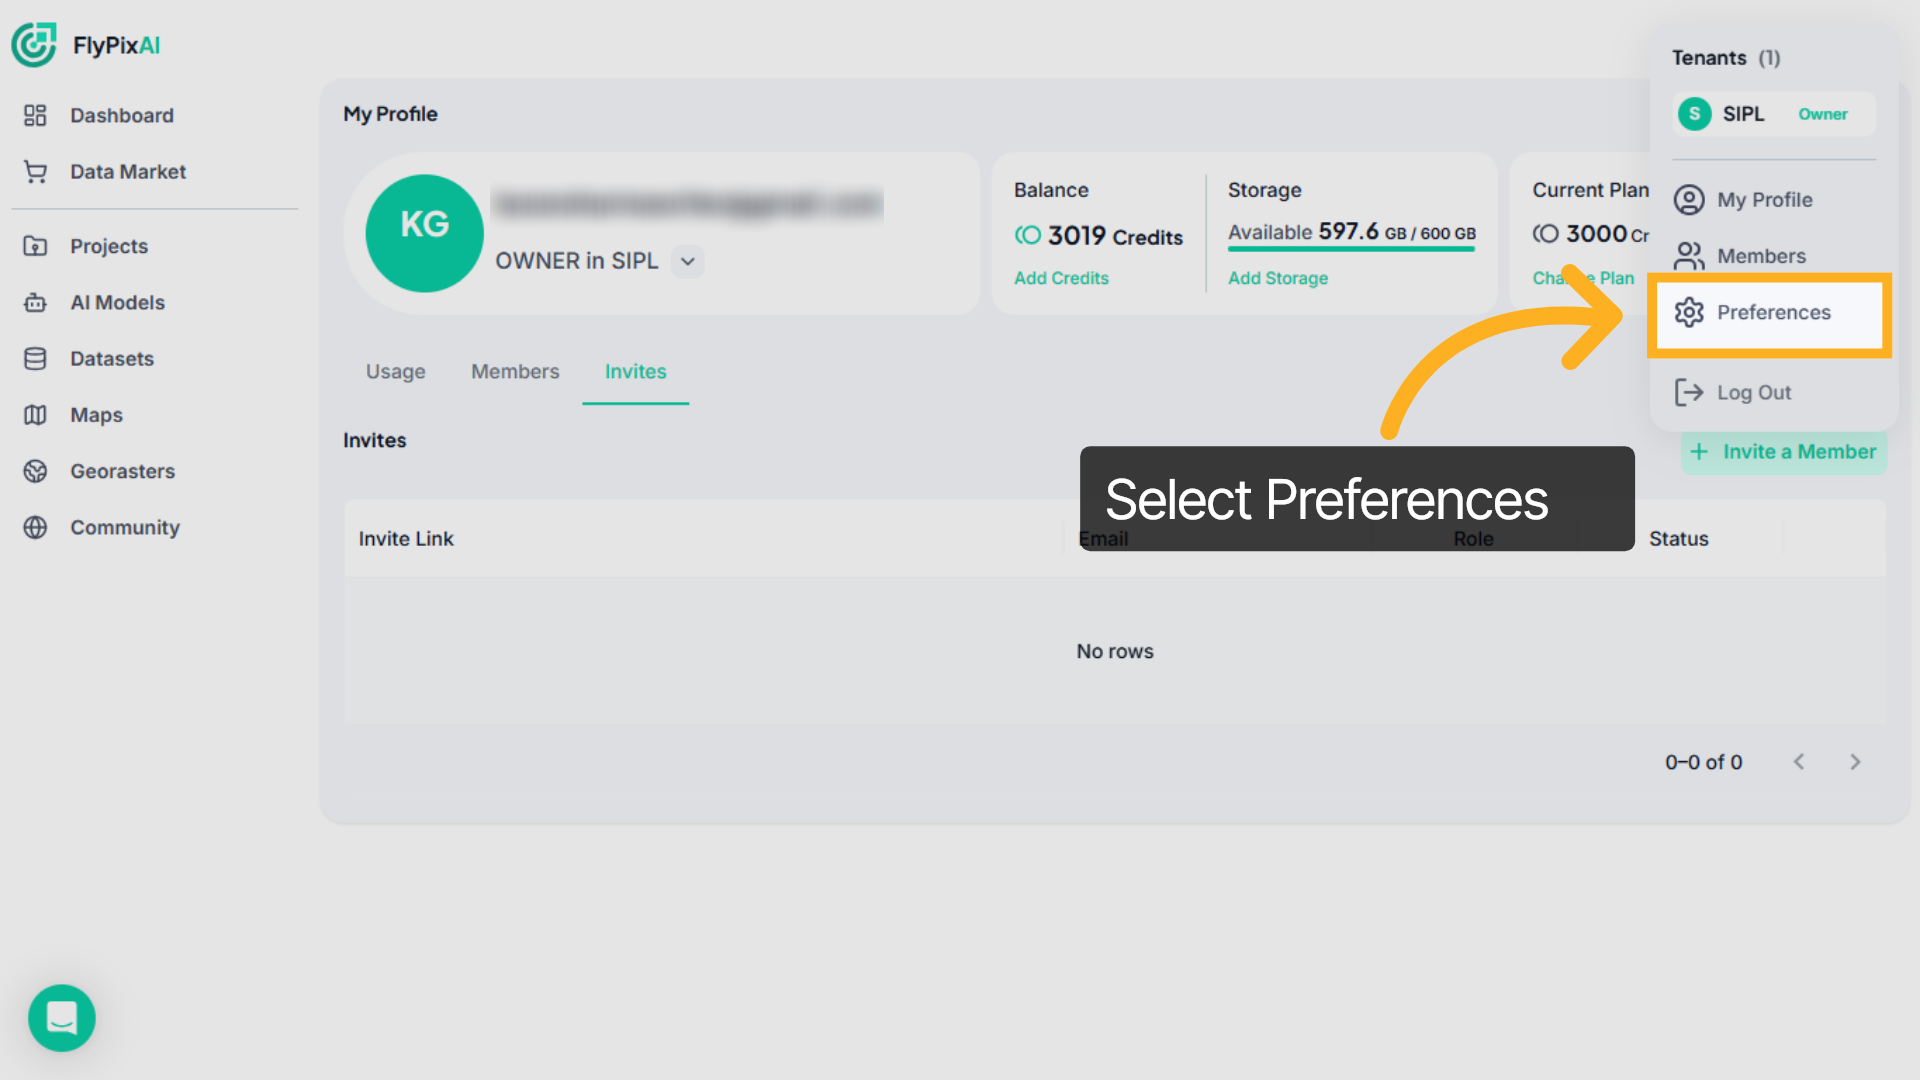
14. Go to Preferences
Click your profile icon again and select Preferences from the dropdown menu.
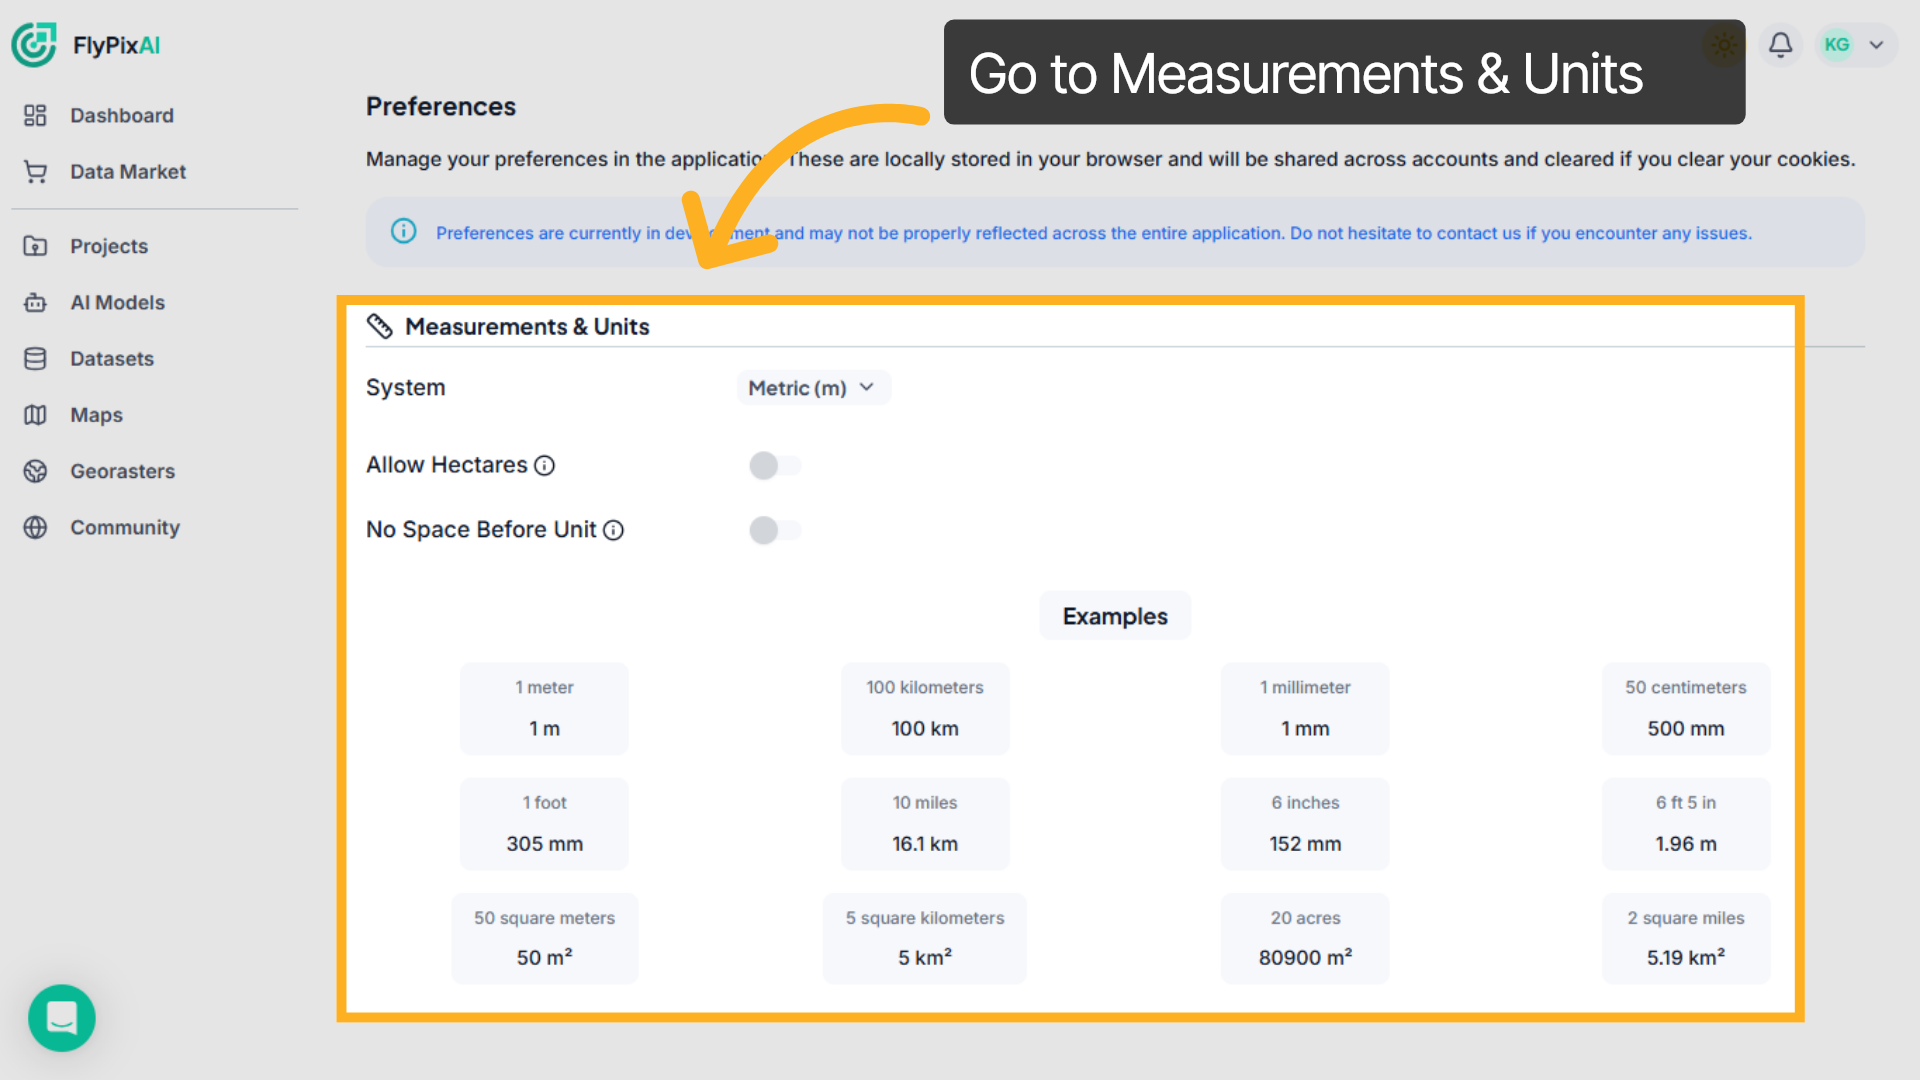
15. Open Measurements & Units
Inside Preferences, scroll to the Measurements & Units section. This is where you control how measurement values appear across the platform.
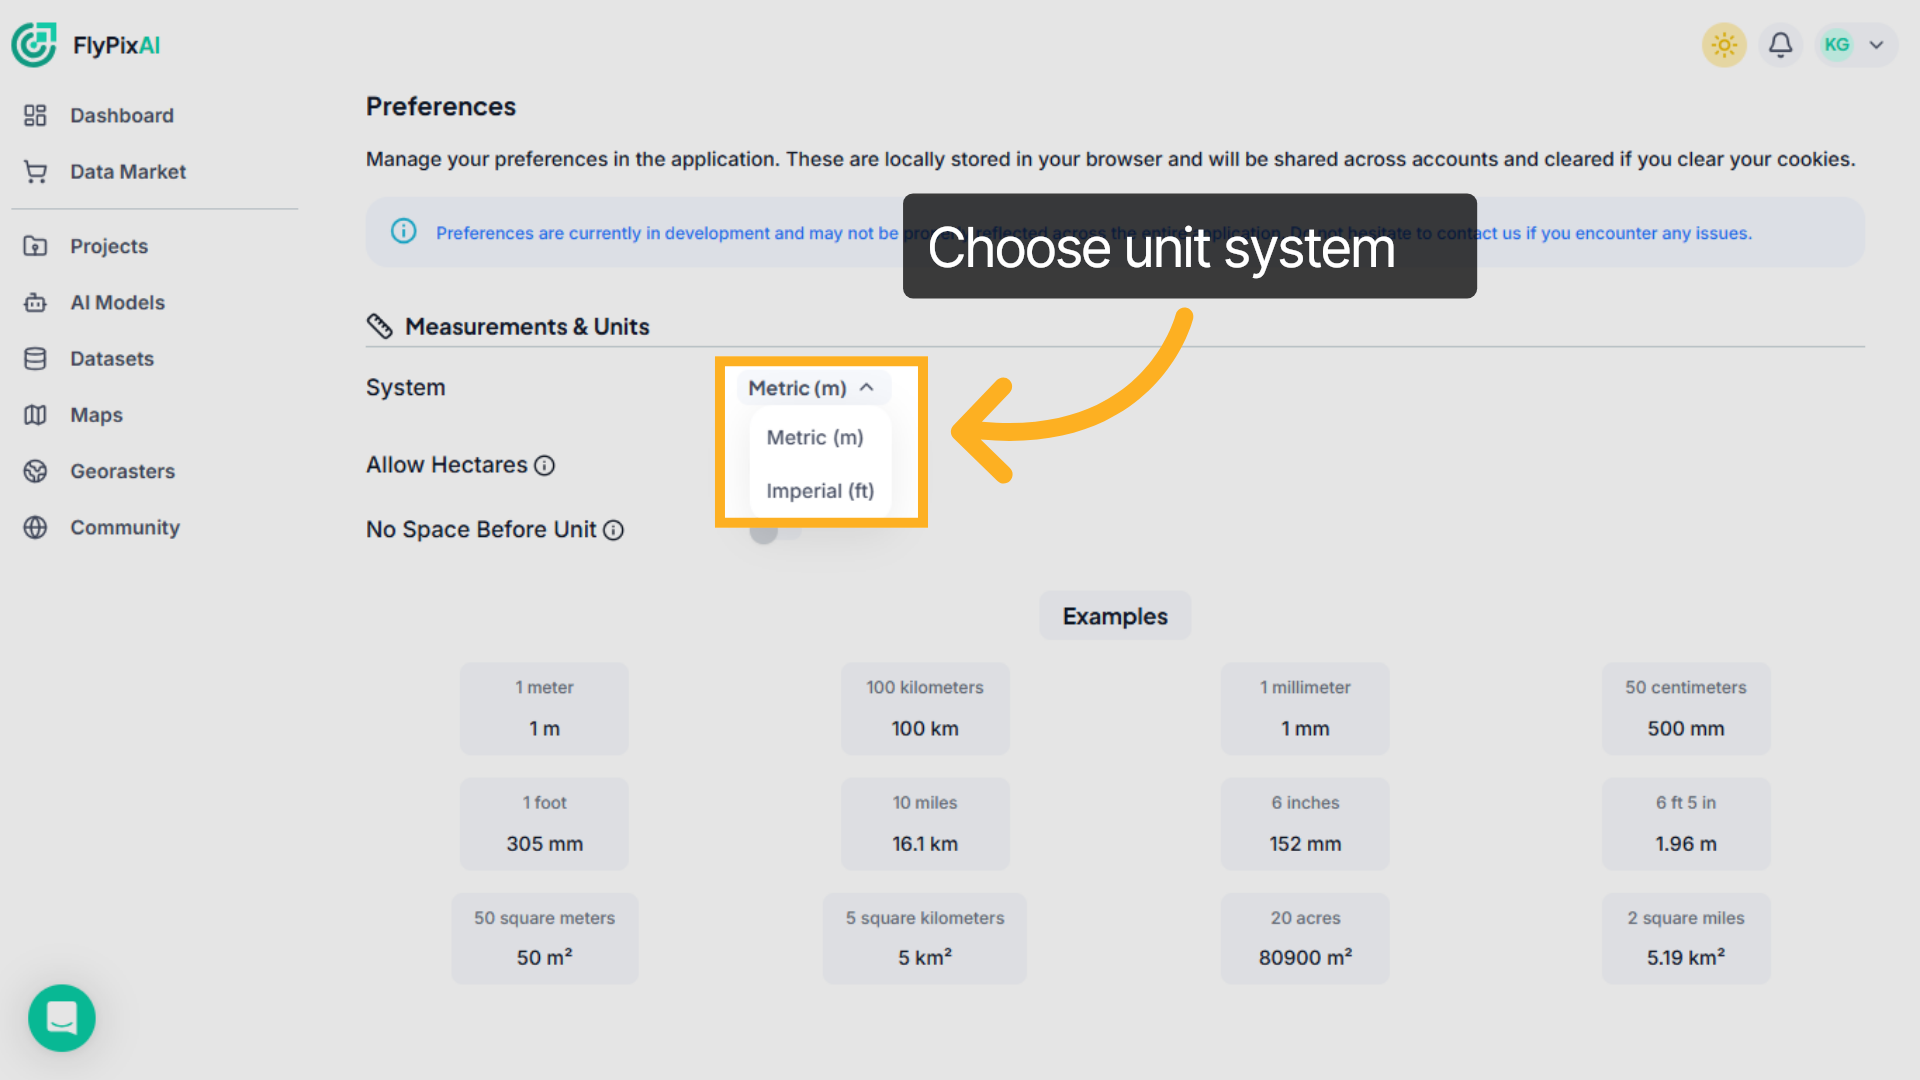
16. Change Metric system
Under System, choose your preferred measurement format, such as Imperial (ft) or Metric (m), from the dropdown menu.
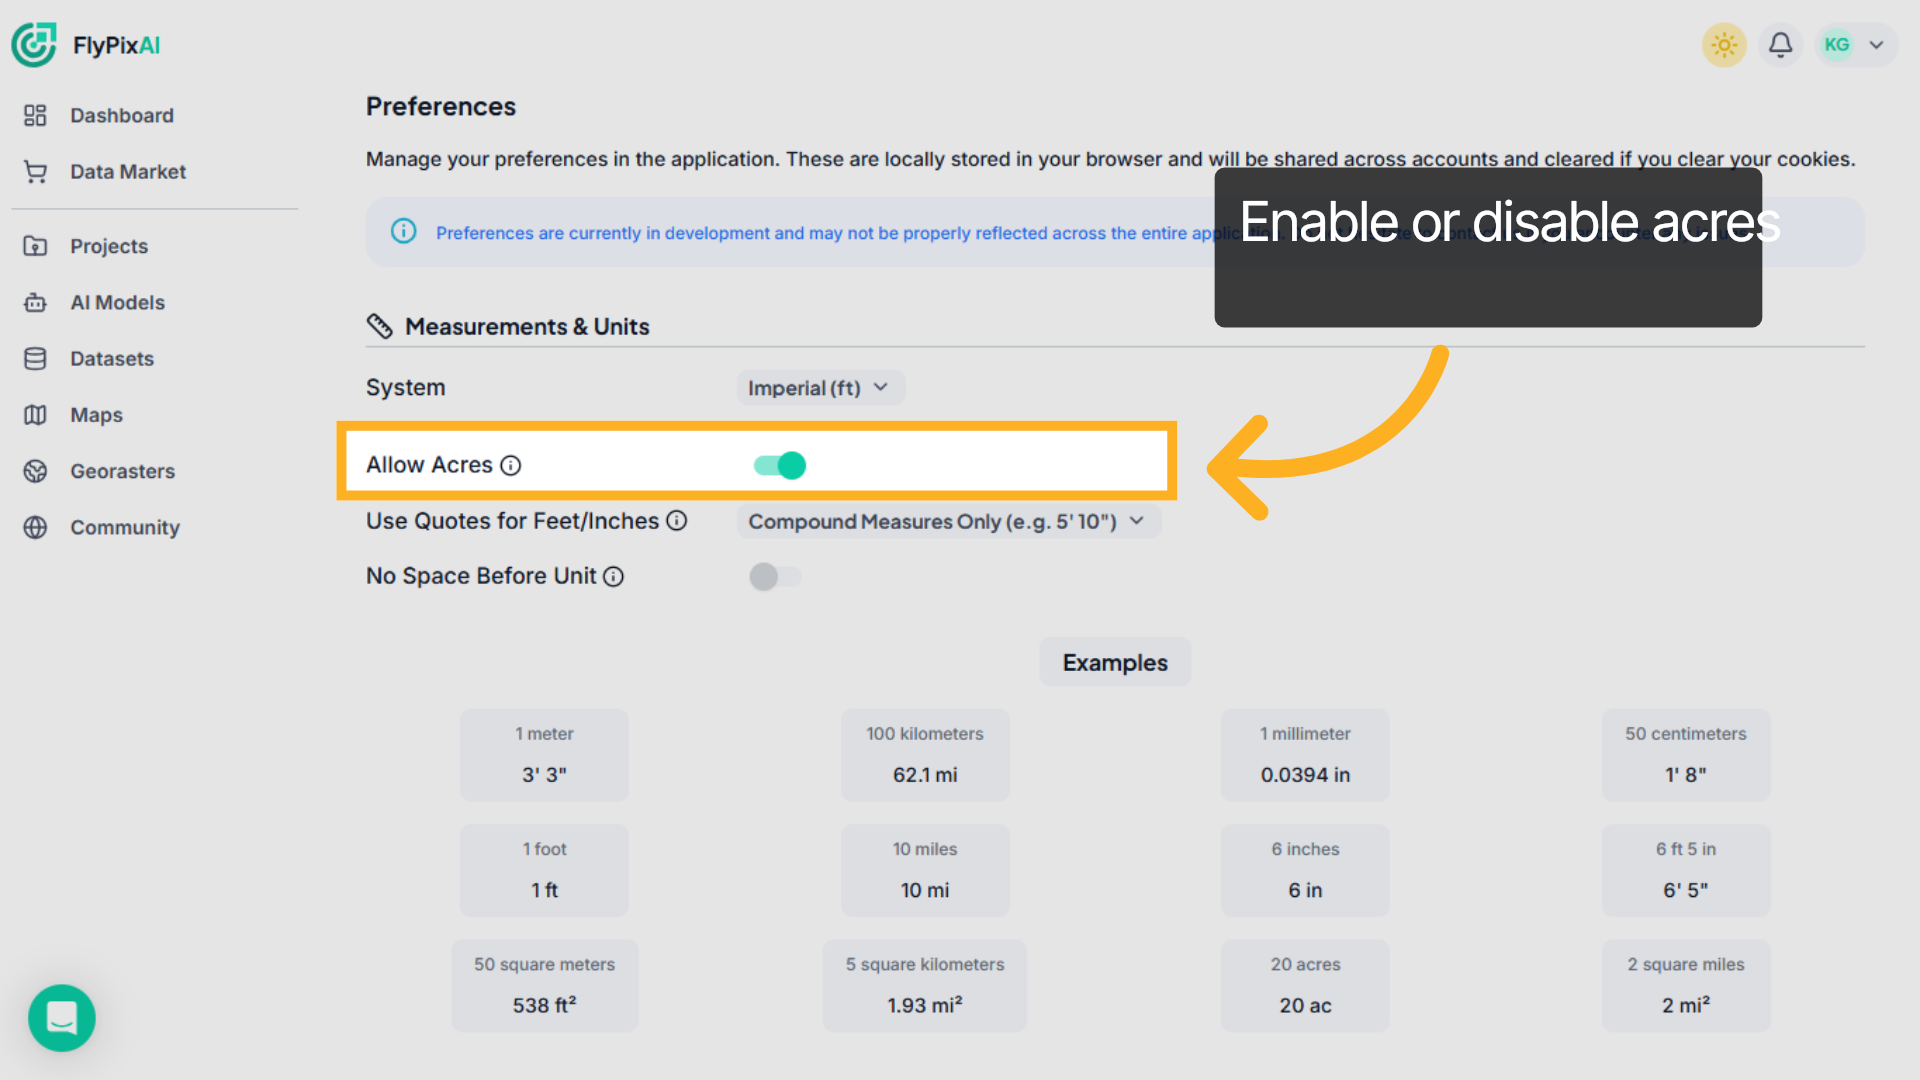
17. Enable or disable acres
Use the Allow Acres toggle to enable or disable acre-based area display where applicable
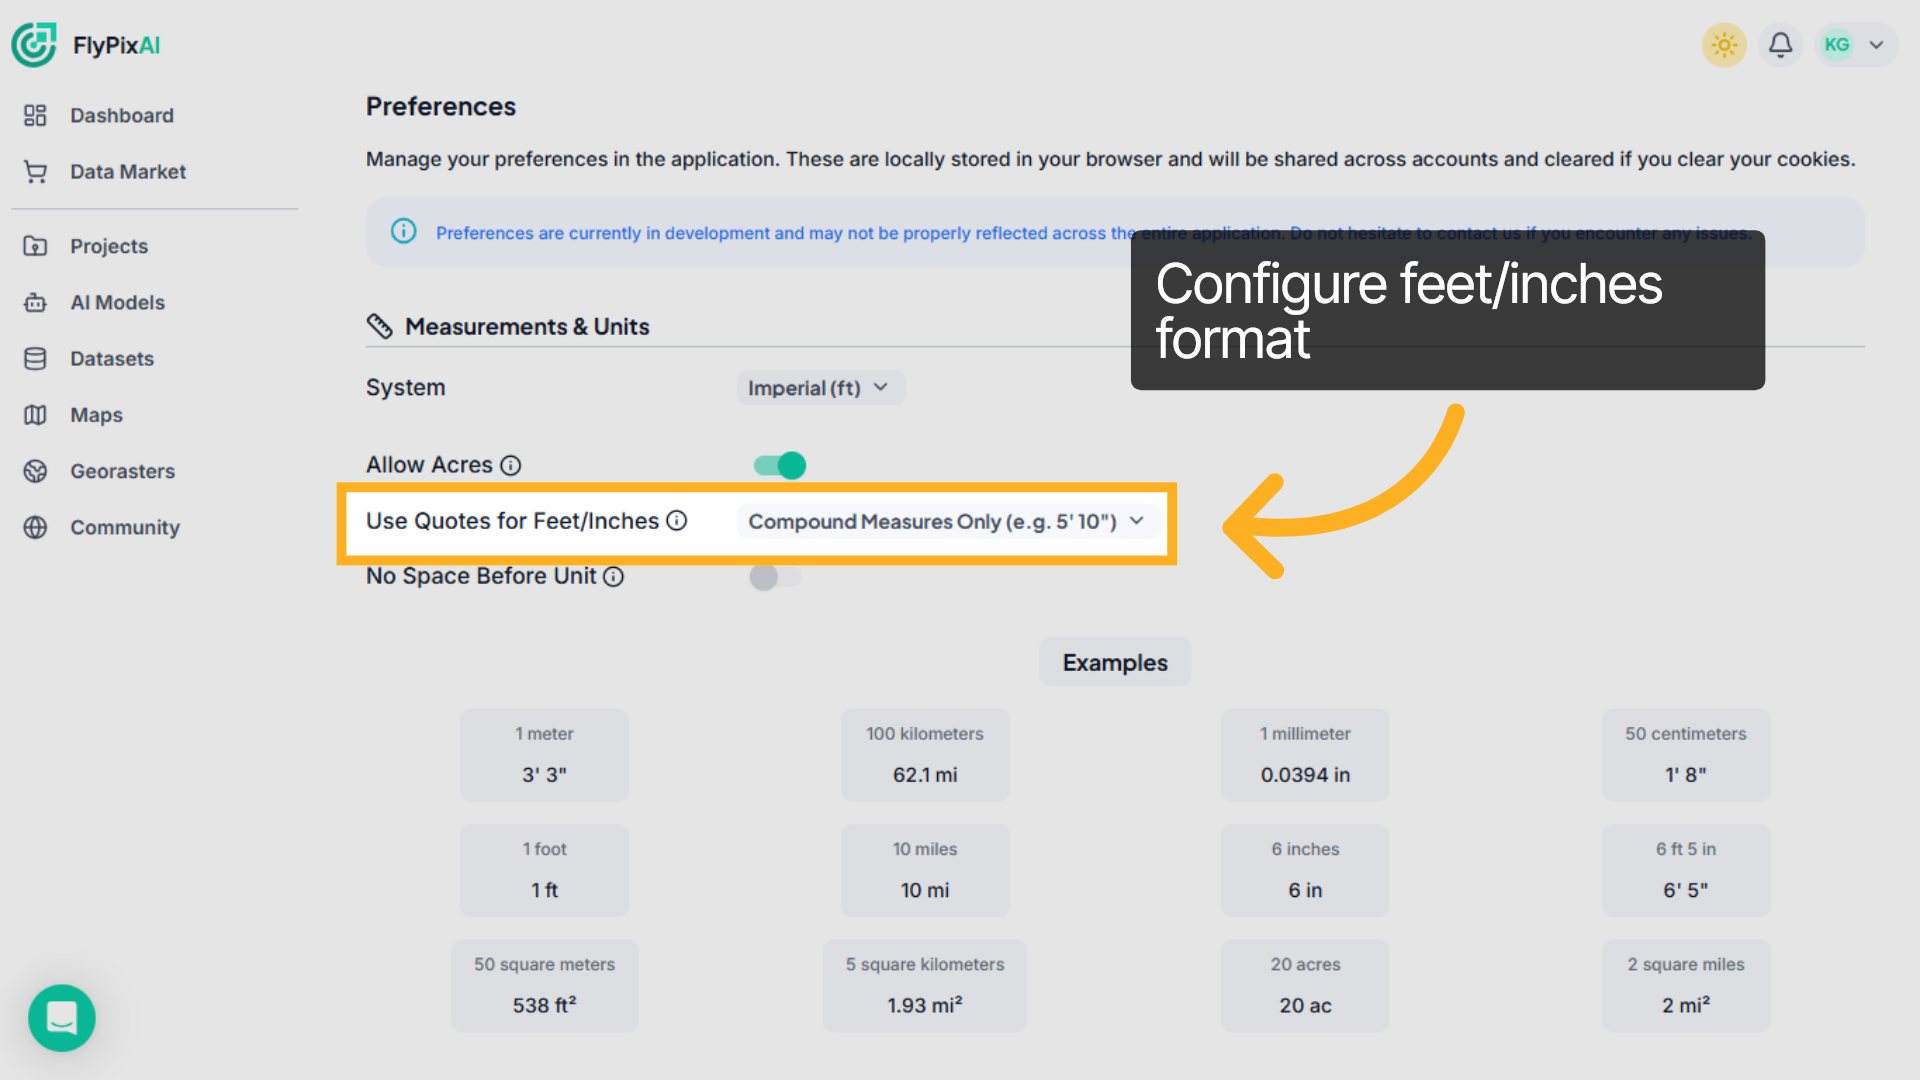
18. Configure feet/inches format
Under Use Quotes for Feet/Inches, choose how measurements appear — for example, compound format like 5'10".
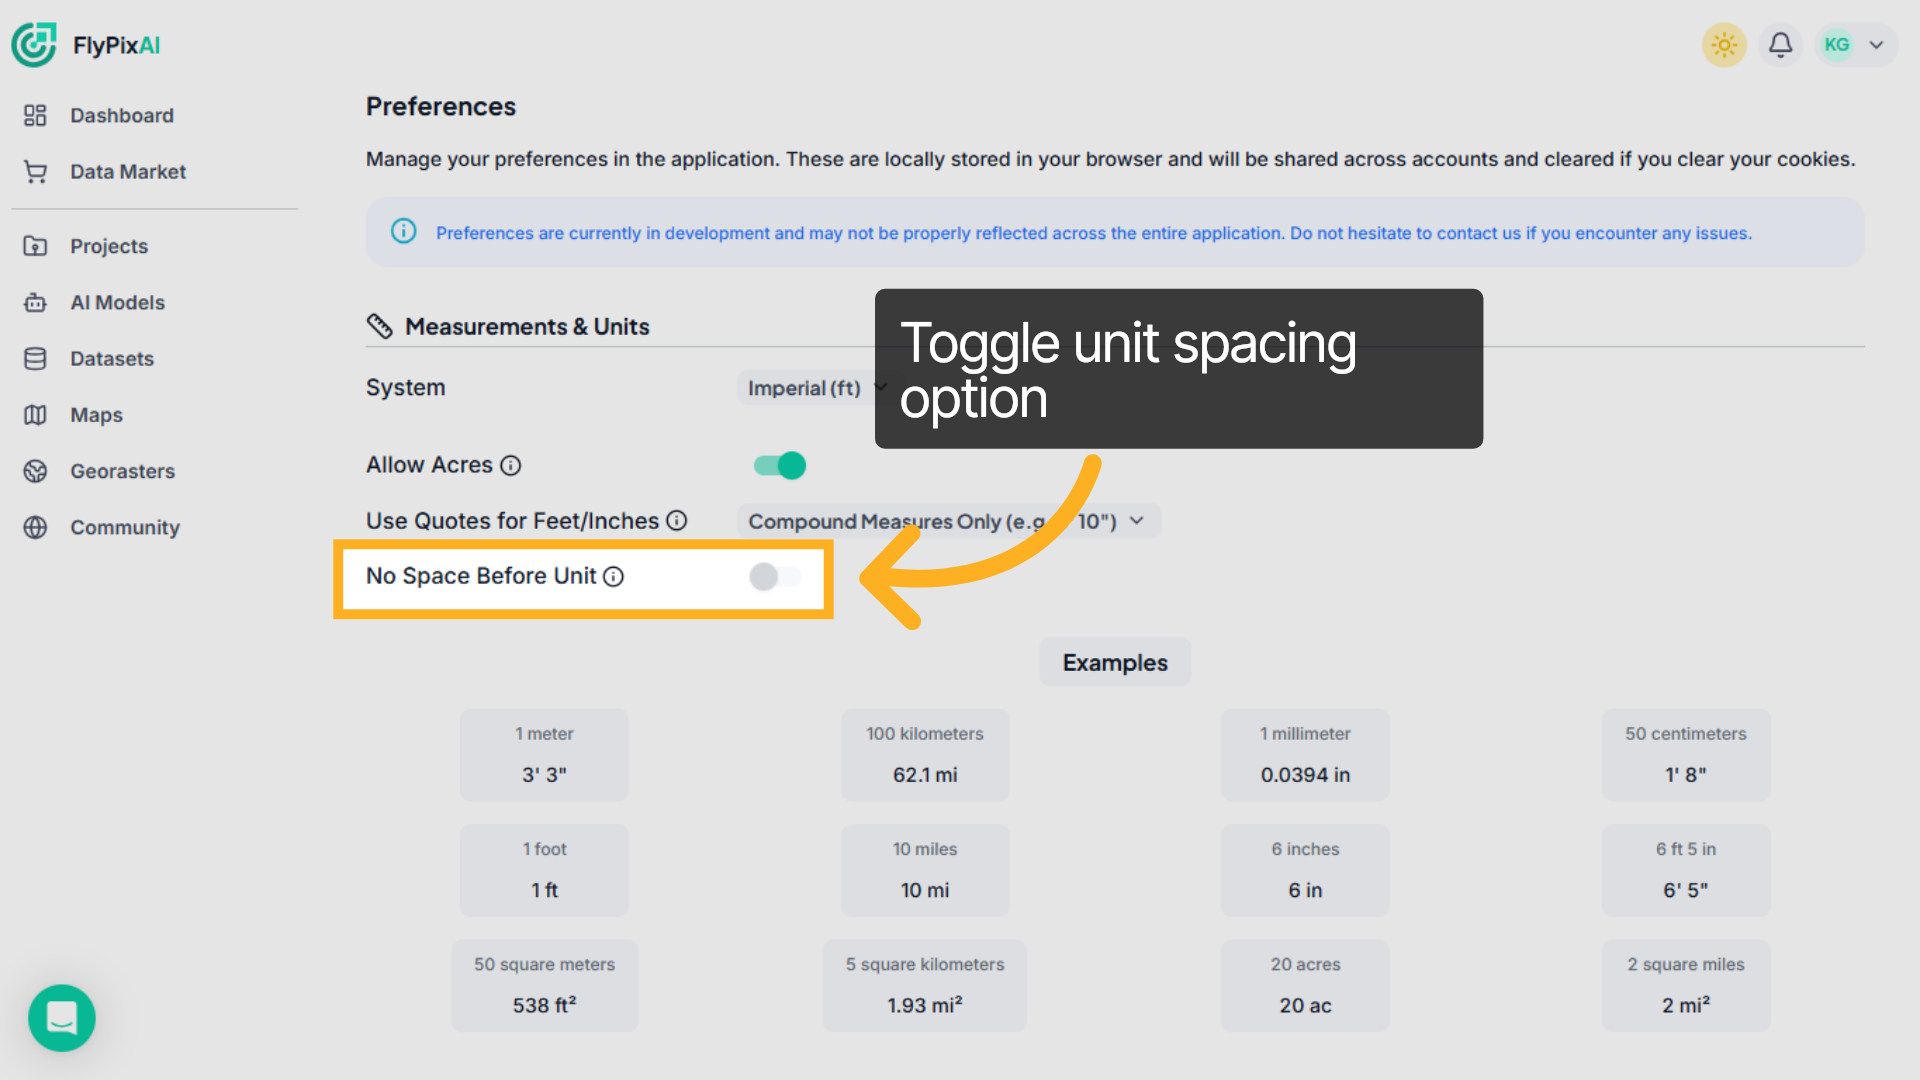
19. Toggle unit spacing option
Enable No Space Before Unit if you prefer formats like “100km” instead of “100 km.”
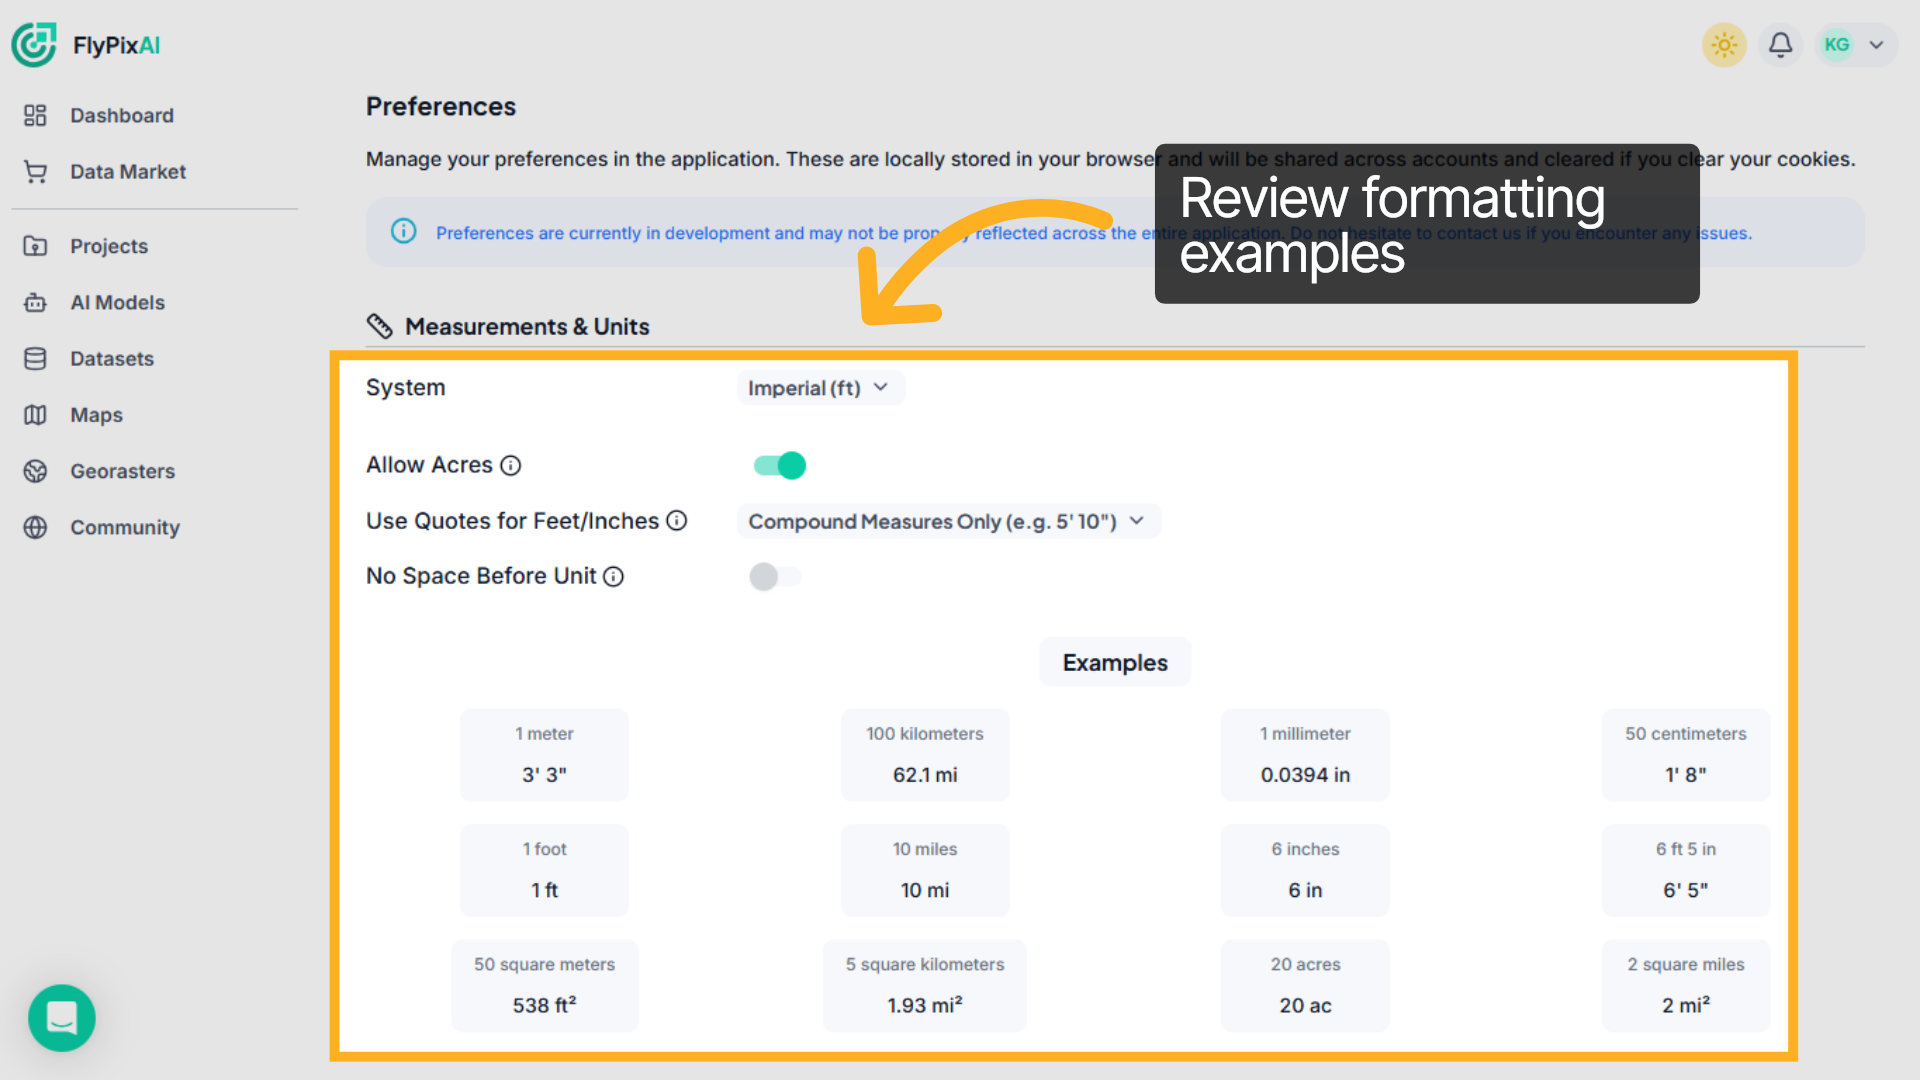
20. Review Updated Unit Examples
Scroll down to the Examples section to instantly preview how your selected settings affect unit formatting across distances and area values.
That’s how you manage your profile, monitor credits and storage, handle team access, and customize measurement settings in FlyPix AI. These tools help you stay in control of your account resources and team collaboration, all from one centralized dashboard.